

Dali MENTOR 1, MENTOR 8, MENTOR LCR, MENTOR 2, MENTOR SUB User Manual
...
M E N T O R M A N U A L
I N A D
M
I R A T I O N O F M U S I C
MEG ALI NE
EUP HON IA
HEL ICON
• MEN TOR
PIAN O
IKON
CONC EPT
SUB WOOFER
3
ENGLISH: PAGE 3-14
DEUTSCH:
SEITE 15-26
DANSK: SIDE 27-38
CONTENTS
ENGLISH
DANISH AUDIOPHILE LOUDSPEAKER INDUSTRIES �����������������������������������������������������������������4
UNPACKING �����������������������������������������������������������������������������������������������������������������������5
BREAK-IN ���������������������������������������������������������������������������������������������������������������������������6
SETUP - WIDE DISPERSION ��������������������������������������������������������������������������������������������������6
AVOID DIRECT SUNLIGHT ����������������������������������������������������������������������������������������������������7
PLACEMENT �����������������������������������������������������������������������������������������������������������������������7
CONNECTION ���������������������������������������������������������������������������������������������������������������������8
BI-WIRING - MENTOR 2 AND 6 ��������������������������������������������������������������������������������������������9
THE LISTENING ROOM �������������������������������������������������������������������������������������������������������10
POWER AND ACOUSTIC PRESSURE ������������������������������������������������������������������������������������ 11
DALI - MORE THAN MEETS THE EYE ����������������������������������������������������������������������������������� 12
TIPS AND ADVICE FROM DALI ��������������������������������������������������������������������������������������������13
CLEANING AND MAINTENANCE ���������������������������������������������������������������������������������������� 13
DISPOSAL �������������������������������������������������������������������������������������������������������������������������13
TECHNICAL SPECIFICATIONS ���������������������������������������������������������������������������������������������14
4
5
DANISH AUDIOPHILE LOUDSPEAKER INDUSTRIES
Thank you for selecting DALI MENTOR loudspeakers� It is important to us that your new DALI
loudspeakers are set up and connected optimally� For this reason, we recommend that you read
this manual and follow its instructions�
This manual contains instructions for setup and connection, as well as tips and advice on how
to get the most out of your new loudspeakers� Remember to sign up for our e-mail newsletter at
www�dali�dk�
DALI is acclaimed around the world for unique loudspeakers built to our uncompromising standards for design and performance�
The goal for every single DALI loudspeaker is always our foremost commitment: To create a
listening experience in your home that will make you forget time and place�
Enjoy�
ENGLISH
UNPACKING
Unpacking:
Carefully unpack the loudspeakers of the box� Depending on which DALI MENTOR model you
have bought, different accessories comes with the loudspeaker� MENTOR 6 includes a set of
spikes for mounting under the base� MENTOR 2 includes self-adhesive rubber feet for stable,
non-resonant installation�
Grille fronts :
The speakers are delivered with the grille fronts already mounted when you unpack them� If you
wish to remove the grille front, loosen it by gradually tugging at the metal plungers that hold it
in place� It is important that all are equally loosened before removing the front� Otherwise, the
grille may be damaged�
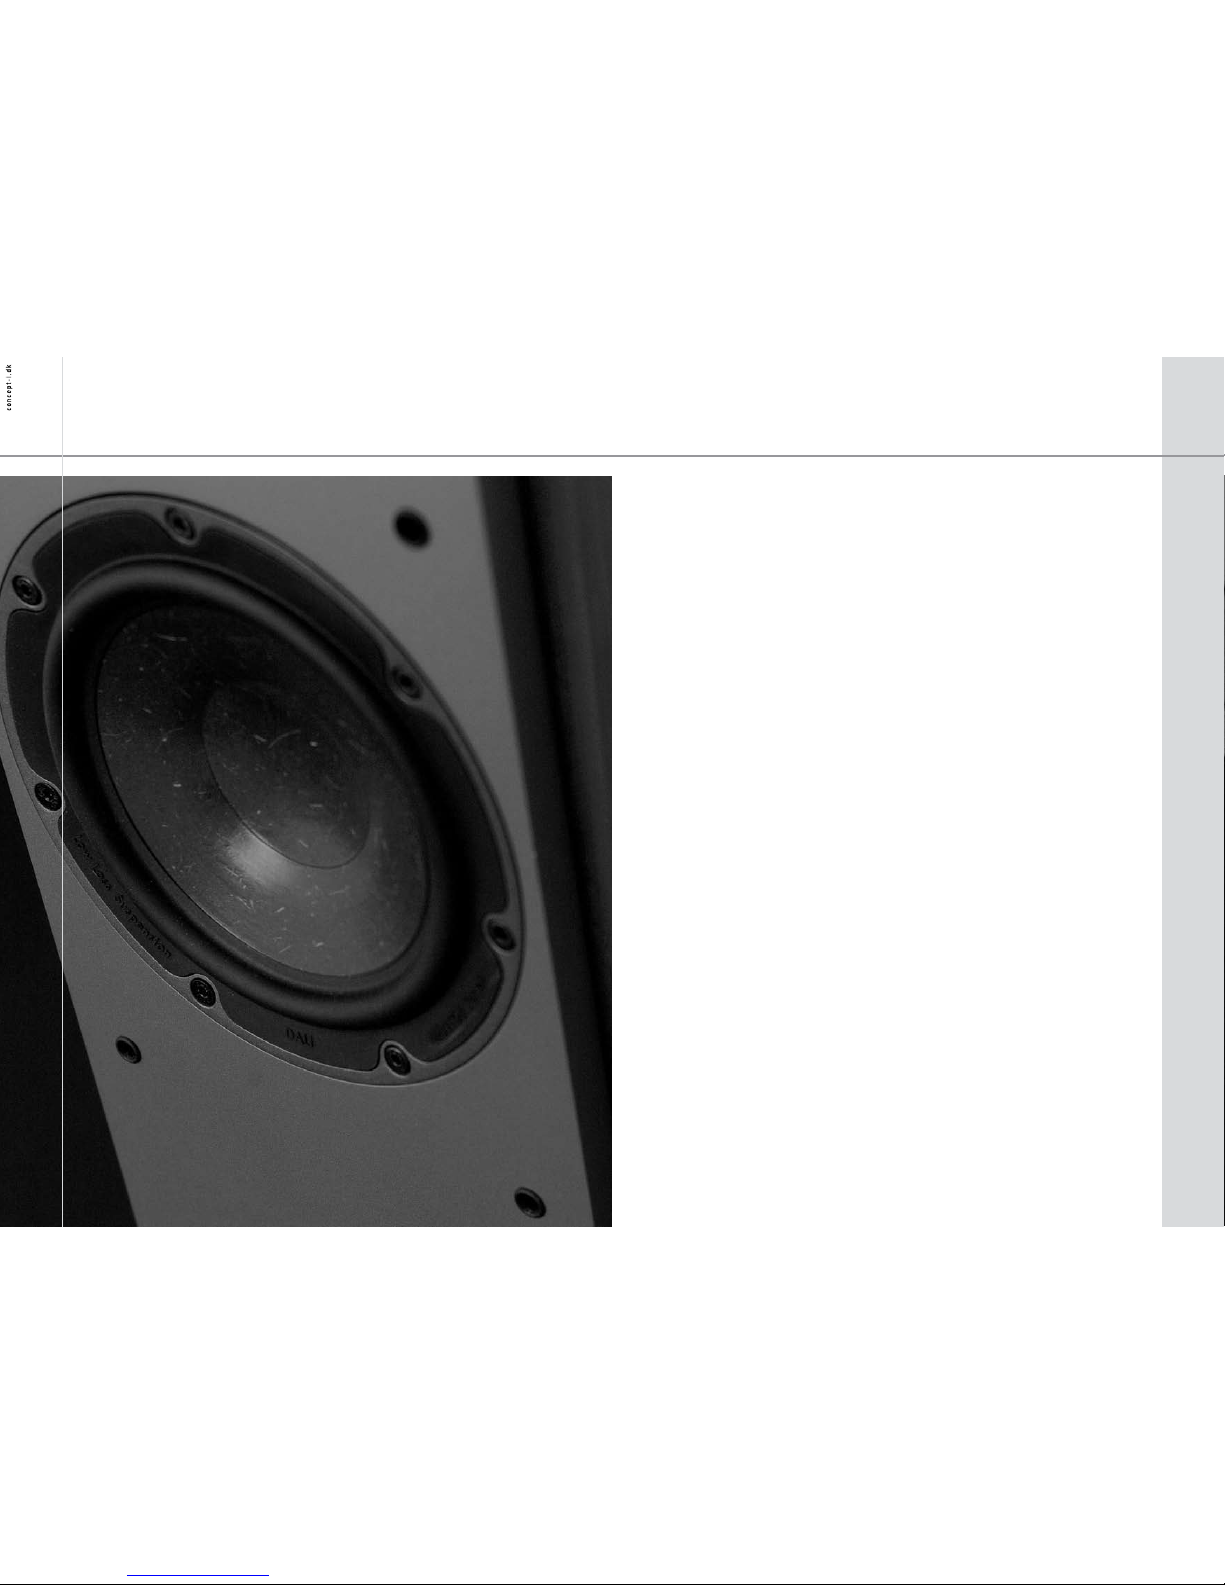
Generall y we recommend the u se of
spikes with out foundation
Notice! A lways use spikes w ithout
foundati on on soft surf aces� Spikes can
damage floo r surface under c arpet
Always us e spikes
with found ation
on sensiti ve surfaces
Spike
Contra nut
Foundati on
Installat ion of spikes Screw bush es
integrate d in the
plinth
Spikes:
On some floor surfaces and in some rooms, the use of spikes is a crucial aspect of obtaining
the best result� The spikes (included) should be screwed in loosely in the threaded holes in the
bottom of the speaker�
Place the loudspeaker upright on its spikes on the floor, so that it stands steadily without rocking� Tighten the nuts, so that the four spikes sit tightly� These assembly and setup steps ensure
stable mechanical coupling to the surface beneath�
ENGLISH
6
7
BREAK-IN
Like any mechanical system, a loudspeaker requires
a “break-in” period� You will experience a gradual
increase in sound quality during an initial period�
Unlike other mechanical systems, the lifespan of a
loudspeaker is increased by regular use�
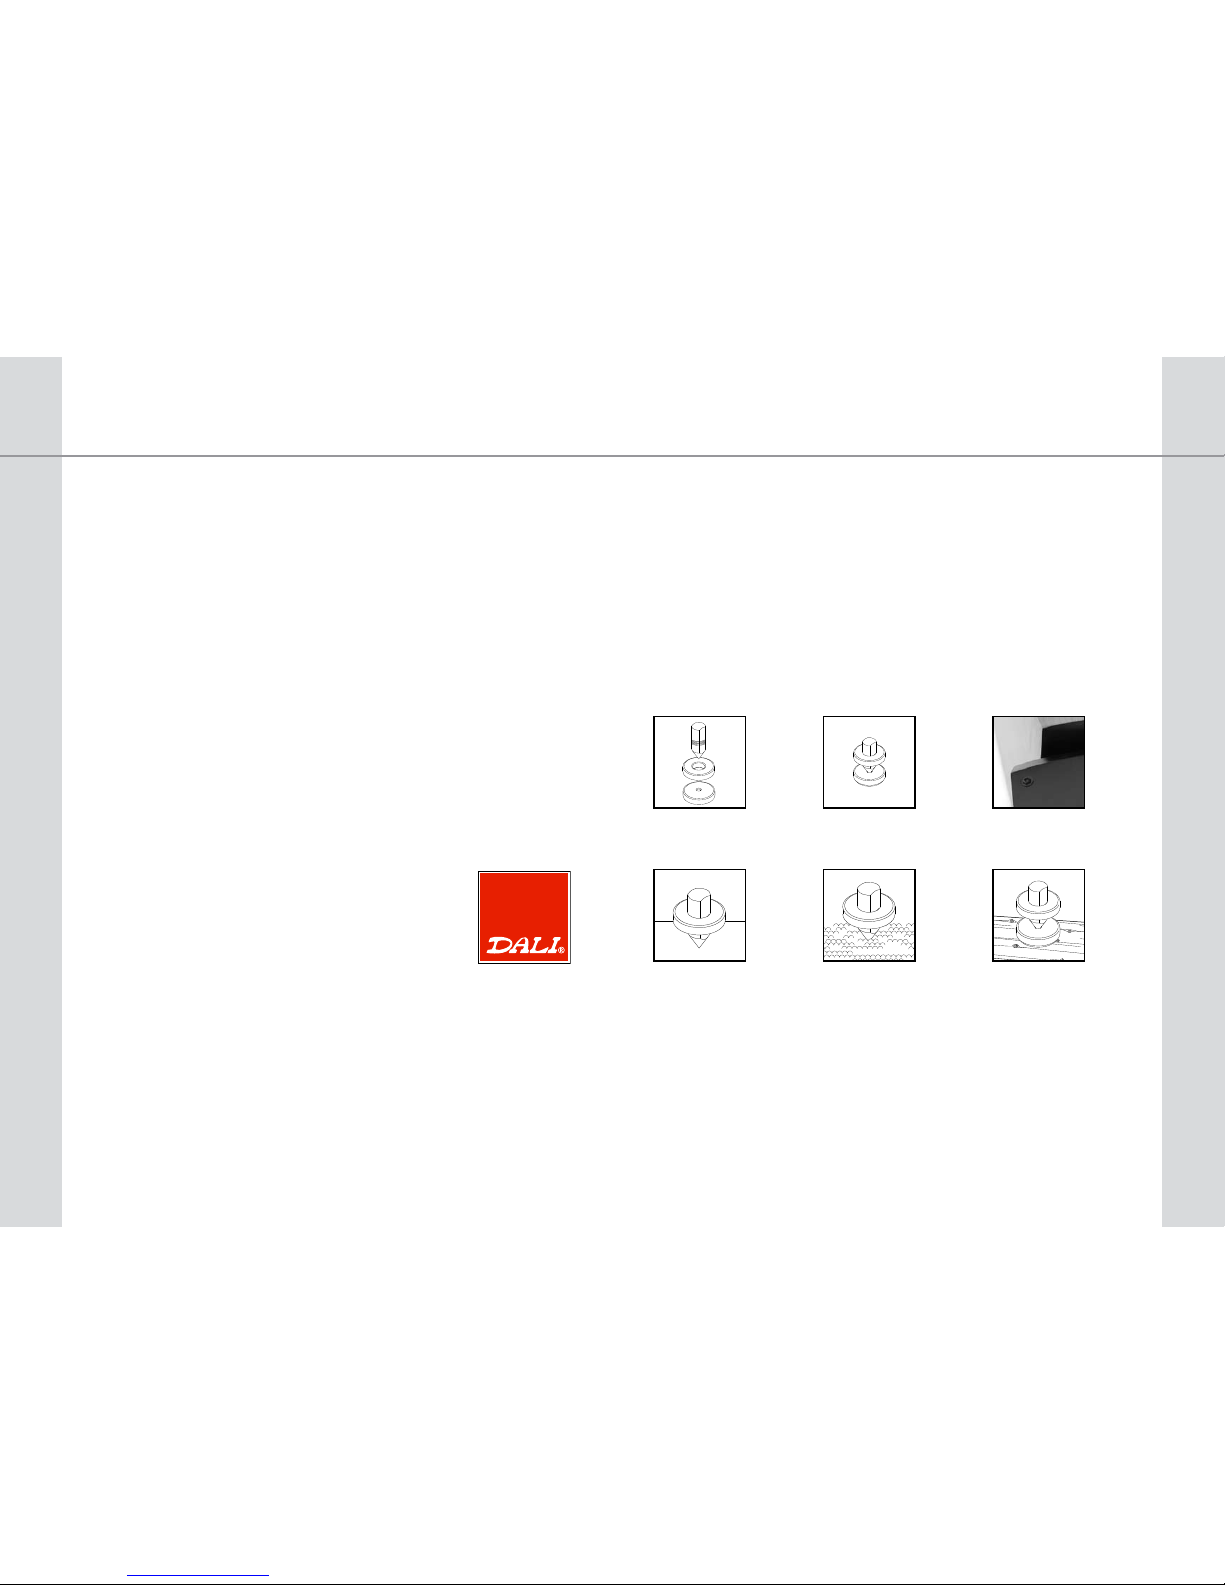
DALI MENTOR is a prime exponent of one of the
many virtues that have made DALI famous worldwide – Wide Dispersion�
Wide Dispersion means that the area in front of the
loudspeakers where a full stereo image is achieved
is a great deal wider than with other loudspeakers�
This ensures substantially better sound across a
larger area within your listening room�
To take full advantage of DALI MENTOR’s Wide
Dispersion, the loudspeakers should face straight
ahead and not be angled in towards the listening
position unless the two loudspeakers are placed
very far apart�
The MENTOR tweeter module is especially developed for this loudspeaker� Its unique design ensures
that Wide Dispersion is more than just a name
– you can tell the difference�
SETUP - WIDE DISPERSION
Before setting up and connecting your new DALI
MENTOR loudspeakers, you should find the best
possible placement relative to your listening
position� It is a good idea to follow these simple
guidelines:
Avoid as far as possible any objects between the
loudspeakers and the listening position� Obstacles
can have a detrimental effect on tonal balance�
Ideally, the distance from the listening position
to each loudspeaker should be the same as the
distance between the left and right loudspeakers�
ENGLISH
ENGLISH
DALI MENTO R bass driver
DALI MENTO R High frequenc y module:
Soft dom e tweeter and rib bon tweeter
Avoid exposing your DALI MENTOR loudspeakers
to direct sunlight� Prolonged exposure may cause
the realwood veneer to fade�
AVOID DIRECT SUNLIGHT
Stereo set up
PLACEMENT

8
9
Correct, tight connections to your amplifier are
extremely important for your listening experience�
Before connecting cables or changing any connections, ALWAYS turn off your amplifier�
Always use cables of the same type and length
for left and right channels� We recommend using
special speaker cables from DALI, available from
your dealer�
Connection in correct phase is a detail that is
often ignored� The red (+) terminal of the amplifier
must be connected to the red (+) terminal of the
loudspeaker� The black (-) terminal of the amplifier
must be connected to the black (-) terminal of the
loudspeaker�
For the optimal listening experience, the right
loudspeaker (as seen from the listening position)
must be connected to the amplifier output terminals
marked “R” or “Right�” The left loudspeaker must
be connected to the amplifier output terminals
marked “L” or “Left�” Even a single loudspeaker
connected out-of-phase in a stereo or surround
installation will make the bass weaker and the
stereo image unfocused�
CONNECTION
Amplifie r connections
Connect ing bare loudspe aker wire
The top terminal pair is internally connected to the
crossover network’s high frequency section� The
bottom terminal pair is internally connected to the
crossover network’s bass section� When bi-wiring
or bi-amping, ALWAYS remove the metal jumpers
between the terminals before connecting cables� For
bi-wiring, connect two sets of loudspeaker cable,
one to the top terminals and one to the bottom
terminals� At the amplifier end, connect both sets of
loudspeaker cables to the same pair of terminals on
the amplifier�
BI-WIRING - MENTOR 2 AND 6
Bi-wirin g
If you are using DALI MENTOR in a surround system,
follow the instructions included with your surround
amplifier�
Make sure that the conductors are tightly gripped by
the terminals with no loose wires that could cause a
short circuit and damage the amplifier�
The DALI MENTOR terminals are well-suited to
plugs� We recommend DALI Connect Banana Plugs�
ENGLISH
ENGLISH

10
11
THE LISTENING ROOM
Every room has its own distinctive acoustics, which influence the way we experience the sound from
a speaker� In actual fact, it's a matter of how the room accommodates the sound and then damps
it� You can influence the acoustics of your listening room in various ways�
Some of the sound you hear comes not from the actual speakers but from reflections from floor,
ceiling and walls� These reflections are damped by objects such as furniture, plants and carpets� If
the sound is bright, soft items such as curtains and carpets can help� If the room has large window
panes, drawing the curtains will prevent reflections from the glass surfaces�
Both the amount and quality of the deep bass depend on the size and shape of the room, and the
position of the speakers� If positioned near a side or back wall, this will accentuate the bass� A cor
ner location will accentuate it even more, but will also increase the reflections� The decision is yours,
so experiment with different positions to find which provides the ideal sound for you�
As a basic rule, try to avoid large, hard and reflective areas in the immediate vicinity of your loudspeakers� In the same way that a mirror reflects light, they will reflect sound from the speakers at
almost full strength but with a slight delay due to the relatively low speed of sound� This will disturb
the precision and spacial effect of sound reproduction� Try hanging a soft textile surface behind the
speaker, place a rug in front of it, or place a large plant to the side and experience the surprisingly
large effect doing so will have on the quality and precision of the sound�
Once you are happy with the positioning of your speakers, it is important to ensure that they are
completely stable� For floor models it is essential that you use the accompanying spikes�
POWER AND ACOUSTIC PRESSURE
How loud a speaker is able to play and still sound good is completely dependent on the signal
it has to reproduce� So, in practice, you cannot define an unequivocal level for use in comparing
different speakers�
Obviously, lots of pure, undistorted output from a large amplifier is better than a distorted signal
from a small amplifier stretched beyond its capacity� The signal from a distorting (clipping) ampli
fier contains much more high-frequency information than an undistorted signal, and therefore
puts a heavy strain on the tweeter� Consequently, speakers are most often damaged by small
amplifiers having to work too hard - and very rarely by large amplifiers, which are practically running idle�
It is worth noting that when the tone controls are turned above the neutral setting this significantly burdens both speakers and amplifier� On a good sound system tone controls should only be
used to compensate for poor recordings and not to permanently compensate for weaknesses elsewhere in the system� So, DALI recommends that the tone controls generally be set to the neutral
position, and you achieve your desired sound image through correct positioning of the speakers�
Ensuring that you keep the volume low enough so the sound remains clear and undistorted will
minimise the strain on both speakers and amplifier�
All DALI loudspeakers are designed with linear impedance to be an optimal amplifier load� The
result is significantly more open and detailed sonic image�
ENGLISH
ENGLISH
12
13
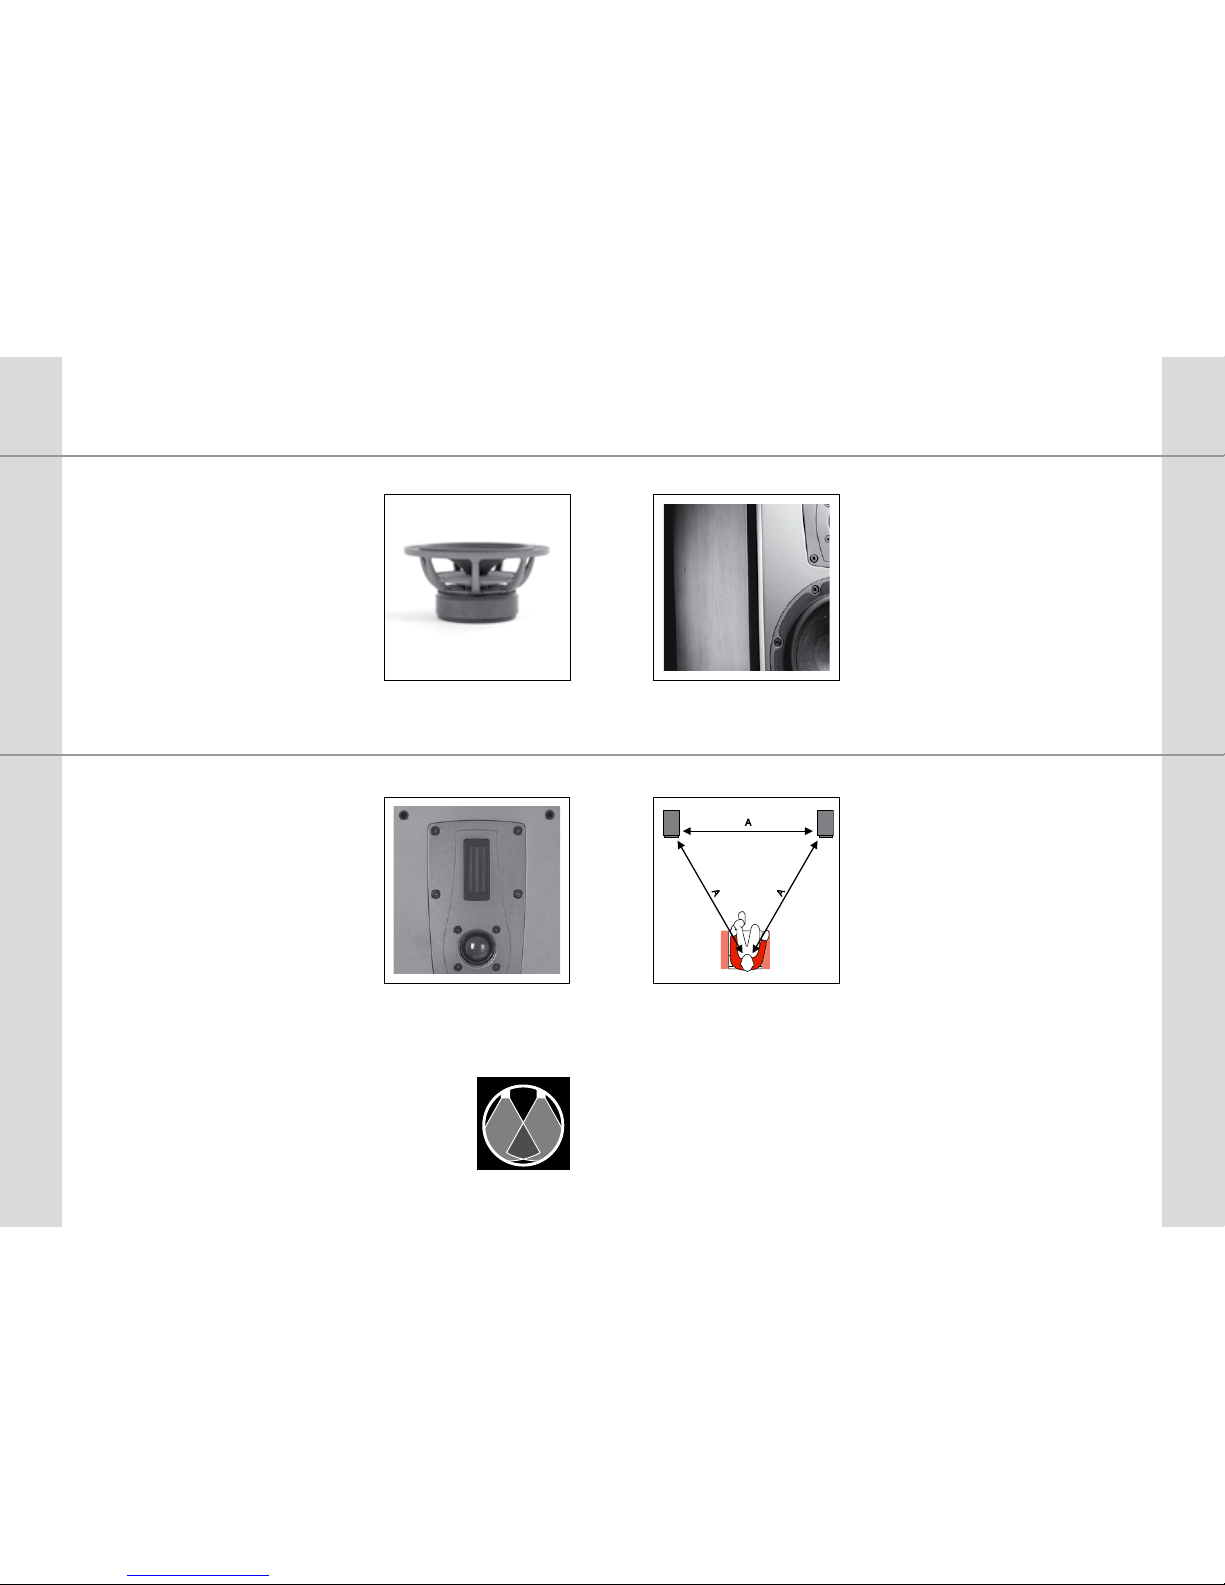
LOW-RESONANCE CABINETS
Specially designed cabinets reduce resonances and coloration of the sound,
achieving a natural, realistic sound�
AMPLIFIER FRIENDLY
DALI’s linear impedance design ensures an audible reduction of amplifier
instability and coloration�
HAND CRAFTED
Hand assembled from the fitting of the cabinet to final electro-acoustic testing,
each and every speaker is personally approved and signed by the person who
assembled it�
WIDE DISPERSION
DALI designs drivers and crossovers to produce wide, even sound dispersion,
resulting in outstanding room integration, a larger sweet spot and a wider
listening area�
TIME COHERENCE
The unique DALI drivers, optimised cabinets and carefully tuned cross-overs
ensure optimal time coherence in the reproduced sound�
3D AUDIO
DALI’s time coherence and low-loss technologies create a transparent, holographic, three-dimensional sounds�
Your DALI loudspeakers incorporate a wide range of technical solutions based on many years of
intensive research and experience� Most of it can’t be seen, but can be heard and enjoyed� These
design principles include:
DALI - MORE THAN MEETS THE EYE
ENGLISH
ENGLISH
TIPS AND ADVICE FROM DALI
DALI loudspeakers should never be angled in towards the listening position, unless the speakers
are very far apart�
Always turn off the amplifier, before connecting or disconnecting any cables�
As a general rule, your amplifier’s tone controls (bass and treble) should remain in a neutral
position�
Use the spikes or rubber feet included with the loudspeakers – they make a significant contribution to sound quality and ensure that your loudspeakers stand firmly�
CLEANING AND MAINTENANCE
Clean the cabinets with a soft, dry cloth� If the cabinets are dirty, wipe with a soft cloth dipped
in all-purpose cleaner and then well wrung out� Be very careful when wiping the speaker cones,
as they are very fragile� Fabric frameworks can be vacuumed and wiped with a well-wrung, lintfree cloth and mild all-purpose cleaner�
DISPOSAL
If you want to d ispose this prod uct, do not mix it w ith general hous ehold waste� Th ere is a separate col lection
system fo r used electro nic products i n accordance wit h legislation tha t requires prope r treatment, rec overy and
recycli ng�
Private ho useholds in the 25 m ember states of th e EU, in Switzerlan d and Norway may re turn their used e lectronic produc ts free of charg e to designated col lection faci lities or to a retail er (if you purcha se a similar new one )�
For countr ies not mentione d above, please co ntact your loc al authorotie s for the correc t method of dispos al�
By doing so y ou will ensure that yo ur disposed pro duct undergo es the necessar y treatment, r ecovery and re cycling and thus p revent potentia l negative eff ects on the envi ronment and human h ealth�
 Loading...