

Page 1
Configuring the DM-100 for Generic Interface page 1 of 2
1.1 Preparation
The DM-100 function must be set to GAS PRICE. The current function of the DM-100 is
displayed during power up. To change the function, cycle power to the DM-100, and press the
SET FUNCTION key when prompted.
Note: The cable used to connect the DM-100 and POS system is supplied by the customer.
1.2 Configuration
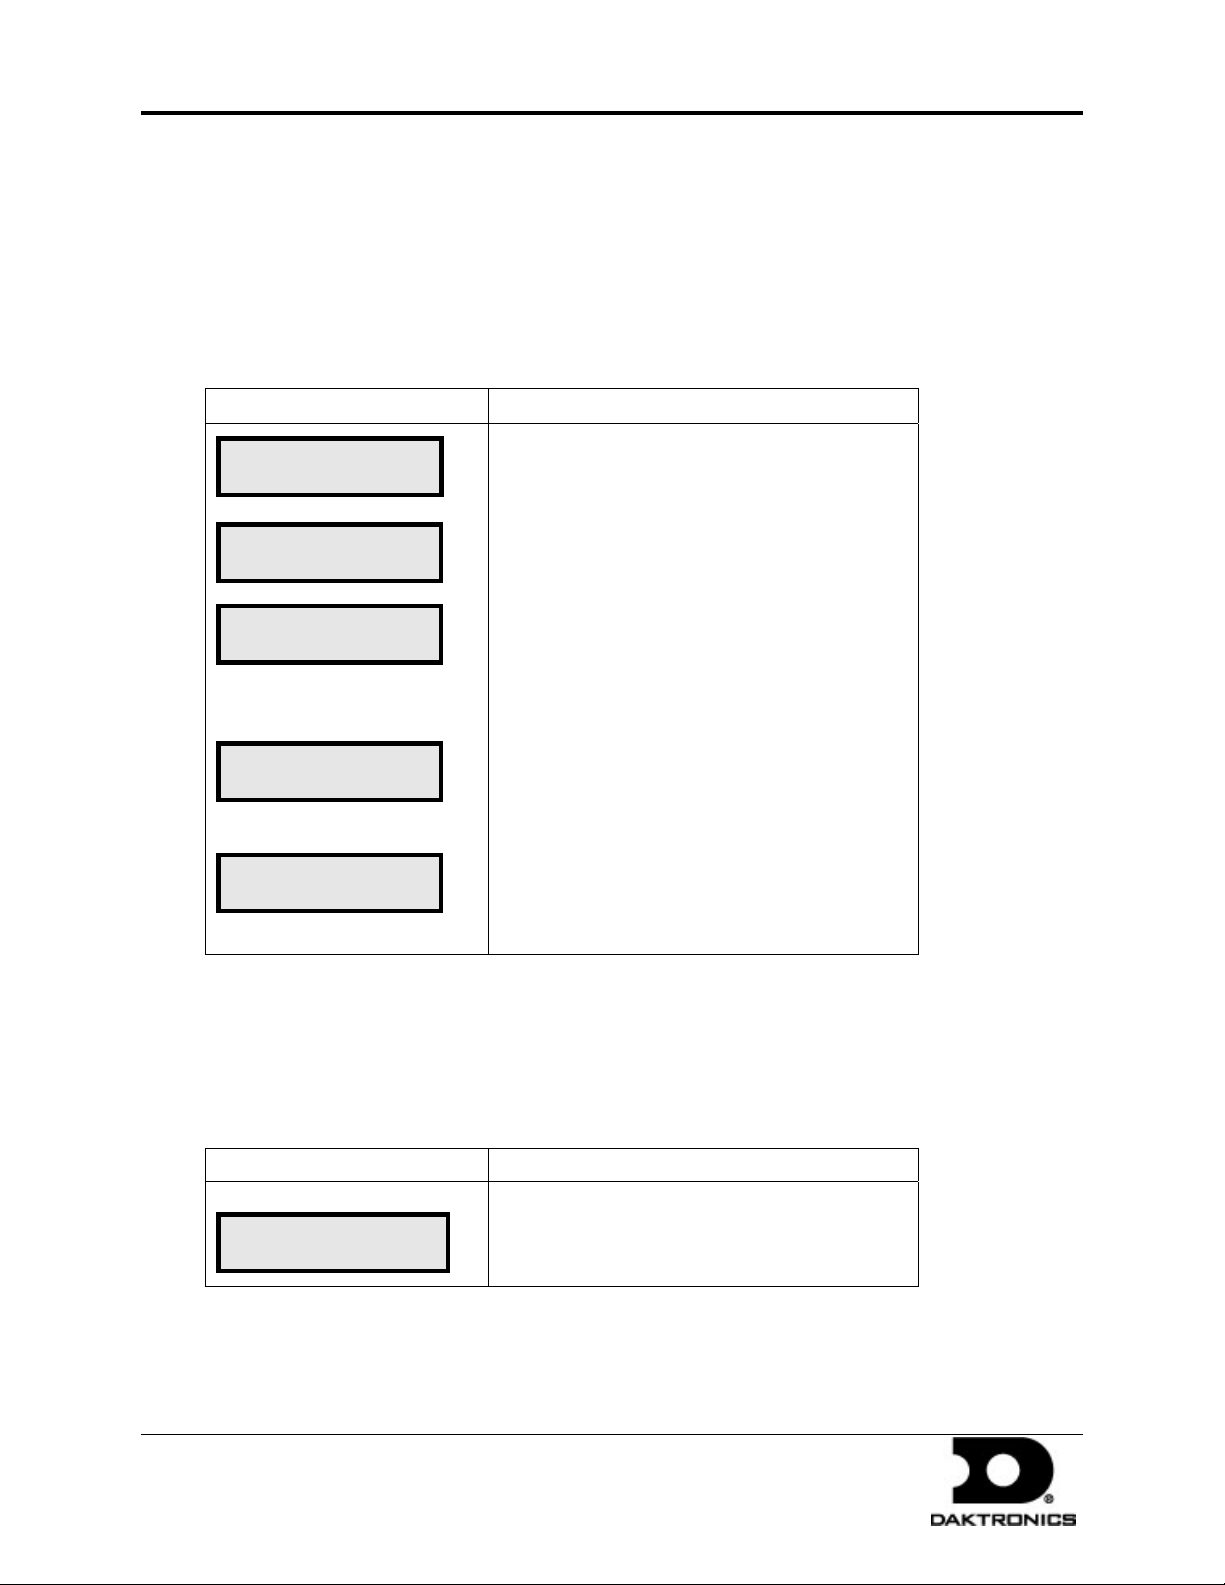
LCD Screen Action
POS SETTINGS
ENT TO MODIFY ↓↑
POS INTERFACE
GENERIC ↓↑
LINE 1
PRODUCT: 0001 *
LINE PRICE
1 ↓ $X.XX 9/10
POS CONTROLLED
1 ↓ $X.XX 9/10
Press the MENU key and use the and keys
to scroll to the POS SETTINGS menu item. Press
ENTER.
Select the POS type by using the
scroll to Generic. Press ENTER.
Each price in Generic is uniquely identified by a
product ID. Use the
grade for the line. (If a line is not used, select
NONE. Press ENTER.
Select a corresponding product ID for each display
line. When this menu is reached, all lines have
been configured. The POS interface configuration
is complete.
Currently configured prices will be shown in the
format shown at left.
and keys to select a
and keys to
1.3 Changing Prices
Each display line for which a price category is configured will automatically update when the
price is changed in the POS system. Attempting to manually edit prices that are configured for
POS control will cause the following screen to appear:
LCD Screen Action
THIS LINE POS
CTRLD. OVERRIDE?
To manually edit the price, press ENTER. To
cancel, press CLEAR. To continue, press ENTER.
1.4 Troubleshooting
Verify communication from DM-100 to sign:
DD1750101 Rev 0
3 February 2010
PO Box 5128 201 Daktronics Drive, Brookings, SD 57006-5128
tel: 866-343-3122 fax: 605-697-4700
www.daktronics.com
Page 2
Configuring the DM-100 for Generic Interface page 2 of 2
• Price input via manual override.
• If price works from DM-100 to sign, then check cable to POS and POS Output.
• If DM-100 price send does not work, check signal connection to sign.
• Use backup base of pole J-box that was supplied with POS kit (radio only).
1.5 Port Monitor Diagnostics
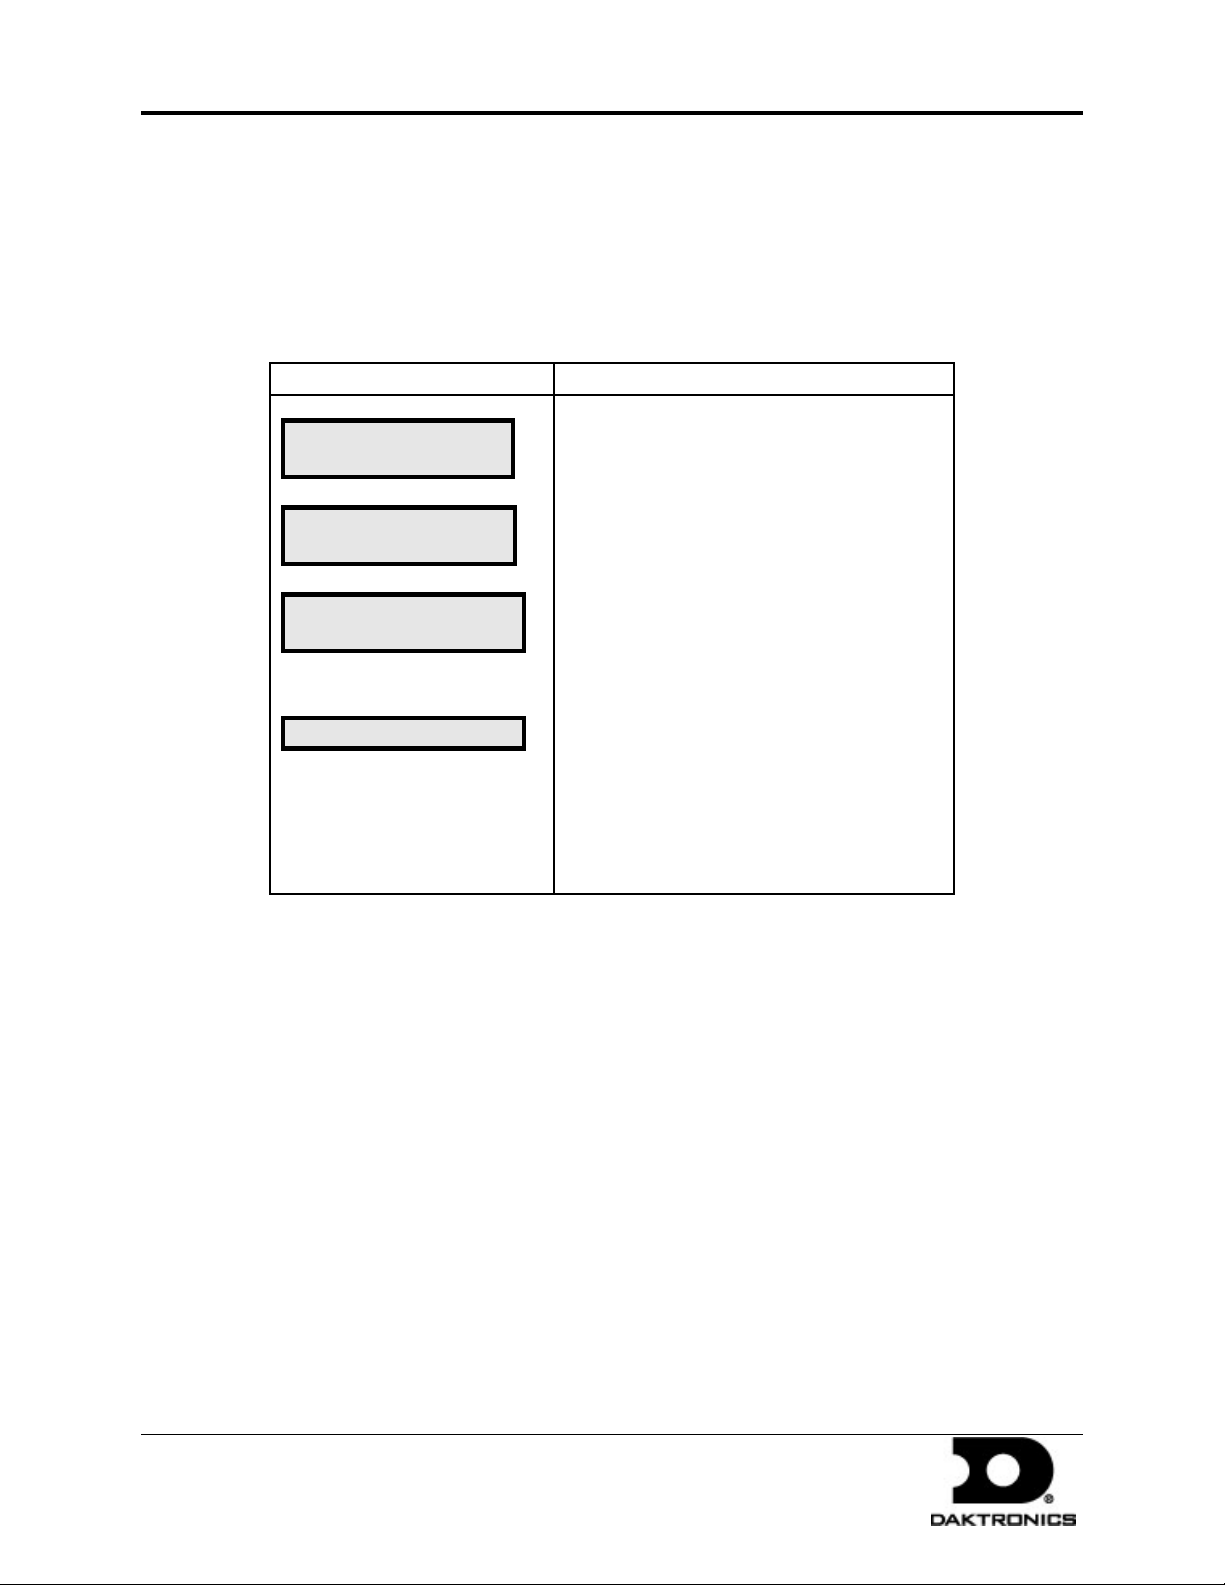
LCD Screen Action
Press the MENU key and use the and
DIAGNOSTICS
ENT TO SELECT
DIAGNOSTICS ↓
POS PORT MONITOR
USE POS DEFAULTS?
1-YES 2-NO
INCOMING DATA…
keys to scroll to the DIAGNOSTICS menu item.
Press ENTER.
If testing a POS connection scroll to POS
PORT MONITOR and press ENTER.
If the POS is using standard baud rates and
parity for the configured vendor, select YES. If
custom settings were entered pick NO and
enter them now.
When Incoming Data… is shown across the
screen, the DM100 is monitoring the link. Any
communications will show up as characters on
the second line. If the data looks incorrect or all
the same character, verify communication
speed settings.
1.6 For More Information
Contact the Daktronics Help Desk at 866-343-3122.
For additional information and assistance, contact Radiant at 87 7- 7 94 - RADS (8 7 7-7 94 -7 2 37).
DD1750101 Rev 0
3 February 2010
PO Box 5128 201 Daktronics Drive, Brookings, SD 57006-5128
tel: 866-343-3122 fax: 605-697-4700
www.daktronics.com
 Loading...