Page 1

D A K O T A U L T R A S O N I C S
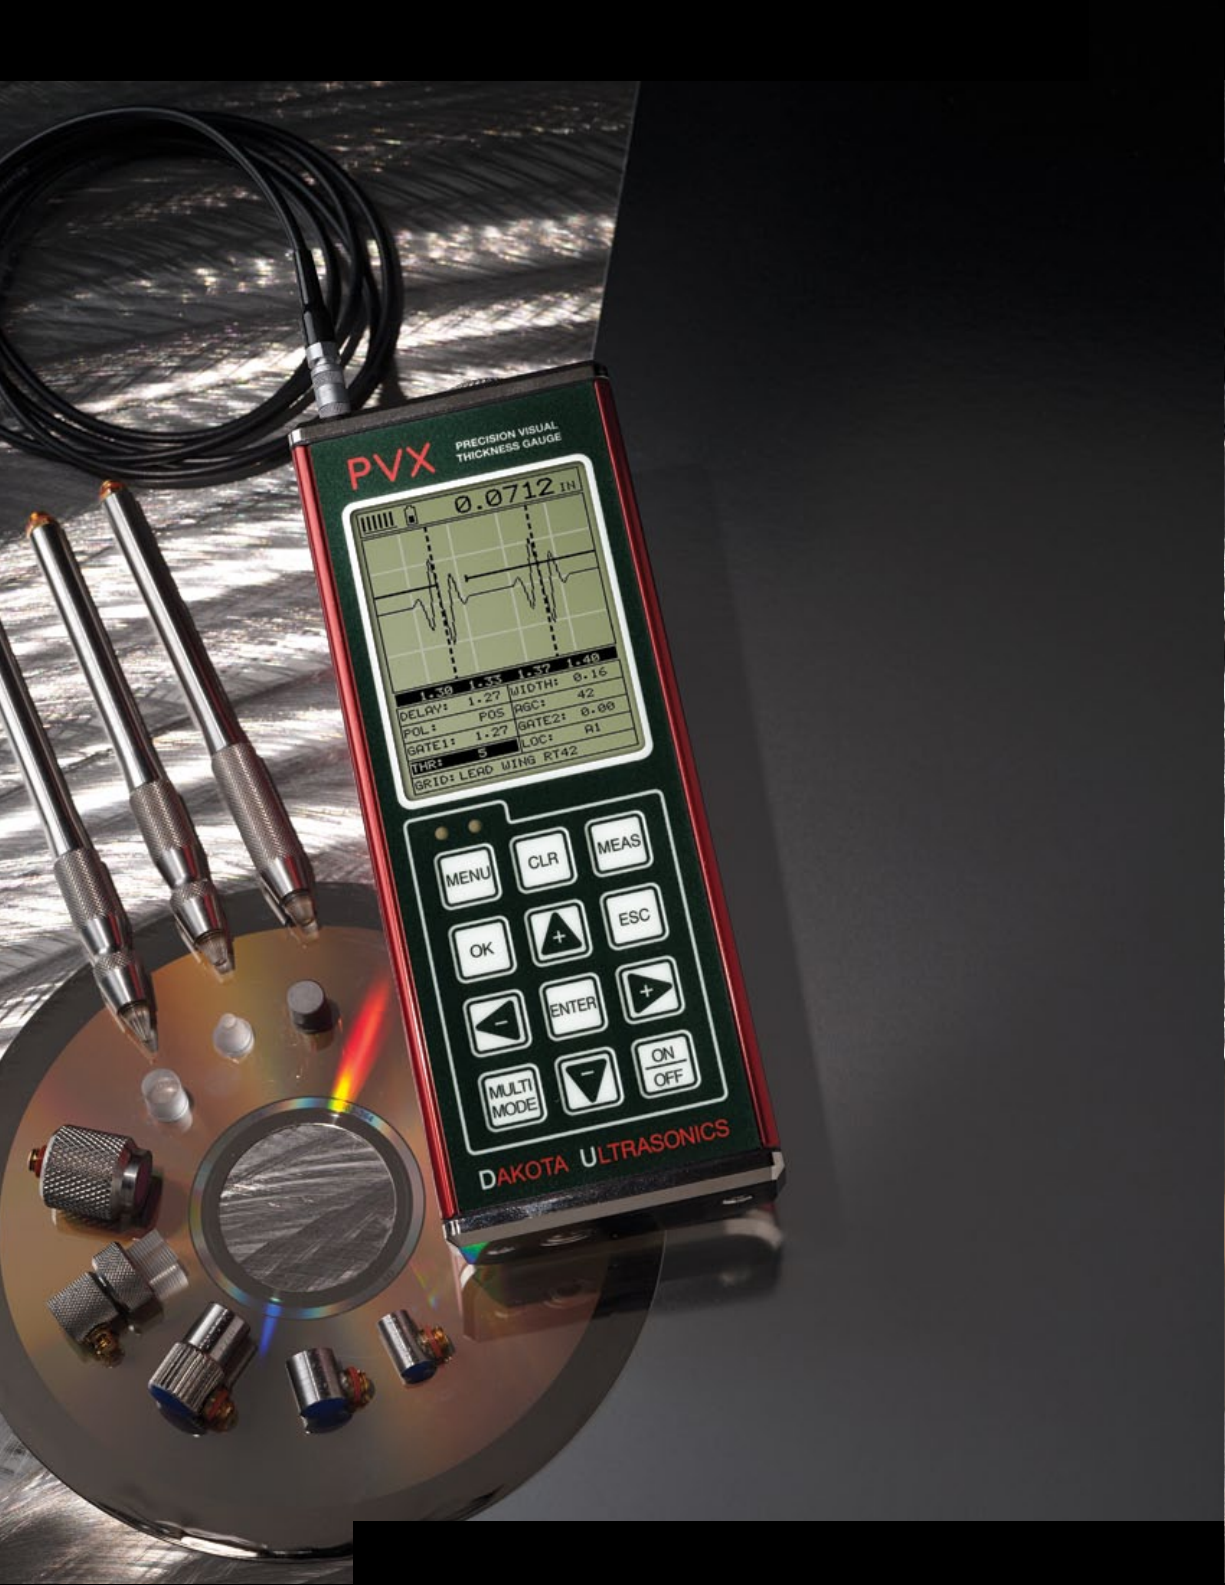
The
The
PVX
PVX
Precision A-Scan Thickness Gauge
Precision A-Scan Thickness Gauge
Highlights:
▶ Adjustable square wave pulser provides the flexibility necessary for
both high resolution and penetration requirements.
▶ Selectable viewing options provide the user with additional flex-
ibility during operation: (RF waveform, +/- Rectified waveform, and
Large Digits with Scan Bar.
▶
Time based B-Scan feature displays a cross section of the test
material. Displays the prole of the opposite surface of the mate-
rial.
▶
Ability to use a variety of single element transducers for spe-
cic applications: Standard Delay Line (acrylic and graphite tips
for metals and thin plastics), Pencil Delay Line (tough access
areas on thin materials), and Contact transducers (variety of
applications).
▶
Hardware AGC gain control for multiple echo and thru-
paint measurement.
▶
Multiple calibration options: One-Point, Two-Point,
or selection from a Material List.
▶
16 factory setups and 48 user-defined setups.
ser-defined setups can be edited for custom applica-
tions.
▶
PVX is equipped with an alpha-numeric data
logger to provide increased versatility for those
custom reporting needs.
▶
The High Speed Scan feature speeds up the
inspection process by taking 32 measurements
per second. Remove transducer from the test
material and display the minimum measure-
ment scanned.
▶
Adjustable resolution settings add to the
PVX’s exibilty.
▶
PVX comes complete with our Windows®
PC software for transferring data to and from
a PC.
▶
Auto Find feature locates the detection
point(s) and adjusts the display settings to
bring the waveform into view.
▶
Visual and audible alarm with Hi and Lo
limit settings for specific application tolerances.
▶ Multiple language support.
▶ 2 year limited warranty.
S O U N D S O L U T I O N S
Page 2

PVX SPECIFICATIONS
Physical
Size:
Width (2.5in/63.5 mm)
Height (6.5 in/165 mm)
Depth (1.24 in/31.5 mm)
Weight:
13.5 ounces (with batteries).
Keyboard:
Membrane switch pad with twelve tactile
keys.
Operating Temperature:
14 to 140F (-10C to 60C)
Case:
Extruded aluminum body with nickel-plated aluminum end caps (gasket sealed).
Data Output:
Bi-directional RS232 serial port. Windows®
PC interface software.
Display(Two Options): 1/8in VGA grayscale
display (240 x 160 pixels). Viewable area 2.4
x 1.8in (62 x 45.7mm). EL backlit (on/o/
auto). 25 Hz screen refresh rate.
Ultrasonic Specications
Measurement Modes:
Pulse-Echo - (General Purpose - uncoated
materials).
Interface-Echo - (Precision - thick materials).
Echo-Echo - (Precision—Thin materials &
thru-paint).
Pulser:
Square wave pulser with adjust- able pulse
width (spike, thin, wide).
Receiver:
Manual or AGC gain control with 40dB
range, depending on mode selected.
Timing:
40 MHz ultra low power 10 bit digitizer.
Warranty
2 year limited.Thickness Gauge
Power Source
Three 1.5V alkaline or 1.2V NiCad AA cells.
Typically operates for 35 hours on alkaline
and 10 hours on NiCad (charger not
included).
Auto power o if idle 5 minutes.
Battery status icon.
Measuring
Range:
Interface-Echo Mode: Steel .050–1.0 inch
(1.27–25.4mm); Plastics from .005 inch
(.127mm).
Echo-Echo Mode: Steel .006–.500 inch
(.152–12.7mm).
Pulse-Echo Contact:
Steel .040–10.0 inch (1–254mm); Plastics
from .010” (.254mm).
Echo-Echo Contact:
Steel thru-paint .100–3.0 inches (2.54–
76.2mm).
Resolution (selectable):
+/- .001 inch (0.01 mm).
+/- .0001 inch (0.001 mm).
Velocity Range:
.0492 to .3936 inches/µs.
1250 to 9999 meters/second.
One and Two Point calibration option, or
selection of basic material types.
Units:
English & Metric
Display
Display Views:
A-Scan - Rectied +/- (half wave view) RF
(full waveform view).
B-Scan - Time based cross section view.
Display speed of 15 secs per screen.
Large Digits - Standard thickness view.
Digit Height: 0.400 inch (10mm).
Scan Bar Thickness - 6 readings per second; Viewable in B-Scan and Large Digit
views.
Repeatability Bar Graph - Bar graph indicates stability of reading.
Memory
12,000 readings and waveforms (alpha
numeric storage).
OBSTRUCT to indicate inaccessible locations.
Memory:
16 megabit non-volatile ram.
Transducer
Transducer Types:
Single Element (1 to 20 MHz).
Locking quick disconnect “00” LEMO connector.
Standard 4 foot cable.
Custom transducers and cable lengths
available.
Features
Setups:
16 factory and 48 custom user-dened
setups.
Gates:
Single gate in contact mode; Single gate
with holdo in inter- face-echo, echo-echo,
and plastics mode; Adjustable threshold.
Multiple Measurement Modes: Selectable
modes for use with a variety of applications.
Alarm Mode:
Set Hi and Lo tolerances with audible
beeper and visual LEDs.
Fast Scan Mode:
Takes 32 readings per second and displays
the minimum reading found when the
transducer is removed. Display continuously updates while scanning.
Connections
Output: RS232 serial interface. PC software
& USB converter cable included.
Transducer Connectors: Two LEMO 00
connectors.
Certication
Factory calibration traceable to NIST & MILSTD-45662A.
Distributed by:
MADE IN THE USA
DAKOTA ULTRASONICS
1500 Green Hills Road, #107
Scotts Valley, CA 95066
Ph: (831) 431-9722
Fax: (831) 431-9723
Website: www.dakotaultrasonics.com
Email: info@dakotaultrasonics.com
 Loading...