

Dakota Digital VHX-53C Instrument Installation
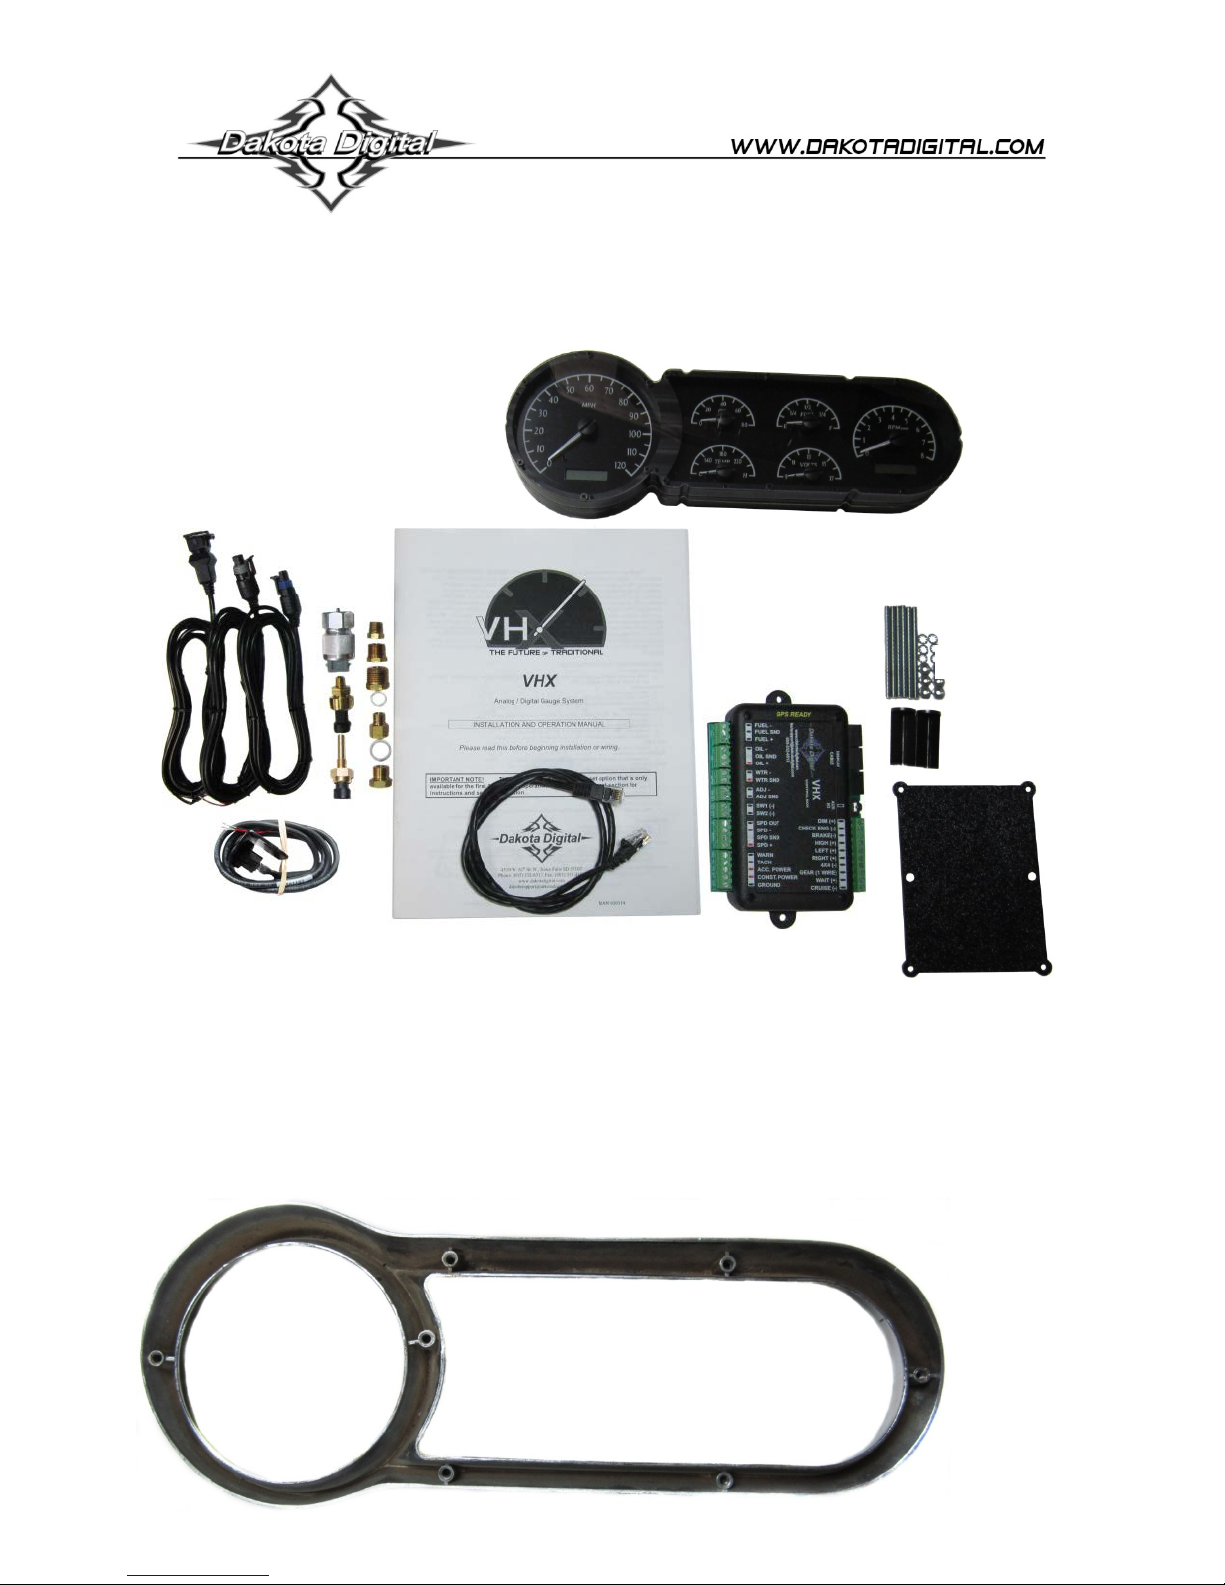
Control Box
(6) 10-24 x 3” Studs
CAT5 Cable
Universal Sender
Pack
Installation Manuals
VHX Display
1. Remove the stock bezel, gauges, and the trim between the gauges from the dash. Also remove all
the studs so you have a bare bezel. The only item to be reused is the original front bezel.
ABS Back plate
(2) Mounting
Switch Assembly
Your new VHX-53C kit includes:
VHX-53C
Dakota Digital VHX Instrument Installation
For 1953-54 Chevy Car
Installation
and Hex Nuts
Brackets
Manual # 650408B
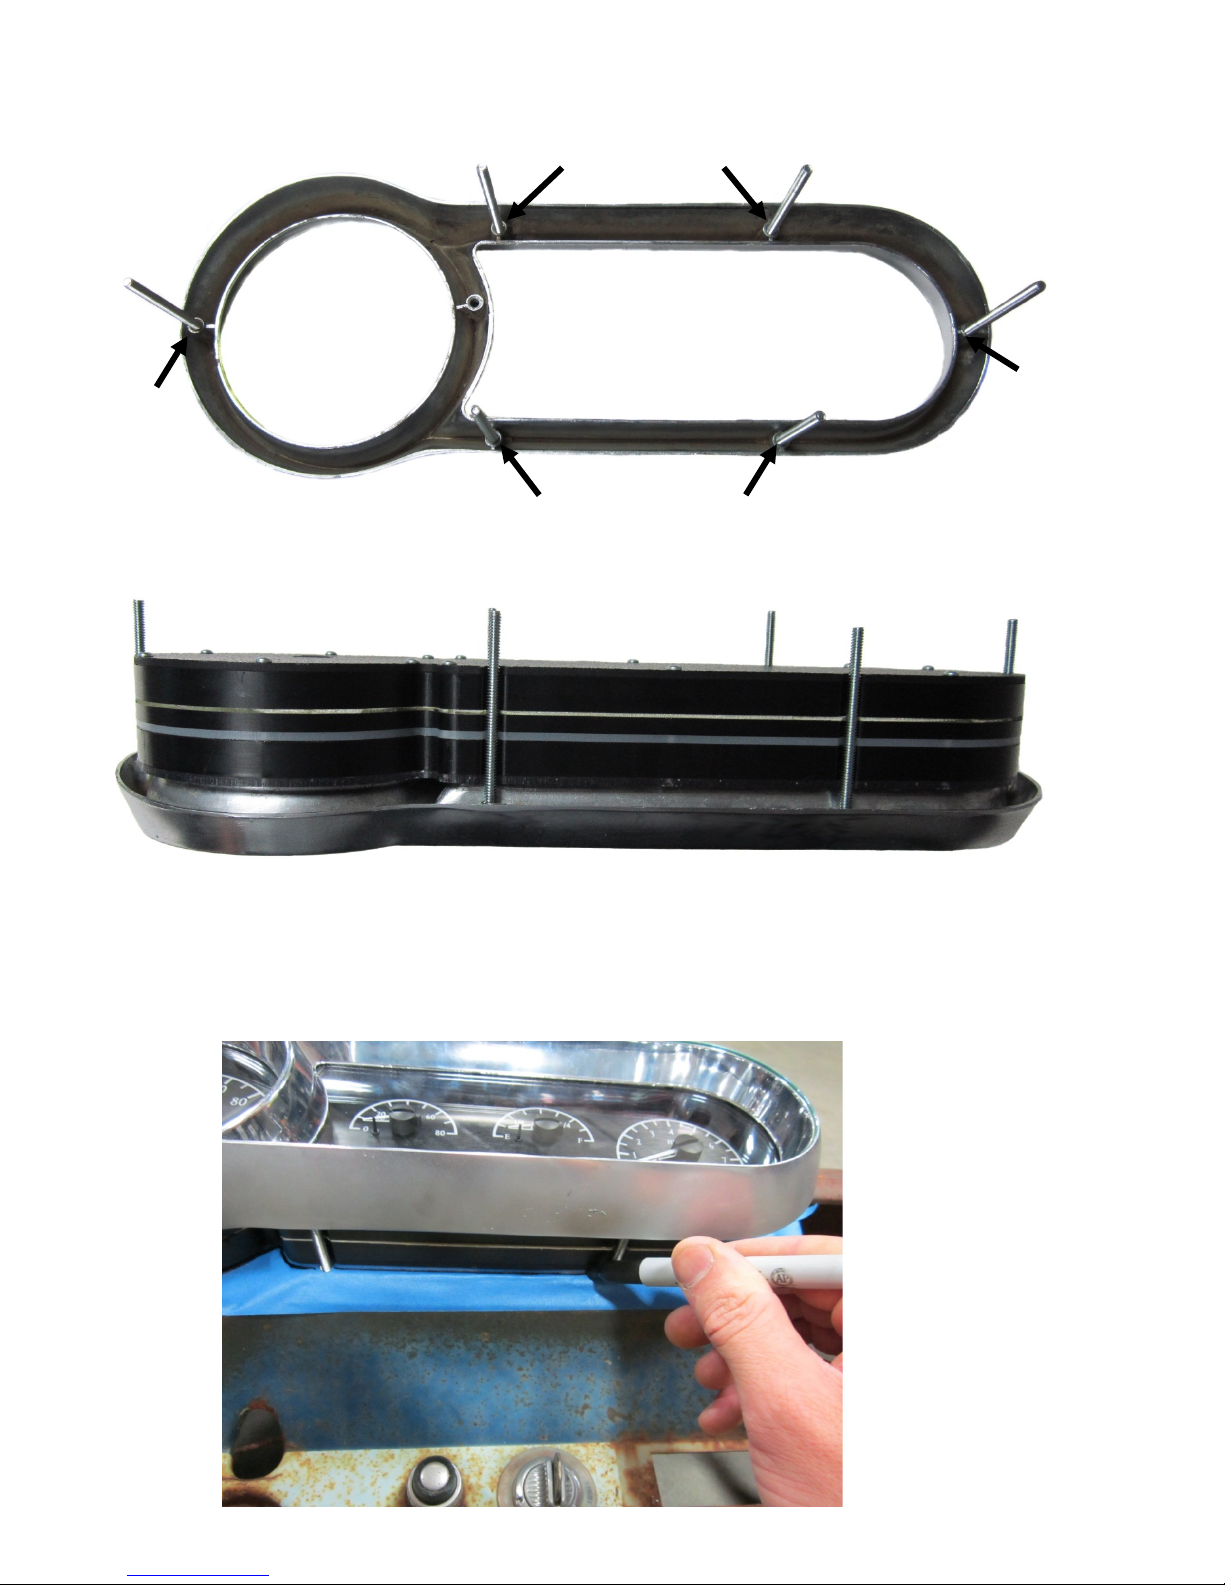
2. Insert the six (6) supplied studs in the holes shown below. Thread them in until they stop; tighten
with pliers, taking care not to damage the end of the threads or twist them off.
3. Place the VHX display in the original bezel, using care to not scratch the lens.
4. Lay masking tape across the entire gauge location to mark the cut line using the VHX
gauge cluster as a template. Use the studs to align the VHX unit; be sure all six studs
are in their respective holes in the dash.
Manual # 650408B
 Loading...