

Page 1

Instruction Manual
Colour Television
DTY-25G1
DTY-29G1
Page 2
Important Safeguards
1
For your protection, please read these safety instructions completely before operating the appliance, and
keep this manual for future reference.
Carefully observe all warnings, precautions, and instructions on the appliance, or the one described in the
operating instructions and adhere to them.
USE
INSTALLATION
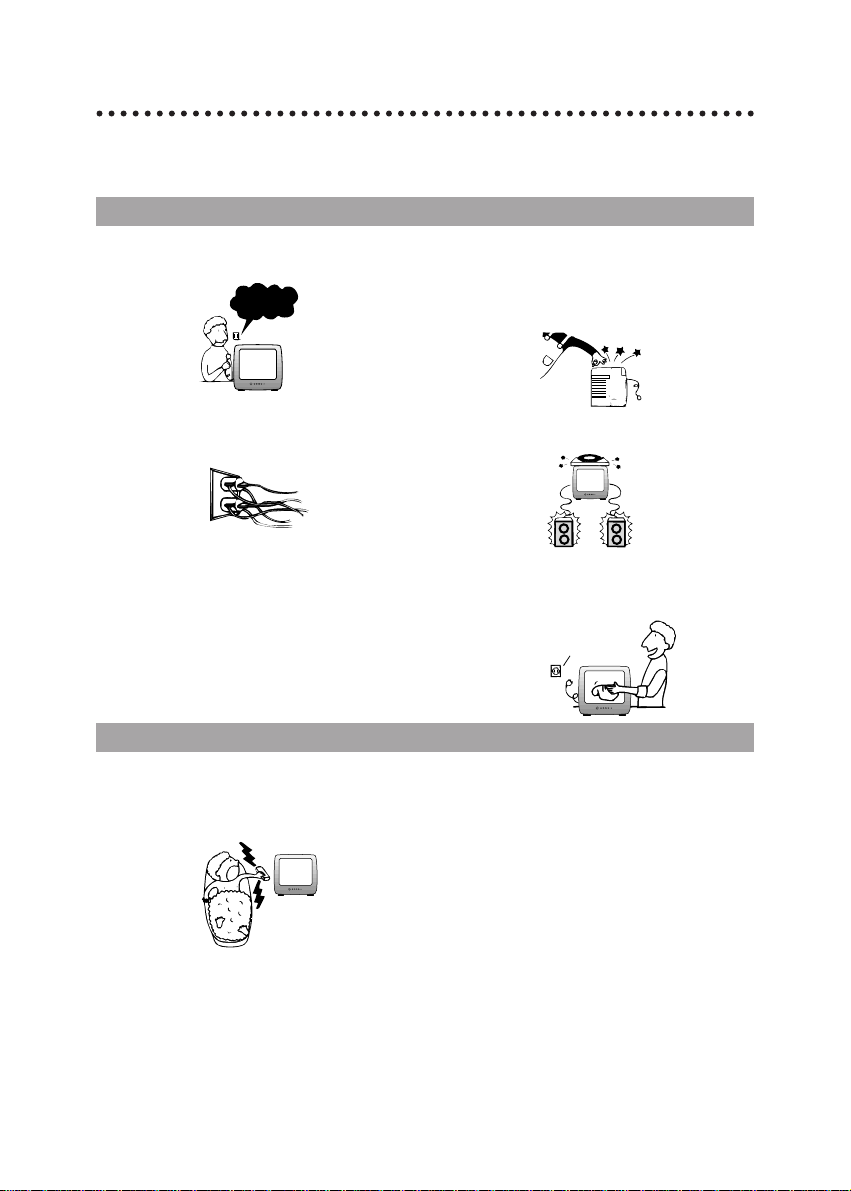
Power Sources - This set should be operated only
from the type of power source indicated on the
marking label.
Overloading - Do not overload wall outlets, extension cords or convenience receptacles beyond their
capacity, since this can result in fire or electric
shock.
Alternate Warning - For the set with a three-wire
grounding type AC plug.
This plug will only fit into a grounding type power
outlet. This is a safety feature. lf you are unable to
insert the plug into the outlet contact your electrician
to have a suitable outlet installed. Do not defeat the
safety purpose of the grounding plug.
Object and Liquid Entry - Never push objects of
any kinds into the set through openings as they may
touch dangerous voltage points or short-out parts
that could result in a fire or electric shock. Never spill
liquid of any kind on the set
Attachments - Do not use attachments not recommended by the manufacturer, as they may cause
hazards.
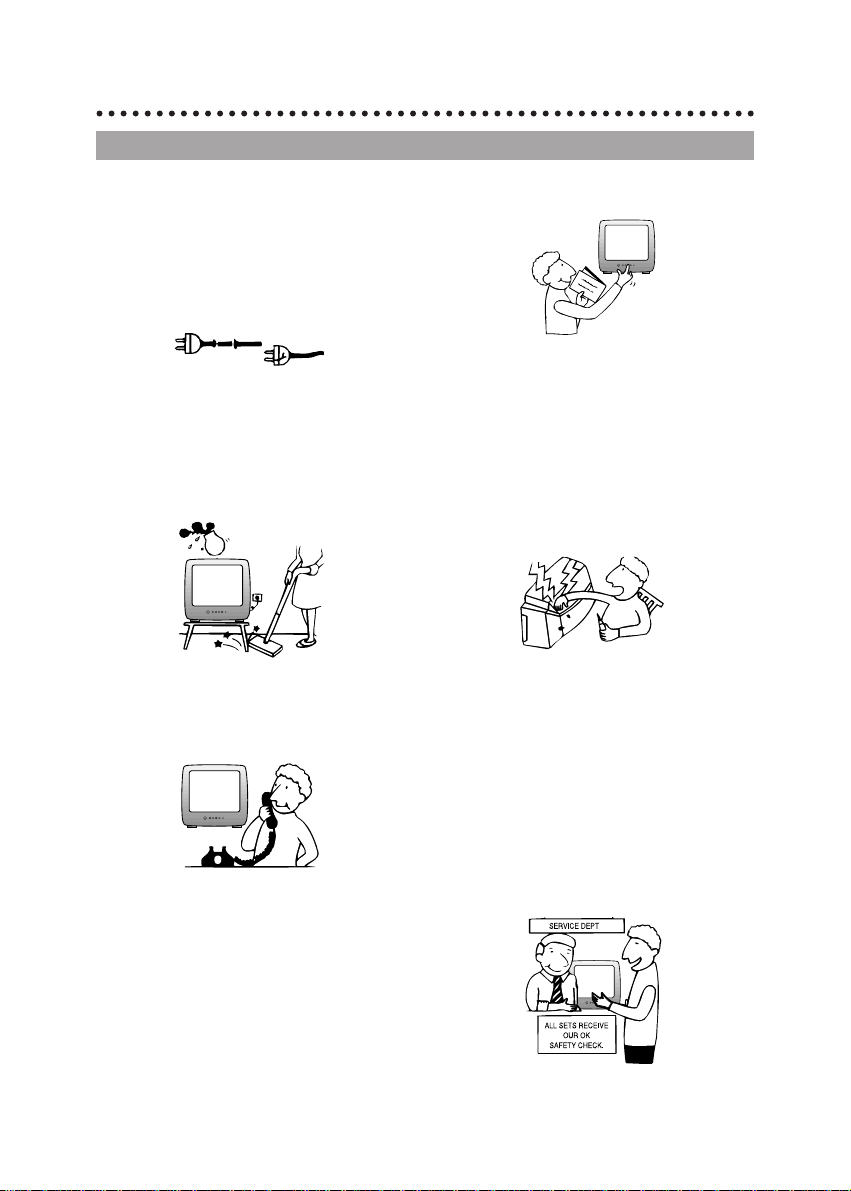
Cleaning - Unplug the set from the wall outlet before
cleaning it. Do not use liquid cleaners or aerosol
cleaners. Use a cloth lightly dampened with water
for cleaning the exterior of the set.
Voltage?
UNPLUG
Water and Moisture - Do not use power-line operated sets near water for example, near a bathtub,
washbowl, kitchen sink, or laundry tub, in a wet
basement, or near a swimming pool.
lf you pour a cold liquid into a glass, water vapor in
the air will condense on the surface of the glass.
This is moisture condensation. Moisture condensation on the head drum, one of the most crucial
parts of the Video recorder, will cause damage to
the tape. Whenever the Video recorder is exposed
to extreme cold and heat at the time, some conden-
sation will occur. When moisture is present, turn the
power switch on, and allow at least 2 hours for the
Video recorder to dry out.
Accessories - Do not place the set on an unstable
cart, stand, tripod, bracket, or table. The set may fall,
causing serious injury to a child or an adult, and serious damage to the set. Use only a cart stand tripod,
bracket, or table recommended by the manufacturer.
Ventilation - These slots and openings in the cabinet are provided for necessary ventilation. To ensure
reliable operation of the set, and to protect if from
overheating, these slots and openings must not be
blocked or covered.
Page 3
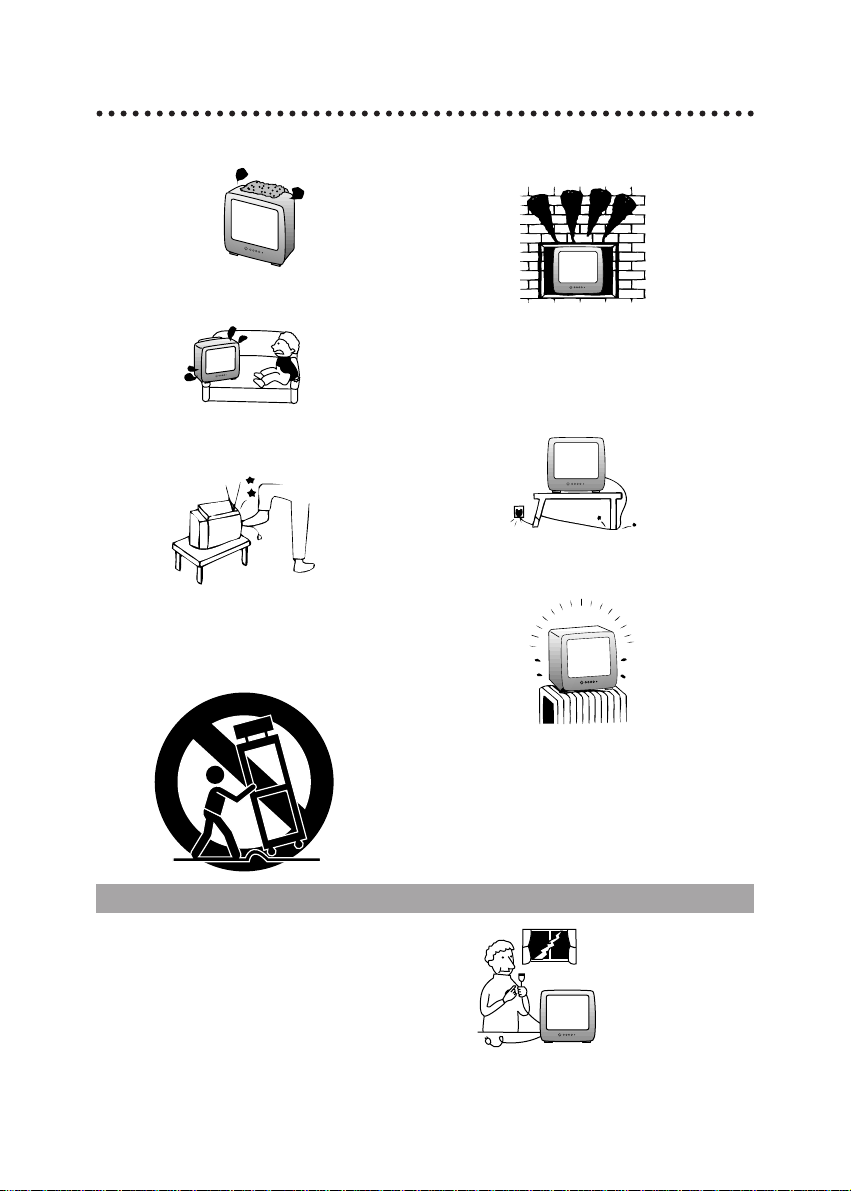
- Never cover the slots and openings with a cloth
or other materials.
- Never block the slots and openings by placing
the set on a bed, sofa, rug or other similar surface.
- Do not allow anything to rest on the power cord.
Do not locate this television equipment where
the cord will be abused by persons walking on
it.
Portable Cart warning - An appliance and cart
combination should be moved with care. Quick
stops, excessive force, and uneven surfaces may
cause the appliance and cart combination to
overturn.
2
- Never place the set in a confined space such as a
bookcase, or built-in cabinet, unless proper ven-tilation is provided.
Power-Cord Protection - Route the power cord so
that it is not likely to be walked on or pinched by items
placed upon or against them, paying particular attention to the plugs, receptacles, and the point where the
cord exits from the appliance.
- Do not place the set near, over a radiator or heat register, or where it is exposed to direct sunlight.
Lightning-For protection for this set during a lightning storm, or when it is left unattended and
unused for long periods of time, unplug it from
the wall outlet. This will prevent damage to the
set due to lightning and power-line surges.
POWERLINE EXPOSURE
Page 4
3
Damage Requiring Service - Unplug the set
from the wall outlet and refer servicing to qualified service personnel under the following conditions:
- When the power cord or plug is damaged or
frayed.
- lf liquid has been spilled or objects have
fallen into the set.
- lf the set has been subject to excessive shock
by being dropped, or the cabinet has been damaged.
- lf the set does not operate normally when fol-
lowing the operating instructions. Adjust only
those controls that are specified in the operating
instructions. lmproper adjustment of other controls may result in damage and will often require
extensive work by a qualified technician to
restore the set to normal operation.
- When the set exhibits a distinct change in
performance-this indicates a need for
service.
Servicing - Do not attempt to service the set
yourself as opening or removing covers may
expose you to dangerous voltage or other hazards.
Refer all servicing to qualified service personnel.
Replacement parts - When replacement parts
are required, be sure the service technician has
used replacement parts specified by the manufacturer that have the same characteristics as the
original parts. Unauthorized substitutions may
result in fire, electric shock, or other hazards.
Safety Check - Upon completion of any service
or repairs to the set, ask the service technician to
perform routine safety checks (as specified by
the manufacturer) to determine that the set is in
safe operating condition.
FRAYED OR CUT
-AC LINE
CRACKED PLUG.
SERVICE
Page 5

CONTENTS
* Important safeguards 1
* Identity of features on Local and Remote Control 5
* Installation 6
After moving the set 6
Inserting Batteries into the Remote Control Unit 6
Aerial connection 6
Mains connection 7
Switching the set on and off 7
Tuning the TV Channels 8
Edit 8
Manual Channel Setting 9
* Daily use 10
Selecting a Programme Number 10
Volume, Picture and Sound control 10
Timer 11
Sleep 11
Recall 11
Child Lock 12
Time 12
Mode 12
* Teletext 13
* Connecting the External Equipment 15
* Troubleshooting 16
* Specification 17
4
Page 6
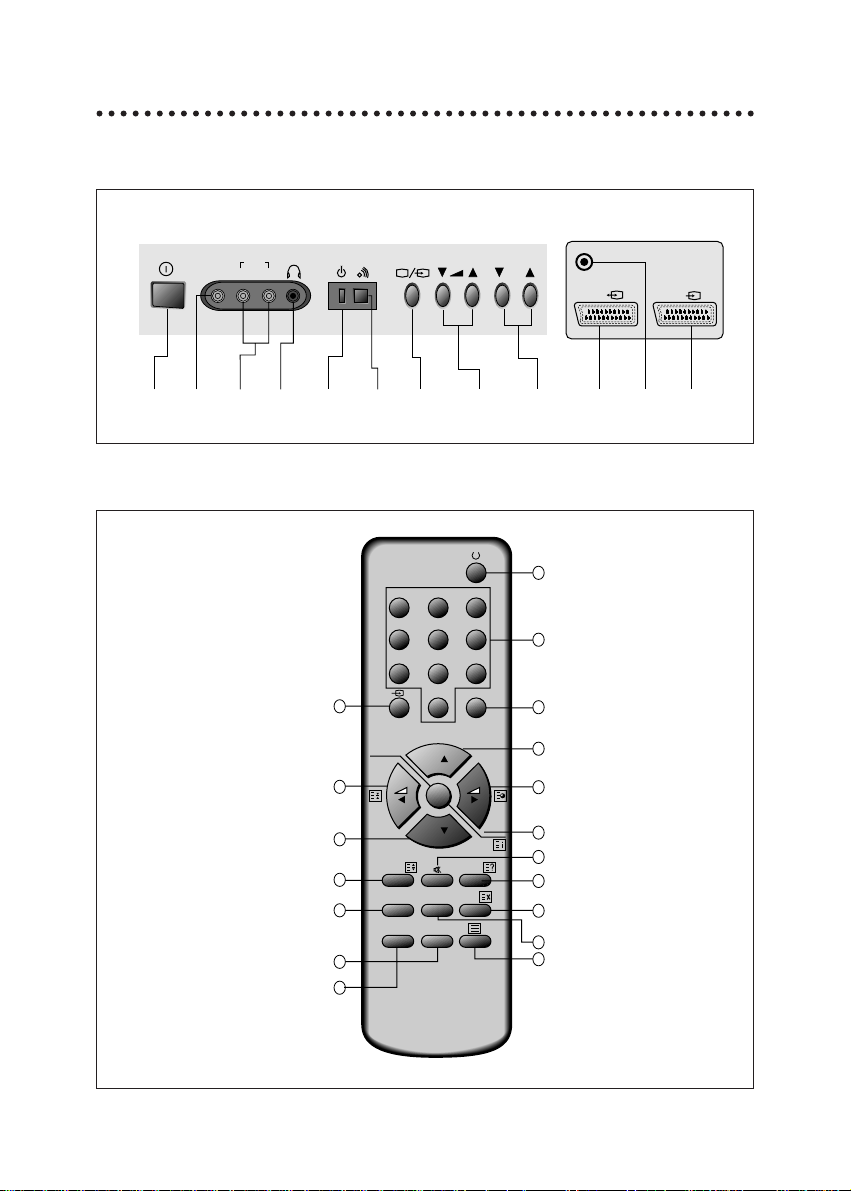
IDENTITY OF FEATURES ON LOCAL AND REMOTE CONTROL
5
LOCAL CONTROL
REMOTE CONTROL
PR
AV1 AV2
VIDEO
AUDIO
L R
Front
MAIN
POWER
BUTTON
VIDEO
INPUT
HEAD
PHONE
STAND-BY
INDICATOR
REMOTE
SENSOR
AV
BUTTON
VOLUME
DOWN/UP
BUTTONS
PROGRAMME
DOWN/UP
BUTTONS
SCART
SOCKET1
SCART
SOCKET2
AERIAL
TERMINAL
Back
AUDIO
INPUT
TELETEXT mode
1
POWER
2
NUMBER 0-9
3
MENU
4
Not Used
5
PAGE UP
6
SUBPAGE
7
INDEX
8
PAGE DOWN
9
HOLD
A
MUTE
B
REVEAL
C
SIZE
D
CANCEL
E
G (VOLUME UP)
F
R (VOLUME DOWN)
G
TV
H
C (BRIGHT UP)
I
Y (BRIGHT DOWN)
TV mode
1
POWER
2
NUMBER 0-9
3
MENU
4
AV
5
PR (CURSOR)UP
6
VOLUME UP (CURSOR RIGHT)
7
OK(NORMAL)
8
PR(CURSOR) DOWN
9
VOLUME DOWN(CURSOR LEFT)
A
MUTE
B
RECALL
C
SLEEP
D
SKIP
E
MOVE
F
DELETE
G
TELETEXT
H
Audio MODE
I
TIME
1
4
NORMAL
9
8
12
15
17
18
123
456
7809
MENU
PR
OK
PR
SLEEP RECALL
SKIPMOVEDEL
TIME MODE
2
3
5
6
7
10
11
13
14
16
Page 7

INSTALLATION
If the used set is moved or placed in a different direction, the
MAIN POWER button must be switched off for at least 15 minutes in order to take out a colour strain on the screen.
6
AFTER MOVING THE SET
Press down the battery compartment grip and slide the cover,
Insert the batteries supplied(two 1.5v, type AA).
Make sure that the polarity matches with the (+) and (-) marks
inside of the battery compartment.
Used batteries should be disposed of properly.
INSERTING BATTERIES INTO THE REMOTE CONTROL UNIT
For better picture and sound quality, an effective aerial installation is the most important.
If you are located in a relatively strong area, you will be able to
use the indoor aerial.
When using an outdoor aerial, it is usually connected to the set
by means of 75 ohm coaxial cable.
AERIAL CONNECTION
- The appliance is not intended for use by young children
or infirm persons without supervision;
- Young children should be supervised to ensure that
they do not play with the appliance.
Page 8

7
Plug the mains cable into the power socket with 240V~, 50Hz.
MAINS CONNECTION
Switching On
Switch the set on with the MAIN POWER button, ( ). The set will turn on.
If not, press either : - PR UP or DOWN button on the front of set - or POWER button or the
UP/DOWN buttons or one of the NUMBER buttons 0..9 on the remote controller.
The STAND-BY INDICATOR will turn off and a picture will appear on the screen.
Switching off
Press POWER button ( ) on the remote controller to return the set to its stand-by mode.
The STAND-BY INDICATOR will illuminate.
If you don't use the set for extended period of time, turn it off with MAIN POWER button .
SWITCHING THE SET ON AND OFF
Warning: This television has been factory pretuned to channels 2, 7, 9, 10 and 28. If
the auto search function is activated, these preset channels will be deleted
and new channels tuned to 1, 2, 3 etc..
Page 9

MAIN MENU
Press the MENU button to call up the MAIN MENU.
The MAIN MENU is consist of 6 sub-menus:
PICTURE, SOUND, TIMER, LANGUAGE, PRESET, EDIT
menu.
LANGUAGE SELECTION
Select a LANGUAGE menu at the MAIN MENU by placing the
cursor on the LANGUAGE with UP/DOWN buttons and pressing the OK button. You can choose language you require with
UP/DOWN buttons.
Press the MENU button to return to the MAIN MENU.
AUTOMATIC TUNING SYSTEM
Select the PRESET menu at the MAIN MENU.
Place the cursor to " " with the RIGHT button.
Press and hold down OK button until the tuning screen
appears above the PRESET menu.
The cursor will move from left to right on the VHF-L line, then
VHF-H, then UHF.
Please wait until EDIT MENU appears.
TUNING THE TV CHANNELS
The EDIT menu shows you the programme position assignment.
You can change this programme position assignment according to your personal preferences.
SKIPPING THE CHANNELS
You can select SKIP "YES" or "NO" with the SKIP button.
A programme marked with SKIP "YES" is skipped when
changing channel using the UP/DOWN buttons. A skipped
programme number selected by NUMBER buttons 0..9 will be
displayed in red.
DELETE PROGRAMME POSITION DATA
Position the cursor to programme number to delete with the
UP/DOWN, LEFT/RIGHT buttons.
Press the DEL button. While this is being carried out the
"DELETE" Prog. No." appears and the "deleted" programme is
moved to the programme No. 69 and changed SKIP "YES".
The programme located in the programme No. 69 will move to
the programme No. 68.
CHANGING THE ORDER OF THE CHANNELS
Position the cursor to programme number to move and press
the MOVE button. The "MOVE Prog. No." will appear.
Position the cursor to programme number to exchange and
press the MOVE button. Two programmes will be exchanged.
ENTER A STATION NAME, CHANGING THE PROGRAMME
NUMBER AND COPYING A PROGRAMME
You can go to the PRESET menu directly for entering a station
name and changing the programme number and copying a
programme to another programme No. by pressing the OK
button.
Refer to the MANUAL CHANNEL SETTING.
EDIT
MAIN MENU
LANGUAGE
PICTURE
SOUND
TIMER
LANGUAGE
PRESET
EDIT
00 - - - - NO
01 - - - - NO
02 - - - - NO
03 - - - - NO
04 - - - - NO
P SKIP P SKIP
05 - - - - NO
06 - - - - YES
07 - - - - NO
08 - - - - NO
09 - - - - NO
AUTO SEARCH UHF >>
EDIT
00 - - - - NO
01 - - - - NO
02 - - - - NO
03 - - - - NO
04 - - - - NO
P SKIP
DELETE 01
P SKIP
05 - - - - NO
06 - - - - NO
07 - - - - NO
08 - - - - NO
09 - - - - NO
EDIT
00 ARD NO
01 ZDF NO
02 BR3 NO
03 SAT1 NO
04 PR07 NO
P SKIP
MOVE 06
P SKIP
05 RTL2 NO
06 - - - - NO
07 - - - - NO
08 - - - - NO
09 - - - - NO
EDIT
ENGLISH
FRANCAIS
DEUTSCH
ITALIANO
ESPA„OL
PRESET
P01 P
PRESET
P01 P
8
Page 10

You can also call up the PRESET menu at the MAIN MENU.
Press the NUMBER buttons 0..9 or UP/DOWN buttons to
select a programme number you want.
The screen will change according to the selected programme
number.
SEARCHING A CHANNELS
Locate a cursor to “ ” with LEFT/RIGHT buttons and then
press the UP or DOWN button.
The tuning screen will appear and the cursor will move from
left to right or right to left.
Pressing and holding down the UP/DOWN buttons during 2
seconds, the band will change as follows:
VL-VH-U (For GB, U only).
After searching a station, the tuning screen will disappear.
To stop searching, press the MENU button.
FINE TUNING
If you are unable to get a good picture or sound because of a
poor broadcasting signal, it is possible to adjust the fine tuning.
Move the cursor to and press UP or DOWN button to
activate fine tuning up or down.
It only operates while the UP or DOWN button is being
pressed.
ENTER A STATION NAME
Select station name in the station name list with UP/DOWN
buttons and press OK button.
If you want to delete a station name, select "----".
If you can't find the desired name in the list, you can enter your
own.
To do so, move the cursor to the right and press OK button.
Using the UP/DOWN buttons, select the desired letter, number
or blank.
Press the RIGHT button to select the next position.
Press the OK button to complete this procedure.
TO STORE PROGRAMME IN MEMORY
Move the cursor to the right end with the LEFT/RIGHT buttons.
Select the programme number that you want to store current
displaying programme with station name, fine tuning data
using the UP/DOWN buttons or NUMBERS 0..9.
Press the OK button.
MANUAL CHANNEL SETTING
PRESET
P01 P
SEARCH UHF >>
PRESET
P01 P
FINE TUNE UHF >
PRESET
P01 P
PRESET
P01 BBC1 P
PRESET
P01 BBC1 P02
- - - DRFS
BBC1
BBC2
ITU
CH4
9
Page 11

DAILY USE
The set has a total of 70 programme numbers, 0..69.
The NUMBER buttons 0..9 are used for direct programme selection.
In order to select two-digit programm, press the second numbered
button within two seconds.
Switch through the programme number step by step with the
UP/DOWN buttons.
SELECTING A PROGRAMME NUMBER
VOLUME CONTROL
Adjust the volume with the VOLUME ( ) DOWN/UP buttons
on the front of the set, or with the LEFT/RIGHT buttons on the
remote control.
MUTE
Pressing the MUTE button ( ) once turns the sound off.
The sound returns if the button is pressed once more or the pro-
gramme No. is changed.
NORMAL PICTURE SELECTION
When you press the NORMAL button repeatedly you can call up
three picture settings:
for NORMAL I(hard picture), NORMAL II(soft picture), FAVORITE
(adjustable picture).
PICTURE CONTROL
Press the MENU button to call up the MAIN MENU.
Press the OK button to call up the PICTURE MENU.
You can select each function with the UP/DOWN buttons.
Use the LEFT/RIGHT buttons adjust each function:
BRIGHTNESS( )-CONTRAST( )-COLOUR( )
-SHARPNESS( )-TINT( ).
* The TINT is active only in NTSC system.
The last set value is automatically stored in FAVORITE mode.
Note that if you set the brightness and contrast values too low,
the On-Screen-Display become dark.
SOUND CONTROL
Press the MENU button to call up the MAIN MENU.
Press the OK button on the SOUND line.
Select the required function by moving the cursor with the DOWN
or UP buttons.
Use the LEFT or RIGHT button to adjust the level of each function.
1. BASS
Used to increase or decrease the bass of sound.
2. TREBLE
Used to increase or decrease the treble of sound.
3. BALANCE
Adjust the balance for the best stereo effect for your room conditions.
4. PSEUDO
Used to obtain a pseudo stereo effect with mono transmissions.
VOLUME, PICTURE AND SOUND CONTROL
SOUND
16
16
00
31
63
31
31
00
PICTURE
10
Page 12

TIMER
CLOCK 12:20
WAKE UP TIME --:-ACTIVATE YES
WAKE UP PROG. P 45
TIMER
CLOCK 12:20
WAKE UP TIME 17:00
ACTIVATE YES
WAKE UP PROG. P 45
In the MAIN MENU, Select TIMER menu.
SETTING THE CLOCK
Press the OK button on the CLOCK line.
Set the hours and minutes with the NUMBER buttons 0..9 Press
the OK button to complete. The clock will start.
Note that if you turn the TV off with MAIN POWER button, the
clock setting is lost and must be reset if necessary.
SETTING THE WAKE UP TIME
Set WAKE UP TIME in a same way to the above for CLOCK.
Set ACTIVATE "YES" or "NO" with the LEFT/RIGHT buttons.
When ACTIVATE is "YES", the function is enabled.
Set WAKE UP PROG using the NUMBER buttons 0..9 or
UP/DOWN buttons.
When WAKE UP TIME operates, the set will switch on to this
programme number.
TIMER
By pressing the SLEEP button repeatedly, you can select one
of the following setting:
0->30min. ->60min. ->90min. ->120min. ->0
After SLEEP time is set, the remaining time become “0”, and
then the TV receiver is turned off automatically.
Automatic Switch-Off in No broadcast Signal
If a broadcasting signal is not present for about 5-30 minutes,
the set will be automatically turned off.
In AV mode, however, this function dose not operate.
SLEEP
The RECALL button is used to display the current status: programme number, station name and clock.
This display appear for 5 seconds unless any button is
pressed.
RECALL
11
Page 13

12
The MODE button is used to change the sound mode. During
a stereo transmission, pression the button will change from
stereo to mono.
Pressing this button again will change it back to stereo.
During a bilingual programme transmission, pressing the
MODE button will change the language to the sound channel.
Pressing again will change it back to the main channel.
There may be case of stereo broadcasts where excessive
noise will be heard due to weak incoming signal. You may be
able to eliminate this noise by selecting the MONO mode.
MODE
You can prevent the use of the TV set without the remote control.
The set is child-locked after switching off the set by pressing
the TIME, MODE, TELETEXT( ), POWER button ( ) in
sequence on the remote control within 5 seconds. The childlock function is indicated by flashing the STAND-BY INDICATOR. The set can only be switched back on using the remote
control.
CHILD LOCK
Pressing the TIME button, the current time is displayed on the
screen during 5 seconds. If the programme you are watching
has no Teletext transmission, no time will be displayed.
TIME
Page 14

TELETEXT
SWITCHING TELETEXT ON/OFF
Press the TELETEXT button ( ). The index page viewed last
will appear.
Press the TELETEXT button to return to the TV mode.
COLOUR BUTTONS IN TOP/FLOF TELETEXT
A red, green, yellow and blue field are shown at the bottom of
the screen.
If TOP or FLOF teletext (FASTEST) is transmitted by the station, pressing the corresponding colour button on the remote
controller, you can select the desired page easily.
SELECTING PAGES
The NUMBER buttons 0..9 are used to enter a page number.
The selected page number appears at the top of the screen
and the page appears after a short time.
The UP/DOWN buttons increase or decrease the current page
number by 1.
INDEX PAGE
You can switch directly to the programme preview (with TOP
text) or the overview page of the station you are currently view-
ing by pressing the INDEX ( ) button.
PAGE HOLD
Several sub pages can be combined under a page number
and are scrolled at an interval determined by the television station.
The presence of sub pages is indicated by, for example, 3/6
beneath the time, which means that you are looking at the 3rd
page of a total of 6 pages.
If you want to look at a subpage for a longer period of time,
press the HOLD ( ) button.
The contents of the subpage shown are kept on the screen
and no longer updated or switched to other subpages.
Pressing the HOLD button again, the current subpage appear.
CALLING UP SUBPAGE DIRECTLY
Pressing the SUBPAGE ( ) button, "-/+ Page No./0001"
appears at the bottom of the screen.
Enter the subpage number that you want to call up with the
NUMBER buttons 0..9, for example, the 2nd page, sequence
0002. The desired subpage is sought and displayed. You can
change the subpage number with Red or Green button. To
exit, press SUBPAGE ( ) button again.
13
Page 15

WATCHING TELEVISION DURING TELETEXT MODE
Some pages are continually update, for example, stock market
reports, sports announcements, and the latest news.
If you want to watch television and stay informed at the same
time, press CANCEL ( ) button.
The regular programme is still visible and the teletext symbol
( ) appears at the top of the screen.
Pressing the CANCEL button again, the teletext page appears
with the update information.
REVEAL ANSWER
This function can be used on certain pages to reveal the solution of riddles.
Press the REVEAL button ( ) to reveal a hidden answer and
press again to hide it.
DOUBLING CHARACTER SIZE
Repeatedly pressing the SIZE button ( ) doubles the character size in the following order: Upper half of the page-> Lower
half of the page-> Return to normal size.
VOLUME AND BRIGHTNESS CONTROL IN TELETEXT
MODE
Pressing the MENU button in teletext mode, the volume and
brightness control menu will be displayed in the bottom of the
screen.
You can adjust volume and brightness using the corresponding colour button on the remote controller.
14
Page 16

CONNECTING THE EXTERNAL EQUIPMENT
HEAD PHONE JACK
Insert the headphone plug(ø 3.5mm) into the headphone socket.
The sound from the speaker will be cut off.
TV AND AV( )
Use the AV button ( ) on the remote control or on the front of
the set to select one of the three options. Whenever the AV but-
ton ( ) is pressed, the on-screen display will be changed as
shown.
AV1
→
AV2 →S-VHS →TV →AV1
SCART JACK1
This is used to connect: a VCR, a PAY-TV decoder, a
Camcorder or a video game console.
In most case, the set changes automatically to AV mode, when
the VCR connected is in play back mode.
If not, press the AV button ( ) on the remote control or on the
front of the set.
The ( ) 1(AV1) will be displayed on the screen with the current programme number.
In AV mode, you can change the TV programme number with the
UP/DOWN buttons or the NUMBER buttons 0..9.
Note that it’s impossible to control the functions except the volume control and mute function in the RGB mode.
And, you must turn the external equipment off to return to the TV
mode.
SCART JACK2
This is used to connect: a VCR, a Camcorder, a S-VHS VCR.
You can also receive the S-VHS signal with SCART JACK2 by
selecting S-VHS mode with AV button ( ).
FRONT/BACK AV JACK
Connect the AV(AUDIO/VIDEO) socket with an appreciate cable
to the corresponding socket of the external equipment.
Select AV mode by pressing the AV button.
Press the AV button to return to the TV mode.
NOTE
: The front AV terminal and the back SCART AV2 terminal
are common.
If you use the front AV terminal, disconnect the back
SCART AV2 terminal with the external equipment.
15
Page 17

TROUBLESHOOTING
16
Sometimes some performance problems can be easily solved by checking seemingly apparent
but often overlooked possibilities. Before asking for service, to check these items could save your
time and money.
SYMPTOM CHECK
No picture or sound. •Check the TV set is plugged in.
•Check the volume, Brightness and Contrast controls are
set to the minimum positions.
Picture is OK, but No •Check the Volume control is set to the minimum
Sound position.
Sound is OK, but No •Check the Brightness and Contrast controls are
Picture set to the minimum position.
No Color •Check the Color control is set to the minimum position.
Excessive noise in picture •Check the Antenna Cable is broken or disconnected or
damaged.
Diagonal stripes appear •It may be affected by interfering signal. (ex. from
on picture nearby amateur radio transmitter or another TV set.)
•The interference can be reduced to some extent by
adjusting the direction or height of the antenna.
(If the twin lead antenna cable is used, replace it with a
coaxial cable.)
Picture has "Snow" •Check the Antenna cable is broken or disconnected or
damaged.
•Small dot on the screen caused by a weak aerial signal.
Ghost images appear. •Check the Antenna direction has changed after storm or
strong wind etc..
•Ghost images are caused by a signal reflected from a
hill or large building etc..
•The direction or height of the antenna should be chosen
well in order to minimize the ghost images.
Page 18

SPECIFICATION
17
TV Standard
Mains Voltage
Power consumption
Sound Output Power
Antenna Impedance
Tuning System
Screen Size (Diagonal)
Channel Indication
Programme Selection
Aux. Terminal
Remote Control Unit
Dimension (W x H x D)
Weight
PAL-B/G, B/H
240V~, 50Hz
DTY-25G1 : 75W
DTY-29G1 : 75W
4.5W + 4.5W (at 60% Mod. 1KHz)
75ohm unbalanced
Voltage Synthesizer Tuning System
DTY-25G1 : 59Cm
DTY-29G1 : 68Cm
ON-SCREEN DISPLAY
70 Programmes
Front AV2 : Input Terminal
Back AV1 : Input/Output SCRAT socket
Back AV2 : Input SCRAT socket
R-28(Requires two 1.5V penlight batteries with AA size
type)
DTY-25G1 : 728 x 532 x 459 mm
DTY-29G1 : 807 x 606 x 500 mm
DTY-25G1 : 33Kg approx.
DTY-29G1 : 45Kg approx.
Page 19

MEMO
Page 20

P/N:48586775E10A-R0
 Loading...