


Installation Instructions
36 Inch Refrigerator
For Use With Models: EF36BNNF, IF36BNNF, PF36BNNF
Part No. 106177 Rev. B/13036906
Francis - Voir Page 9

Ta b l e o f Co n T e n T s
Refrigerator Safety .......................................................................1
Proper Disposal of Your Refrigerator .........................................1
Design Specifications ..................................................................2
Product Dimensions ....................................................................2
Installation Specifications ........................................................2-3
Tools and Parts ...........................................................................2
Location Requirements ...............................................................3
Cabinet Layout ............................................................................3
Water Supply Requirements .......................................................3
Electrical Requirements ..............................................................3
IMPORTANT:
Installer:• Leave these installation instructions with the homeowner.
Homeowner:• Keep these installation instructions for future reference. Save these installation instructions for the local electrical
inspector’s use.
Installation Instructions ............................................................4-8
Unpack the Refrigerator ............................................................4
Move Refrigerator into House ....................................................4
Door and Drawer Front Removal................................................4
Reinstalling the Drawer Front .....................................................5
Reinstalling the Door(s) .............................................................`5
Connecting the Water Supply .....................................................6
Plug in Refrigerator .....................................................................7
Move Unit to Final Position .........................................................7
Leveling.......................................................................................7
Handle Installation .....................................................................7
Complete Installation ..................................................................8
Water System Preparation ..........................................................8
Cu s T o m e r se r v i C e in f o r m a T i o n
If you have questions or problems with installation, contact your
Dacor ® dealer or the Dacor Customer Service Team. When you
call, have the model and serial number of the appliance ready.
The model and serial number are printed on the appliance data
label. The label is located inside the refrigerator on the right.
Dacor Customer Service:
Phone: (800) 793-0093 (U.S.A. and Canada)
Monday — Friday 6:00 a.m. to 5:00 p.m. Pacific Time
Web site: www.Dacor.com
All specifications subject to change without notice
Dacor assumes no liability for changes to specifications
© 2009 Dacor, all rights reserved.

re f r i g e r a T o r sa f e T y
WARNING
Tip Over Hazard
Refrigerator is top heavy and tips easily when not
completely installed.
Keep doors taped closed until refrigerator is
completely installed.
Use two or more people to move and install
refrigerator.
Failure to do so can result in death or serious injury.
You can be killed or seriously injured if you don't immediately
You
can be killed or seriously injured if you don't
follow
All safety messages will tell you what the potential hazard is, tell you how to reduce the chance of injury, and tell you what can
happen if the instructions are not followed.
Your safety and the safety of others are very important.
We have provided many important safety messages in this manual and on your appliance. Always read and obey all safety
messages.
This is the safety alert symbol.
This symbol alerts you to potential hazards that can kill or hurt you and others.
All safety messages will follow the safety alert symbol and either the word “DANGER” or “WARNING.”
These words mean:
follow instructions.
instructions.
DANGER
WARNING
WARNING
Suffocation Hazard
Remove doors from your old refrigerator.
Failure to do so can result in death or brain damage.
IMPORTANT SAFETY INSTRUCTIONS
WARNING:
To reduce the risk of fire, electric shock, or injury when using your refrigerator, follow these basic precautions:
SAVE THESE INSTRUCTIONS
Plug into a grounded 3 prong outlet.
Do not remove ground prong.
Do not use an adapter.
Do not use an extension cord.
Disconnect power before servicing.
Replace all parts and panels before operating.
Remove doors from your old refrigerator.
Use nonflammable cleaner.
Keep flammable materials and vapors, such as gasoline,
away from refrigerator.
Use two or more people to move and install refrigerator.
Disconnect power before installing ice maker (on ice maker
kit ready models only).
Use a sturdy glass when dispensing ice (on some models).
Pr o P e r Di s P o s a l o f yo u r re f r i g e r a T o r
IMPORTANT: Child entrapment and suffocation are not problems
of the past. Junked or abandoned refrigerators are still dangerous,
even if they sit out for “just a few days.” If you are getting rid of
your old refrigerator, please follow the instructions below to help
prevent accidents.
Before you throw away your old refrigerator or freezer:
Take off the doors.•
Leave the shelves in place so •
children may not easily climb
inside.
1
De s i g n sPeCifiCaTions
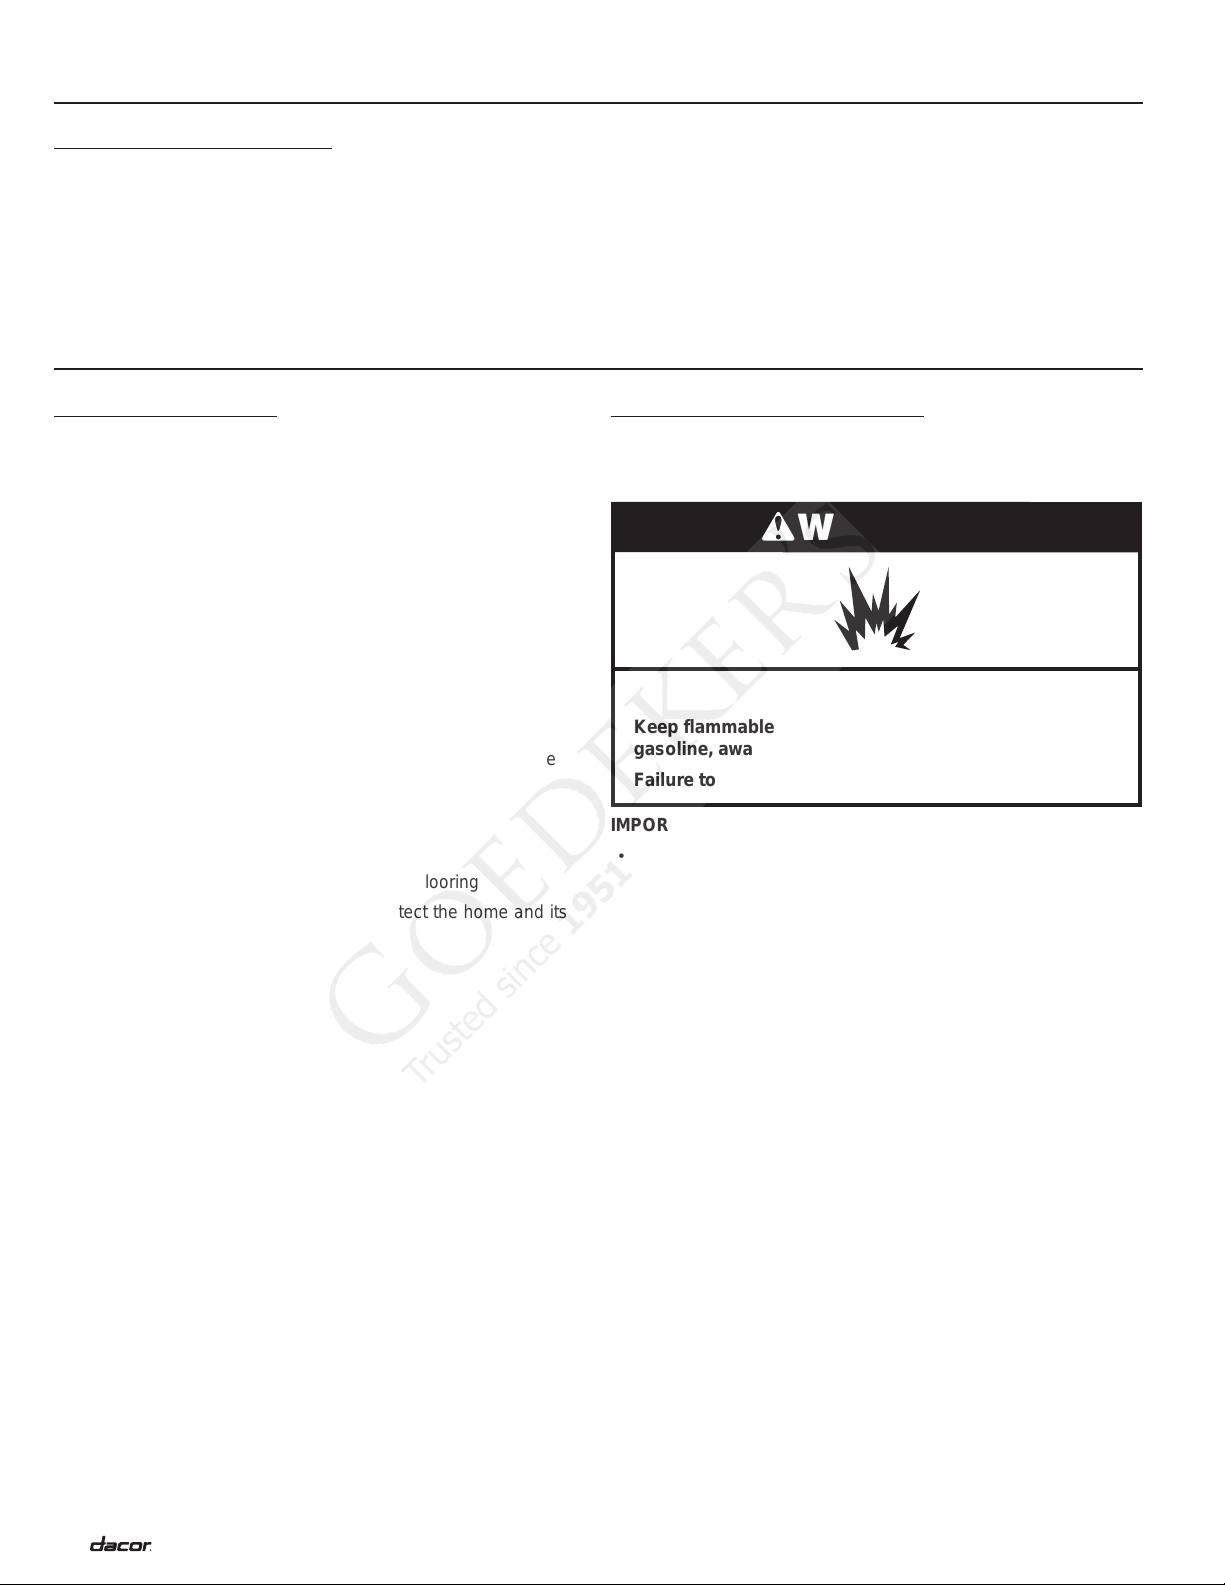
WARNING
Explosion Hazard
Keep flammable materials and vapors, such as
gasoline, away from refrigerator.
Failure to do so can result in death, explosion, or fire.
Pr o D u C T Di m e n s i o n s
The depth from the front of the door (w/o door handles) to the •
back of the refrigerator chassis is 27” (686 mm).
The depth of the cabinet less the door is 24 1/4” (616 mm).•
The power cord is 60” (1524 mm) long.•
in s T a l l a T i o n sPeCifiCaTions
To o l s a n D Pa r T s
Make sure that you have the necessary tools and materials
available for a proper installation:
Phillips screwdriver set•
Slotted screwdriver set•
Copper tubing for the water line. Provide sufficient length to •
allow for a minimum of a 24” (610 mm) diameter service loop.
Compression nut and compression sleeve to connect to the •
water supply valve. A compression nut and sleeve are include
with the unit to connect the refrigerator side of the line.
Copper tubing cutter•
Level - 2’ (.6 m) and 4’ (1.2 m) recommended•
Appliance dolly able to support 700 lbs (317 kg) and •
adequate manpower to handle the weight of the appliance
Nut driver set or socket set•
Crescent wrench•
Cordless drill and assorted drill bits•
Plywood or cardboard to protect finished flooring•
Appropriate materials to cover and protect the home and its •
furnishings during installation
The height • from the top of the refrigerator to the floor with the
leveling legs in the down position is 70 1/8” (1781 mm).
The height from the top of the refrigerator to the floor with the •
leveling legs in the fully extended position is 71 1/4” (1810
mm) at the front of the unit. Add 2 1/2” (635 mm) for the
optional top trim kit.
The refrigerator width from edge to edge is 35 5/8” (905 mm).•
lo C a T i o n re q u i r e m e n T s
Your Dacor refrigerator can be recessed in an opening between
cabinets or installed at the end of a cabinet run using a side panel
to enclose the refrigerator.
IMPORTANT:
Observe all governing codes and ordinances.•
To ensure proper ventilation for your refrigerator, allow for a •
1/2” (1.25 mm) space at the top and behind the refrigerator.
Do not install the refrigerator in a location where the •
temperature will fall below 55°F (13°C).
Allow a minimum of 2 1/2” (64 mm) space between the side •
of the refrigerator and an oven or range.
The floor must be able to support the refrigerator’s weight of •
more than 600 lbs (272 kg), the door panels and the contents
of the refrigerator.
The area to the left and the right of the appliance must •
permit both doors to open to a minimum of 90°. Allow space
between the side of the refrigerator doors and a corner wall
for the handle and/or custom door panels.
2
 Loading...