

Page 1

Planning Guide
Modernist Warming Drawer
DWR30M977
DACOR MOERNIST
Page 2
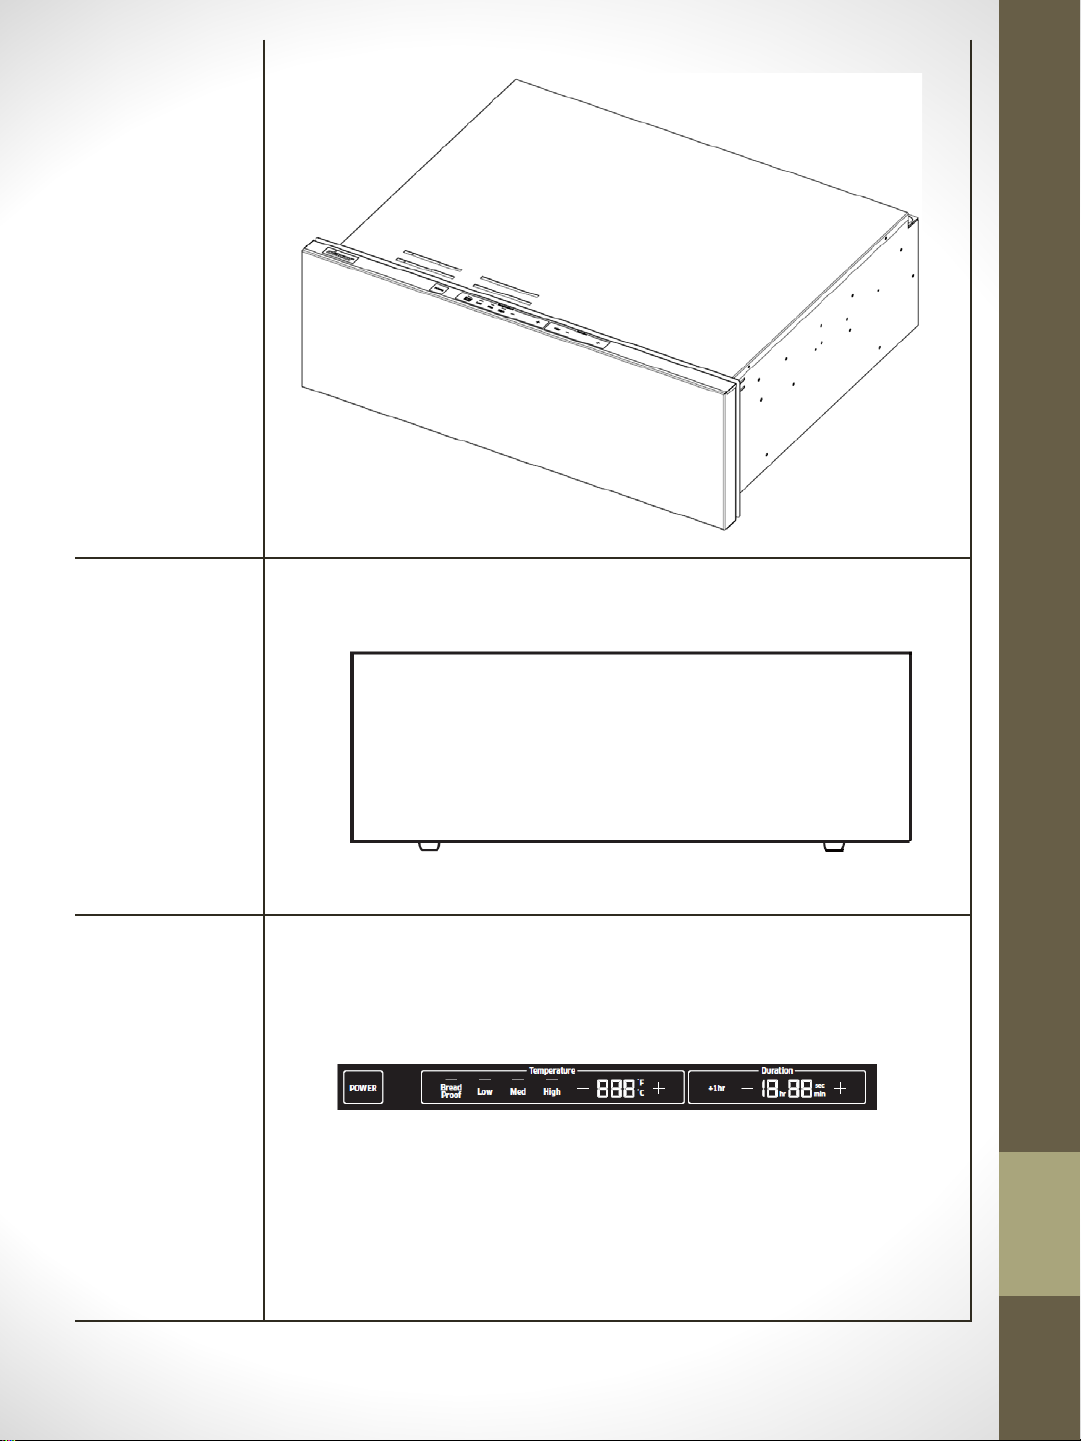
UNIT
PANEL
Stainless steel , Black Stainless steel
CONTROL
PC (Black, Silver) with printing
Page 3
PLANNING CHECK PROCESS
① A desired configuration
PLANNING CHECK PROCESS
② Plan the cutout Width and Depth
· depending on install method
(Flush install)
③ Plan the cutout Height
· depending on install method
and configuration
⑤ Check proper location for
the electrical outlet
④ Check for interference with
other appliances
· Allow a min. 22” for clearance
when door is open
⑥ Procure the proper
installation materials
Page 4

① A desired configuration
Configuration
Warming Drawer
Width
Control Panel PC (Silver or Black)
Front Panel Stainless Steel, Graphite Stainless steel
30”
Warming Drawer
DWR30M977WS (Silver)
DWR30M977WM(Graphite)
Page 5

Appliance dimensions
② Plan the cutout Width and Depth
· depending on install method
(Flush install)
③ Plan the cutout Height
· depending on install method and
configuration
• A qualified technician must complete the installation of this built in appliance. Proper
installation is the customer's responsibility.
• Carefully check the location where the drawer is to be installed. The drawer should be
placed for convenient access. Make certain that electrical power can be provided in the
selected location. Install the warming drawer in wood cabinets only.
• Plan the installation so that all minimum clearances are met or exceeded. Dimensions
shown provide minimum clearances, unless otherwise noted. Be certain that proper
clearance is provided for the drawer when it is in the open position.
• The specified minimum cabinet depth and width must be provided. The cabinet depth and
width must completely enclose the recessed portion of the drawer.
• Cabinet cutout dimensions must be used as indicated. All contact surfaces between the
appliance and the cabinet must be solid and level. The drawer support platform must be
flush with the bottom edge of the cabinet cutout.
• Make certain that you have everything necessary to ensure a proper installation before
proceeding.
Set Dimension TOP VIEW SIDE VIEW
FLUSH
INSTALL
10 1/4”
(Refer to
the overall
dimensions)
29 3/4”
Page 6

④ Check for interference with
other appliances
· Allow a min. 22” for clearance
when door is open
■ Warming Drawer_Flushed
Cabinet dimensions
⑤ Check proper location for
the electrical outlet
Page 7

Cabinet dimensions
Page 8

■ Electrical Connection
Preparation for install
Page 9

⑥ Procure the proper
installation materials
Preparation for install
(3) mounting screws - PN 83569
Page 10

30-Inch Warming Drawer
DWR30M977WS / DWR30M977WM
Product Specification
Color Silver STSS / Graphite STSS
Door Opening Push to Open
Capacity 1.6 cu. ft.
Product Width
Product Height
Product Depth
General
Mode
(Temperature
Setting)
Additional
Feature
Accessory
29 5/8"
10 1/4"
22 13/16"
Rail Telescopic Type
Working Time
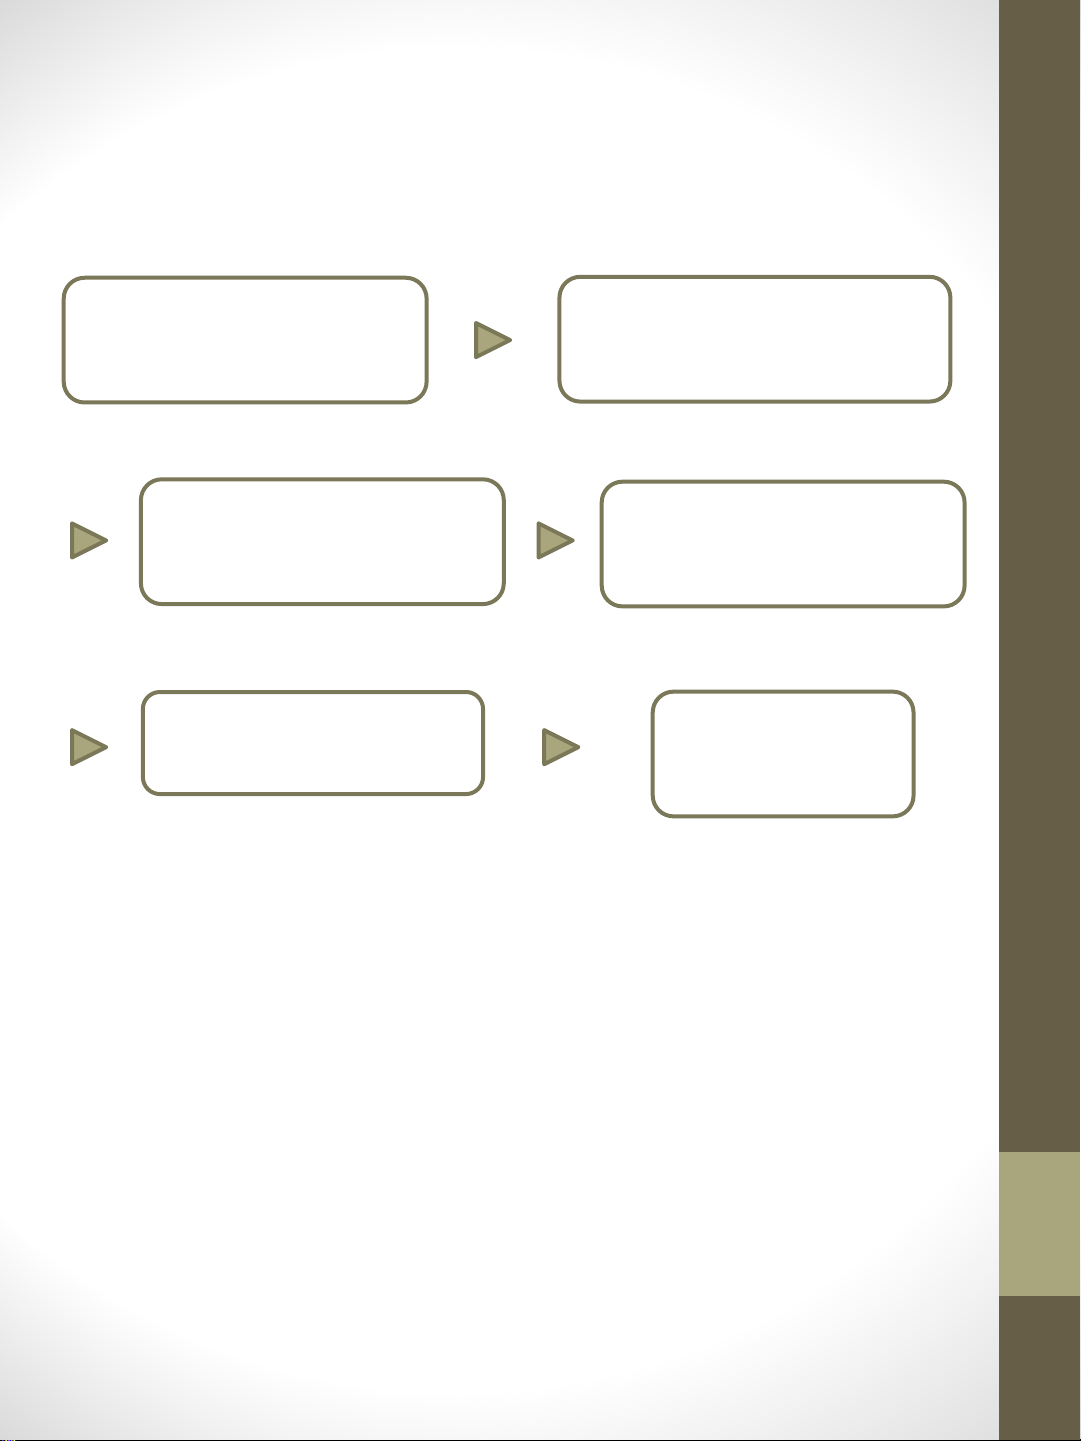
Temp. Control Touch / Electric (LED Display)
Temp. Menu
& Function
Proof 100⁰F (85⁰F-120⁰F)
Low 150⁰F (121⁰F-160⁰F)
Mid 175⁰F (161⁰F-190⁰F)
High 200⁰F (191⁰F-220⁰F)
Timer Automatic shut-off timer
Half Racks
Power Cord
Bread Proofing, Sabbath Mode
Food Warming & Rapid Heat up
1~4 : 1~4 Hours
5 : Set Time (Max. 12 Hours)
●
●
Cutout Width
Cutout Height
Cutout Depth
Watts(W)
Circuit Breaker(A)
Electrical Supply
Power Cord
Net Weight (lbs.)
30"
3/8"
10
24 1/2“ (Min.)
500 W
15A
120VAC/60Hz
Plug Type(3 prong)
TBD lbs (TBD Kg)
 Loading...