

Page 1
DPP-1080I
Digital Photo
Player
Operation Manual
DPP-1080i
Page 2

TABLE OF CONTENTS
1. Introduction................................................................................. 1
2. Main Features............................................................................. 1
3. Package Contents..................................................................... 1
4. Hardware Description................................................................ 2
4.1 Front Panel............................................................................. 2
4.2 Rear Panel............................................................................. 2
5. Overview of the Remote Control.............................................. 2
6. Using the DPP-1080I.................................................................... 3
7. DPP-1080i connections.............................................................. 3
8. Turning on Power........................................................................ 3
9. Using the OSD Menu................................................................... 3
9.1 View........................................................................................ 3
9.2. Slide Show Speed............................................................... 4
9.3. Slide Show Shuffle................................................................ 4
9.4. Music Repeat....................................................................... 4
9.5. Copy File............................................................................... 4
9.6. Delete File............................................................................. 5
9.7. Reset Settings....................................................................... 5
10. Appendix.................................................................................... 5
10.1 Specifications...................................................................... 5
11. Troubleshooting.......................................................................... 6
Preface
This user manual teaches you about the Digital-Photo-Player and how to make
full use of its features. Information contained in this manual has been carefully
checked for accuracy; however, no guarantee is given to the correctness of
the contents. The information in this document is subject to change without
notice.
Safety information
Do not disassemble the Digital-Photo-Player. Touching the product's internal
parts could result in injury. In the event of a malfunction or if the Digital-Photo-
Player is accidentally broken open, take the product to an authorized service
center for inspection.
1. Introduction
Congratulations on purchasing the DPP-1080I Digital -Photo-Player. This product
it designed specially to help you view the photos and/or play the MP3 music
from the Secure Digital Card SD/MMC(3.2)/USB device to the TV. The DPP-1080I
can easily to play as the slide show to watch high quality TV at home, Digital
signage on an exhibition, Digital signage on elevator or any-where you desire.
2. Main Features
●
Supports OSD (On-Screen-Display) menu operation
●
Supports high resolution output up to 1080I
●
Supports image formats: JPEG/BMP
●
Supports audio formats: MP3/WMA
●
Supports image rotation/Zoom in/Zoom out for single page
●
Slide show
●
Memory Card: Secure Digital Card (SD Card)/MMC(3.2)
●
Embedded USB 1.1 host controller for USB flash drive connection
●
USB only support FAT32
●
IR remote control
●
Easy to install and simple to operate
3. Package Contents
Make sure that your package contains the following items. If any of the items
are missing or appear to be damaged, contact your vendor.
1. DPP-1080I Main body
2. Remote control
3. Battery
4. Power adapter
5. User manual, warranty card
6. Video Cable
Page 3

Preface
This user manual teaches you about the Digital-Photo-Player and how to make
full use of its features. Information contained in this manual has been carefully
checked for accuracy; however, no guarantee is given to the correctness of
the contents. The information in this document is subject to change without
notice.
Safety information
Do not disassemble the Digital-Photo-Player. Touching the product's internal
parts could result in injury. In the event of a malfunction or if the Digital-PhotoPlayer is accidentally broken open, take the product to an authorized service
center for inspection.
1. Introduction
Congratulations on purchasing the DPP-1080I Digital -Photo-Player. This product
it designed specially to help you view the photos and/or play the MP3 music
from the Secure Digital Card SD/MMC(3.2)/USB device to the TV. The DPP-1080I
can easily to play as the slide show to watch high quality TV at home, Digital
signage on an exhibition, Digital signage on elevator or any-where you desire.
2. Main Features
●
Supports OSD (On-Screen-Display) menu operation
●
Supports high resolution output up to 1080I
●
Supports image formats: JPEG/BMP
●
Supports audio formats: MP3/WMA
●
Supports image rotation/Zoom in/Zoom out for single page
●
Slide show
●
Memory Card: Secure Digital Card (SD Card)/MMC(3.2)
●
Embedded USB 1.1 host controller for USB flash drive connection
●
USB only support FAT32
●
IR remote control
●
Easy to install and simple to operate
3. Package Contents
Make sure that your package contains the following items. If any of the items
are missing or appear to be damaged, contact your vendor.
1. DPP-1080I Main body
2. Remote control
3. Battery
4. Power adapter
5. User manual, warranty card
6. Video Cable
1
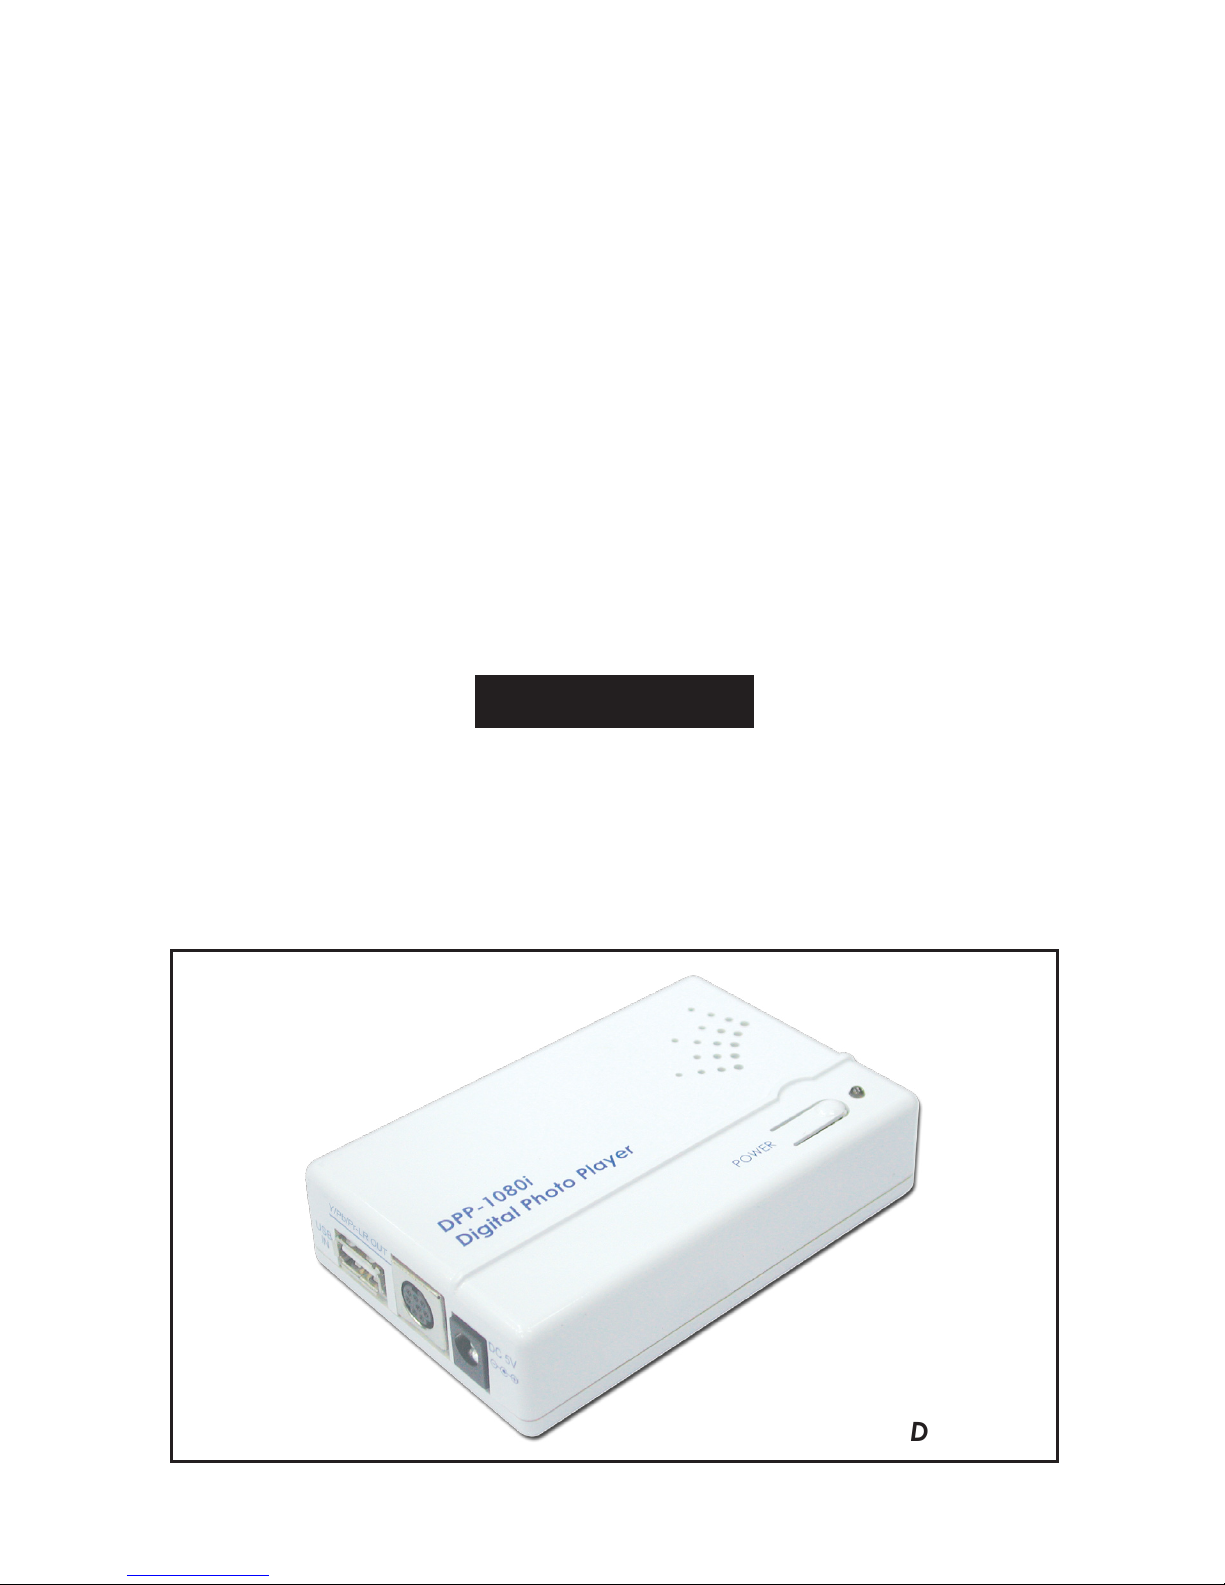
4. Hardware Description
The following sections describe the hardware components of the DPP-1080I
4.1. Front Panel 4.2. Rear Panel
1 . USB IN: USB device input.
2 . Y/Pb/Pr LR OUT (S-Video Jack): Connect to Television/mornitor
(Refer to DPP-1080I connections).
3 . DC 5V: Connect power adaptor to Household AC outlet.
4 . IR: IR Sensor for Remote control.
5 . SD/MMC: Support SD/MMC3.2 memory card input.
5. Overview of the Remote Control
1 . CARD/USB: Press to switch source input
2 . SAVE: Press to save rotate photo
3 . Copy: Copy file to USB or SD card
4 . VIEW: To switch the display: Original/
Full Screen/16:9
5 . PHOTO MODE: Play photo
6 . EXIT: Exit/Stop
7 . PREVIOUS PAGE: Return previous page
8 . POWER: Press to turn power ON and OFF
9 . ROTATE: Right Rotate 90
10. VOL+: Press to increase volume
11. DELETE: Delete the files
12. VOL-: Press to decrease volume
13. ZOOM: Zoom 2x/4x/6x/8x
14. SLIDE: Photo Slide Show with background music
15. MUSIC MODE: Play Music
16. MENU: Press to view the OSD menu
17.OK: Press to confirm selection of menu item
18. UP/DOWN/LEFT/RIGHT: Press to move up, down, left,
or right through menu items
19. NEXT PAGE: Press to go to next page
Page 4

4. Hardware Description
The following sections describe the hardware components of the DPP-1080I
4.1. Front Panel 4.2. Rear Panel
1 . USB IN: USB device input.
2 . Y/Pb/Pr LR OUT (S-Video Jack): Connect to Television/mornitor
(Refer to DPP-1080I connections).
3 . DC 5V: Connect power adaptor to Household AC outlet.
4 . IR: IR Sensor for Remote control.
5 . SD/MMC: Support SD/MMC3.2 memory card input.
5. Overview of the Remote Control
1 . CARD/USB: Press to switch source input
2 . SAVE: Press to save rotate photo
3 . Copy: Copy file to USB or SD card
4 . VIEW: To switch the display: Original/
Full Screen/16:9
5 . PHOTO MODE: Play photo
6 . EXIT: Exit/Stop
7 . PREVIOUS PAGE: Return previous page
8 . POWER: Press to turn power ON and OFF
9 . ROTATE: Right Rotate 90o/180o/270
o
10. VOL+: Press to increase volume
11. DELETE: Delete the files
12. VOL-: Press to decrease volume
13. ZOOM: Zoom 2x/4x/6x/8x
14. SLIDE: Photo Slide Show with background music
15. MUSIC MODE: Play Music
16. MENU: Press to view the OSD menu
17.OK: Press to confirm selection of menu item
18. UP/DOWN/LEFT/RIGHT: Press to move up, down, left,
or right through menu items
19. NEXT PAGE: Press to go to next page
2
Page 5

6. Using the DPP-1080I
After connecting the DPP-1080I to the TV and Power on, you are ready to start
viewing the photo and play the music. This chapter describes how to turn on
the device and how to control On-Screen Display (OSD) menu to configure the
device settings.
7. DPP-1080i connections
The description of the component video input terminals depends on the
television or monitor (Y/Pb/Pr-LR) connect to terminals of the some color.
8. Turning on Power
Connecting the power adapter to the DPP-1080I and press the POWER button
on the remote control to turn on the DPP-1080I. Press the button again to turn
the device off.
9. Using the OSD Menu
Press the Menu button to view the OSD menu. The menu consists of eight
sub-menus including View, Slide Show Speed, Slide Show Shuffle, Music Repeat,
Copy File, Delete File, Reset Settings and software version. You can access the
sub menus by using buttons and press the OK button. Press the Exit button
to exit the menu at any time to return to higher level menus.
Refer to the following sections to learn more about using the OSD menu.
9.1. View
Press Menu button to enter View mode and
press OK button to choose output display
format.
Use the buttons to select and press OK
button to confirm.
Original: Keep the same Aspect Ratio
Full Screen: Expend to screen size
16:9: Select 16:9 display
View Original
Slide Show Speed FullScreen
Slide Show Shuffle 16:9
Music Repeat
Copy File
Delete File
Reset Settings
Ver 2.3-070524
3
Page 6

9.2. Slide Show Speed
Press buttons to select Slide Show Speed mode.
Fast: Around 3 sec
Normal: Around 10 sec
Slow: Around 40sec
9.3. Slide Show Shuffle
Press buttons to select Slide Show Shuffle mode.
On: Random Access
Off: Default Setting
9.4. Music Repeat
Press buttons to select Music Repeat mode
One: Just play once
All: Repeat play all photo/music
Off: Display one single photo
9.5. Copy File
Pressbuttons to copy the files
from USB to SD card or vise versa
4
View
Slide Show Speed
Slide Show Shuffle On
Music Repeat Off
Copy File
Delete File
Reset Settings
Ver 2.3-070524
View
Slide Show Speed
Slide Show Shuffle
Music Repeat One
Copy File All
Delete File Off
Reset Settings
Ver 2.3-070524
View
Slide Show Speed Fast
Slide Show Shuffle Normal
Music Repeat Slow
Copy File
Delete File
Reset Settings
Ver 2.3-070524
View
Slide Show Speed
Slide Show Shuffle
Music Repeat
Copy File
Delete File
Reset Settings
Ver 2.3-070524
Page 7

2007.7.6 MPM-DPP1080i
9.6. Delete File
Pressbuttons to select the delete
the music files.
Yes: To delete the Photo or Music file
No: Default setting
9.7. Reset Settings
Press buttons to select the Reset
Settings mode.
Yes: Reset the Original setting
No: Default Setting
10. Appendix
10.1. Specifications
Input ports: USB/SD/MMC(3.2)
Output ports: YPbPr-LR stereo
Power Supply: 5V DV (US/EU standards, CE/FCC/UL certified)
Remote Control: Discrete IR remote
Dimensions (mm): 100(W) x 64(D) x 18.5(H)
Weight(g): 95
Chassis Material: Plastic
Silk Skin Color: White/Gray
Operating Temperature: Operating from 0oC ~ 48oC
5
View
Slide Show Speed
Slide Show Shuffle
Music Repeat
Copy File
Delete File Are you sure?
Reset Settings Yes
Ver 2.3-070524 No
View
Slide Show Speed
Slide Show Shuffle
Music Repeat
Copy File
Delete File
Reset Settings Are you sure?
Ver 2.3-070524 Yes
No
Page 8

11. Troubleshooting
Problem
Power LED is not
illuminated
On/Off LED in red color
Remote control is not
working
No Picture
No music
Play photo Slide Show
with background music
couse the Music lag
Transfer data speed too
slow when reading from
USB device/Memory card
Possible causes
Power cord is not
connected correctly.
Power not available.
System may be in standby
mode.
Batteries may be low.
A/V connection may be
loose.
Incorrect TV source is
selected.
Volume too low or muted
from the DPP-1080I or TV.
LR cable may not connect
correctly.
due to the USB1.1
transfer data limitation
USB device/memory card
partition problem
Solutions
Make sure that the power
cord is connected
correctly.
There may be a power
outage in your area.
Make sure that other
electronic devices are
working correctly.
Use the remote control to
turn on the
DPP-1080I.
Replace the remote
control batteries.
Check that the A/V
cables are connected
securely.
Make sure that the correct
input source is selected on
the Components (Y/PbPr)
input. Refer to the TV user
manual for more
information.
Increase volume setting
for the TV or the
DPP-1080I.
Make sure that the correct
TV input source. Refer to
the TV user manual for
more information.
Only Memory card
Support Slide Show
with music
Transfer the data from USB
device/memory card to
PC and re-format the USB
device/memory card.
After the above process
and then transfer the data
back to the USB
device/memory card
Home page: http://www.cypress.com.tw
CYPRESS TECHNOLOGY CO., LTD.
 Loading...