

Page 1
Cyclopital3D
Stereo Base Extender
FujiFilm FinePix Real3D W3
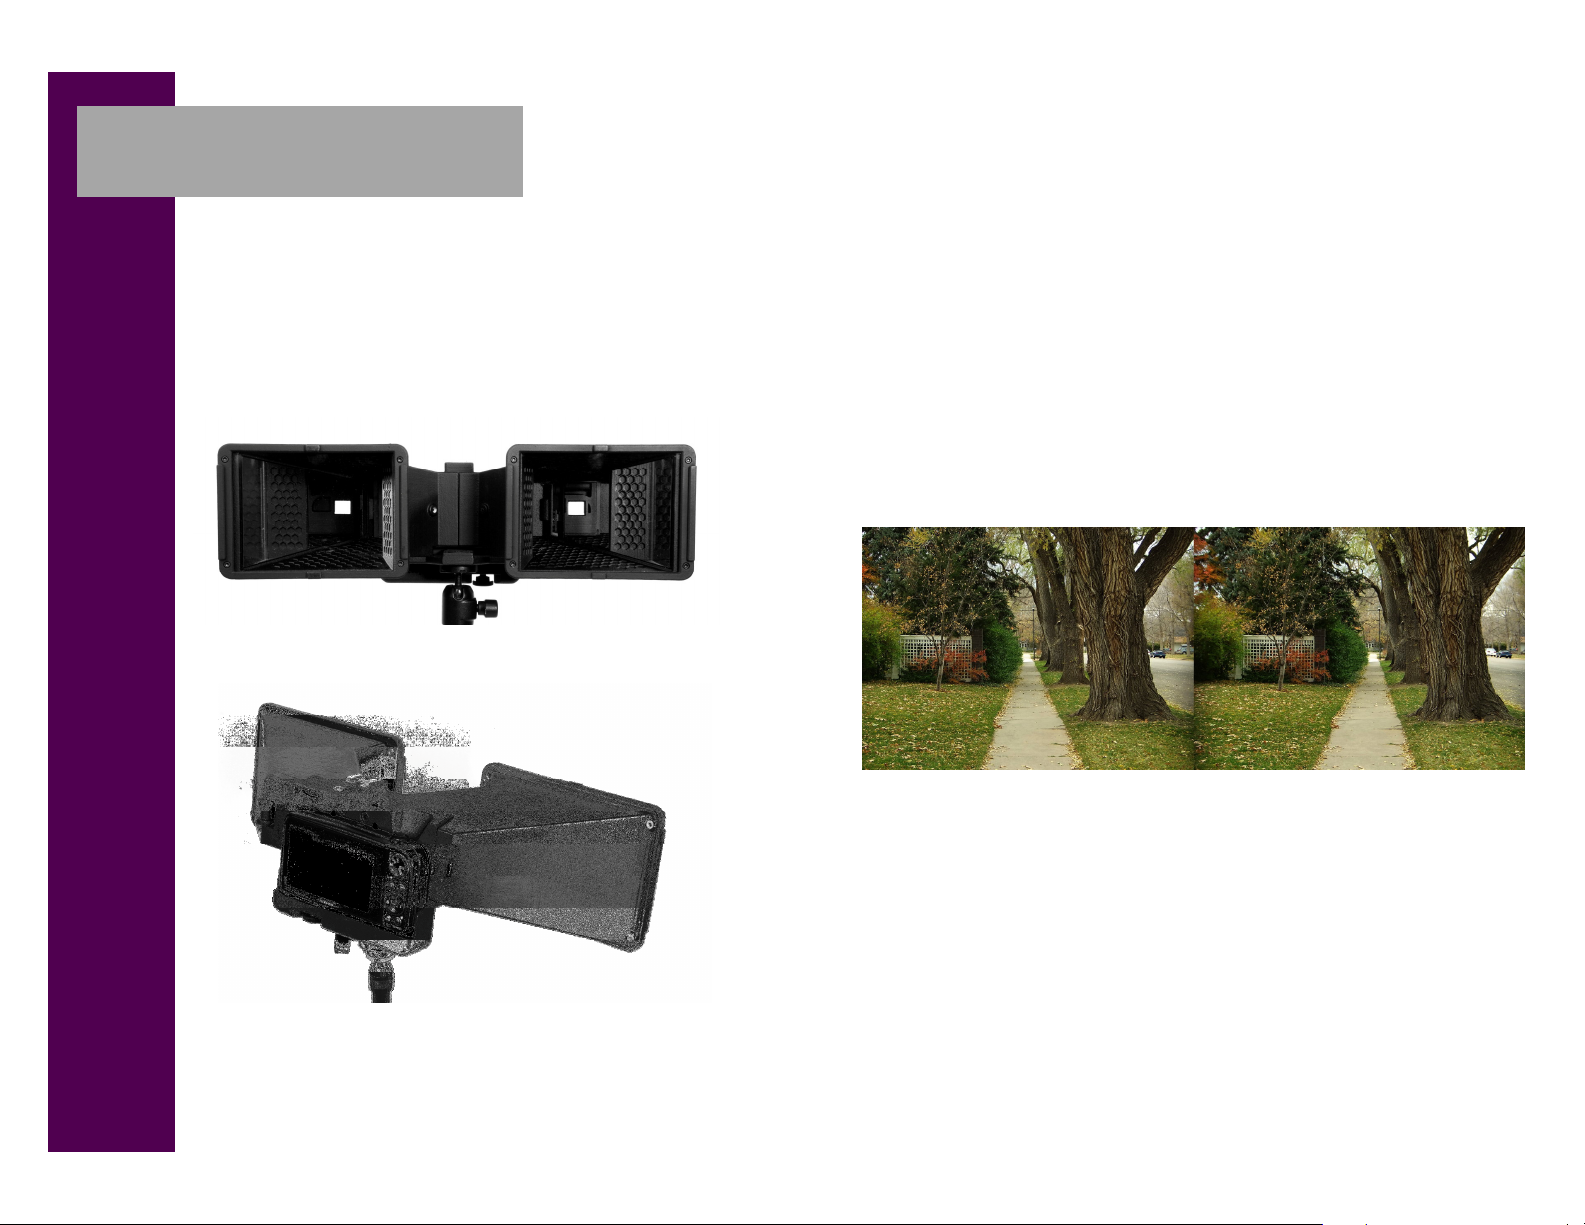
The Cyclopital3D Stereo Base Extender (SBE) is perfect for
maintaining accurate depth portrayal when subjects are more distant
from the camera, such as: wildlife, band or theatrical performances,
weddings or portraits.
The 75mm fixed lens spacing of the Fuji W3 limits how far away from
the camera your subject can be while still achieving a high quality 3D
photo that displays adequate depth. As you get farther away from your
subject parallax decreases, thus decreasing the 3D effect in the image.
The SBE uses perfectly aligned high quality front surface mirrors to
effectively increase the stereo base of your Fuji W3 to 225mm. This
lengthening of the stereo base allows you to get 3X farther away from
your subject while still maintaining an acceptable level of parallax.
This SBE is only needed for subjects farther than about 15ft from
camera. It is important to remember that your subject should generally
be the closest object in the scene. Objects in the foreground, closer
than 15 ft. could cause excessive deviation and make the image
uncomfortable to view 3D.
Enhance the Capabilies of
Your Fuji W3!
Benefits and Features:
• Increases stereo base to 225mm
• Hot shoe mount, PC port & trigger for external flash
• Tripod mount and Secondary Handle mount
• Neck-strap anchors fit 3/8” or 10mm strap width
• Built in spirit level
• Convenient hand grip is easy to hold
• Anti-reflection front window glass
• Sealed mirror chamber protects against dust and fingers
• Precision laser alignment
Page 2
Instructions for use:
1. Slide lens cover open.
2. Insert camera into adapter.
3. Attach to camera by inserting thumb screw into the tripod mount.
4. Turning your camera on (and off). If the camera is off, press and
hold the “play” button in the middle of the control panel. The
camera will power up in playback mode, switch to camera mode
by half pressing the shutter button. To turn the camera off, press
the play button once which will return it to playback mode, then
press and hold the play button until camera turns off.
5. Adjust the zoom. When the camera is first turned on, the lens
will be at minimum zoom. To use the adapter you will need to
zoom in until there are no obstructions seen on the display- you
will see the black sides of the adapter until it is appropriately
zoomed in.
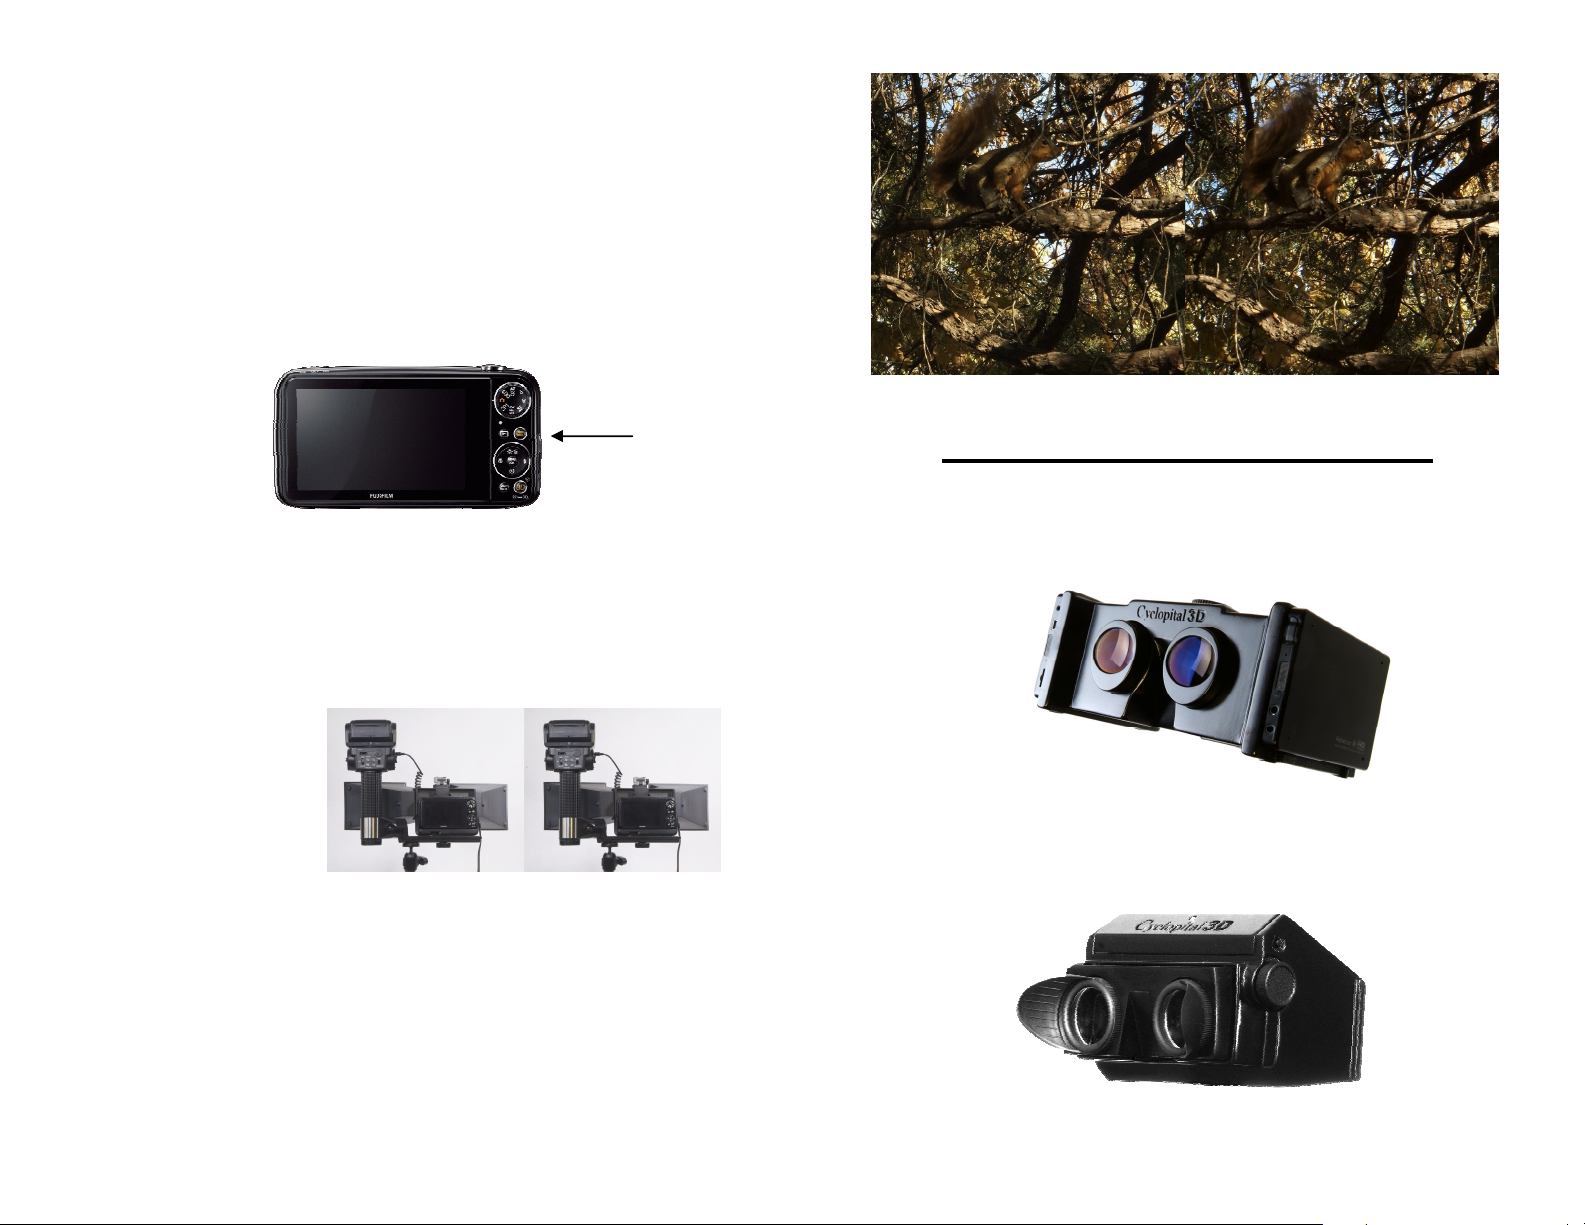
Portable 3D Viewing Opons!
Digital 3D Photo Viewer
Holds thousands of images!
When using a flash:
• The flash hot shoe will
accommodate almost
any kind of flash unit
that has a hot shoe
adapter.
• The camera must be
set to “forced flash”.
• Red-eye removal in set-up menu must be OFF.
• Set the camera to manual mode, set ISO, aperture and shutter
speed to appropriate values for the lighting making sure that the
flash is set with identical values.
• It is recommended to use the flash in auto mode, with the same
values as your camera.
• Note: because an additional battery is not needed to power the
flash control unit, it does not work with some older, high-voltage
flash models. A list of known compatible flash models is being
updated continuously and is posted at www.cyclopital3d.com.
Lighted Print Viewer
No more searching for the right lighng with
built in LED lights!
All rights reserved, Cyclopital3D, Inc. 2010
 Loading...