

Page 1
User Manual EN
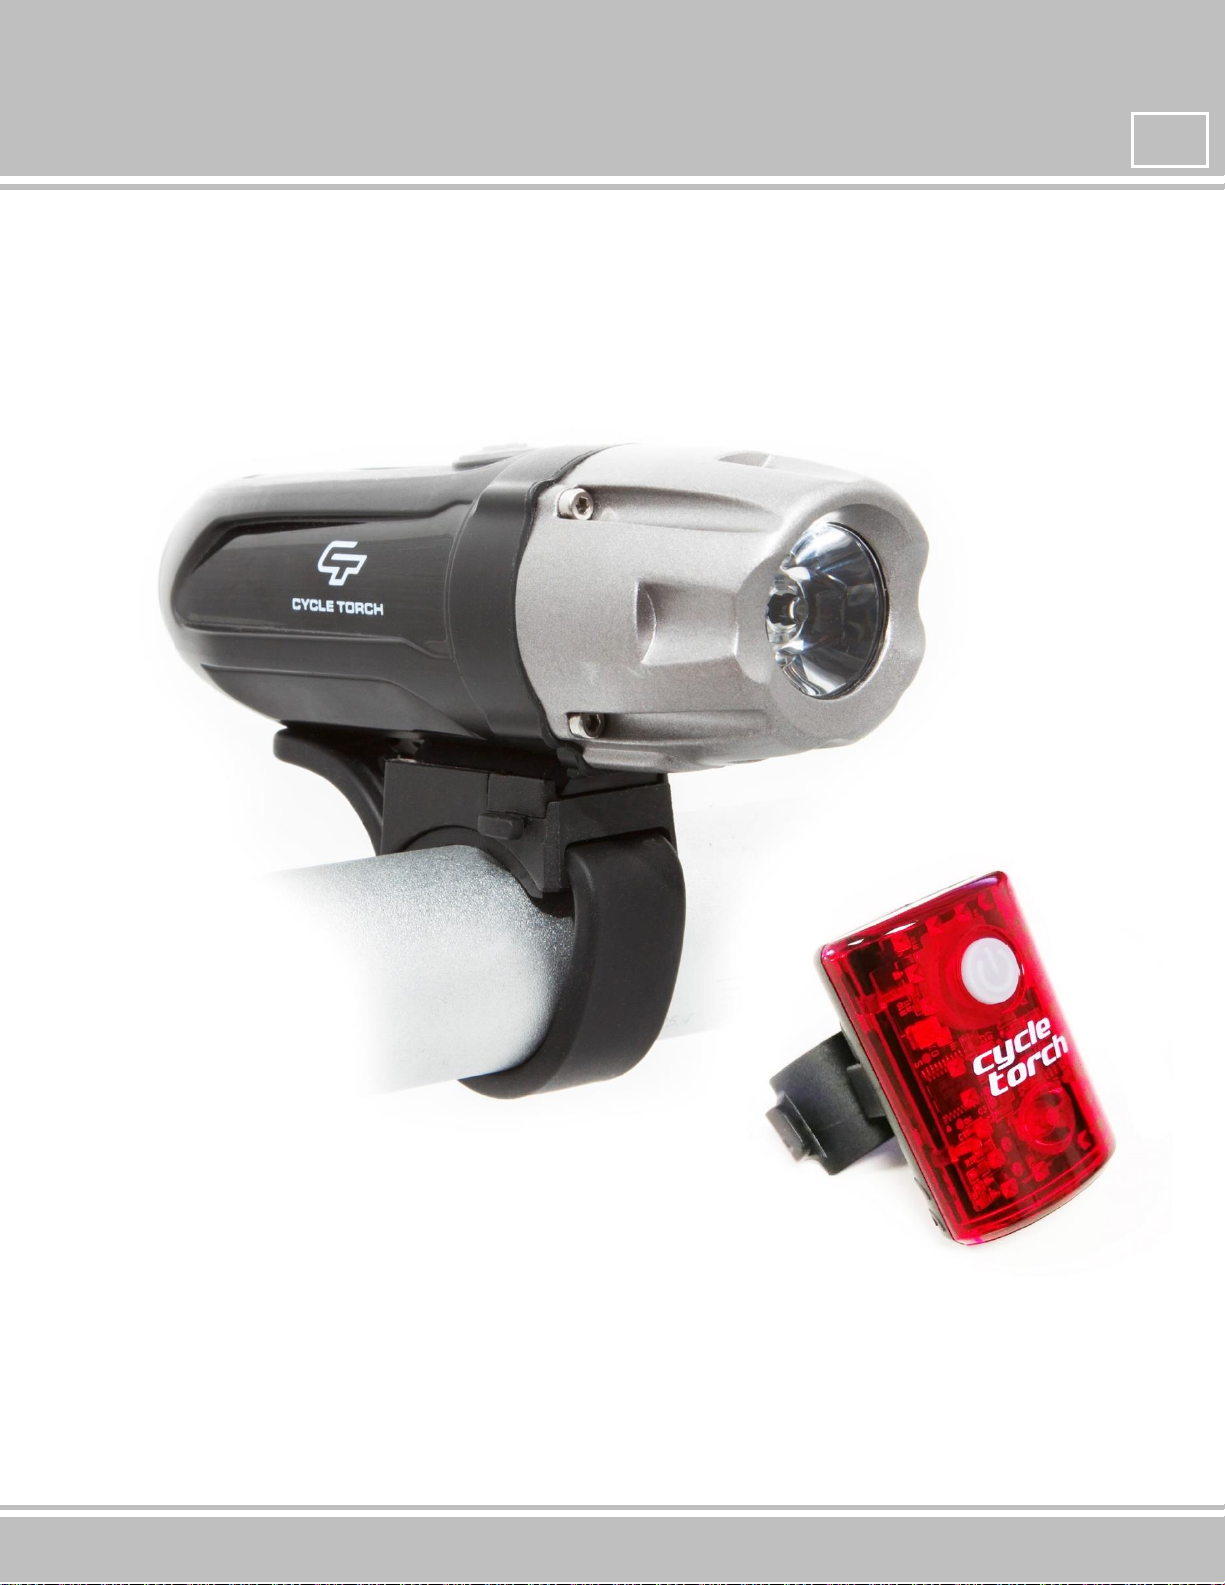
SHARK 550 R
1
Page 2
III.
If for any reason you are not satisfied, please contact us as soon as
possible at: hello@cycletorch.com , so that we can work with you to
solve whatever issues!
Thank you for purchasing one of our products !!!
We are truly honored to be able to serve you and provide you with the best
experience possible. If you’ve enjoyed our product, we would sincerely appreciate
your honest feedback.
To insure maximum experience and safety, familiarize yourself with ALL
aspects of your new light and battery system:
I. Safety Precaution .......................................................................................... 3
II. How to mount SHARK 550 R to a Bicycle ..................................................... 4
III. How to charge SHARK 550 R .......................................................................... 5
IV. Switching the lighting modes ........................................................................ 6
V. Model Specifications...................................................................................... 7
VI. Rechargeable tail light - Micro BOT .............................................................. 8
VII. Warranty, Support and Customer Service .................................................... 9
2
Page 3

III.
I. Safety Precaution
1. Never look directly into bike light;
2. Avoid directing the light beam into the eyes of another person;
3. Do not place it within children’s reach;
4. Before your trip, please make sure that the light is firmly mounted to the
handlebar, it lights up, and the light is not blocked by baggage;
5. This product is waterproof under normal daily use and can be used in the
rain. However, do not intentionally submerge it in water.
Failure to follow these cations may expose you to risks, can cause
damage to the light system and will void the warranty !
A lighting system can make riding safer and you more visible, but lights are no
substitute for common sense. Ride within your capability with consideration for
the riding environment.
This product contains components that must be recycled per EU Directive
2002/96/EC and may not be disposed as unsorted municipal waste!
3
Page 4

III.
hook
side
strap side
release button
handlebar
release
button
hook
side
handlebar
insert and slide
release button
press & hold the
release button
slide the
light off
ll. How to mount SHARK 550 R to a Bicycle:
1. Attach the mount to the handlebar.
Hold the mount with one hand, and with another hand, secure it with the rubber
strap across the handlebar (see pics below):
2. Attach the light to the mount (see pics below):
Insert the front light into the mount's rails and slide it in until it clicks.
3. To release the light: (1) Press & hold the release button; (2) slide the light off.
3. For further details, click the link and watch the VIDEO.
4
Page 5

III.
micro USB
power
III. How to charge SHARK 550 R
1. Remove the rubber cap at the bottom of the light;
2. Connect the light to your PC, or a 5V USB battery charger with the USB cable.
The power button lights up, and charging starts;
3. When the power button turns blue, charging is complete. Remove the USB cable.
Tips and tricks:
1. When your PC is in sleep state, the light cannot be charged;
port
2. Flashing light of the power button shows that a charging error has occurred.
Remove and reinsert the USB cable, then begin the recharge process again;
3. The battery charges to about 80% after approximately 4 hours;
4. Charging and lighting times are approximate values, and will vary by
environmental and user conditions.
WARNING: The cable (or other accessories) supplied with the Cycle Torch bike
light MUST be used only to charge the Cycle Torch bike light. The Manufacture
or/and the Seller are not responsible for any damage caused by using the supplied
accessories with other devices, other than Cycle Torch bike lights.
button
5
Page 6

IV. Switching the lighting modes
Operating modes:
High
Medium
Low
Flash
Run time (hours : min.)
2:30
4:30
9:00
20:00
Power (lumens)
550
275
55
550
III.
Operation Modes: The initial short press of the power button will turn the light
on High mode. Each additional short press of the power button switches the light from
one mode to the next in the following order: (1) High; (2) Medium; (3) Low; (4) Flash
Turning off SHARK 550 R: Press and hold the button for one to three seconds.
Checking Battery Level: When the light is turned off, press the button for 3
seconds and release. The light will flash from 1 to 10 times indicating the remaining
battery level (10 flashes indicate - 100% charge, 9 flashes - 90%, 8 flashes – 80% …).
Low Battery Level: The power button light will glow red when the battery
level is low and the light will automatically turn off when the battery level is too
low. This system protects the battery from damage, but since it draws a small
amount of current, and can drain the battery beyond the minimum voltage for the
battery, so the light must be turned off when the button glows red or within 5
minutes of it glowing red.
Do not wait until the light goes completely out as this will greatly reduce the
number of charge cycles that the battery can be used and can render the battery
unusable.
Charge your bike light each 2-3 months when stored or not in use to prevent
battery degradation.
6
Page 7

V. Model Specifications
III.
7
micro USB port
power button
Model range: SHARK 550R USB LIGHT,
Brightness: 550 LM
Waterproof Grade: IP65
Light Source: CREE XML T6 ultra bright LED
LED lifespan: 50,000 hours
Low power consumption
Battery: 1 x SAMSUNG 18650, 3.7V, 2400 mAh Li-ion (replaceable)
Charge time: 4 ~ 10 hours
Low Power warning: red light warning (power button changes from blue to red)
Battery discharge time:
- 150 minutes in High mode (100 % or 550 lumens)
- 270 minutes in Medium mode (50% or 275 lumens)
- 540 minutes in Low mode (10% or 55 lumens)
- 1200 minutes in Flash mode (550 Lumens)
Material: high quality nylon plastic (ABS), weighing only 100g
Waterproof lit up power button for grater night visibility
Finish: different colors available
VI. Rechargeable MicroBot
How to charge:
1. Remove the rubber cap at the bottom of MicroBot;
2. Connect the MicroBot to your PC or a 5V USB battery charger with the USB
cable. The Power Button lights up RED, and charging starts;
3. When the Power Button lights up BLUE, charging is complete. Remove the USB cable;
4. Full charging time: 1 hour 30 minutes
7
Page 8

Operation Modes: Short press of the power button will switch through cycles
Operating modes:
quick flash
slow flash
C.F. quick
C.F. slow
steady
Run time (hours: min)
6:00
9:00
10:00
14:00
1:30
Power (lumens)
25
25
10
10
25
III.
& shut down the MicroBot. The initial short press of the power button will turn on
the light on High mode. Each additional short press of the button switches the light
from one mode to the next, in the following order: (1) quick flash; (2) slow flash; (3)
circular flash quick; (4) circular flash slow; (5) steady; (6) OFF.
Turning OFF: press and hold the power button for about three seconds.
Operation Modes: Short press of the operation button will switch through
cycles & shut down the Tail Bolt. The initial short press of the power button will
turn on the light on High mode. Each additional short press of the button
switches the light from one mode to the next, in the following order: (1) High;
(2) Slow flashing; (3) Quick flashing; (4) Pulse; (5) OFF.
Running time: 2 – 14 hours, depending on the use mode.
Waterproof Grade: IP65
Included accessories: ● Silicone strap which fits all standard seat posts;
● Micro USB charging cable.
8
Page 9

For further information concerning warranty conditions or for any
additional issues, please e-mail us at: hello@cycletorch.com
III.
VII. Warranty, Support and Customer Service
To register you product please go to http://cycletorch.com and follow the steps.
Our product quality is controlled strictly in accordance within the standards
of CYCLE TORCH quality certification program.
To ensure that all users enjoy the product, we offer one year warranty
within one year from purchase date, under normal use, the consumer will be
provided free warranty service for any quality related problems!
When requesting warranty service, customer should present Amazon Order
ID or numbers provided by online retailers.
Warranty Service Exclusions:
A) Any damages that are caused by other than normal use, including, but not
limited to physical damages.
B) Any user modification, repairs or disassembly of the product without
factory authorization.
C) Missing warranty Registration.
9
 Loading...