

Page 1
CUBISCAN 150-T SETUP
QUICK REFERENCE GUIDE
This quick reference guide provides instructions for assembling and setting up the Cubiscan
150-T. For more detailed instructions on setting up the Cubiscan 150-T, see the Cubiscan 150-T
Operations and Technical Manual.
UNPACKING
1 Remove the Cubiscan 150-T, cables, calibration cube, and other tools and accessories
from the crate.
2 Remove any shipping material.
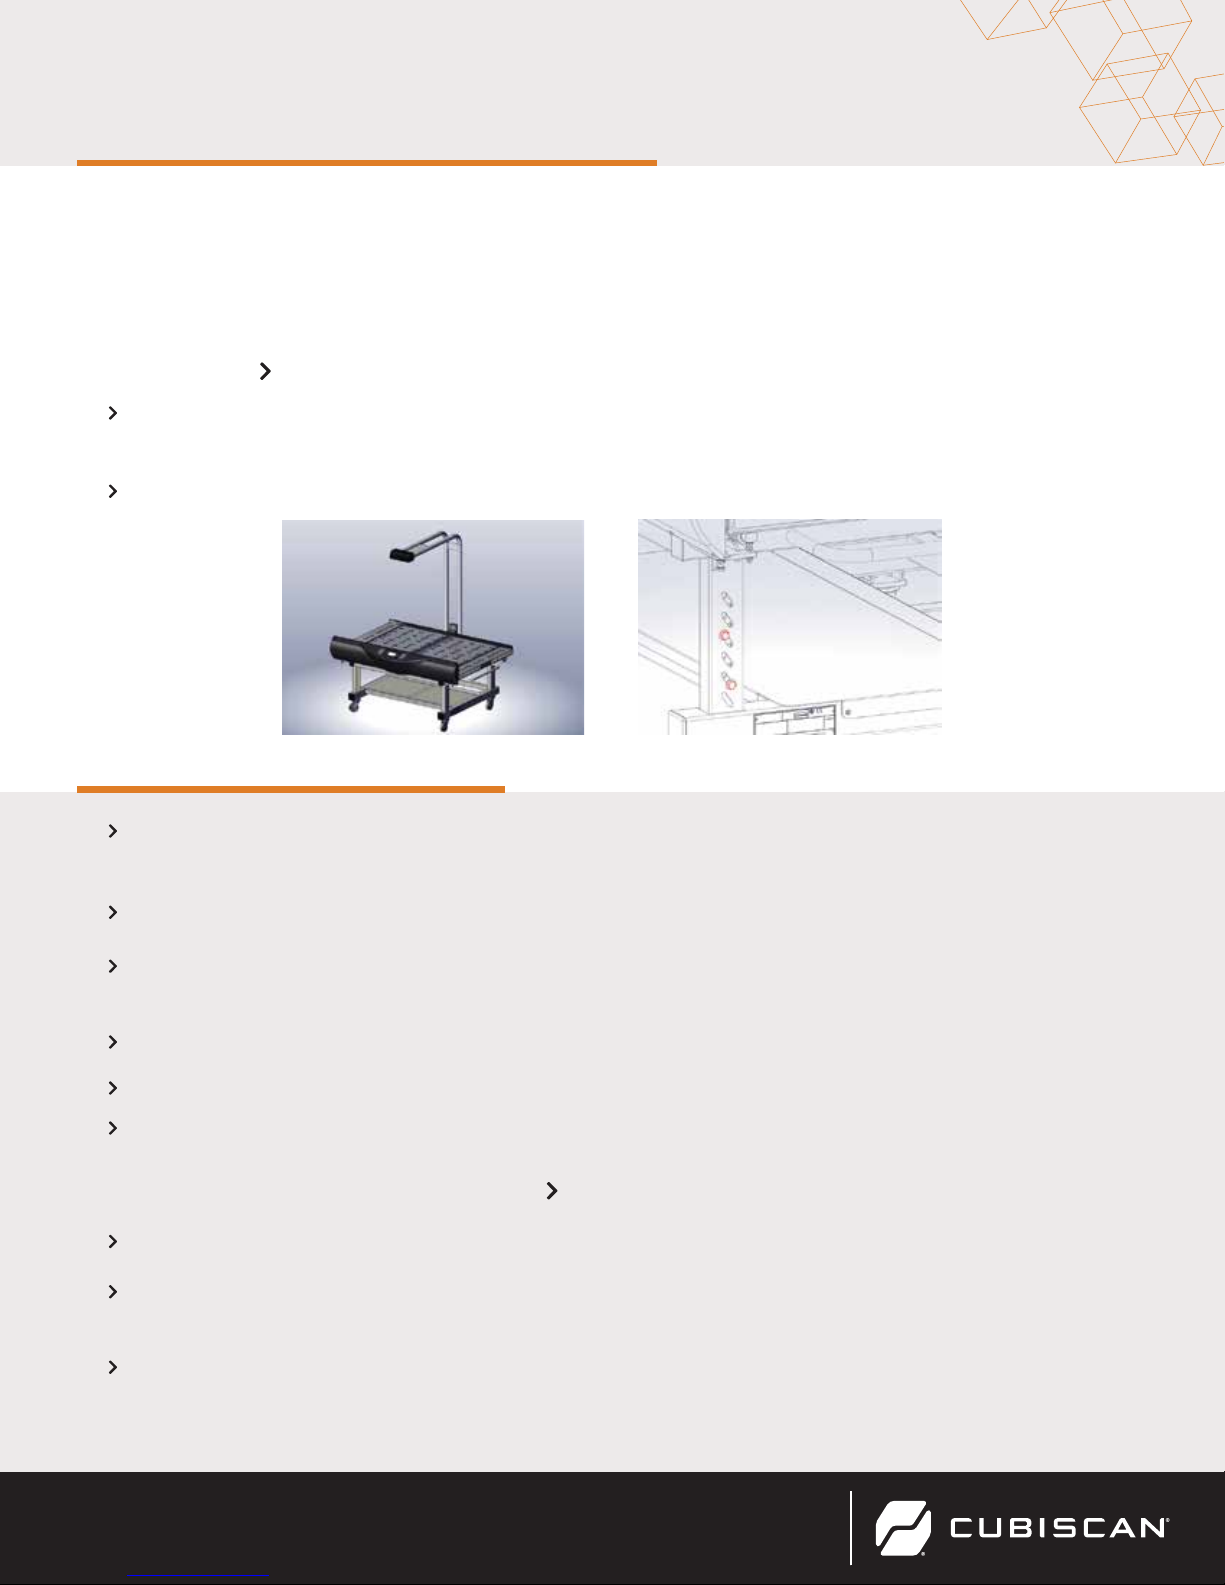
ADJUSTING PLATFORM HEIGHT
1 Using a forklift or pallet jack, lift the main assembly of the Cubiscan 150-T high
enough so that the retaining bolts can be removed.
2 Remove the retaining bolts with a 9/16” open end wrench.
3 Raise or lower the frame until the adjustment holes in the leg and frame are aligned
at the desired height.
4 Push the retaining bolts through the slotted holes in the frame and leg.
5 Thread the nuts on the bolts and tighten them.
6 Lower the frame back down.
INSTALLING THE OVERHEAD ARM
1 Remove the retaining bolts from the mounting plates on the back of the base frame.
2 Lift the overhead arm into position and set the angled mounting plate on the
bottom of the arm assembly on the frame, aligning the holes.
3 Insert the retaining bolts through the mounting plate in the overhead arm assembly
and into the matching holes in the plate on the base frame and tighten them. Make
sure no cables are being pinched by the overhead arm.
801.451.7000
cubiscan.com
Page 2
CONNECTING THE HEIGHT SENSOR CABLE
1 Locate the two height sensor cables on the Cubiscan. A cable labeled
“Height” is routed from the height sensor down through one of the overhead
arm assembly tubes. Make sure this cable is not pinched.
2 The other cable labeled “Height” has a phone-style jack on one end and is located
under the Cubiscan scale platform. Plug the phone-style jack into the coupler on the
other height sensor cable and verify that the connection is secure.
LEVELING THE CUBISCAN 150-T
1 Lock the casters in place.
2 If the Cubiscan is not level, adjust the height of each caster as necessary.
3 You can use a 7/16” wrench to turn the adjustment bolts (located under the caster
housing and accessible from the front of the caster) with the Cubiscan on the floor, or
you can take the weight off the casters and adjust them by hand.
Turn a bolt clockwise to raise the Cubiscan frame or counter-clockwise to lower it.
You can check the bubble level to see how level the Cubiscan 150-T is. The bubble level
is located on the Cubiscan platform just to the left of the center.
CONNECTING POWER
1 Locate the AC power cord (supplied), and connect
it to the AC power adapter (located underneath
the scale platform on the left side).
2 Connect the other end of the AC power cord to
a power strip that is plugged into a standard outlet.
CONNECTING TO A COMPUTER
1 Place the computer in its permanent location, generally close to the Cubiscan.
2 Route the USB cable under the base so it cannot be crushed, bent, or pulled loose. Tie
the cable up so it is out of the way, but does not interfere with the scale.
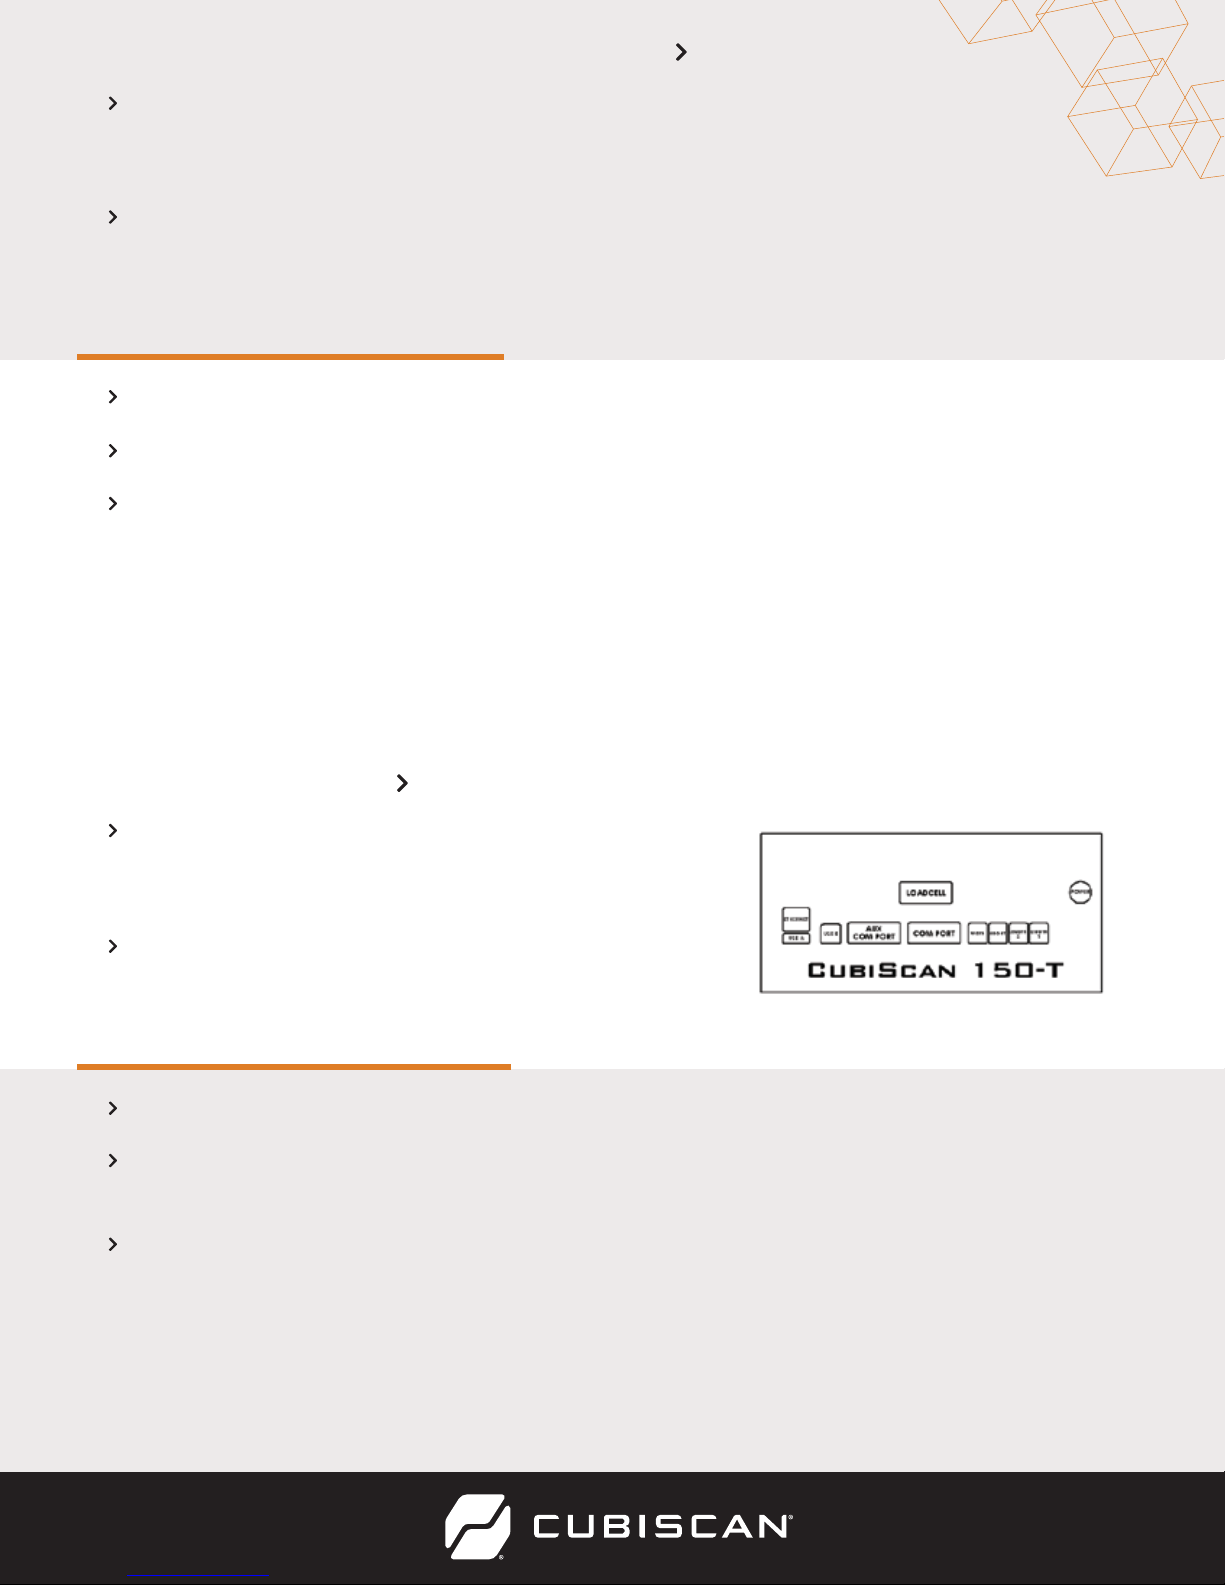
3 The Cubiscan connection box is located to the left of the touchscreen, underneath the
scale platform. Connect one end of the USB cable to the USB-B connector on the back of
the Cubiscan controller. Locate a free USB port on your computer and connect the other
end of the USB cable to the port.
For information on installing a laptop tray arm or setting up a barcode scanner, see the
Cubiscan 150-T Operations and Technical Manual.
Copyright© 2018 by Quantronix, Inc.
All rights reserved.
V 11/14/17
 Loading...