

Cube Mountain Bike Assembly Manual

Assembly Manual
Mountain Bike

Assembly Manual Mountain Bike
2
Assembly Manual
Mountain Bike
I. Unpacking the box 4
II. Getting the front wheel ready 4
III. Fitting the front wheel 5
IV. Fixing the front wheel into the fork 9
V. Adjusting the handlebars 10
VI. Fitting the saddle 10
VII. Fitting the pedals 11
VIII. Test run 12

Assembly Manual Mountain Bike
3
Dear Customer,
Congratulations on the purchase of your new mountain bike.
With the aid of this Assembly Manual you will be able to
complete the assembly of your bike in a couple of steps at home.
All the necessary assembly work and pre-adjustments to the
gears and brakes have already been done by our bike builders.
You only need to t the front wheel, saddle and pedals.
All the tools needed can be found in the box of accessories
enclosed with your bike.
Attention: It is essential that you also read the
manufacturers’ own operating manuals to
fully understand all of the technical features of your bike.
Assembly Manual Mountain Bike
4
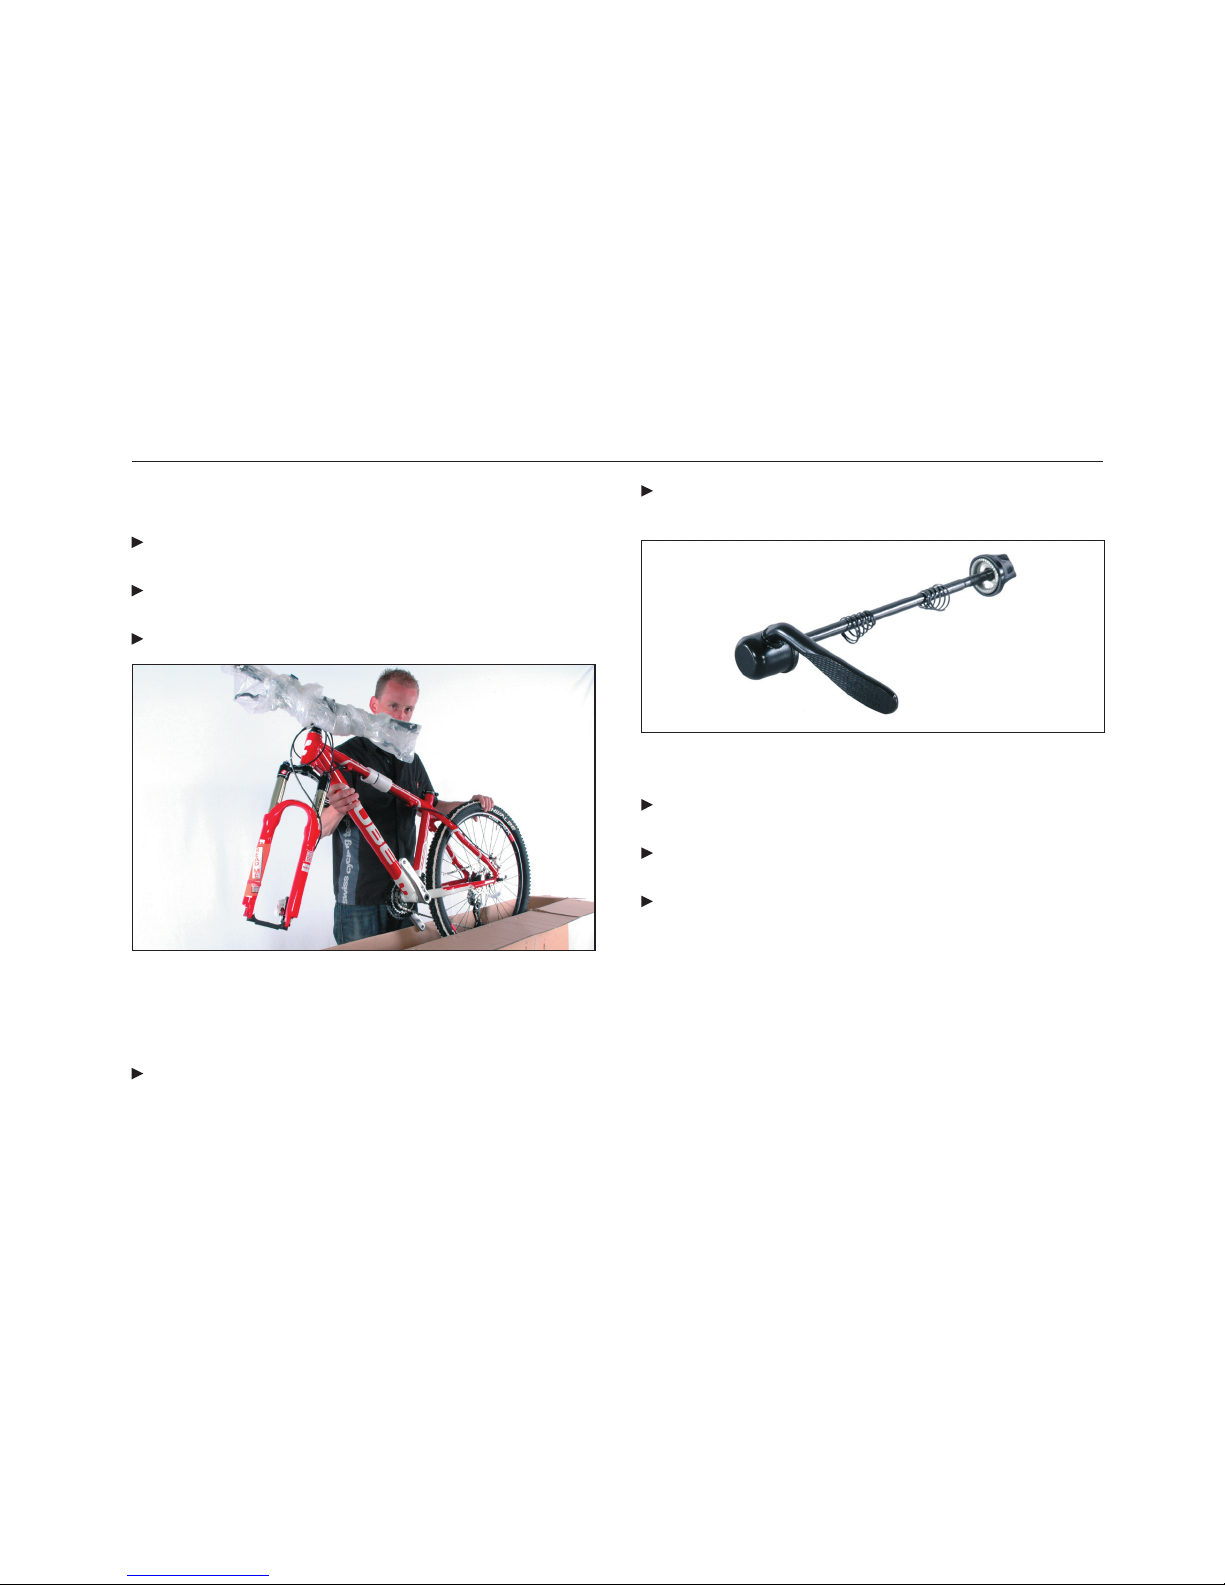
I. Unpacking the box
Open up the special shipping box and remove the
rectangular protective cardboard on the rear wheel.
Take the wheel out of the box, followed by the saddle and
then the bike frame, which has the rear wheel already tted.
Take out the package of accessories.
Fig. 1
II. Getting the front wheel ready
Remove the two plastic protective covers on the wheel Hub.
Open up the package of accessories and take out the quick
release skewer. (Fig. 2)
Fig. 2 Quick release skewer
A
B
C
D
Loosen the acorn nut (B) on the quick release skewer and
remove the springs (C)
Insert the quick release skewer with the spring (D) into the
axle of the hub (Fig. 3)
From the other side replace the second spring (D)
onto the skewer and gently tighten the acorn nut (B) (Fig. 4)

Assembly Manual Mountain Bike
5
Fig. 3 Fit the quick release lever
on the left hand side
(when sitting on the bike)
Fig. 4 Quick release skewer
when tted
Important: The conical ends of the two springs (C) and
(D) should always point towards the hub axle!
Important: Make sure that the quick release lever is always
on the left hand side of the front wheel (when sitting on the
bike)
III. Fitting the front wheel
Once the front wheel is ready to be tted into the fork,
proceed as follows (depending on the type of brakes):
Important: Get a second person to help you when tting the
front wheel or alternatively usea bike stand.
Remove the plastic protection from the fork dropouts (Fig. 5)
Fig. 5 Remove protection from the fork
a.) Wheels with hydraulic disc brakes
Lift the mountain bike by its stem with one hand
Remove the shipping protection from the hydraulic
disc brakes, by pulling the plastic out of the disc brake calliper
(Fig. 6 and 7)
 Loading...