

Cube Kinder Bmx, Kids Bmx Handbook

BEDIENUNGSANLEITUNG
HANDBOOK
KINDER BMX/ KIDS BMX
Deutsch/ English
Datum/ date
Datum/ date
Stempel/ stamp
Unterschrift des Händlers/ Signature of the dealer
Stempel/ stamp
Unterschrift des Händlers/ Signature of the dealer
Stempel/ stamp
Unterschrift des Händlers/ Signature of the dealer
Stempel/ stamp
Unterschrift des Händlers/ Signature of the dealer
Stempel/ stamp
Unterschrift des Händlers/ Signature of the dealer
Stempel/ stamp
Unterschrift des Händlers/ Signature of the dealer
Datum/ date
Datum/ date
Datum/ date
Service:
1. Inspektion
1stinspection
3. Inspektion
3rdinspection
5. Inspektion
5thinspection
2. Inspektion
2ndinspection
Datum/ date
4. Inspektion
4thinspection
6. Inspektion
6thinspection
service card
1883_Cube_Betriebsanleitung_Umschlag_ALLE_RZ.indd 7 26.08.09 10:31
Lenker
handlebars
Feder-Dämpfungselemente
suspension system
Lichtanlage
lighting system
Pedale
pedals
Sattelstütze
seat post
Schaltung
shifting system
Laufräder
wheels
Verschraubungen überprüfen
check the screw connections
Bremsen
brake system
Folgende Te ile wurden einer eingehenden Prüfung unterzogen:
Following parts have been checked in detail:
Das Fahrrad wurde endmontiert und wird in
einem fahrbereiten Zustand übergeben.
The bicycle is finally assembled and will be
hand out in a roadworthy condition.
Stempel/ stamp
Unterschrift des Händlers/ Signature of the dealer
Datum/ date
Ort/ location
01 Kettenblätter /chain rings
02 Kurbel /crankset
03 Pedale /pedals
04 Kette/chain
05 Schaltwerk /rear derailleur
06 Zahnkranz Cassette/
sprocket cluster
07 Schalthebel /shifter
08 Bremshebel/brake levers
09 Bremsen/brakes
10 Schnellspannachsen/
quick-release axles
11 Naben/Hubs
12 Sattelstütze /seat post
13 Sattelklemme /seat clamp
14 Rahmen /frame
15 Fe dergabel/fork
16 Laufräder /wheels
17 Lenker/bar
18 Vorbau /stem
19 Steuersatz /headset
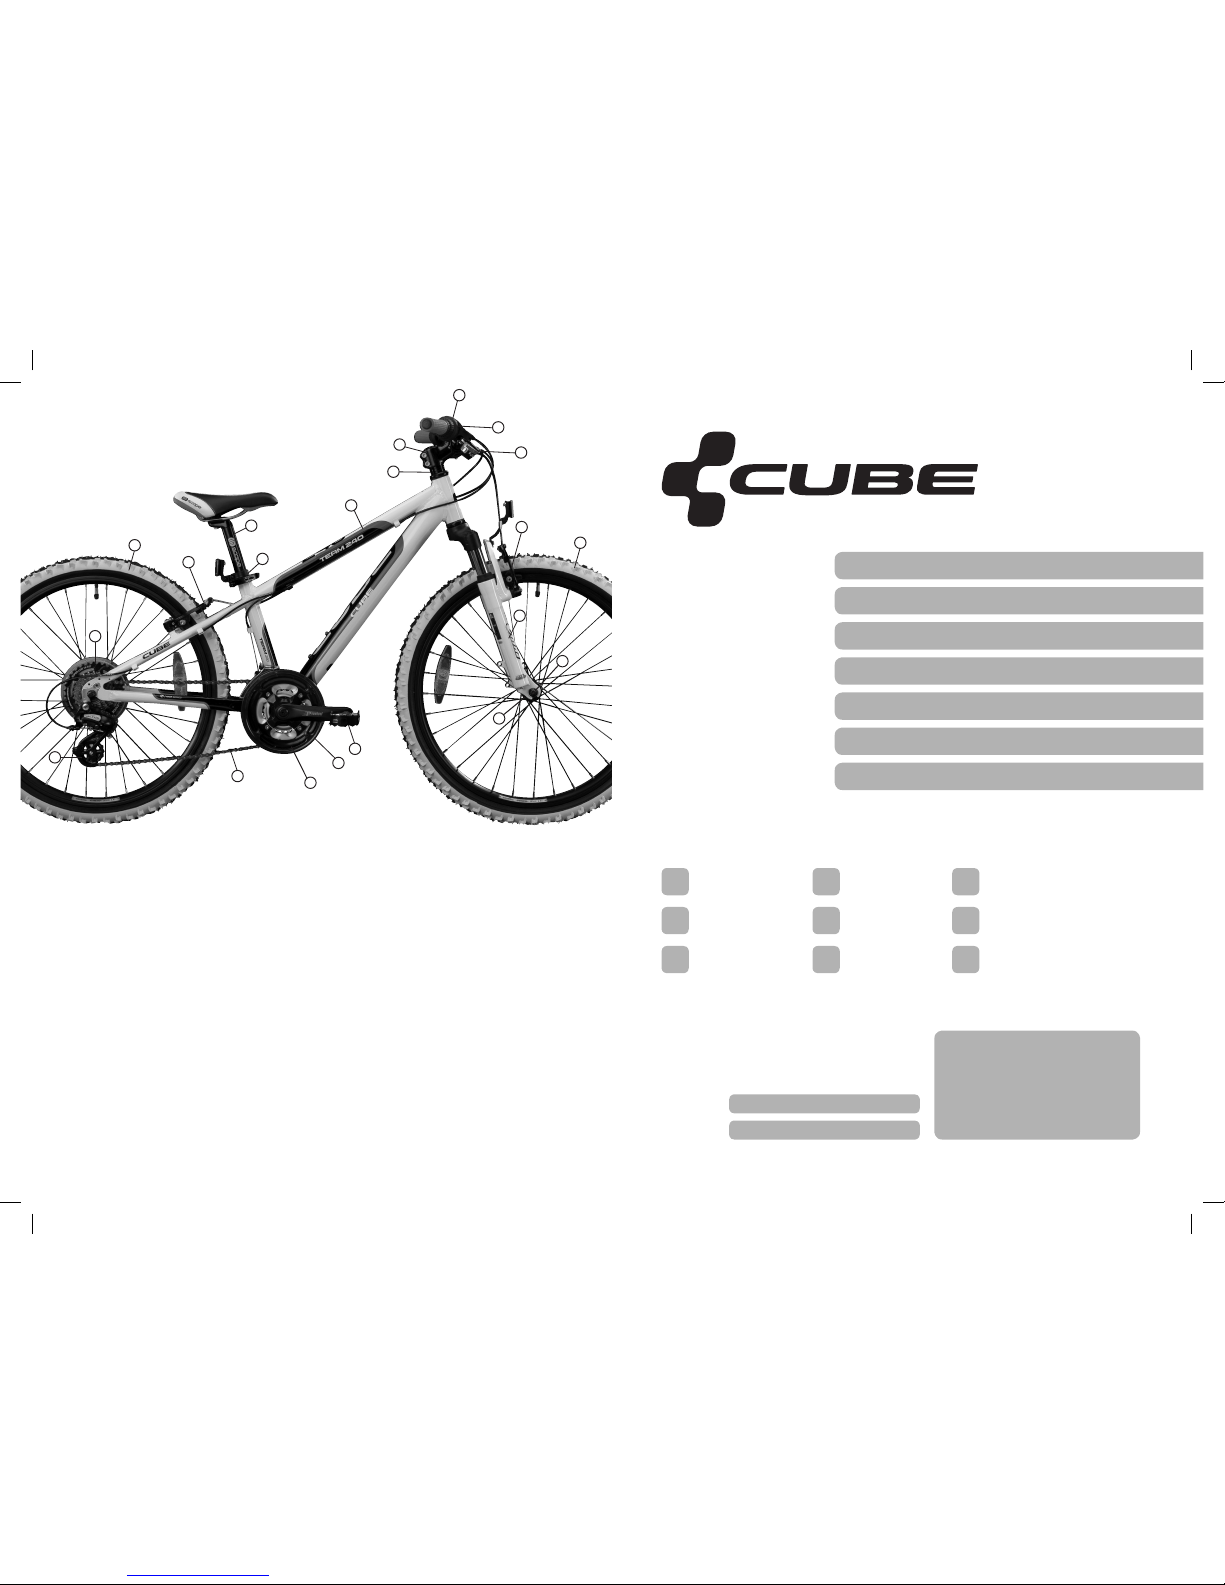
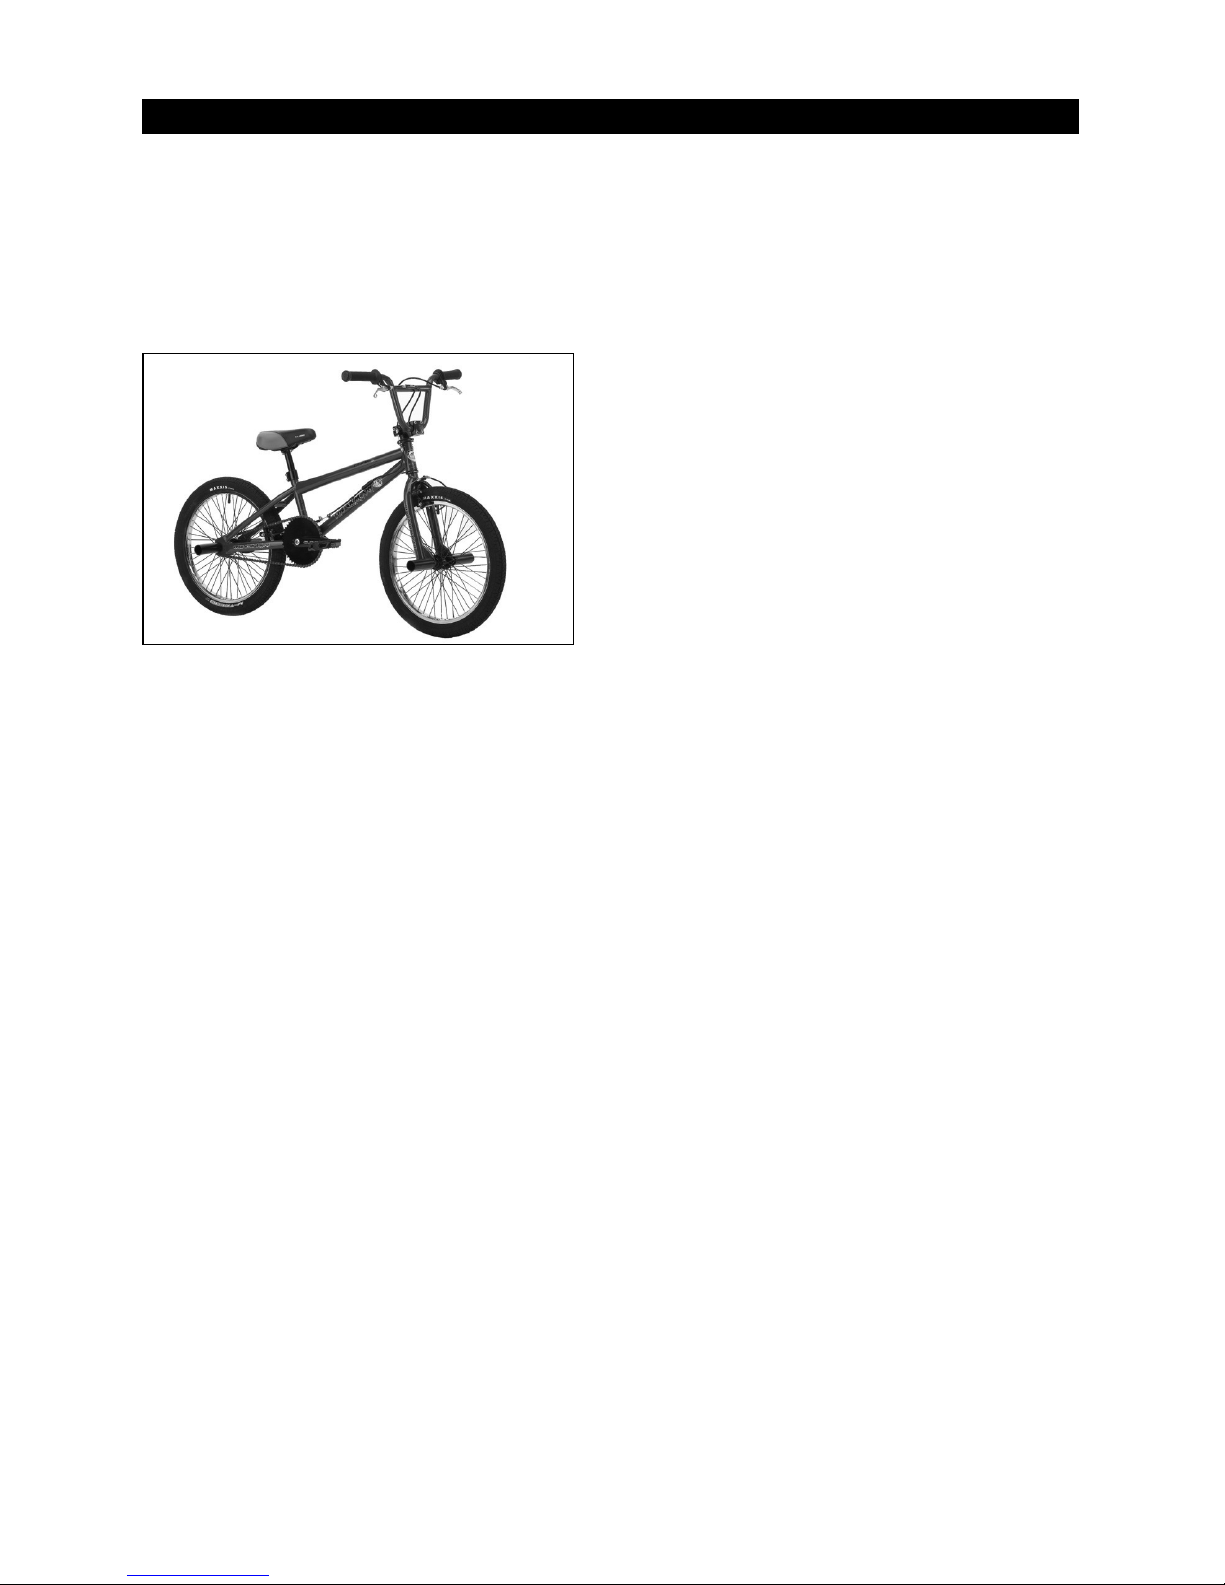
In the following image you will find abikewhichshows all necessary parts, listed in the manual. We choosed an
example of the wide ra nge of bikes on the market.
In der oberen Abbildung finden Sie ein Fa hrrad, an dem alle notwendigen, in der Bedienungsanleitung vorkommenden Bauteile verzeichnet sind. Wir haben hier einen beliebigen Fa hrradtyp gewählt, da es sehr viele unterschiedliche Fahrradtypen mit unterschiedlichen Ausstattungsmerkmalen gibt.
Marke
brand
Modell
type
Rahmengröße
framesize
Farbe
colour
Laufradgröße
wheelsize
Sonderausstattung
extra equipment
Kaufdatum
date of purchase
service card
1
2
3
4
5
6
7
8
9
16
10
11
15
14
19
18
17
16
13
12
9
1883_Cube_Betriebsanleitung_Umschlag_ALLE_RZ.indd 8 26.08.09 10:31

HANDBOOK
KIDS BMX
English

2 | KIDS BMX | EN
Content
1About this Owner’s Manual....................................................................................................................................................................................................4
1.1 Owner’s Manual................................................................................................................................................................................................................................4
1.1.1 Scope of Application ...................................................................................................................................................................................................................4
1.1.2 Accompanying documentation.............................................................................................................................................................................................4
1.2 Conventions ..........................................................................................................................................................................................................................................5
1.2.1 Symbol..................................................................................................................................................................................................................................................... 5
1.2.2 Location indications .......................................................................................................................................................................................................................5
1.2.3 List of abbreviations ..................................................................................................................................................................................................................... 5
1.2.4 Definition of Te rms.........................................................................................................................................................................................................................5
2For your safety ................................................................................................................................................................................................................................6
2.1 Use your bicycle as intended.............................................................................................................................................................................................6
2.1.1 Who may use your bicycle?.................................................................................................................................................................................................6
2.1.2 How may you ride your bicycle?.....................................................................................................................................................................................6
2.1.3 Where may you ride your bicycle?................................................................................................................................................................................7
2.1.4 In what condition must your bike be when you ride it?............................................................................................................................. 8
2.1.5 What you must not do.............................................................................................................................................................................................................. 8
2.2 Other hazards ....................................................................................................................................................................................................................................9
2.2.1 Hazards caused by faulty final assembly..............................................................................................................................................................9
2.2.2 Hazards caused by improper use....................................................................................................................................................................................9
2.3 Disposal...................................................................................................................................................................................................................................................9
3Included with your bike and Technical Details with your bike and Te chnical Details...................................................10
3.1 Technical data..................................................................................................................................................................................................................................10
4Assembly and function............................................................................................................................................................................................................10
5Before using for the first time .........................................................................................................................................................................................12
6Before every trip...........................................................................................................................................................................................................................13
6.1 Check the wheels .........................................................................................................................................................................................................................13
6.1.1 Check fitting........................................................................................................................................................................................................................................13
6.1.2 Check the rims.................................................................................................................................................................................................................................13
6.1.3 Check tyres........................................................................................................................................................................................................................................14
6.1.4 Other checks.....................................................................................................................................................................................................................................16
6.2 Check saddle and seat post.............................................................................................................................................................................................. 16
6.3 Handlebars, check stem..........................................................................................................................................................................................................17
6.4 Check handlebar-mounted parts ....................................................................................................................................................................................17
6.5 Check the headset ......................................................................................................................................................................................................................18
6.6 Check suspension fork............................................................................................................................................................................................................18
6.7 Check the rear wheel suspension................................................................................................................................................................................18
6.8 Check the brakes.......................................................................................................................................................................................................................... 19
6.8.1 Check rim brakes and cable (racing bike version)........................................................................................................................................... 19

KIDS BMX | EN | 3
6.8.2 Check rim brakes and cable (mountain bike version).................................................................................................................................20
6.8.3 Check hydraulic rim brakes................................................................................................................................................................................................. 21
6.8.4 Check hydraulic disk brakes..............................................................................................................................................................................................22
6.8.5 Check back-pedal brake....................................................................................................................................................................................................... 22
6.9 Check crankset and chain....................................................................................................................................................................................................23
6.10 Check lighting system (if fitted)......................................................................................................................................................................................23
6.11 Check carrier....................................................................................................................................................................................................................................23
6.12 Check splash guards (mudguards) ................................................................................................................................................................................ 23
6.13 Check BMX mounting parts.................................................................................................................................................................................................24
6.14 Other checks....................................................................................................................................................................................................................................24
7Adjusting and Using your bike..........................................................................................................................................................................................24
7.1 Adjusting the adjustable stem (optional) ...............................................................................................................................................................24
7.2 Adjust saddle position............................................................................................................................................................................................................. 24
7.3 Adjust saddle height................................................................................................................................................................................................................. 25
7.4 Adjust suspension fork...........................................................................................................................................................................................................25
7.5 Adjust rear suspension...........................................................................................................................................................................................................26
7.6 Using the gears.............................................................................................................................................................................................................................26
7.6.1 Shimano Dual Control..............................................................................................................................................................................................................27
7.6.2 Shimano Rapidfire/ Shimano Rapidfire 2-Way-Release/Shimano EZ Fire...................................................................................28
7.6.3 SRAM gear shift ............................................................................................................................................................................................................................29
7.6.4 Twist grip shift ................................................................................................................................................................................................................................29
7.7 Using the brakes...........................................................................................................................................................................................................................30
7.8 Operate the quick-release action................................................................................................................................................................................. 31
7.9 Using click-in pedals (optional) ......................................................................................................................................................................................33
7.10 Loading the carrier......................................................................................................................................................................................................................35
8During riding.......................................................................................................................................................................................................................................36
8.1 Troubleshooting .............................................................................................................................................................................................................................36
8.1.1 Gears and crankset...................................................................................................................................................................................................................36
8.1.2 Brakes.................................................................................................................................................................................................................................................... 37
8.1.3 Frame and suspension........................................................................................................................................................................................................... 38
8.1.4 Splash guard, carrier and lighting................................................................................................................................................................................ 38
8.1.5 Wheels and tyres........................................................................................................................................................................................................................39
9After falls or accidents........................................................................................................................................................................................................ 40
10 Transporting your bike............................................................................................................................................................................................................40
10.1 Fit and remove wheels............................................................................................................................................................................................................41
10.2 Remove and replace seat post and saddle.......................................................................................................................................................45
11 Cleaning and caring for your bike................................................................................................................................................................................47
12 Storing your bike for a lengthy period ...................................................................................................................................................................50
13 Guarantee and Warranty........................................................................................................................................................................................................50
4 | KIDS BMX | EN
Dear Customer
We would like to thank you for your choice of a
bike from our Company and thank you for your
trust.
With this purchase you have a high-quality,
environmentally friendly means of travel which will
give you a lot of pleasure and at the same time
promote your health.
Your cycle dealer is also very important to you
for advice and final assembly. He is your point
of contact for servicing, inspections, modifications
and all types of repairs. Should you have any
questions regarding our product please contact
your cycle dealer.
1About this Owner’s
Manual
1.1 Owner’s Manual
RISK OF PERSONAL INJURY AND
MATERIAL DAMAGE!
Failure to observe the instructions contained in this Owner’s Manual may result
in dangerous riding situations, falls, accidents and material damage
This Owner‘s Manual is intended for
the parents or guardians of children
and young people using this bicycle.
If in this Owner‘s Manual statements
such as „have … done“, „have your
bike …“ occur, this is directed on
each occasion to the child or young
person/s and their bicycle/s.
It is the responsibility of parents or
guardians to ensure the safety of
this bicycle including when used.
Read through these instructions ca-
refully before using your bicycle for
the first time.
Please explain to your child clear-
ly and in detail all operations necessary to ensure safe use of this
bicycle.
All the bicycle parts are illustrated
in the diagrams.
Keep this Owner‘s Manual and pass
it on with the bicycle if you ever
sell it or give it as a present.
It is your responsibility to check
your bicycle and to have any necessary work done to it.
If you do not understand many of
the sections of this Owner‘s Manual
consult your cycle dealer.
1.1.1 Scope of Application
This Owner’s Manual applies to:
Please take information specific to your
bicycle from the Owner’s Manual for
your bicycle model.
RISK OF PERSONAL INJURY AND
MATERIAL DAMAGE!
This Owner‘s Manual is not suitable
for learning to ride a bicycle.
This Owner‘s Manual is not suitable
for learning riding techniques.
1.1.2 Accompanying documentation
Owner’s Manual specific to your bicycle model.
Parts Instructions
RISK OF PERSONAL INJURY AND
MATERIAL DAMAGE!
Due to the large number of existing
bicycle parts it is impossible to provide a totally exhaustive set of instructions valid for all.
Please therefore always observe
the accompanying parts instructions.
Their instructions basically take
precedence over any contrary instructions in the following text.
ABOUT THIS OWNER’S MANUAL KIDS BMX | EN | 5
1.2 Conventions
1.2.1 Symbol
NOTE!
Draws your attention to items requiring
your particular attention.
WARNING!
Points out to you the possibility of
slight personal injury and possible material damage.
DANGER!
Points out to you the possibility of grave
personal injury even leading to death.
RISK OF BURNS!
Temperature exceeds 45°C (temperature
at which egg white sets) and can cause
burns on humans.
1.2.2 Location indications
If this Owner’s Manual states “right”, “left”, “front”
or “back” this always means as seen when looking
“in the direction of travel”.
1.2.3 List of abbreviations
StVO German Highway Code
StVZO German Road Traffic Licensing
Regulations
MTB Mountain bike
HWK Chamber of Trade
1.2.4 Definition of Terms
Specialist dealer /specialist
workshop
In Germany: In this Owner’s
Manual the term “specialist
dealer” and/or “specialist workshop” indicates a dealer trained
as a bicycle mechanic and/
or cycle mechanic authorised
by the competent Chamber of
Trade to operate a specialist
workshop.
Similarly the latter must be
authorised by the manufacturer of this cycle to check and
confirm correct assembly and
roadworthiness of this cycle.
Correct tightening
The term “correct tightening” indicates the state in which screw
heads fit tight to the component over their entire surface.
kid001
6 | KIDS BMX | EN
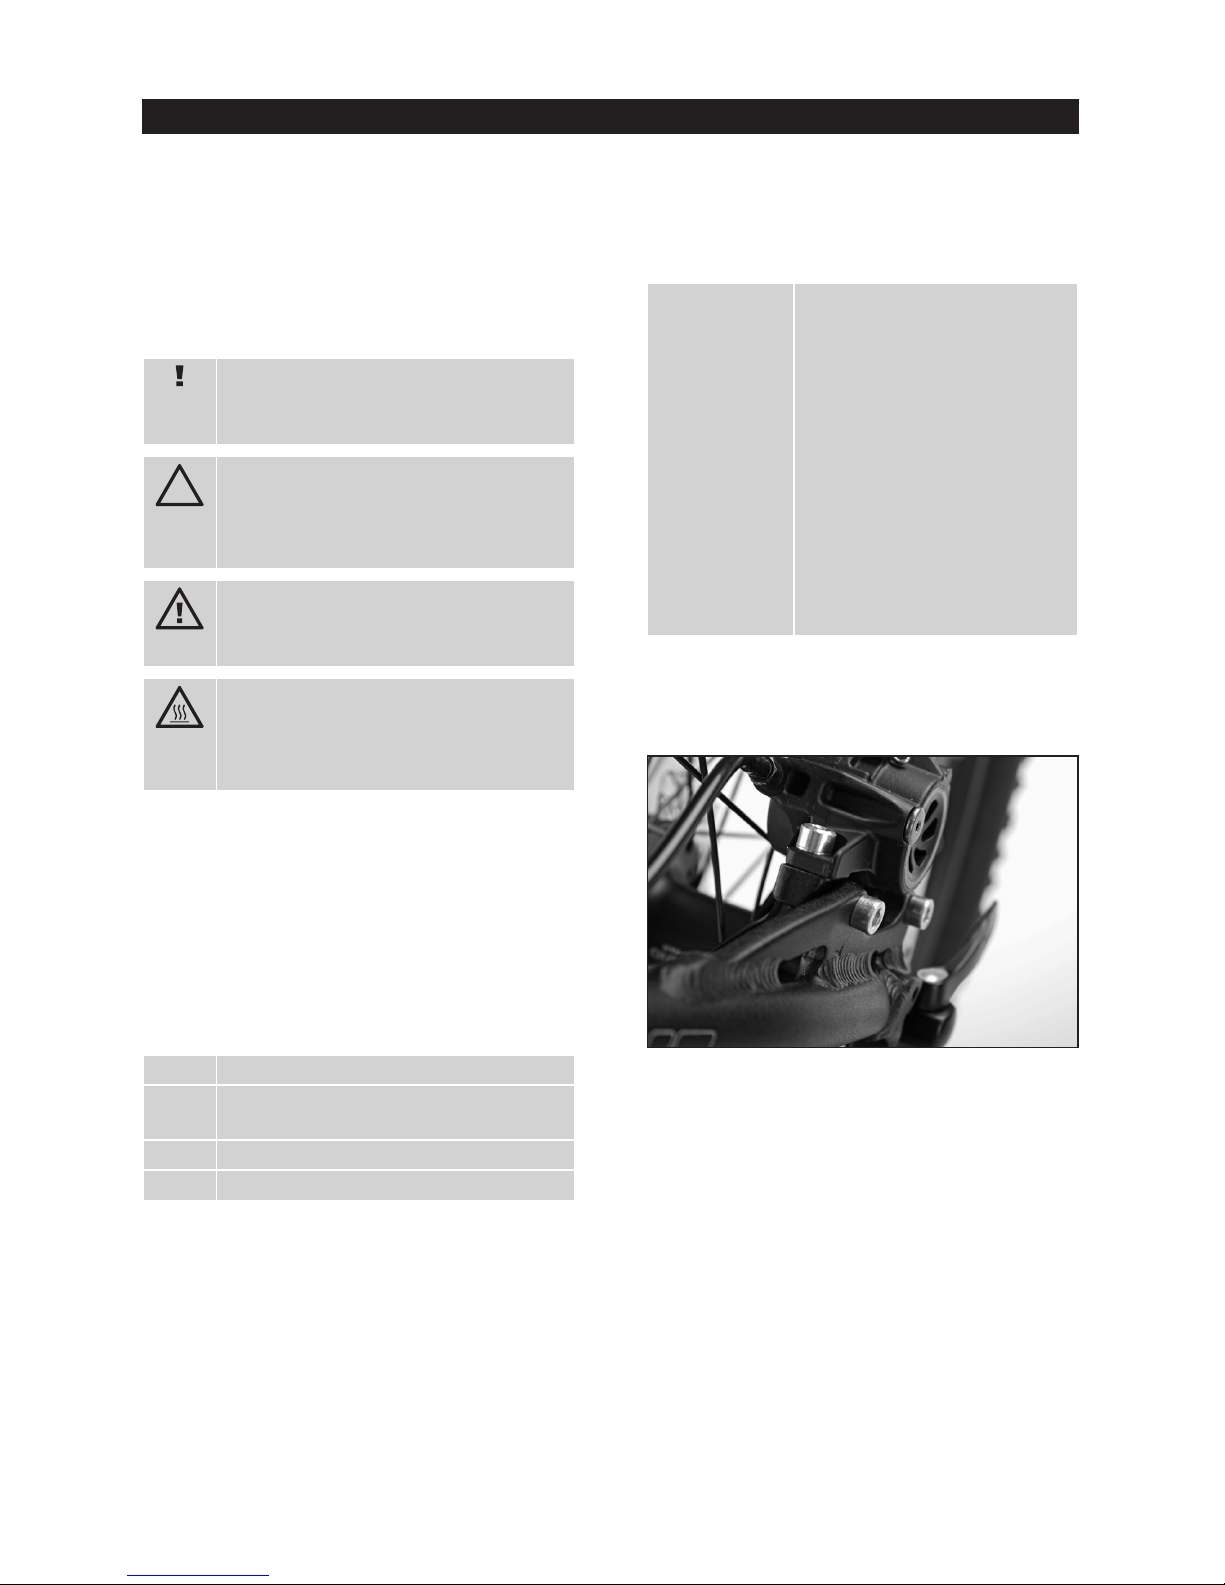
Incorrect tightening
A loose screw can often be
recognised by a projecting
screw head.
kid002
Run-out A radial lack of true on the
rim is colloquially known as a
“run-out”.
Bar conventional unit for air pres-
sure
psi pounds per square inch;
American unit for pressure;
1 psi = 0.06897 bar
Nm Newton meter; unit for torque
2For your safety
2.1 Use your bicycle as intended
2.1.1 Who may use your bicycle?
RISK OF PERSONAL INJURY AND
MATERIAL DAMAGE!
The rider must be able to ride a bicycle,
i.e. he must possess a basic knowledge
of the use of a bicycle and have the
necessary sense of balance required to
control and steer a bicycle.
The rider must have be of the cor-
rect physical size for this bicycle
(please consult your dealer).
The rider must be physically and
mentally able to ride this bicycle
on the public roads.
2.1.2 How may you ride your
bicycle?
RISK OF PERSONAL INJURY AND
MATERIAL DAMAGE!
Sit with your bottom on the saddle or
ride out of the saddle, i.e. pedalling in a
standing position.
Hold the left handlebar grip with
our left hand and the right hand
handlebar grip with your right hand.
Place your left foot on the left
pedal and your right foot on the
right pedal.
Only use the bicycle as a pure
means of travel.
FOR YOUR SAFETY KIDS BMX | EN | 7
2.1.3 Where may you ride your
bicycle?
RISK OF PERSONAL INJURY AND
MATERIAL DAMAGE!
All bicycles by this manufacturer are
classified into Categories. You will find
your bicycle’s Category in your Service
Card. This is entered by your dealer on
purchase (see also Chapter 4).
Roads and paths are classified as follows:
Road: Asphalted
Path: Sand, gravel or similar subsur-
face (e.g. forest pathway, field track)
Prepared hiking trail: No or not
many roots, sleepers, stones, ledges etc.
Unprepared hiking trail: Roots,
sleepers, stones, ledges etc.
Bike park: Area specially designed
for free riding, downhill, BMX and
dirt bikes
Please note that all roads and paths
may be damaged and/or have obstacles
which may adversely affect your riding
safety and damage your bicycle.
In such locations ride particularly slowly and carefully. Push or carry your bicycle over such subsurface if necessary.
RISK OF PERSONAL INJURY AND
MATERIAL DAMAGE!
From a technical standpoint the manufacturer approves use up to the following categories of roads and paths.
In the case of jumps and high speed
there is basically a risk of falling. Only
jump and ride at high speed when you
have firmly mastered this riding technique.
Touring: Paths, no jumps
Cross-country: Paths, no jumps
Marathon: Unprepared paths, no
jumps
All Mountain: Unprepared paths,
jumps up to 0.5 metres in height
EnduroUnprepared paths at high
speed, jumps up to 1 m in height
Freeride: Bike park:
Dirt bike/BMX: Bike park:
Kids: Paths, no jumps
Traveller: Paths, no jumps
Countrylite: Paths, no jumps
Speedlite: Road, exceptionally paths,
if smooth firm subsurface, no jumps
Road Racing: Roads, no jumps
Bikes of every category with rac-
ing wheel or tyres similar to racing
wheel Roads, no jumps
Bikes in another Category may be fitted with a racing wheel or tyres similar
to a racing wheel. This sort of tyre fit
can be recognised by a maximum width
of 28 mm, indicated for example by two
numbers on the tyre such as 28-622 or
28-559.
Such bikes may only be used on asphalt roads.
Please consult your dealer.
8 | KIDS BMX | EN
2.1.4 In what condition must your
bike be when you ride it?
Your new bike is an item of sports and play
equipment and may not be used on public roads
unless equipped to StVZO specification. In order to
meet current StVZO requirements your bike must
have the following equipment fit listed here in
extract form.
Please take the full wording of the regulations for trips in Germany from the
StVZO or consult your dealer.
When using outside Germany please observe the traffic regulations prevailing
in your country. For this please consult
your dealer or the competent authority.
Two independently operating brakes
A bell
Dynamo-powered lighting for front (whitel
light) and rear (red light)
Racing bikes under 11 kg are exempt from
the dynamo regulation.
Racing bikes exempt from the dynamo
regulation must carry battery-powered
lighting in the daytime.
For the duration of participating in races
racing bikes are exempt from this regulation.
White front reflector (often integrated into the
front headlight) and a red reflector at the rear
Two yellow reflectors each for the front and
rear whhels; alternatively Ty res with reflective
stripes on both sides
Two yellow reflectors for both right and left
pedals
All lighting components and reflectors
must be officially approved.
Approval can be recognised by a “K”
marking, a wavy line and a multi-digit number.
For regulation fitting of these parts
please consult your dealer.
Chainwheel guard
2.1.5 What you must not do
RISK OF PERSONAL INJURY AND
MATERIAL DAMAGE!
Many cyclists like to modify their bikes
and to custom them to their particular wishes. Saddles, handlebars, pedals,
brakes, tyres and suspension elements
-there are may possibilities for changing
your bike subsequently.
Working on bikes, including work which
is assumed to be very simple, requires
sound training, sound knowledge and a
great deal of experience.
Unprofessional work on your bike can
lead to dangerous riding situations, falling, accidents and material damage.
Do not fit add-on parts to your bike
which are not expressly approved
for your model of bike.
Excepted are bike computers and
bottle holders if selected and fitted
by the dealer.
Please consult your dealer.
Have all fitting of parts, modifica-
tions, servicing and other work carried out only by your dealer.
FOR YOUR SAFETY KIDS BMX | EN | 9
2.2 Other hazards
2.2.1 Hazards caused by faulty final
assembly
RISK OF PERSONAL INJURY AND
MATERIAL DAMAGE!
Unprofessional final assembly of this
bike can lead to dangerous riding situations, falling, accidents and material
damage
Have correct final assembly and adjustment of the right seat position
for you confirmed by your dealer.
Benutzen Sie dazu den Vordruck in dieser Bedienungsanleitung.
2.2.2 Hazards caused by improper
use
RISK OF PERSONAL INJURY AND
MATERIAL DAMAGE!
Failure to observe the instructions contained in this Owner’s Manual may result
in dangerous riding situations, falls, accidents and material damage
Use a helmet when riding.
Ride anticipating situations and de-
fensively.
Do not ride under the influence of
alcohol.
Ride in such a way that you have
your bike under control at all times
so that you do not get into trouble
if a dangerous situation arises suddenly.
Always be aware that the effective-
ness of brakes and dynamo can reduce in the wet.
When riding a bike wear only suit-
able clothing which does not restrict operation of the bike and your
vision.
Only ride with tightly fitting leg
clothing. Loosely fitting garments
can catch on the bike and lead to
heavy falls.
In the dark and when visibility is bad
wear clothing with reflecting stripes
and ride with the light on.
Only carry your luggage on suit-
able carrier systems. These are bike
panniers or luggage carriers approved by the manufacturer. Please
consult your dealer.
Loading increases braking distance.
Please note that many items of
clothing and/or use of a rucksack
can restrict your freedom of movement.
Do not exceed the permissible over-
all weight limit – see Chapter 3.2.
Determine the total weight by lifting
your bike and standing on a calibrated scale in your complete riding
clothing together with your bike.
Please not the servicing and care
instructions in Chapters 11 and 12.
2.3 Disposal
Dispose of your bike properly at the end
of its life.
For this contact your dealer or a recycling centre.
10 | KIDS BMX | EN
3Included with your bike
and Technical Details with
your bike and Technical
Details
3.1 Technical data
Permissible
total weight
Racing bicycle115 kg
MTB 115 kg
Trekking bicycle: 140 kg
Trekking bicycle fully equipped
140 kg
Child’s bike up to 16” (*) 30 kg
Child’s bike up to 20” (*) 105 kg
BMX: 105 kg.
(*): 16“ or 20“ indicates the wheel size. This is
indicated on the tyre Please consult your dealer.
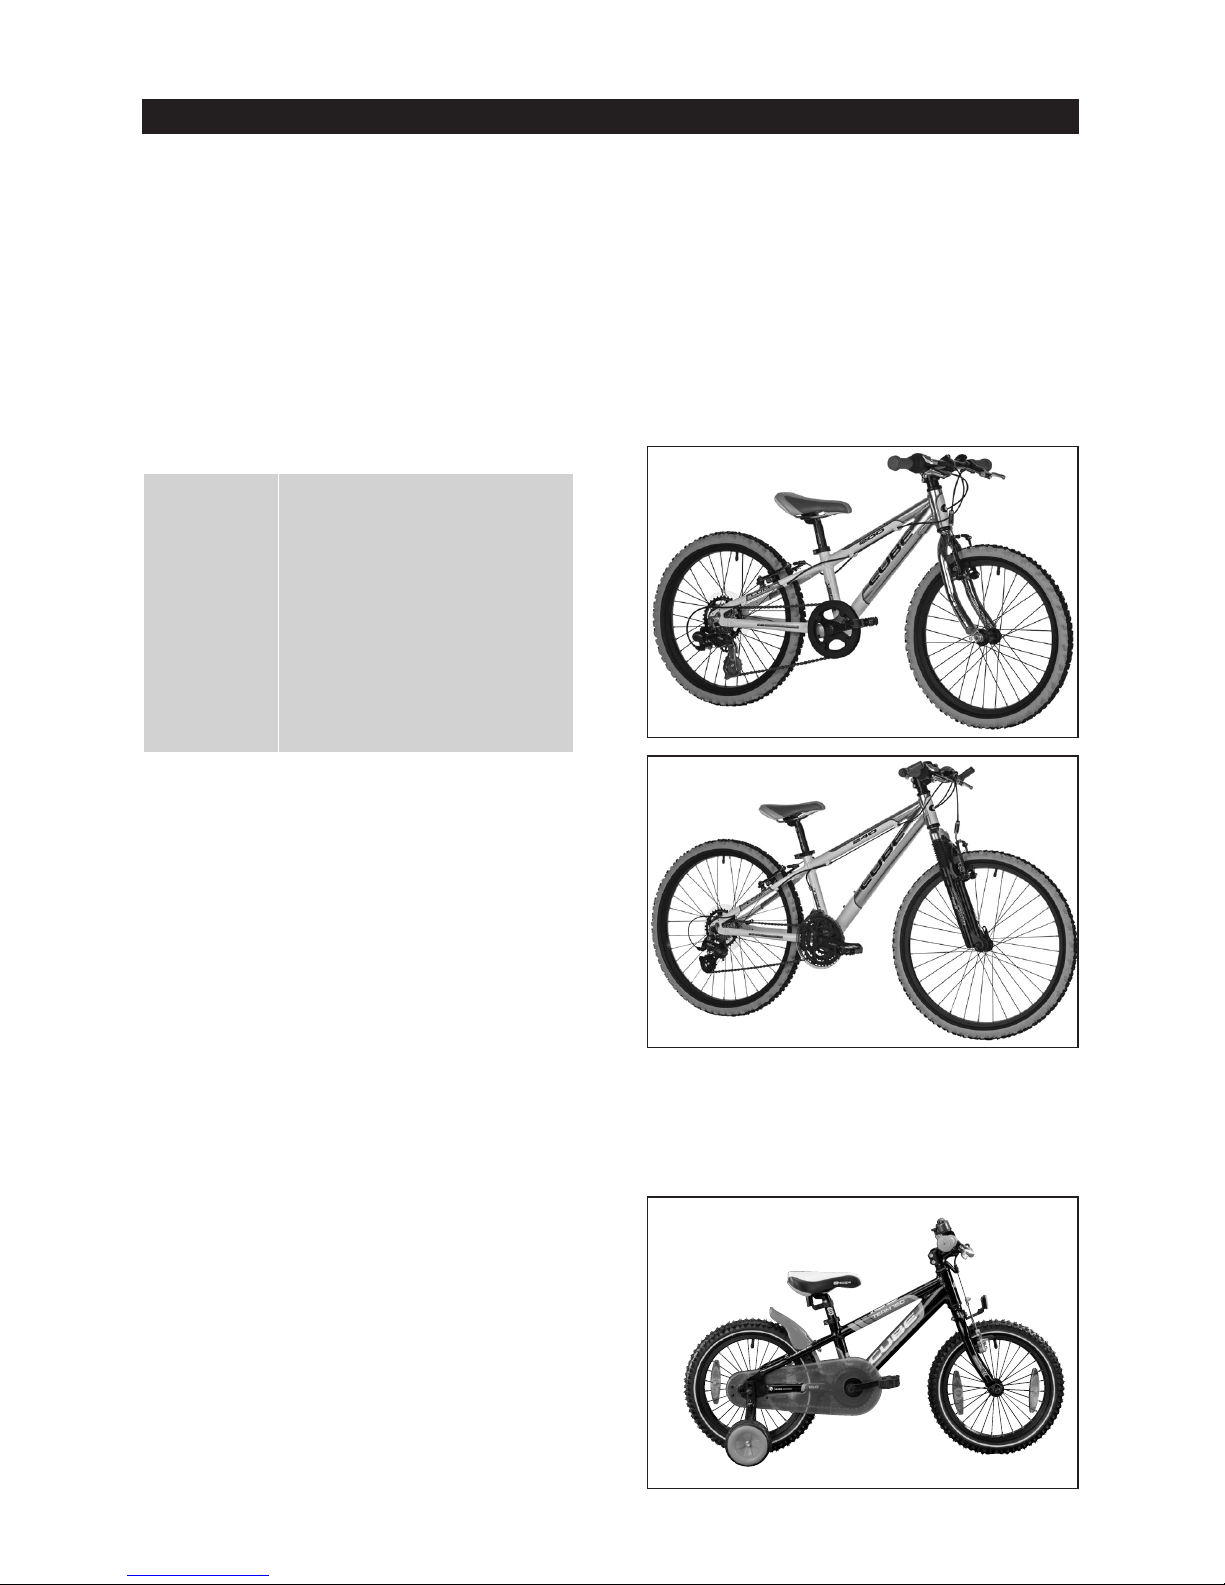
4Assembly and function
This type of bike is available in the following
models.
Mountain bike for children and teenagers: No
equipment as per StVZO, derailleur gears, rim
or disk brakes, wheels with 20” mm or 24 ”
diameter.
kid_team_200
kid_team_240
Child’s bicycle: 20” or less wheel diameter,
no StVZO specification, hub gears or no
gears, front rim brake, back-pedal rear brake,
optional stabilisers
kid1
ASSEMBLY AND FUNCTION KIDS BMX | EN | 11
BMX bike: No StVZO specification, no gears,
optionally only one brake, foot pegs on front
and rear wheels, handlebars rotatable through
360°
kidbmx
Your bike has
A derailleur gear, easily recognisable by a
sprocket set on the rear hub and a crank
wheel set with several chain rings or
a hub gear, recognisable by a “fat” rear hub or
no shifting system.
These gears provide you with the optimum gear for
any speed and amongst other things make climbing
inclines easier.
You can find out the number of gears as follows:
Derailleur gears: Multiply the number of crank
wheel sprockets at the front with the number
of sprockets on the rear sprocket set. For
example, 3 crank wheel sprockets x 9 rear
sprockets = 27 gears.
Hub gears: The number of gears is indicated
by the highest number of gears shown on the
gear selector.
Bicycles by this manufacturer are classified into
Categories. You will find your bicycle’s Category
in your Service Card. It is entered there by
your dealer on purchase. These categories are
described as follows:
Touring:
Hardtail from 80mm to 100mm front
suspension travel.
Robust, all-purpose bikes for the leisure rider
interested in touring.
Cross Country
Hardtail / full 80mm – 100 mm suspension
front and rear. Weight-oriented equipped bikes
for keen riders.
Marathon
Hardtail / full 100 – 125mm suspension front
and rear. For long distance racing and sporting
touring riders.
All Mountain:
Fullsuspension 100 – 145mm travel front and
rear. Equally well ridable uphill and downhill.
Enduro:
Fullsuspension 140 -170mm travel front and
rear. Designed mainly for downhill riding, but
equally ridable uphill as well.
PLEASE NOTE: Corresponding skill and
experience are preconditions for use of this
piece of sports equipment!
Freeride:
Fully suspension from 150mm suspension
travel front and rear.
Emphasis here is primarily on downhill and
bike park suitability.
PLEASE NOTE: Corresponding skill and
experience are preconditions for use of this
piece of sports equipment!
Dirt /BMX:
Hardtail with or without suspension forks of up
to 100 mm front suspension travel.
With this bike variant the emphasis is primarily
on jumping.
PLEASE NOTE: Corresponding skill and
experience are preconditions for use of this
piece of sports equipment!
Kids:
Hardtail with or without suspension forks of up
to 80mm front suspension travel.
Sturdy, all-purpose children’s bike.
Traveller:
Hardtail/trekking frame with up to 60 mm front
suspension travel.
Everyday use, fully equipped bicycle for swift
progress on roads and paths.
Countrylite:
Hardtail/trekking frame with up to 60 mm front
suspension travel.
All-purpose bicycles for swift progress on
roads and paths.
12 | KIDS BMX | EN
Speedlite:
Hardtail/racing frame, rigid forks.
For swift, comfortable progress.
Road Racing:
Hardtail / racing frame, rigid forks.
For swift sporting progress on roads.
5Before using for the first
time
RISK OF PERSONAL INJURY AND
MATERIAL DAMAGE!
An unroadworthy bike can lead to dangerous riding situations, fa lling, accidents
and material damage This same danger
exists if you are not yet familiar with
your new bike and its controls.
Familiarise yourself with this bicycle
before you first ride it. In particular check with brake lever operates
the front brake and which the rear –
see Section 7.7.
Modern brakes have a very power-
ful braking effect. Excessively strong
operation of the brake levers can
cause the respective wheel to lock
and can therefore lead to a fa ll.
Familiarise yourself slowly with the
braking effect on your bike in a safe
area of land.
With new rim brakes and after re-
placing brake blocks the full braking
effect only develops after a certain
run-in period. Please note therefore your initially greater braking
distances.
Disc brakes need to be initially run
in. Full braking efficiency only develops after the running-in process.
Please note the enclosed brake
manufacturer‘s running-in instructions.
A rule of thumb is: Ride 1 km with
permanent razing brakes, following
2 hard braking procedures from a
speed of approximately 30 KPH ( ...
19 miles per hour)
If your bike is fitted with optional
click-in pedals which firmly connect
the shoe with the pedal:
Practice using them by mounting and
dismounting.
Click-in pedals are not safety pedals.
If after purchasing you remove
the saddle support and front and/
or rear wheel for transportation
please follow the appropriate instructions in Chapter 10.1 and 10.2.
1. Have your dealer confirm proper final
assembly and the roadworthiness of your bike.
2. Have your dealer adjust the correct saddle
position.
You can make fine adjustments and minor changes yourself as described in
Chapter 6.2.2 “Adjusting the saddle position”.
3. Only use this bike when your dealer has
familiarised you with your bike’s technical
features in a briefing.
4. Seal your bike with aerosol wax polish, see
Chapter 11.
5. Before using read Chapter 6.
BEFORE EVERY TRIP KIDS BMX | EN | 13
6Before every trip
RISK OF PERSONAL INJURY AND
MATERIAL DAMAGE!
An unroadworthy bike can lead to dangerous riding situations, fa lling, accidents
and material damage
Also consider the possibility that your
bike may have fallen over when unattended or that someone might have
tampered with it.
Check that your bike is roadworthy
before every trip.
Memorise your bike‘s correct condi-
tion when new so that you will later be able to recognise deviations
from the correct condition (photos
you take yourself can be a valuable aid).
Contact your dealer immediately if
you discover that your bike‘s condition is different from normal.
Only ride the bike again after it has
been properly readjusted by the
dealer.
1. Visually inspect the whole bike:
Check all fixing screws for correct
tightness (see Chapter 1.2.4)
Check the entire bike for dents, ruptures,
deep scratches and other forms of
mechanical damage.
Contact your dealer if visual inspections shows
defects of any description.
6.1 Check the wheels
Front and rear wheels are both called
wheels.
A wheel consists of
the hub,
On the rear wheel hub only Sprocket or
sprocket cassette,
Brake disk, if fitted,
Spokes
Rim and the
Tyre equipment, which in turn consists of
—Tyre casings,
—Tube and
—Rim tape insert.
Many bikes are fitted with tubeless tyre road
wheels. On these tyres with no tube are fitted on
special rims. A tube can also be fitted however.
On StVZO-equipped bikes rim reflectors may be
fitted.
6.1.1 Check fitting
1. Shake both wheels at right angles to the
direction of travel.
The wheels must not move in the forks.
There must be no audible creaking or
rattling sounds.
Contact your dealer if this check shows defects of
any description.
6.1.2 Check the rims
RISK OF PERSONAL INJURY AND
MATERIAL DAMAGE!
Worn rims and/or substantial warping or
run-outs may lead to hazardous riding
situations, falling, accidents and material damage.
Worn rims must be replaced and warping
or run-outs repaired!
RISK OF PERSONAL INJURY AND
MATERIAL DAMAGE!
With rim brakes: Dirty rims may reduce
braking efficiency.
Dirty rims must be cleaned immediately.
14 | KIDS BMX | EN
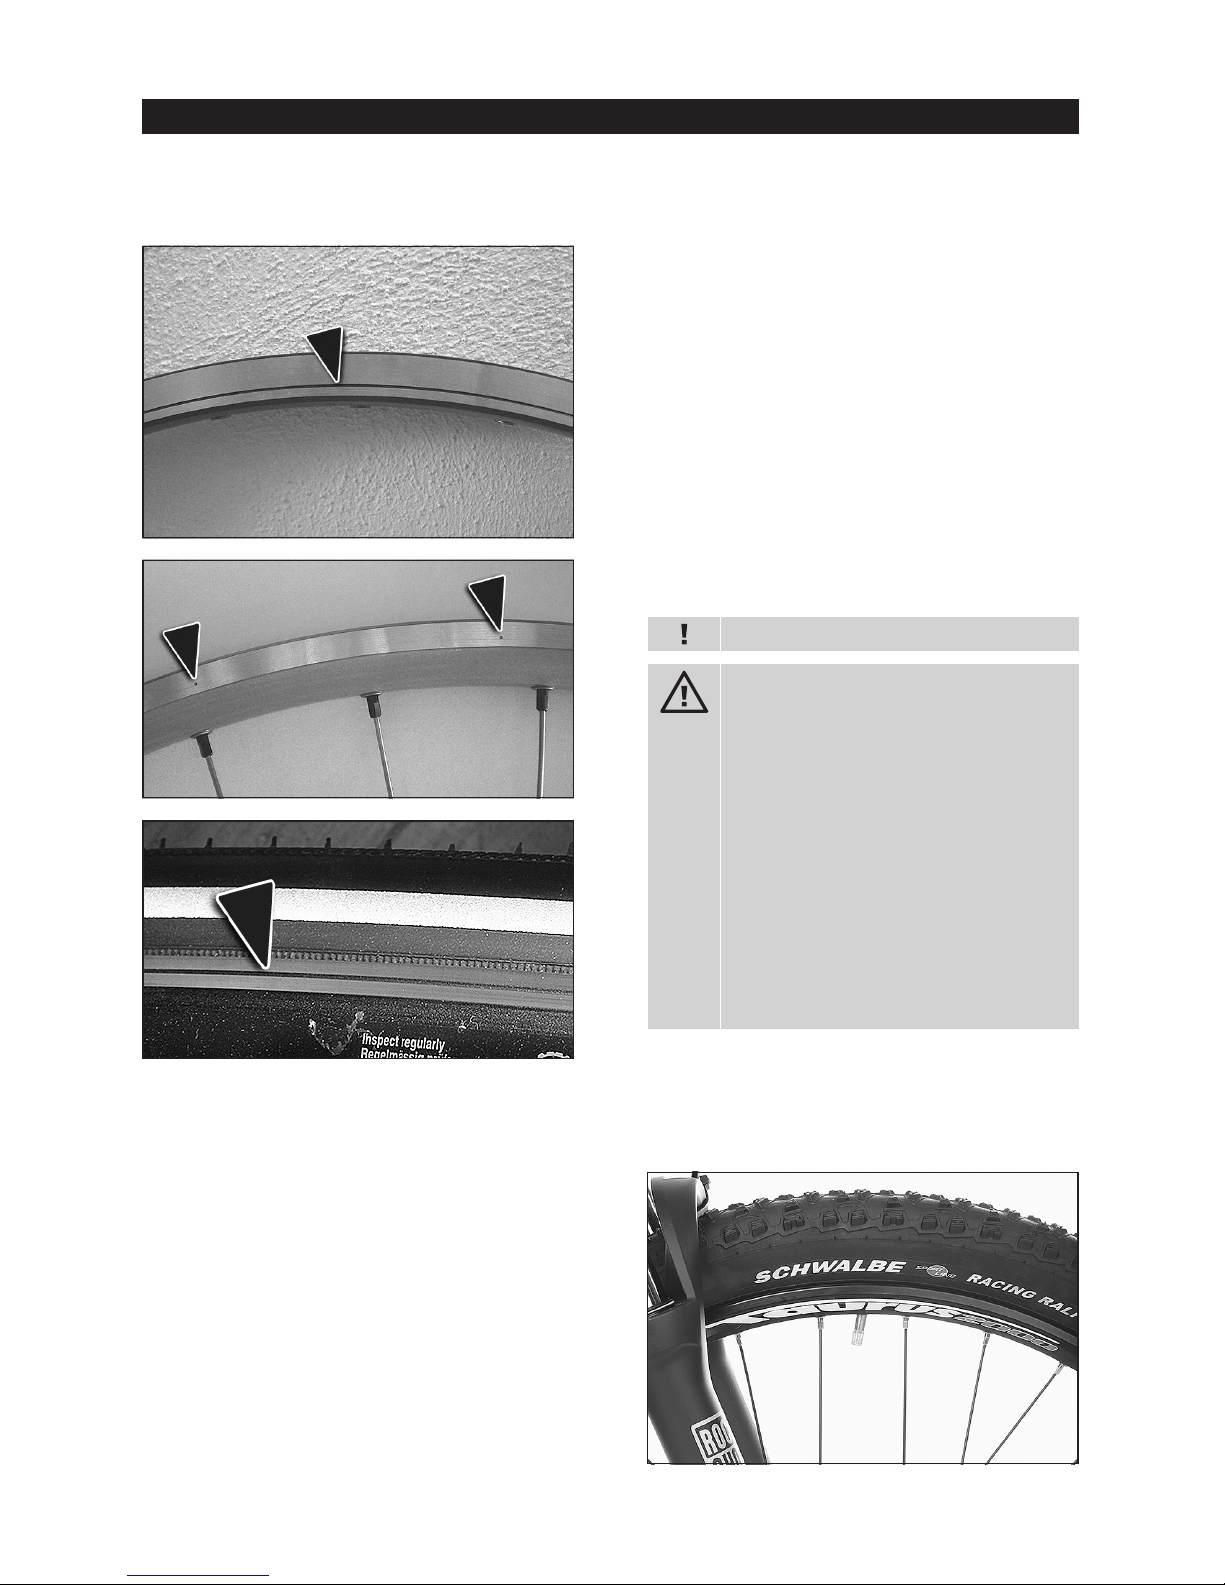
mtb008, wear indicator (arrow)
mtb009, wear indicator (arrow)
mtb010, wear indicator (arrow)
1. Check rims for wear:
Rims with wear indicators:
Visual check
Rims without wear indicators:
Visual check
Fingernail check: Run your fingernail
across the rim shoulder. No scoring
should be felt.
If the wear indicator is no longer visible or
if the rim has discernible scoring the rim
must be replaced.
2. Check rims for run-out:
Lift the bike up and spin first the front and
then the rear wheel.
Note the distance between the rim and
the brake shoes and on disk brakes the
distance between the rim and the frame
strut or fork leg.
Maximum permissible deviation per
revolution is 2 mm.
3. Check your rims for dirt, especially oil and
grease.
Dirty rims must be cleaned immediately (see
Chapter 11)
6.1.3 Check tyres
1. Check the valve position:
Does not apply to tubeless tyres.
RISK OF PERSONAL INJURY AND
MATERIAL DAMAGE!
In the event of angled valve the base of
the valve can rip off when riding which
causes sudden loss of tyre pressure.
This can lead to hazardous riding situations, falling, accidents and material
damage.
Have the tyre seating corrected by a
specialist workshop.
You can undertake this job yourself if
you are fa miliar with fitting and removing
the road wheels (see Chapter 10.1) and
replacing the tyre and tube.
Remove the valve nut.
Check the valve position:
The valves must point directly towards the
centre axis of the wheel.
mtb012, valve pointing directly towards road wheel
axis
 Loading...