

Page 1

PR705F User’s Manual
User’s Manual
PR705F
1
Page 2

PR705F User’s Manual
Table of Contents
1. Safety Instructions 3
2. Recommendation for Optimum Performance 5
3. Introduction 6
4. Installation 7
5. Controls and Adjustments 9
6. Trouble Shooting 14
7. Energy Declaration 18
8. Specification 19
9. Reference Information 20
2
Page 3

PR705F User’s Manual
Safety Instructions
FCC Statement
This equipment has been tested to comply with the limits for a class B digital device, pursuant
to Part 15 of the FCC rules. These limits are designed to provide reasonable protection against
harmful interference in a residential installation. This equipment generates, uses and can
radiate radio frequency energy and, if not installed and used in accordance with the
instructions, may cause harmful interference to radio communications. However, there is no
guarantee that interference will not occur in a particular installation. If this equipment does
cause harmful interference to radio or television reception, which can be determined by turning
the equipment off and on, the user is encouraged to try to correct the interference by one or
more of the following measures:
• Relocate the receiving antenna.
• Increase the separation between the equipment and the receiver.
• Connect the equipment into an outlet on a circuit different from that to which
the receiver is connected.
• Consult the dealer or an experienced radio/TV technician for help.
Warning:
If a shielded-type power cord is supplied with this monitor, it is required in order to meet FCC
emission limits and to prevent interference with nearby radio and television reception. Only
shielded cables should be used to connect I/O devices to this equipment. You are cautioned
that changes or modifications not expressly approved by the party responsible for compliance
could void your authority to operate the equipment.
CE Statement
This device complies with the requirements of EMC (Electromagnetic Compatibility), and with
Low Voltage directive.
Safety Precautions
Always observe these important safety instructions:
1. Allow adequate ventilation around the monitor so that heat can be dissipated properly. Do
not block or cover ventilated openings. Do not place the monitor in an enclosure that will
obstruct the free flow of air.
3
Page 4

PR705F User’s Manual
2. Do not place the monitor or other heavy objects on the power cord. A damaged power cord
can cause fires or electrical shock.
3. Keep the monitor away from high-capacity transformers, electric motors and other strong
magnetic fields.
4. Do not connect to any voltage or frequency beyond the range specified on the back of the
monitor. Please follow all warnings and instructions marked on the product.
5. Unplug the monitor from the electrical power source before cleaning any part of the monitor.
Do not use liquids, sprays or aerosol cleaners. Clean the surface of the screen with a lint-free,
non-abrasive cloth and a non-alcohol, neutral and non-abrasive cleaning solution or glass
cleaner. Use a slightly dampened cloth to clean the exterior of the plastic cabinet.
6. This product is equipped with a 3-wire grounding-type plug, an important safety feature. This
plug will only fit into a grounding-type power outlet. If a grounding-type power outlet is not
available, have one installed by a qualified electrician. Do not cut off the grounding pin in order
to make the plug fit into an inappropriate power outlet.
7. For 230VAC operation, a power cord with tandem blade plug is required. Select your power
cord in accordance with the safety regulations of your country. For example
North America UL listed and CSA certified
Germany VDE certified
Nordic Countries SEMKO, NEMKO, DEMKO, or FIMKO certified
8. Do not attempt to service this product yourself! Opening or removing covers may expose
you to dangerous voltage points or other risks. Refer all servicing to qualified service
personnel.
9. The plug on the power cord is intended to serve as the disconnect device. The socket-outlet
should be installed near the equipment and should be easily accessible.
Notice : Actual safety specifications please refer to the label on the back of monitor.
4
Page 5

PR705F User’s Manual
Recommendation for Optimum Performance
Your monitor will provide the best results if you follow these recommendations:
1. Do not use your monitor against a bright background or where sunlight or other light sources
will shine directly on the screen.
2. Place the monitor just below eye level (10° -15°) for optimum viewing.
3. Set the monitor brightness level to match the ambient room light.
4. For optimum focus, the contrast control should not be set to the maximum unless the input
signal level is extremely low. Also, the brightness control should be set to a point where the
overall background area just begins to disappear.
CAUTION
• Do not scrap or knock the surface of CRT with a pen, a screwdriver and so on.
• Clean the CRT surface with a lint-free, nonabrasive, soft cloth, and should not
use the solution or glass cleaner containing corpuscles like an abrasive,
alcohol and an alkaline solution.
5
Page 6

PR705F User’s Manual
Introduction
The monitor is a multiple frequency high-resolution color monitor for IBM compatible PC's or
Macintosh and workstation systems. The monitor is equipped with microprocessor based
intelligence and multiple frequency scanning capability, allowing it to provide maximum
compatibility for various system platforms.
The monitor uses the latest screen technology including a 0.24mm AG FD Trinitron® CRT to
display crisp text and vivid color graphics. The full-function digital control and On-Screen
Display (OSD) system provides easy adjustment of image geometry and color settings for
different display modes with the precision of a fixed frequency monitor.
The monitor also has full ergonomic features. In addition to the friendly controls and user
comfort features, the emission level of the electric and magnetic field is kept low to meet the
Swedish MPR II or TCO standards.
The monitor is also equipped with energy saving functions; it is compatible with the VESA
power saving standards.
6
Page 7
Installation
Unpacking
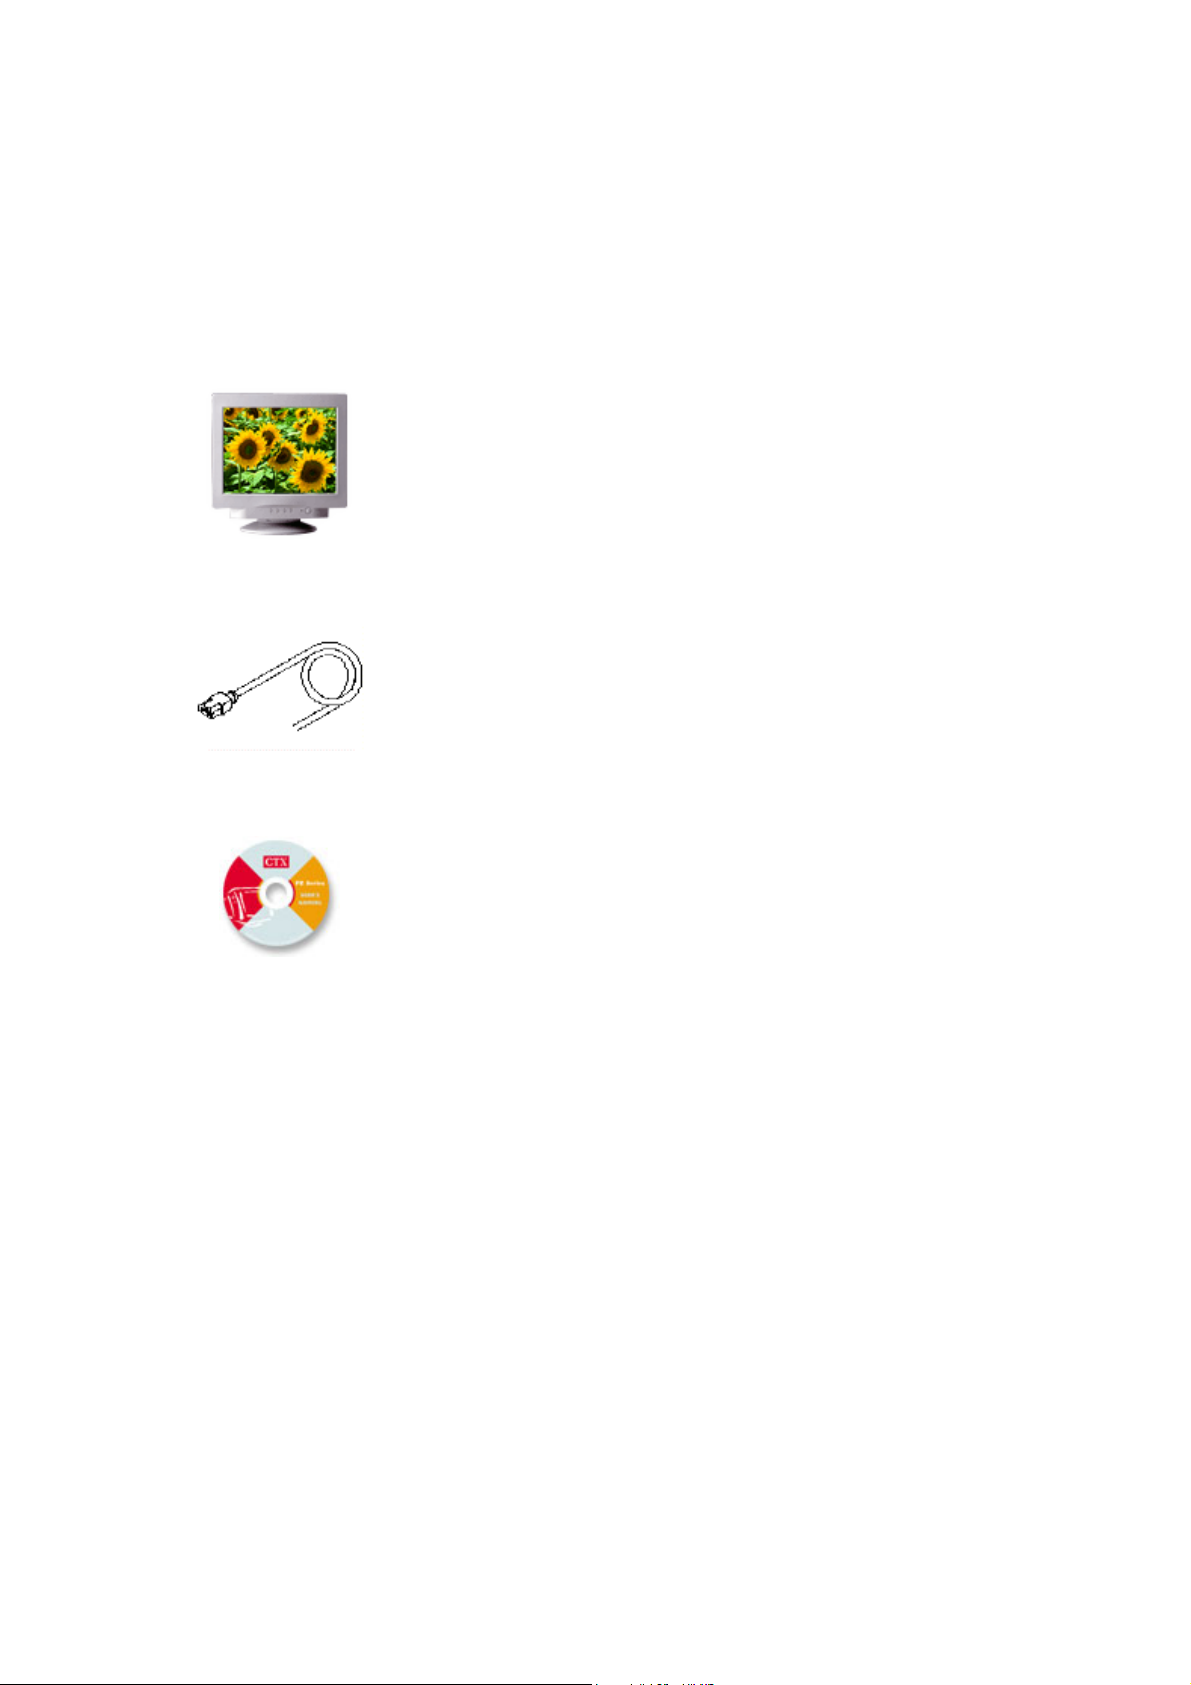
Your color monitor package should contain the following items:
Color monitor with tilt/swivel base
PR705F User’s Manual
System Setup
(with Signal cable)
Power cord
User's Guide / Driver CD
1. Turn off the system and all attached peripherals.
2. Carefully set the monitor upside down.
7
Page 8

PR705F User’s Manual
Remove the Tilt/Swivel Base
1. Squeeze and hold the latches.
2. Pull the tilt/swivel base to the rear of the monitor and lift to remove the base.
Installing the Tilt/Swivel Base
1. Align the base with the slots on the bottom of the monitor and insert the tilt/swivel base into
the slots.
2. Push the tilt/swivel base firmly toward the front of the monitor until the latches click into the
locked position.
8
Page 9

PR705F User’s Manual
Controls and Adjustments
Once installation is complete, refer to this section for useful tips on how to use your monitor
controls and make adjustments to match your personal preferences. The following indicators,
controls and adjustments, including On-Screen Displays (OSD), are accessible from the front
of your monitor:
Front Panel Controls
1. Power Switch
To turn the monitor on or off.
2. Power LED Indicator
As long as the monitor is powered, this indicator is lit. In normal operation, it lights green. While
in power saving mode, the indicator will turn to amber.
3. Enter " " button
To display the OSD manual and selected function.
9
Page 10

PR705F User’s Manual
4. Up "
To adjust the selected OSD function or the contrast directly.
5. Down " " button
To adjust the selected OSD function or the brightness directly.
6. "ESC" button
To close the OSD manual and to escape function.
" button
How to Make On-Screen Display (OSD) Adjustments
On-Screen Displays are called up from the front panel controls as noted above. Adjustments
are made with "
Power Saving Note:
This monitor is equipped with an automatic power-saving circuitry design that will work with
any computer, which meets the VESA DPMS standard. It meets the ENERGY STAR low
power state definition.
" , " " , " " and "ESC" control switches.
OSD (On-Screen Display) Controls
(1) Press " " to open the On-Screen menu function. Seven adjustment functions will appear
on the On-Screen menu.
Press "
Press "
Press "ESC" to exit the On-Screen Menu or up level.
" or " " button to scroll selections from top-down sequence as below.
" to enter the item which is selected or to activate the preferred adjustments.
A. Status
To display existing timing data of resolution and frequency.
10
Page 11

B. Picture
PR705F User’s Manual
a. Press "
b. Press "
c. Press "
C. Geometry
a. Press "
b. Press "
c. Press "
" or " " to select Vertical and Horizontal position, Vertical and Horizontal size.
" to process.
" or " " to preferred picture.
" or " " to select Side-pin, Balance, Keystone, Parallel, Rotate and Corner.
" to process.
" or " " to preferred picture.
D. Color
a. Press "
b. In User item, presses "
c. Press "
d. Press "
" or " " to select various white color temperature standard.
" or " " to select Red, Green and Blue then press "Enter" to process.
" or " " ncrease or decrease density.
" to confirm action color adjustment.
11
Page 12

E. Advanced
PR705F User’s Manual
a. Press "
b. Press "
c. Press "
E-1. Moire
Press "
" or " " to reduce Moire.
" or " " to select Moire or Degauss.
" to proceed.
" or " " to preferred picture.
Caution:
1. If moire reduction is overdone, picture quality, i.e. focus and vertical line stability will both be
effected.
2. Proper adjustment is recommended for not effecting picture performance.
F. Recall
Press "
" to confirm window.
12
Page 13

PR705F User’s Manual
If this window appears, that means it cannot be preset.(factory mode only)
Confirm the Recall action by pressing the " " or cancel the action by pressing the "ESC".
G. Language
Press "
(2) Contrast/Brightness:
When OSD is off, "
" or " " to select the Language for OSD only.
" or " " will be adjust contrast or brightness.
13
Page 14

Trouble Shooting
Notify your supervisor or contact your service personal when:
• Power cords are frayed or damaged.
• Liquid is spilled into the monitor.
• The monitor does not operate normally when operating instructions are
PR705F User’s Manual
observed.
• The monitor has been dropped or the cabinet has been damaged.
Review this list of trouble-shooting tips before contacting an authorized service center.
Problem What to do
Power Indicator (LED) is not lit.
No Picture.
Make sure Power control is in the ON
position.
Check the power cable. It must be plugged in
completely.
If the Power Indicator is amber-colored your
computer has sent the monitor into its Power
Save mode (See "Energy Declaration.")
No Signal Input.
The video card may not be seated properly.
Make sure it is fully seated in its slot.
Make sure the signal cable is connected
securely to the video card or computer.
Enable "Power Save" function.
14
Page 15

PR705F User’s Manual
Signal Out of range.
Display image is not centered or is
too small or too large.
Image is scrolling or is unstable
Picture is fuzzy or color looks
blotchy.
Readjust the signal based on spec.
Reference "Scan Frequency".
Refer to "Controls & Adjustments." You need
to adjust "Size" and "Position" of the image.
Make sure the signal cable is connected
securely to the video card or computer.
Adjust Contrast and Brightness controls.
On all Models select the Degauss function in
Picture bounces or a wave pattern
is present.
Edges of display are curved
inward or outward.
the OSD control menu.
(CAUTION: Allow a minimum of 20 minutes
to elapse before depressing Degauss button
again when not switching between modes.
DO NOT HOLD THE BUTTON DOWN
CONTINUOUSLY.)
Move devices that might be causing electrical
interference away from the monitor. (See
"FCC Information.")
Refer to "Controls and Adjustments." You
need to adjust the "Side Pincushion."
15
Page 16

PR705F User’s Manual
No Plug & Play.
Verify that the host system is Plug & Play
compatible.
Check to see if Windows is installed, and the
software key for the Data Display Channel
(DDC) function is enabled.
Determine if original manufacturer's
detachable signal cable is being used
(D-Sub-15 pin only).
O
ur monitor is build-in FD Trinitron® CRT. This CRT is sensitive to shocks and vibrations that
may occur during transportation. Following are some adjustment tips when below mentioned
symptoms occur.
Symptom Tip
Two horizontal lines are visible on
the screen
This is normal characteristic of FD Trinitron®
CRT.
These are damper wires, which are attached
to the aperture grille and are designed to
dampen and prevent shock and vibrate to the
aperture grille.
16
Page 17

PR705F User’s Manual
Black fine vertical lines are visible
on the screen. Shock and
vibration may cause the aperture
grille misaligned, which results
few fine black vertical lines across
the screen
Degaussing the screen.
Tap lightly (do not hit) the side of the monitor.
If above mentioned remedies do not work,
please do the following:
1.Display full white window or wallpaper
background over the area where the black
lines appears.
2.Set Contrast and Brightness to the
maximum, wait for a moment until the
problem is corrected. You may try to tap
lightly the side of the monitor.
17
Page 18

PR705F User’s Manual
Energy Declaration
This monitor is equipped with a function for saving energy, which supports the VESA Display
Power Management Signaling (DPMS) standard. This means that the monitor must be
connected to a computer, which also supports the VESA DPMS standard to fulfill the
requirements of the NUTEK specification 803299/94/96. The time settings for switching to a
power saving mode are adjusted from the system unit by software. From the first indication of
inactivity to power saving position A2 the total time must not be set to more than 70 minutes.
1. VESA Power-Management Proposal
H. sync V. sync Video State
Off On Blank Stand-by
On Off Blank Suspend
Off Off Blank Off
2. Power Consumption (120/230 Vac)
NUTEK VESA state LED indicator
Normal operation
Power Saving
Position A1
Power Saving
Position A2
On Green < 95W
Suspend Amber < 15W
Off Amber < 5W
Power
Consumption
* Recovery Time < 3 Sec.
18
Page 19

Specification
PR705F User’s Manual
Color Picture Tube
AG Pitch
Input Signal
Scan Frequency
Max. Resolution
Display Colors
43.1 cm / 17" (16" viewable screen size)
diagonal measurement, 90 degree deflection,
Trinitron® CRT, anti-glare, anti-reflection,
anti-static
0.24 mm, (at center)
Analog 0.7V peak to peak separate TTL
Positive or Negative
Horizontal: 30 to 86 kHz automatically
Vertical: 50 to 160 Hz automatically
1600 x 1200 pixel, non-interlaced
Analog input, unlimited colors
Pixel Rate
Plug & Play
Power Supply
Power Consumption
Dimensions
Weight
Environment Consideration
175 MHz
DDC 1 / DDC 2B
100-240 VAC, 50/60 Hz (automatically)
95W max.
412(W) x 415(H) x 430.5(D) mm
20.1 kgs(G.W.), 17.6kgs(N.W.)
Operating Temperature: 0°C to 35°C
Humidity: 20% to 80%
Storage Temperature: 0°C to 60°C
Humidity: 10% to 90%
19
Page 20

PR705F User’s Manual
Reference Information
This color monitor supports multiple operating platforms such as IBM compatible and
Macintosh family computers. This section provides you with detailed information on pin
assignment of the D-Sub connector and the preset timing chart of the prevailing video
standards.
Connector Pin Assignments
Signal 15 Pin Mini D-Sub
Red Video 1
Green Video 2
Blue Video 3
Horizontal Sync 13
Male Mini D-15 Connector
Vertical Sync 14
Ground 4,6,7,8,10,11
No Connection 5,9
SDA (DDC) 12
SCL (DDC) 15
20
Page 21

PR705F User’s Manual
Preset Timing Chart
Note: This monitor is equipped with a microprocessor which allows the user to set his own
preferred mode(s) beyond those standard mode listed below.
To reduce visual tiredness and eyestrain, it is recommended to choose the highest refresh
modes available.
Resolution Format
640x480@60Hz VGA 31.5 60
720x400@70Hz VGA 31.5 70
800x600@75Hz VESA 46.9 75
800x600@85Hz VESA 53.7 85
832x624@75Hz MAC 49.7 75
1024x768@75Hz VESA 60 75
Horizontal
Frequency (KHz)
Refresh Rate (Hz)
1024x768@85Hz VESA 68.7 85
1152x864@75Hz MAC 67.5 75
1280x1024@75Hz VESA 80 75
21
 Loading...