

Page 1
Hollow Wall Anchor System
1301 Westinghouse Blvd, Suite I
Charlotte, NC 28273
704-843-9292
www.csibathware.com
Made from ultra-durable 304 stainless steel
Designed to be used when no in-wall backing or wood stud is
available for one or both ends when installing a grab bar
Supports 400 lbs when used in 5/8" sheetrock only and 500 lbs
when used with a wood stud
Page 2
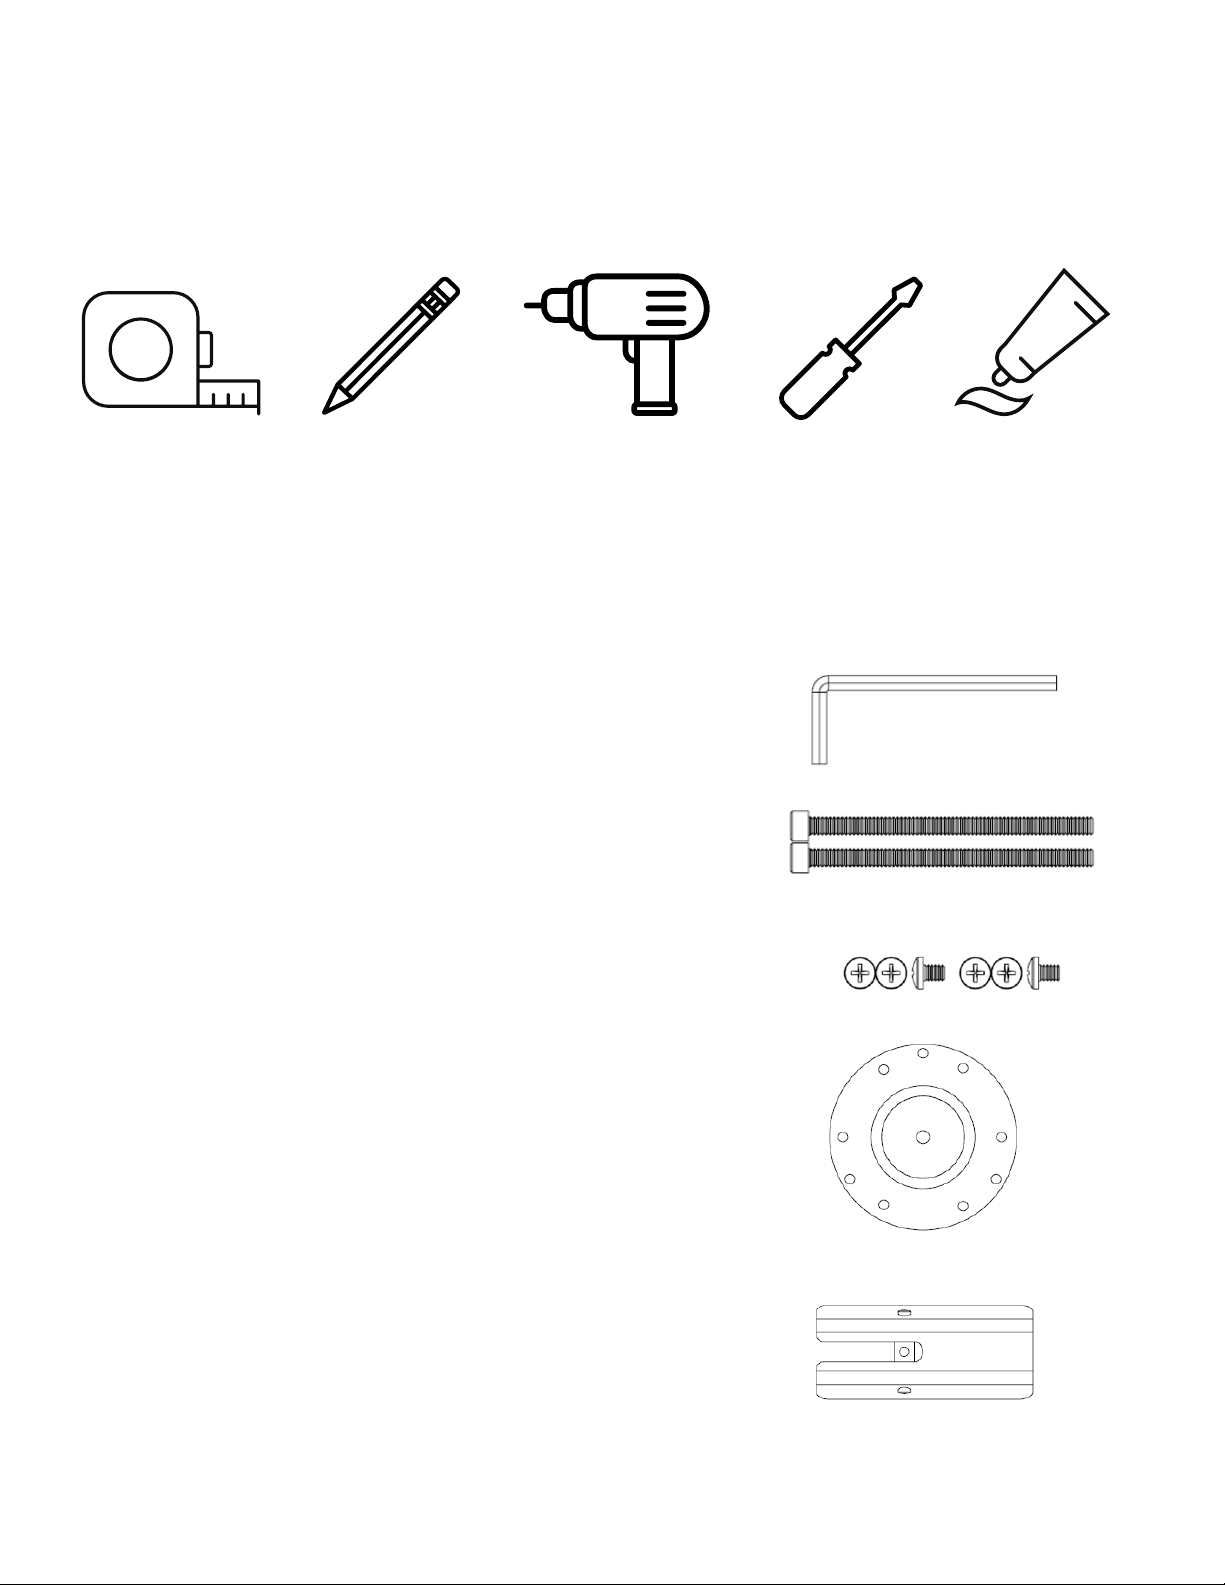
Tools Needed for Installation:
Tape Measure
Drill with 1.5" Spade
Bit or Hole Saw
Philips Head
Screwdriver
Silicone Caulk
Pencil
Contents:
Part Description Quantity (pcs)
Hex Wrench 1
3" Connection Bolts 2
61/4" Screw
2
Flange Plate
2
Anchor Plate
Page 3
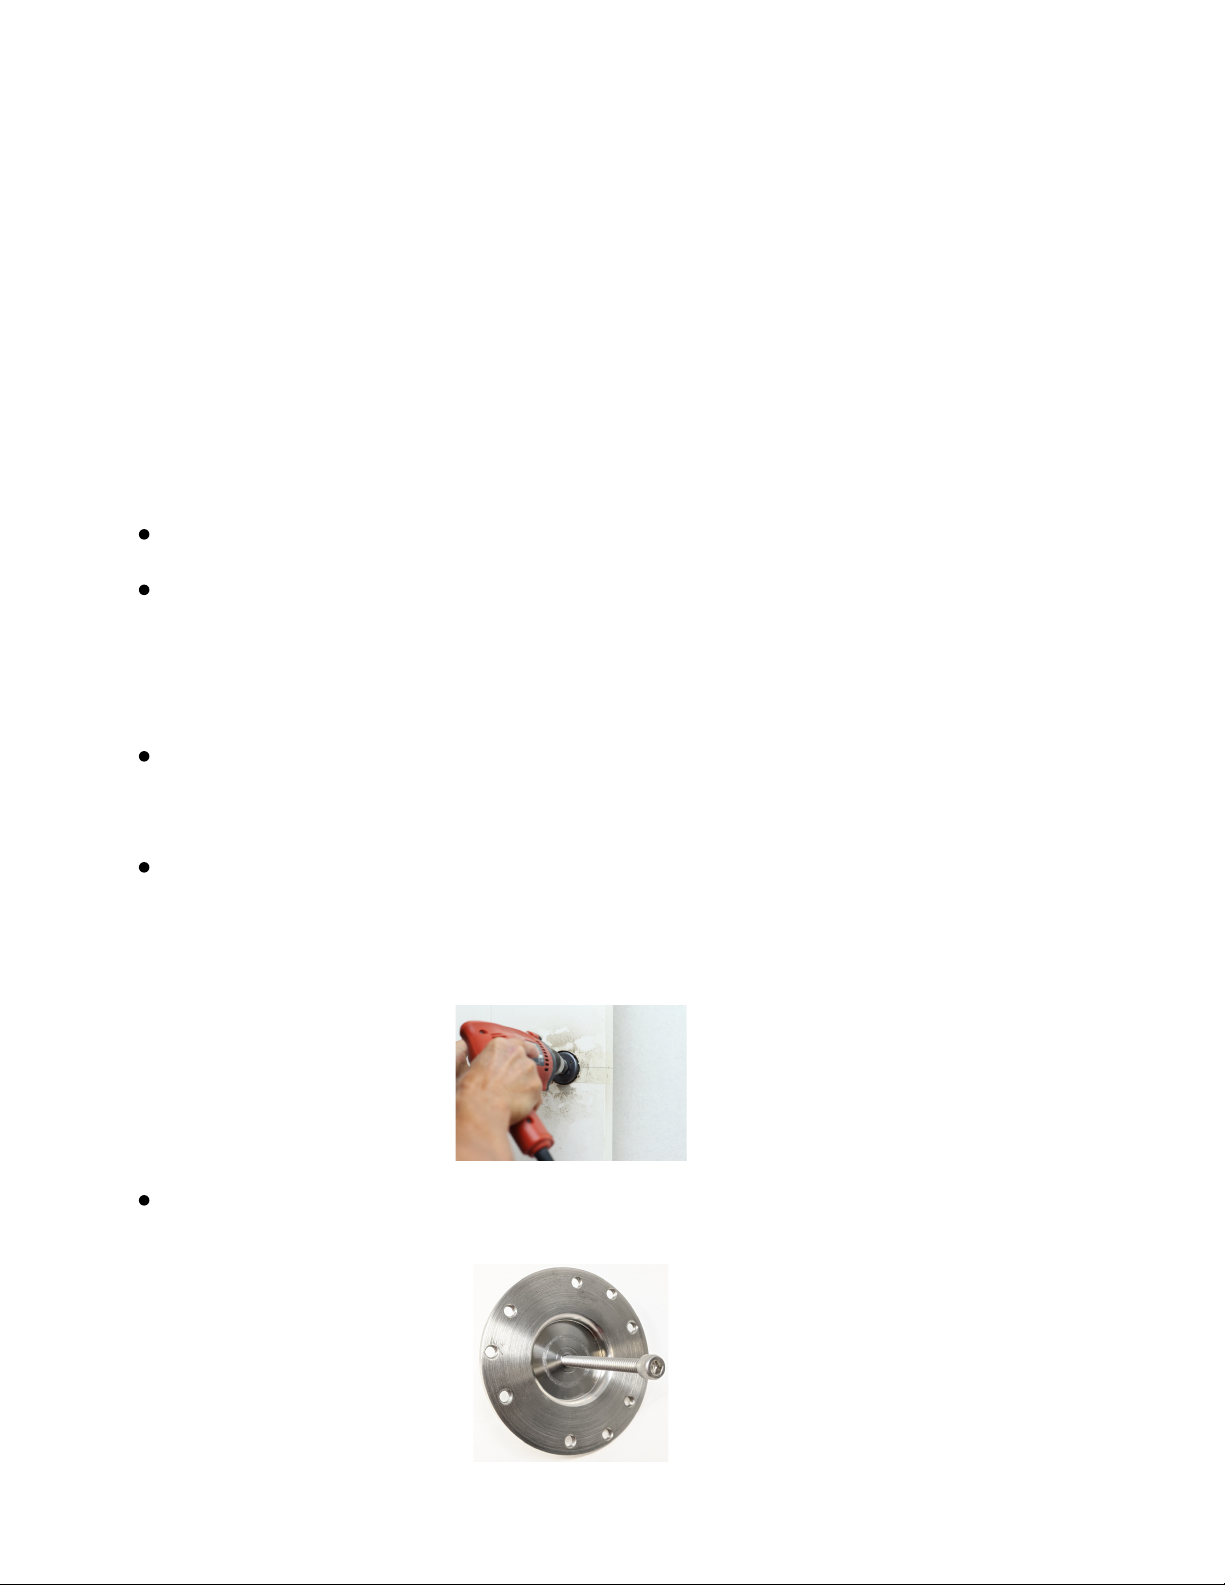
Identify your desired location for the grab bar.
Measure desired height of the center of the grab bar flange and
mark. Be sure to measure both ends of the bar from the tub or
finished floor to ensure level installation.
Next measure in 1.5 inches from outside end of grab bar and mark.
This should align with the center of the flange on both ends.
Using your 1.5” hole saw drill bit, drill through wall material in marked
location. **Note: be sure to check location of plumbing and
electrical prior to drilling pilot holes. **
Insert connection bolt through center of flange plate with dip facing
you.
SAFETY NOTE: PERSONAL INJURY AND/OR PROPERTY DAMAGE MAY
RESULT FROM IMPROPER WALL SUPPORT OR MOUNTING, WHICH IS
NOT COVERED UNDER WARRANTY.
IT IS ESSENTIAL TO MARK THE SCREW HOLES ON THE MOUNTING
PLATE AS WELL AS THE DISTANCE FROM THE MOUNTING PLATE TO THE
FINISHED FLOOR TO ENSURE PROPER ALIGNMENT.
INSTALLATION STEPS:
Page 4
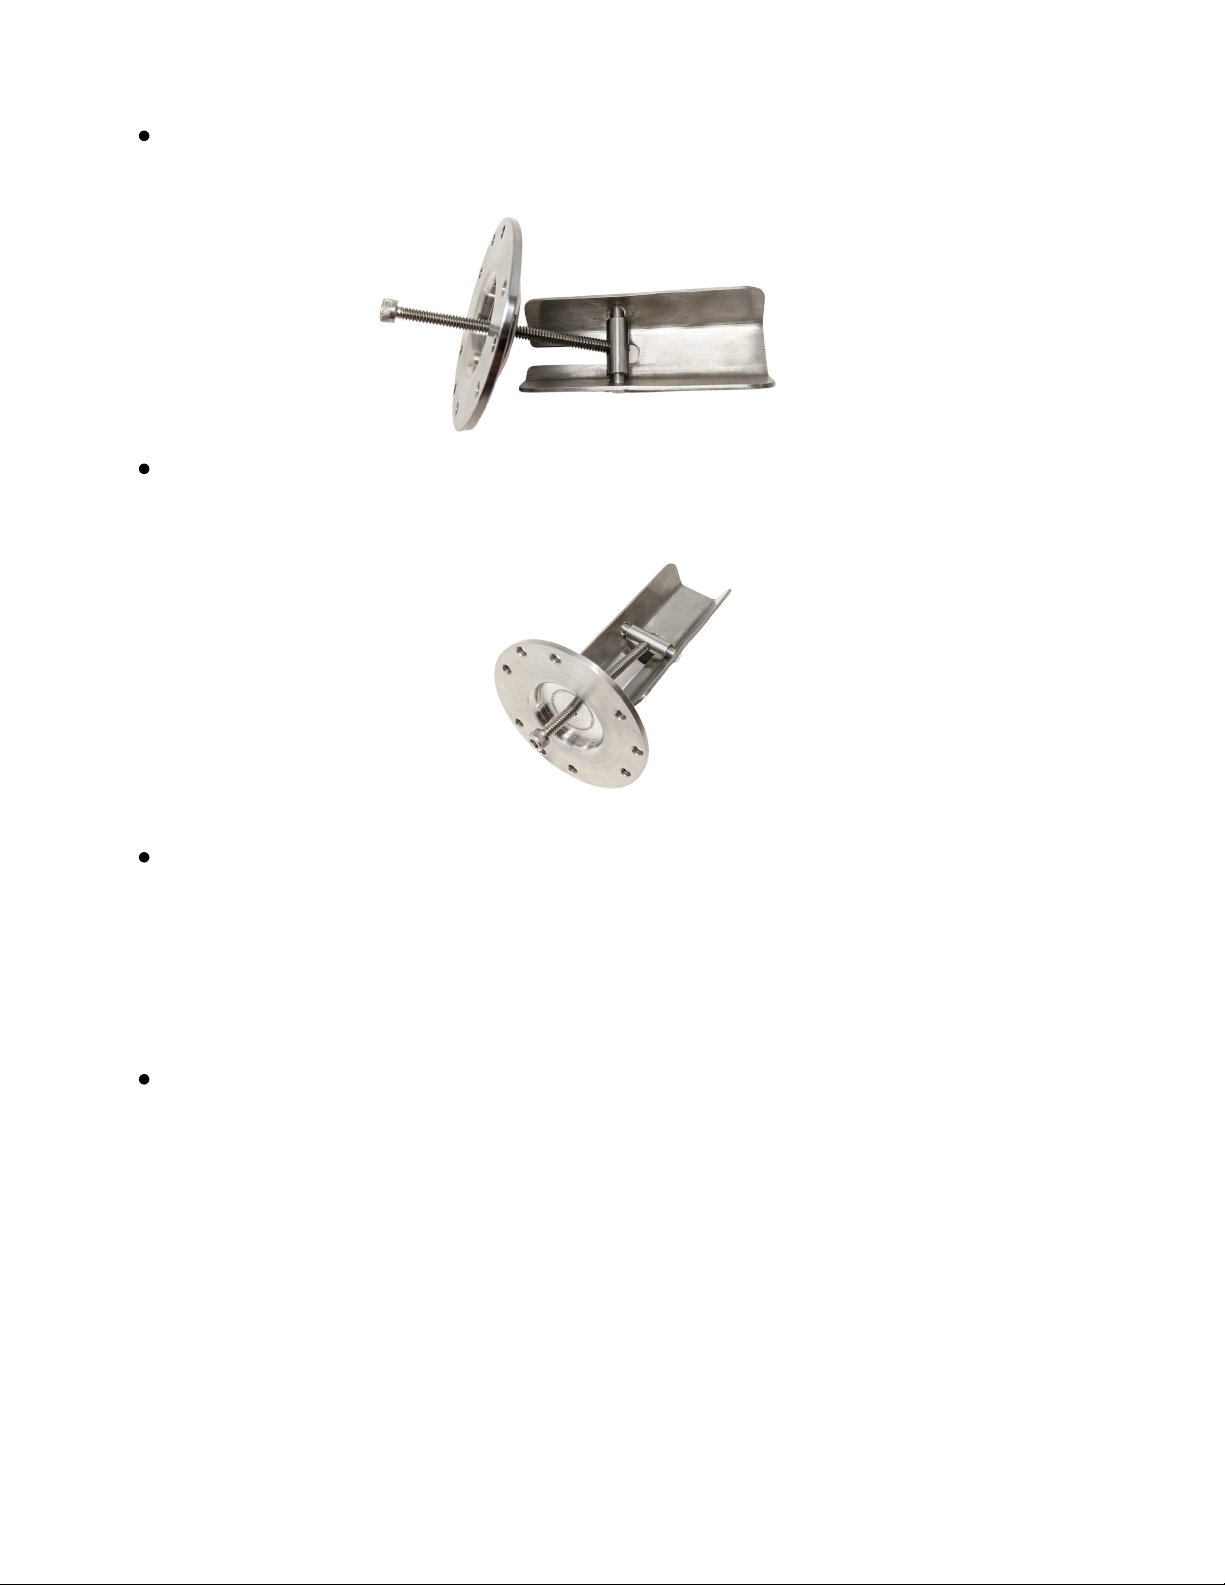
Thread the connection bolt into the hinge in the anchor plate so
that it is connected but the anchor plate can freely rotate along the
hinge.
Tilt the anchor plate, with the u-shape cut out closest to the flange
plate, so that it will fit through the pre-drilled pilot hole completed in
step above.
Feed the anchor through the wall until the anchor plate is fully
inserted into the pilot hole and the plate can return to a
perpendicular position.
Gently pull the anchor plate against the wall and begin slowly
tightening the connection bolt to bring anchor plate and flange
plate closer together until the flange plate is touching the wall but
do not securely fasten.
Page 5

Align the flange plate with the flange pattern on grab bar to ensure
proper positioning of the flange plate.
Once flange plate is properly aligned, fully tighten connection bolt to
secure anchor and flange plates in place using the provided hex
wrench.
Use 1/4” screws to install grab bar onto flange plate.
If grab bar will be exposed to water, add bead of silicone caulk
around flange plate of grab bar and twist on the flange cover. Wipe
off any excess caulk.
 Loading...