

Cryptophone GSMK CryptoPhone PSTN/1i User Manual
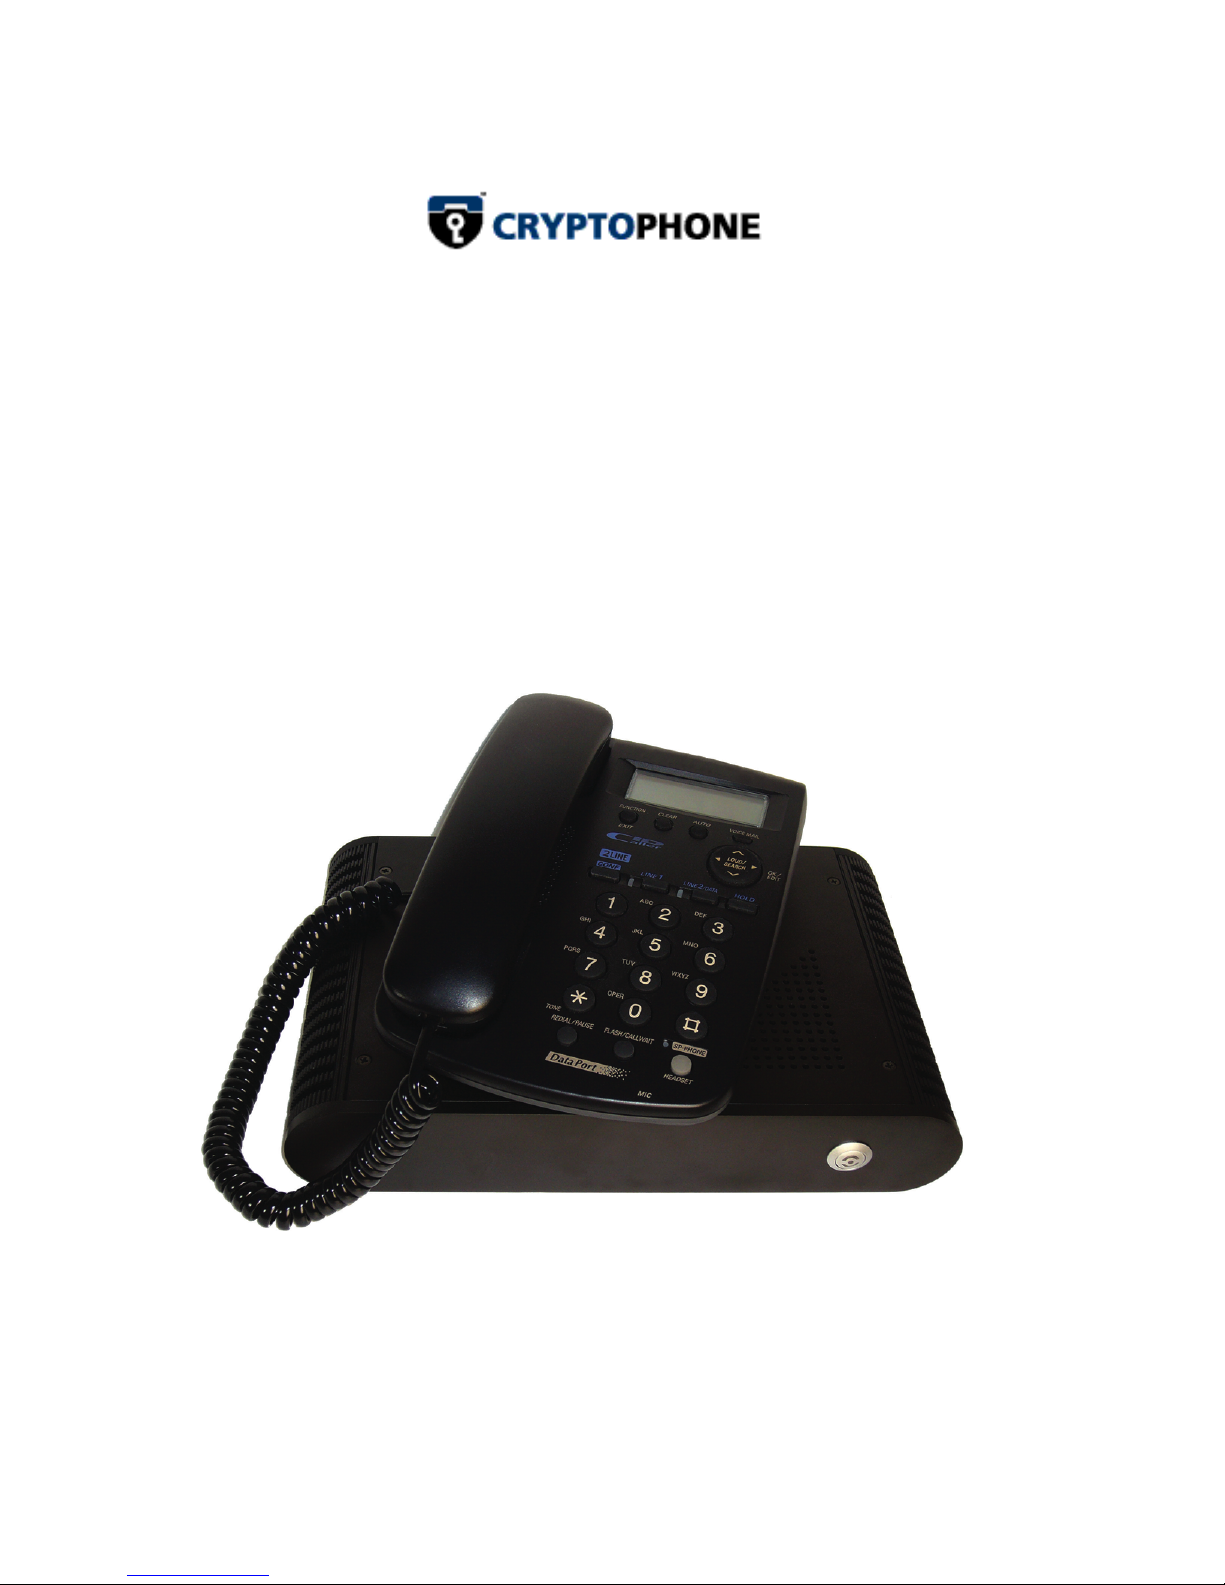
GSMK CryptoPhone PSTN/1i
User Manual
PSTN/1i QSG V0.1E Page
1
A. Installation
1. Turn the key-operated switch on the left side of the device to its vertical position
(labeled “SECURE”) using one of the supplied keys.
2. Connect the telephone that comes with your CryptoPhone PSTN/1 to the
encryption unit (jack on the back of the PSTN/1 encryption unit labeled "Phone")
3. Connect the telephone power supply to a power outlet
4. Connect the phone line to the PSTN/1 encryption unit
(jack on the back of the PSTN/1 encryption unit labeled "Line")
5. Connect the encryption unit’s power supply to the PSTN/1 encryption unit on
one side and to a power outlet on the other side.
6. Verify that the large Power button on the front of the PSTN/1 encryption unit
until is lit blue. If it is not, check that you properly connected the power cord. If the
CryptoPhone PSTN/1 was previously switched off intentionally, you can switch it
on again by briefly pressing the Power button (see also Section H of this manual).
7. Wait two to three minutes for the system to initialize. The phone will ring once
briefly when the initialization process is finished. You cannot use the CryptoPhone
PSTN/1 before the initialization process is finished.
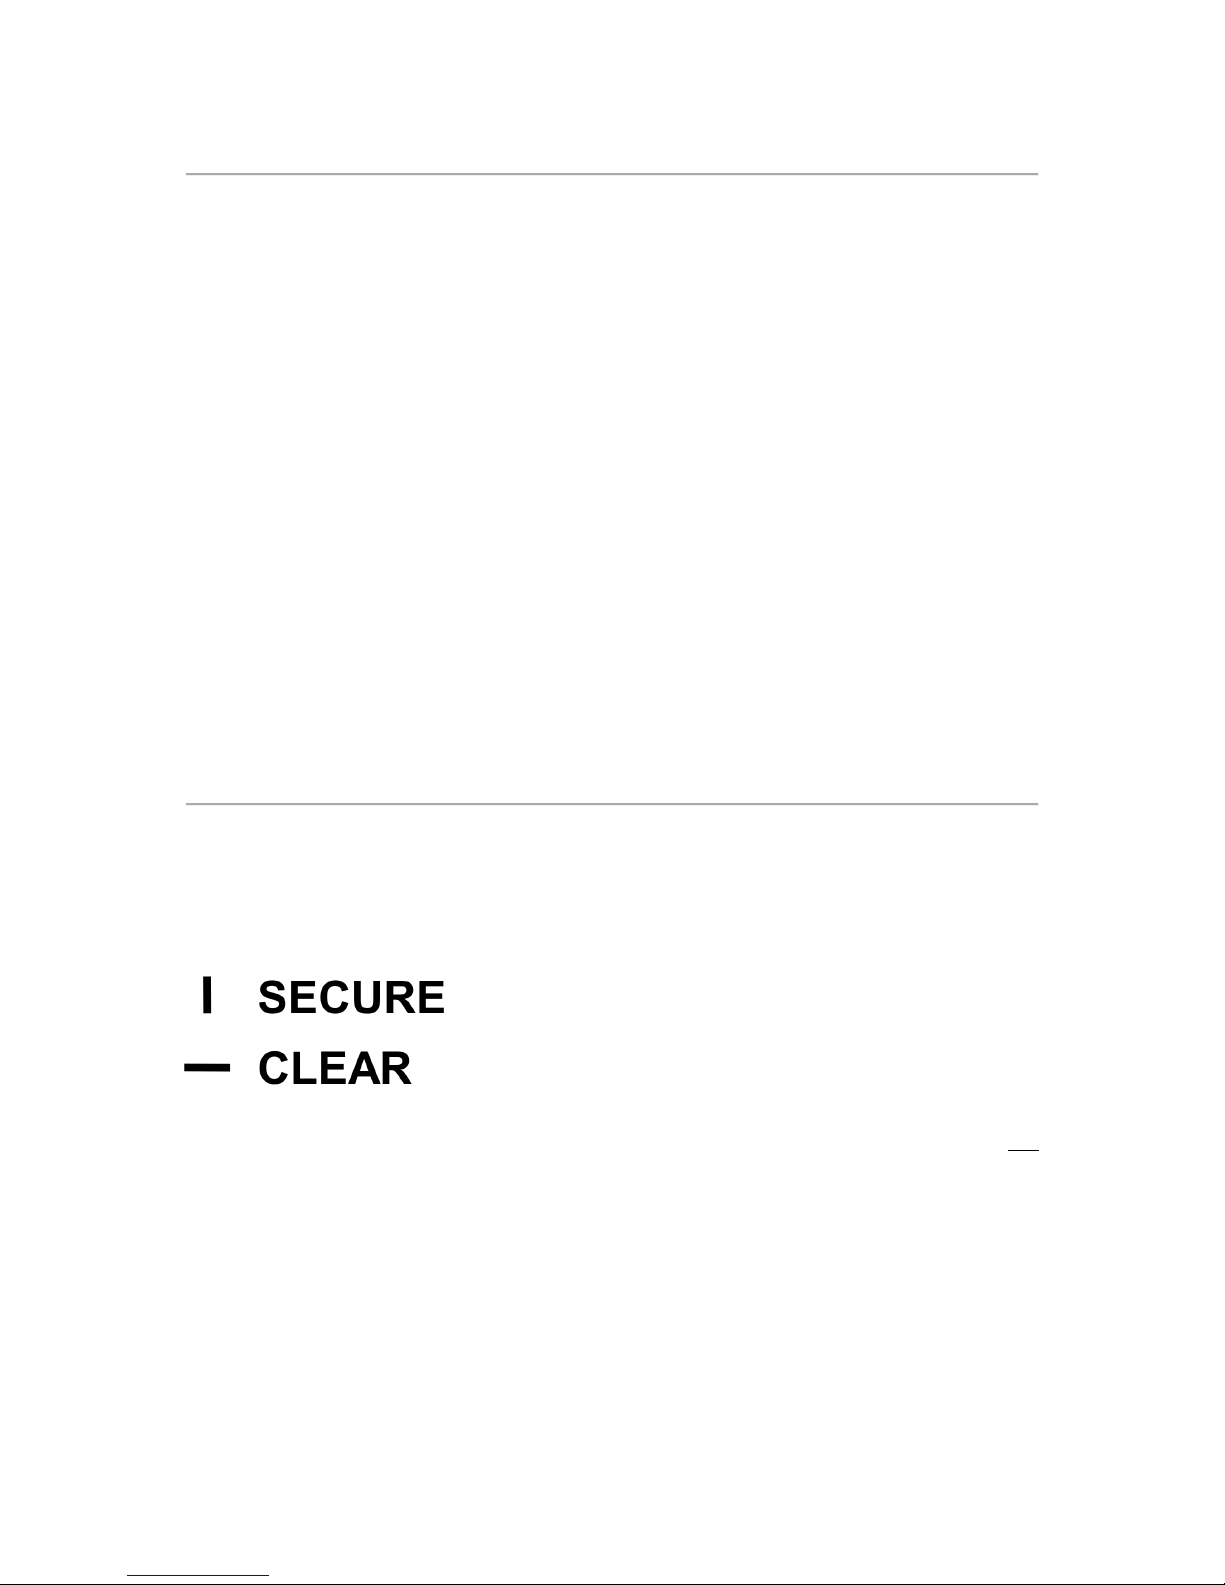
B. Basic operation: secure and clear mode
The CryptoPhone PSTN/1i supports clear as well as encrypted calls. The device
features a key-operated switch on the left side of the device. Each device comes with
two matching keys, which should be kept in a safe place. The key-operated switch
can be turned in one of two positions (Figure 1):
SECURE MODE. When the key switch is in a
vertical position, the CryptoPhone PSTN/1 is in
“secure mode”. Outgoing calls are encrypted, and
only incoming encrypted calls are accepted.
CLEAR MODE. When the key switch is in a
horizontal position, the CryptoPhone PSTN/1 is in
“clear mode”. Outgoing and incoming calls are not
encrypted.
Figure 1 – Mode control

PSTN/1i QSG V0.1E Page
2
C. Placing and receiving clear (unencrypted) calls
1. TO PLACE A CLEAR CALL:
1.1. Put the device in clear mode. The key must be in the horizontal position.
1.2. Lift up the telephone receiver. You will hear the usual dial tone.
1.3. Dial the desired number, just like you would on an ordinary phone.
1.4. After the call has been established, conduct your conversation. The clear
text conversation will not be encrypted and could be monitored and
intercepted.
1.5. Hang up the telephone receiver when you wish to finish the call.
2. TO RECEIVE A CLEAR CALL:
2.1. If you expect incoming clear calls, put the device in clear mode. The key
must be in the horizontal position. You cannot receive incoming clear calls
while the unit is in secure mode1.
2.2. When the phone rings, lift up the telephone receiver. You will hear the
calling party’s voice just like you would using a normal telephone. The clear
text conversation will not be encrypted and could be monitored and
intercepted.
2.3. Hang up the telephone receiver when you wish to finish the call.
1
The CryptoPhone PSTN/1i was designed for use with the analog fixed-line network. In
contrast to the digital ISDN network, the analog network cannot signal whether an incoming
call is digital data or voice. As a consequence, an incoming encrypted call, which is
transported as encrypted data, cannot be recognized as such. When you pick up the
telephone receiver while in secure mode to answer an incoming call, your device will always
try to establish a data connection with the other side. If the other side is in clear mode, or not
capable of making encrypted calls at all, the other side will hear a high-pitch modem tone,
but will not be able to talk to you. For this reason, if your device shall accept incoming clear
calls, the recommended procedure is to leave the device in clear mode when not in a call. To
receive secure calls when your device is in clear mode, see section D 2.2 and section E.
 Loading...