

Page 1
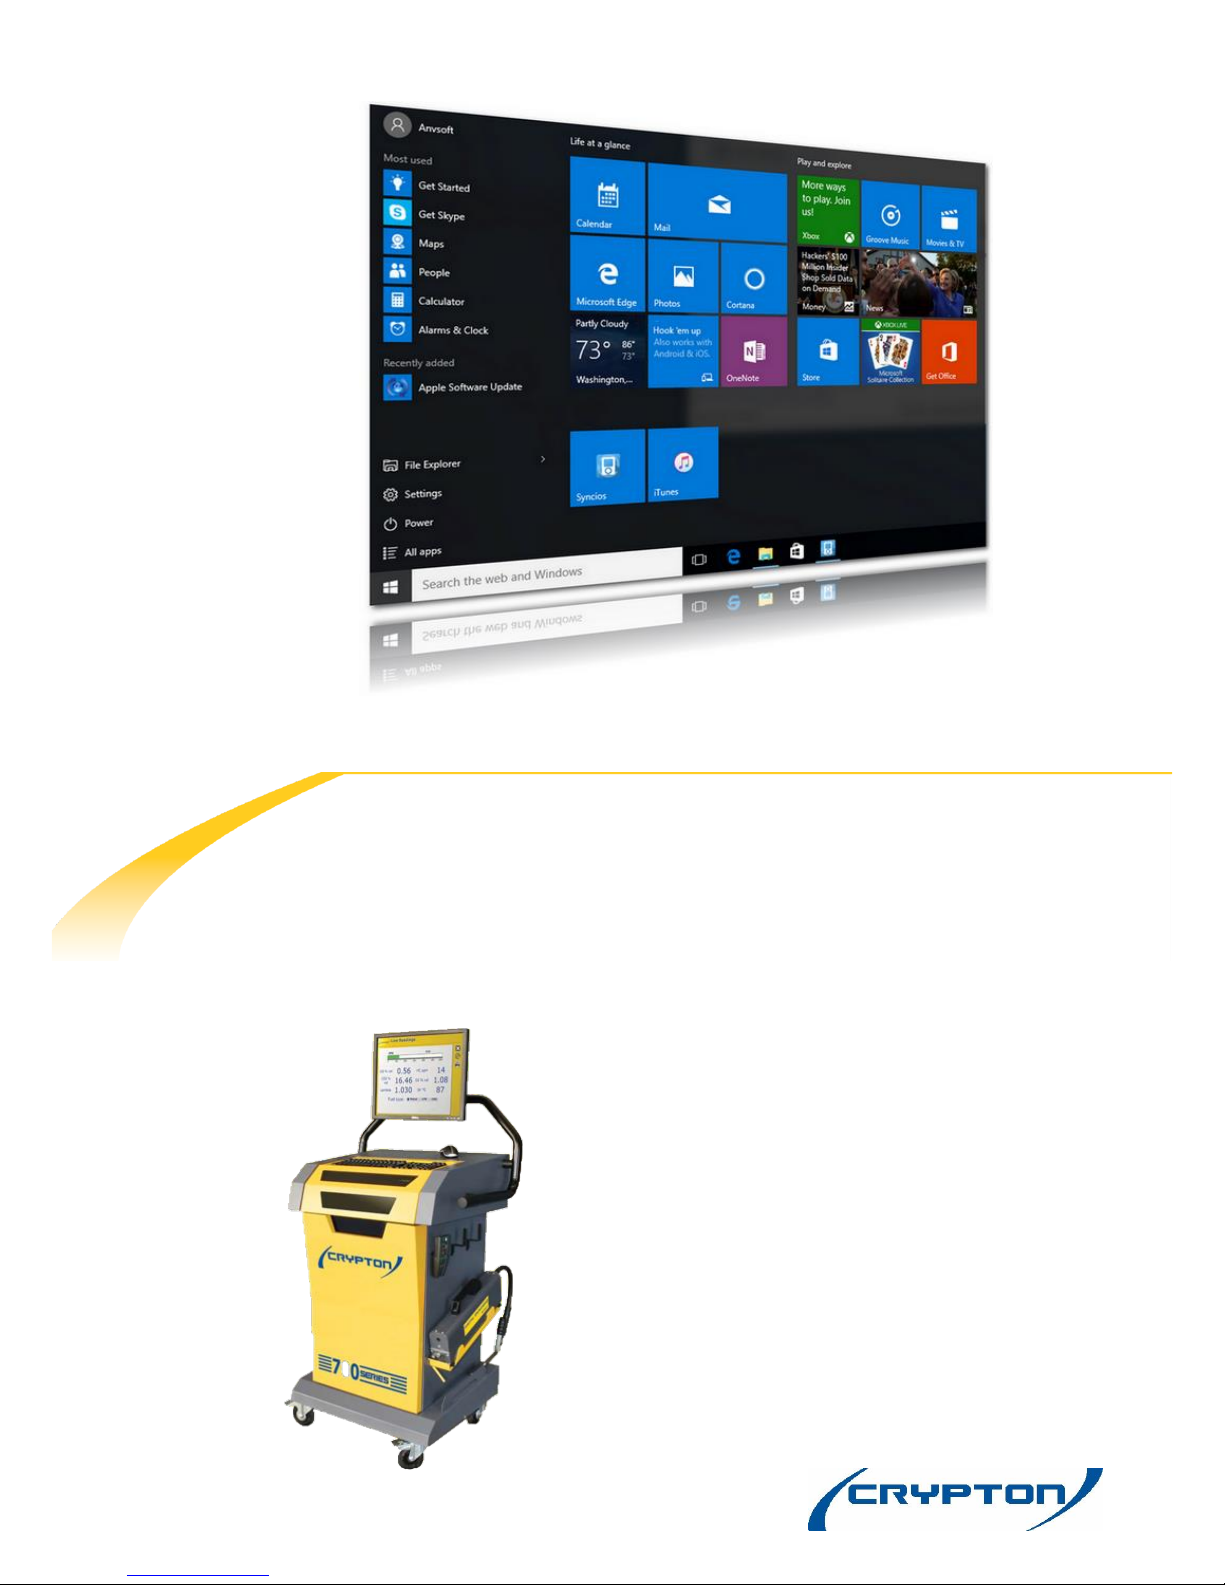
Installing HP Windows 10 PC
CCP700-B-EN560 & CCP700-C-EN560
I323845
– PC Configuration Instructions
Page 2

Please take a few moments to read these instructions.
The process of installing the PC is split into stages. Dependant on if you have Bluetooth (Wireless) or
a cabled unit, the process is different, so please select the correct guidance section.
If your brake tester is connected to your CCP700, ensure
you have the installation discs or a copy of the transfer
process and a USB/serial adaptor before proceeding.
There are 5 stages to the swap over process:
1. Pre install checks
2. Remove existing PC
3. Install new pc and connect
4. Configure Gas Analyser, Smoke Meter,
Temperature Probe and Tachometer
5. Input Garage Details
Pre install Check
On the current system, are the Smokemeter, Gas analyser, Temperature probe and Tacho operating
correctly? If not contact, your service agent before proceeding with the PC change over.
Record Braketester Version (if fitted)
Remove Existing PC
Close down all applications and power off
Remove the rear Panel of the Trolley
Remove all plugs and lift the PC out through access below keyboard
(The PC is held in place with Velcro)
Remove the keyboard and mouse
Install New PC and Connect
Windows 10 requires a connection to the internet to activate the operating system and download
drivers for your printer. This is achieved by connecting the PC to your network via a cabled or a
wireless dongle connection.
Important Note for Brake Tester
Installations
From the front screen of your
current Brake test program, make a
note of the version number of the
Brake tester program. This may be
needed later during the install
process of your new PC.
Page 3

Once activated, your PC does not need to remain connected to the internet. However, internet
connection is recommended for support.
Make sure the PC is turned off
Install the new PC into the cabinet and carefully reconnect the cables for monitor, keyboard and
mouse
Plug the Bluetooth dongle into one of the USB ports on the front of the PC.
The dongle must stay in the first USB port it is plugged in to.
(Note, some models of the Laird dongle and certain Belkin devices are not compatible with Win 10)
These will require to be replaced.
Plug in the power cable
Turn on your new PC
Turn on the Gas analyser and Smokemeter
1 = Keyboard
2 = Mouse
3 = Printer
4 = Gas Analyser
5 = Tach
6 = Temp
1 2 3
4
5
6
Page 4
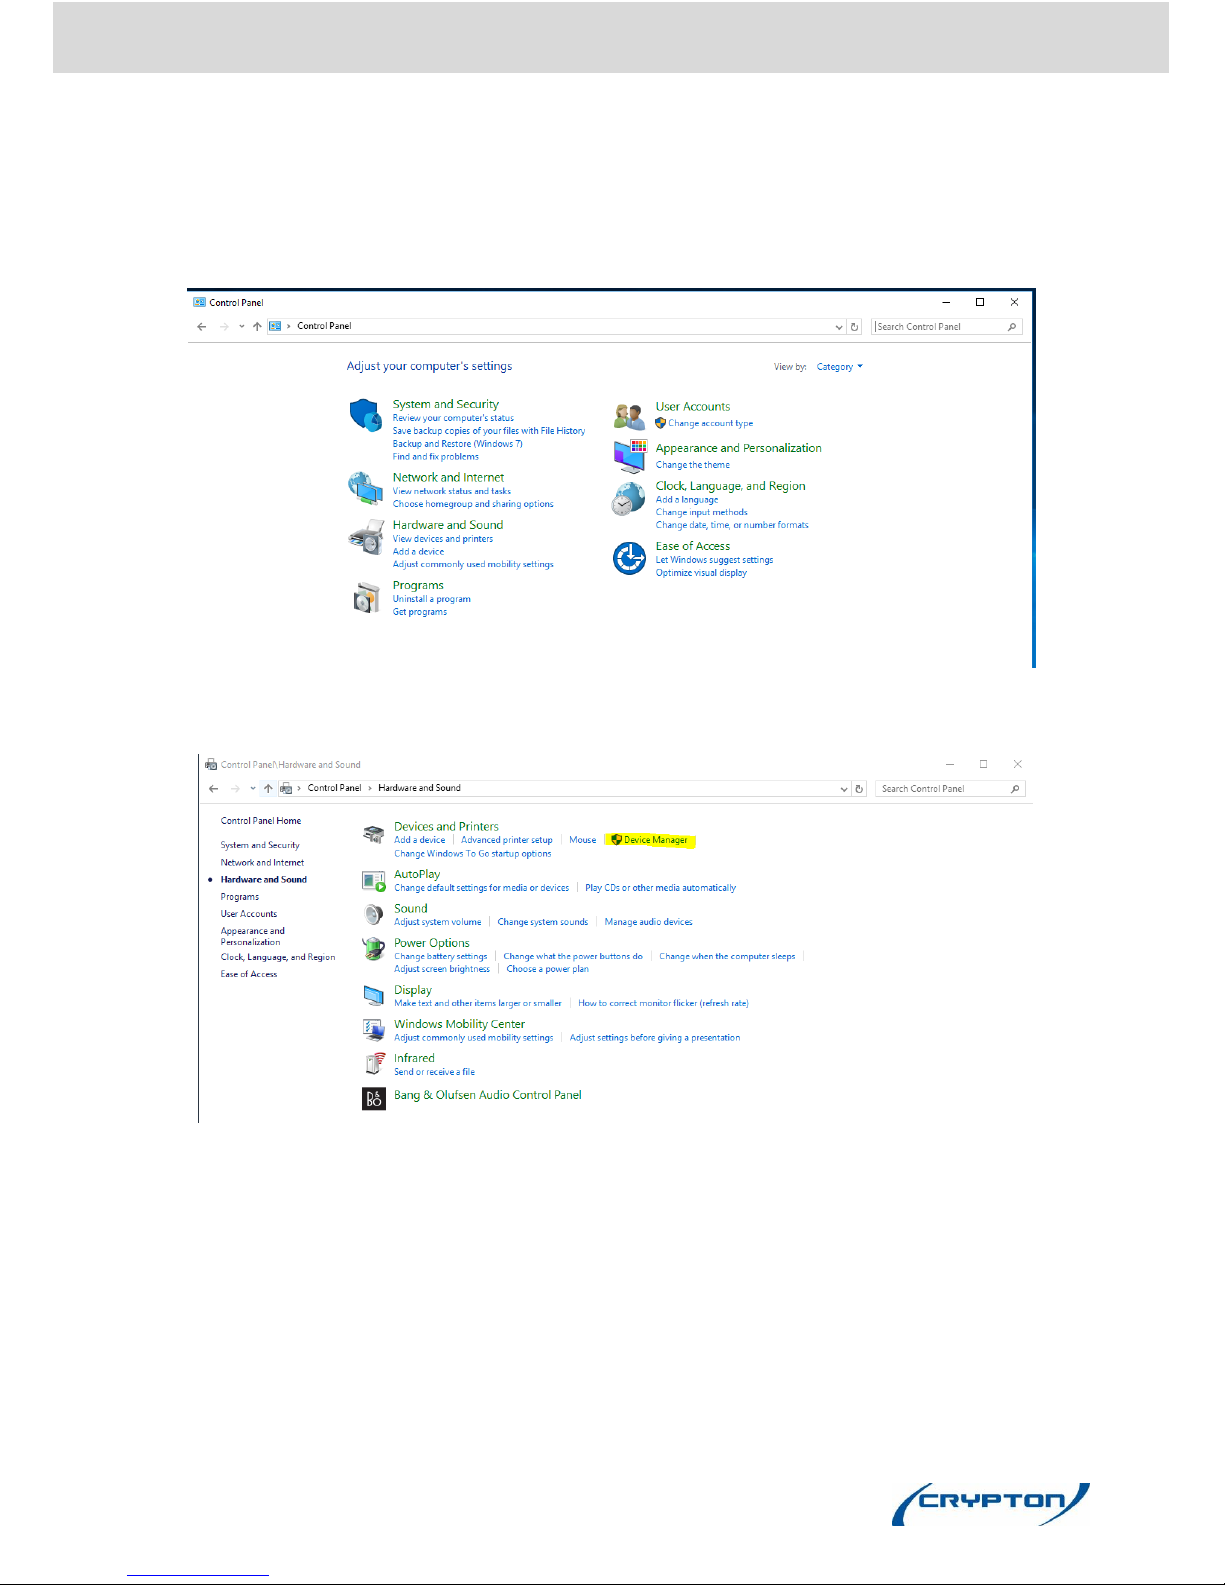
680 Gas Analyser Configuration
1) Open “Control Panel”
2) Open “Hardware and Sound” and then “Device Manager”
Page 5

3) Expand “Ports (COM &LPT)”
4) Connect the Gas analyser USB cable and note which COM port it uses
5) Enter “Program Configuration Utility”
6) Click the “Start” button
7) Scroll and click on the “Crypton” folder
8) Click on the “Platform Configuration” folder
9) Click on “Platform Configuration Utility”
Page 6

10) Click on the “Gas analyser” tab and set the com port to match that shown on the device
manager:
1
Enter the COM port
identified in device
manager
Select “Gas Analyser”
Select “Wired”
2 3 4
Click “Save”
Page 7

Configure DX.260 Smoke Meter, Oil
Temperature Probe & Tachometer
Bluetooth
Configure DX260 Smokemeter
1
Select “Battery Tach”
2
Select “Wireless”
3
Enter the “Bluetooth
Address” found on the
white label under the
barcode next to
“BTID” on the CDSS6
Battery Tach casing
4
Click “Save”
Page 8

DAS00401 Oil Temp Probe
5
Select “Oil Temp”
8
Click “Save”
then “Exit”
6
Select “Wireless”
7
Enter the “Bluetooth
Address” that is
found on the white
label under the
barcode next to
“BTID” on the
DAS00401 Oil Temp
Probe
Page 9

Cabled
Connect each device in turn and note in device manager the com port allocated.
1
Select “Smokemeter”
2
Select “Wired”
3
Enter the COM port
identified in device
manager
4
Click “Save”
Page 10

Shutdown the PC via “shutdown” button
Start the PC again, open the required program and check the equipment is communicating
by running a test.
5
Select “Battery Tach”
6
Select “Wired”
7
Enter the COM port
identified in device
manager
8
Click “Save”
9
Select “Oil Temp”
10
Select “Wired”
11
Enter the COM port
identified in device
manager
12
Click “Save” then “Exit”
Page 11

Loading Garage Name & Address into
the Gas Analyser & DX.260 Program
Gas
From the main gas screen, select the additional menu.
Then select “VTS entry” (Fig 1) under the tools and setup option of the Petrol emissions analyser
program. Change and save by clicking forward arrow (Fig 2).
Fig 1. Fig 2.
Smoke
From the main diesel screen, select the additional menu (Fig1)
Then select “VTS entry” (Fig 2) under the tools and setup option of the diesel smoke meter e
program. Change and save by clicking forward arrow (Fig 3).
Fig 1. Fig 2.
Fig 3.
Page 12

Printer Installation
Open “Control Panel”
Go to “Devices and printers”
Click “Add a device” and follow the on screen instructions.
You may need to download a driver from your printer manufacturer’s website.
Page 13

Continental Automotive Trading UK Ltd. 36 Gravelly Industrial Park, Birmingham, B24 8TA
Tel: 0121 725 1400 | Email: sales@cryptntontechnology.com | Web: www.cryptontechnology.com
Crypton – A Brand of the Continental Corporation
With all the quality, service and backup you would expect from a UK company with a long standing history like Crypton.
E & O.E. The Company reserves the right to introduce improvements in design or specifications without prior notice.
The sale of this product is subject to our standard terms, conditions and relevant product warranty.
 Loading...