

Crutchfield 000SRADIG User Manual
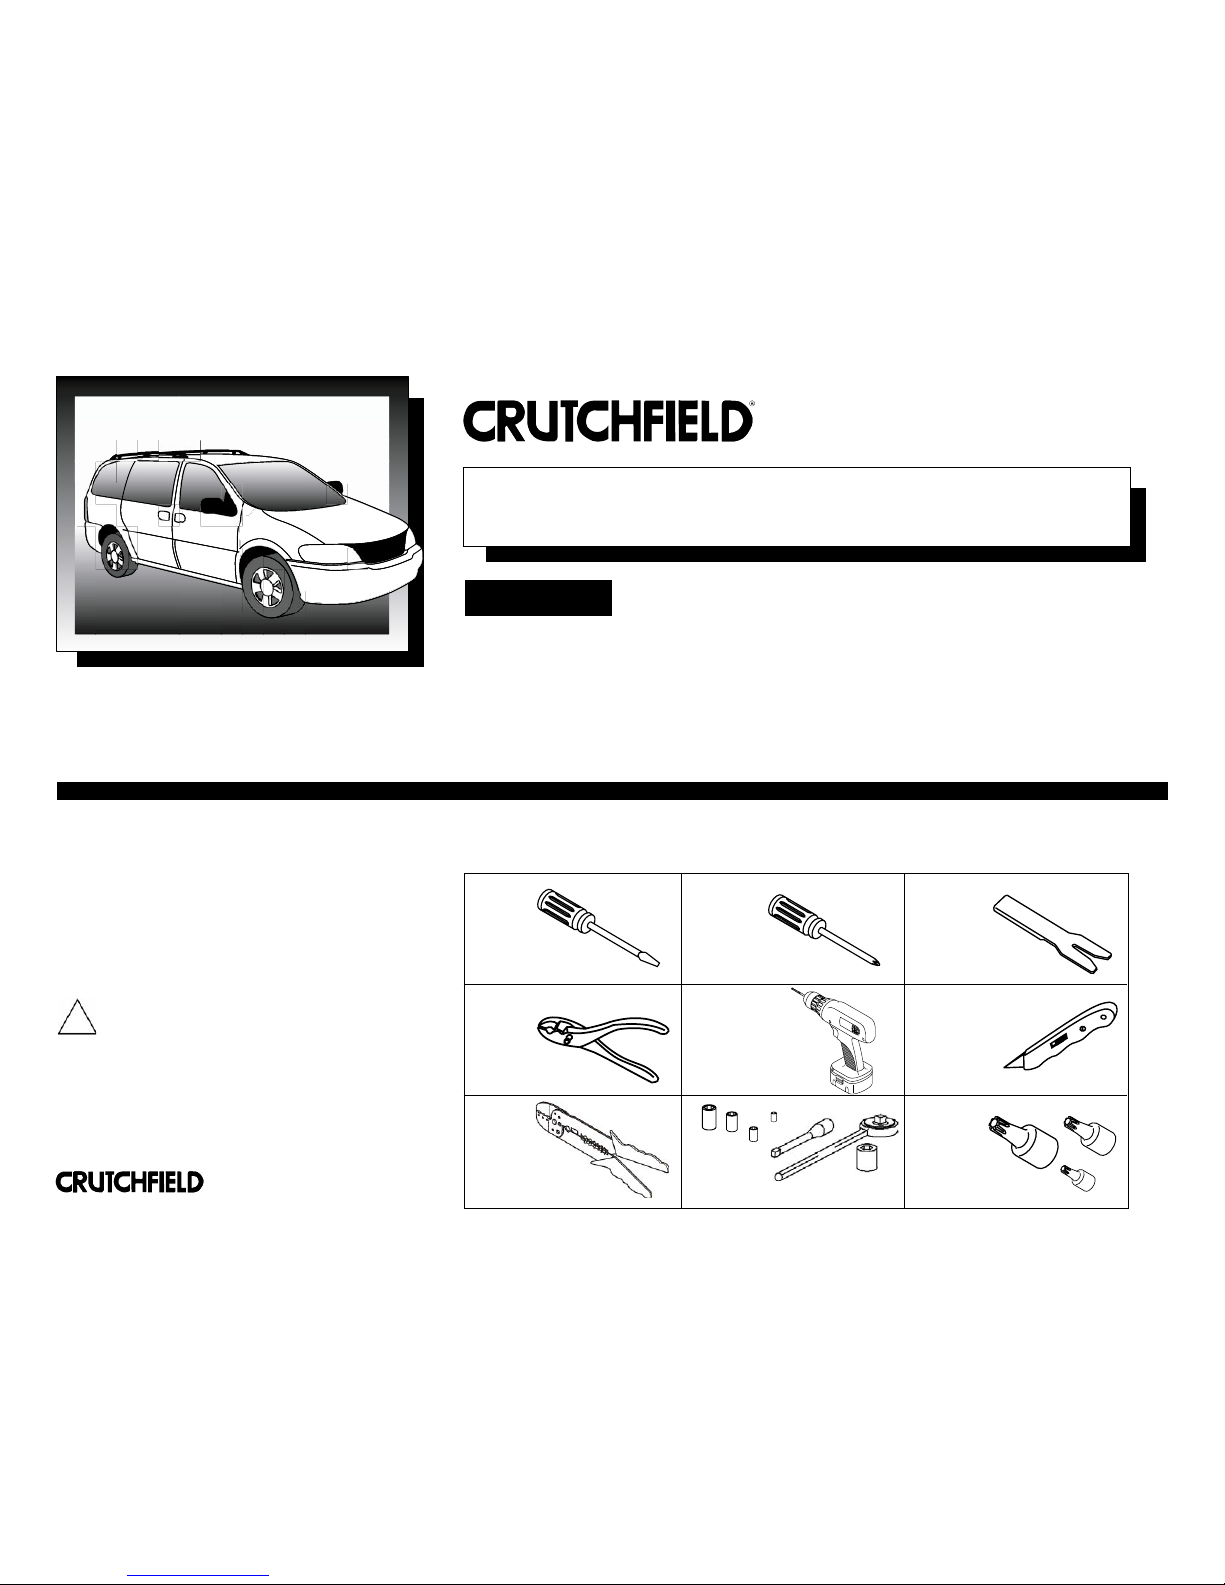
Tools Needed: (depending upon vehicle)
000SRADIG
Revision 3/13/05
▲
*000SRADIG*
®
Copyright 2005 Crutchfield Cor poration
Satellite Radio Installation Guide
Flat Blade
Screwdriver
Phillips
Screwdriver
Panel Tool
Pliers
Drill & Bit Set
Utility Knife
Wire Stripper/
Crimp Tool
Torx Driver Set
Socket &
Ratchet Set
Note: Both plug-and-play and dedicated in-car
satellite radio tuners require the installation of a
satellite radio antenna. The satellite radio antenna
installation process is virtually the same for both
types of tuners, and will be covered in the last
section of this guide.
IMPORTANT
Before starting, compare items on your invoice with items received. Carefully check through packaging material. If
any item is missing, please call: Crutchfield Customer Service at 1-800-955-9091
Although reasonable attempts are made to verify the accuracy of the information
contained in this guide, it is presented without warranties or guarantees of any
type due to the constantly changing nature of this type of information and running
changes in vehicle production. Any person or entity using this information does so
at his or its own risk. If you find our instructions do not apply to your vehicle, or
if you have questions, do not continue with your installation. Contact our toll-free
technical support for assistance (Tech support phone number is on your invoice).
As with any car audio/video installation, your first
step is to disconnect the negative terminal of your
car battery to prevent short circuits. Check your Crutchfield
MasterSheet™ (available for most vehicles) or vehicle owner’s
manual for specific directions. In some vehicles, disconnecting
the battery may require you to re-enter a security code or have
the dealer reset the internal computer.
!
000SRADIG
2
®
Copyright 2005 Crutchfield Cor poration
Installing a Plug-and-Play Tuner
The most popular way to get satellite radio in the car is with a plug-and-play
tuner. This is a removable tuner that can be played through both car and
home stereos with the appropriate accessory kits.
Plug-and-play tuners must be mounted in the cradle, also called the docking
station, found in the car accessory kit. Power and signal connections are
usually made at the cradle.
There are two ways to mount the cradle in your car:
1. Using the included mounting hardware
2. Using an optional vehicle-specific mount
Accessory kit mounting hardware
The cradle’s mounting hardware typically features an arm with an industrialstrength, self-adhesive pad on a backing plate. To install the cradle using
the included hardware, first find a convenient spot on your dash to mount
the cradle. You’ll want to make sure that you can reach it easily and that the
tuner isn’t blocking any of your dash controls. It helps to have someone hold
the tuner in place while you sit in the driver’s seat to check the placement.
Once you’re sure where you want to mount the cradle, swab the area with a
cleansing pad (included in most kits), peel the backing off the self-adhesive
pad, and stick the mount in place. Apply moderate pressure for a minute or
so to ensure that the pad adheres correctly. Some vehicle kits also include
screws for a more permanent installation, though you’ll want to think
carefully before drilling into your dash.
Once the mount is in place, slide the tuner into the cradle, make the
appropriate signal and power connections (see page 4), and you’re ready to
go.
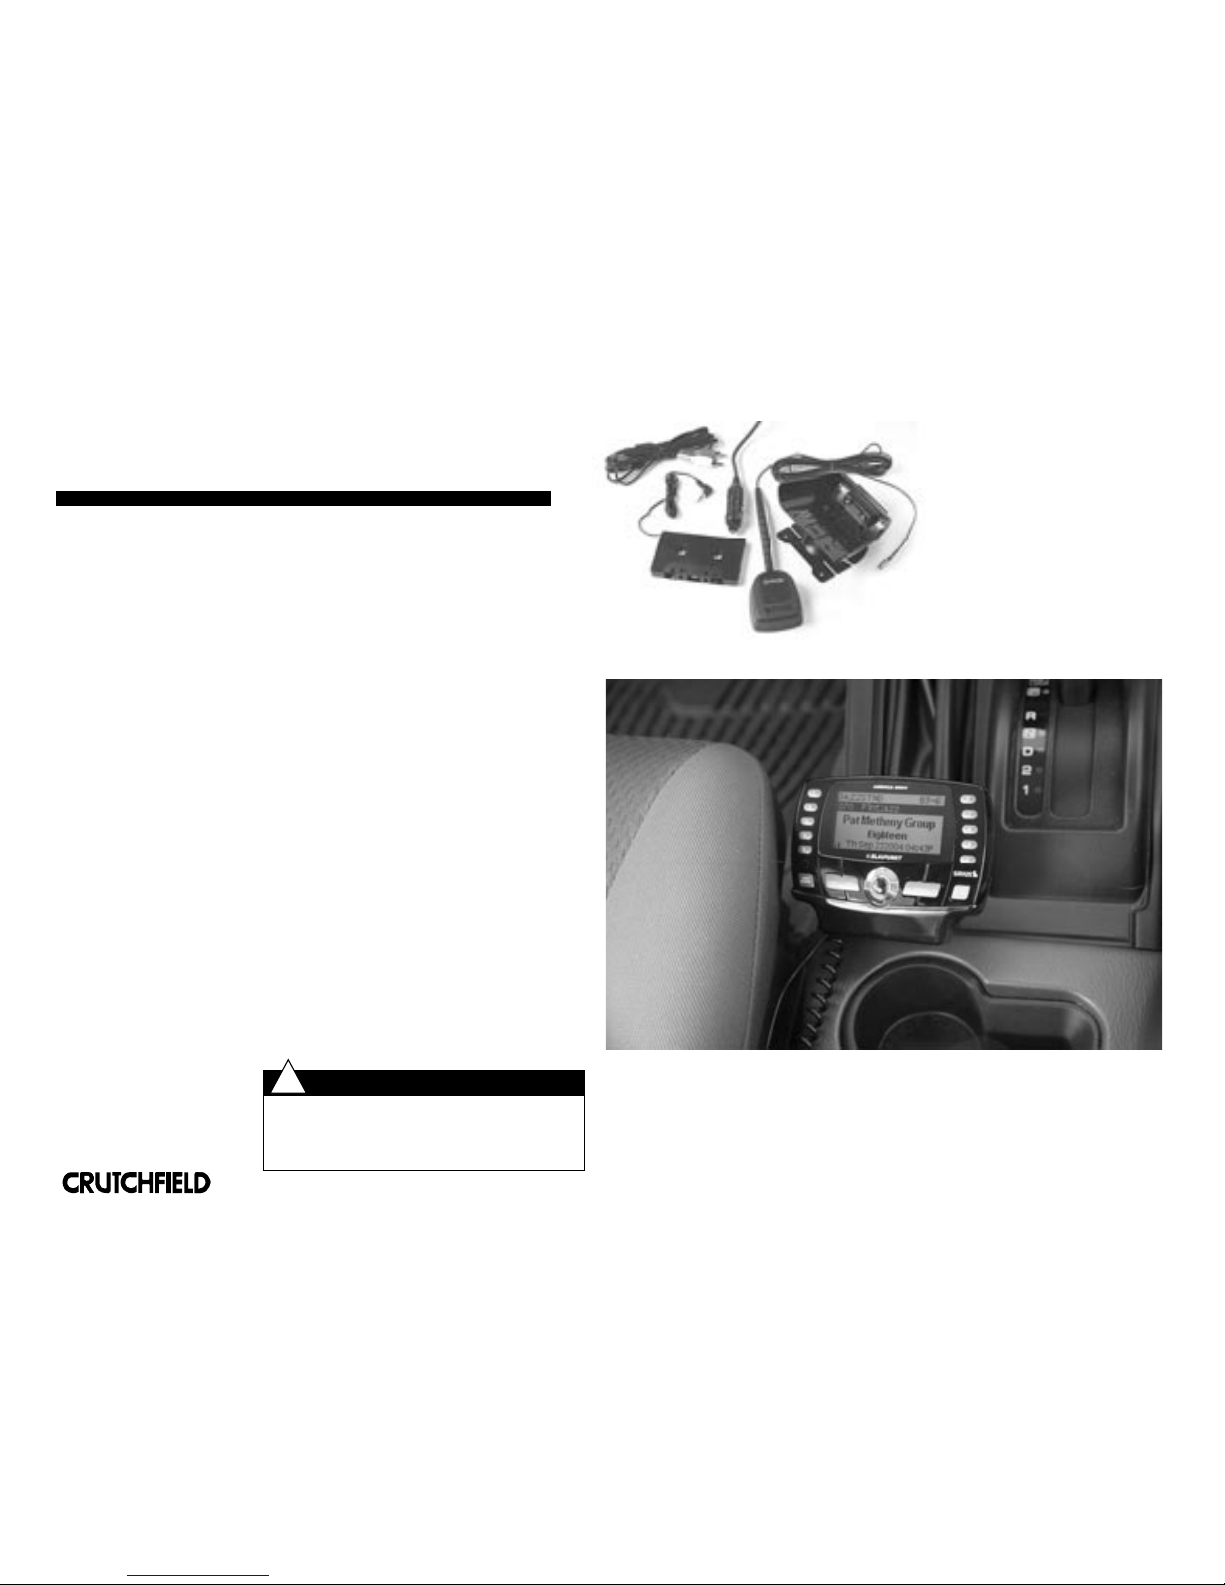
A plug-and-play satellite radio
car kit may include all of the
following: a cradle, an antenna,
a DC power adapter, a minijack-to-RCA patch cord, and a
cassette adapter.
When deciding where to mount a plug-and-play tuner, be sure that you can easily see and reach
the controls, and that the tuner will not interfere with other dash controls.
Always be careful when drilling or cutting in a vehicle.
Be aware of things such as wiring, windows, fuel lines
and safety devices. Check drilling/cutting depth and location to avoid damage to vehicle appearance.
CAUTION:
!
000SRADIG
3
®
Copyright 2005 Crutchfield Cor poration
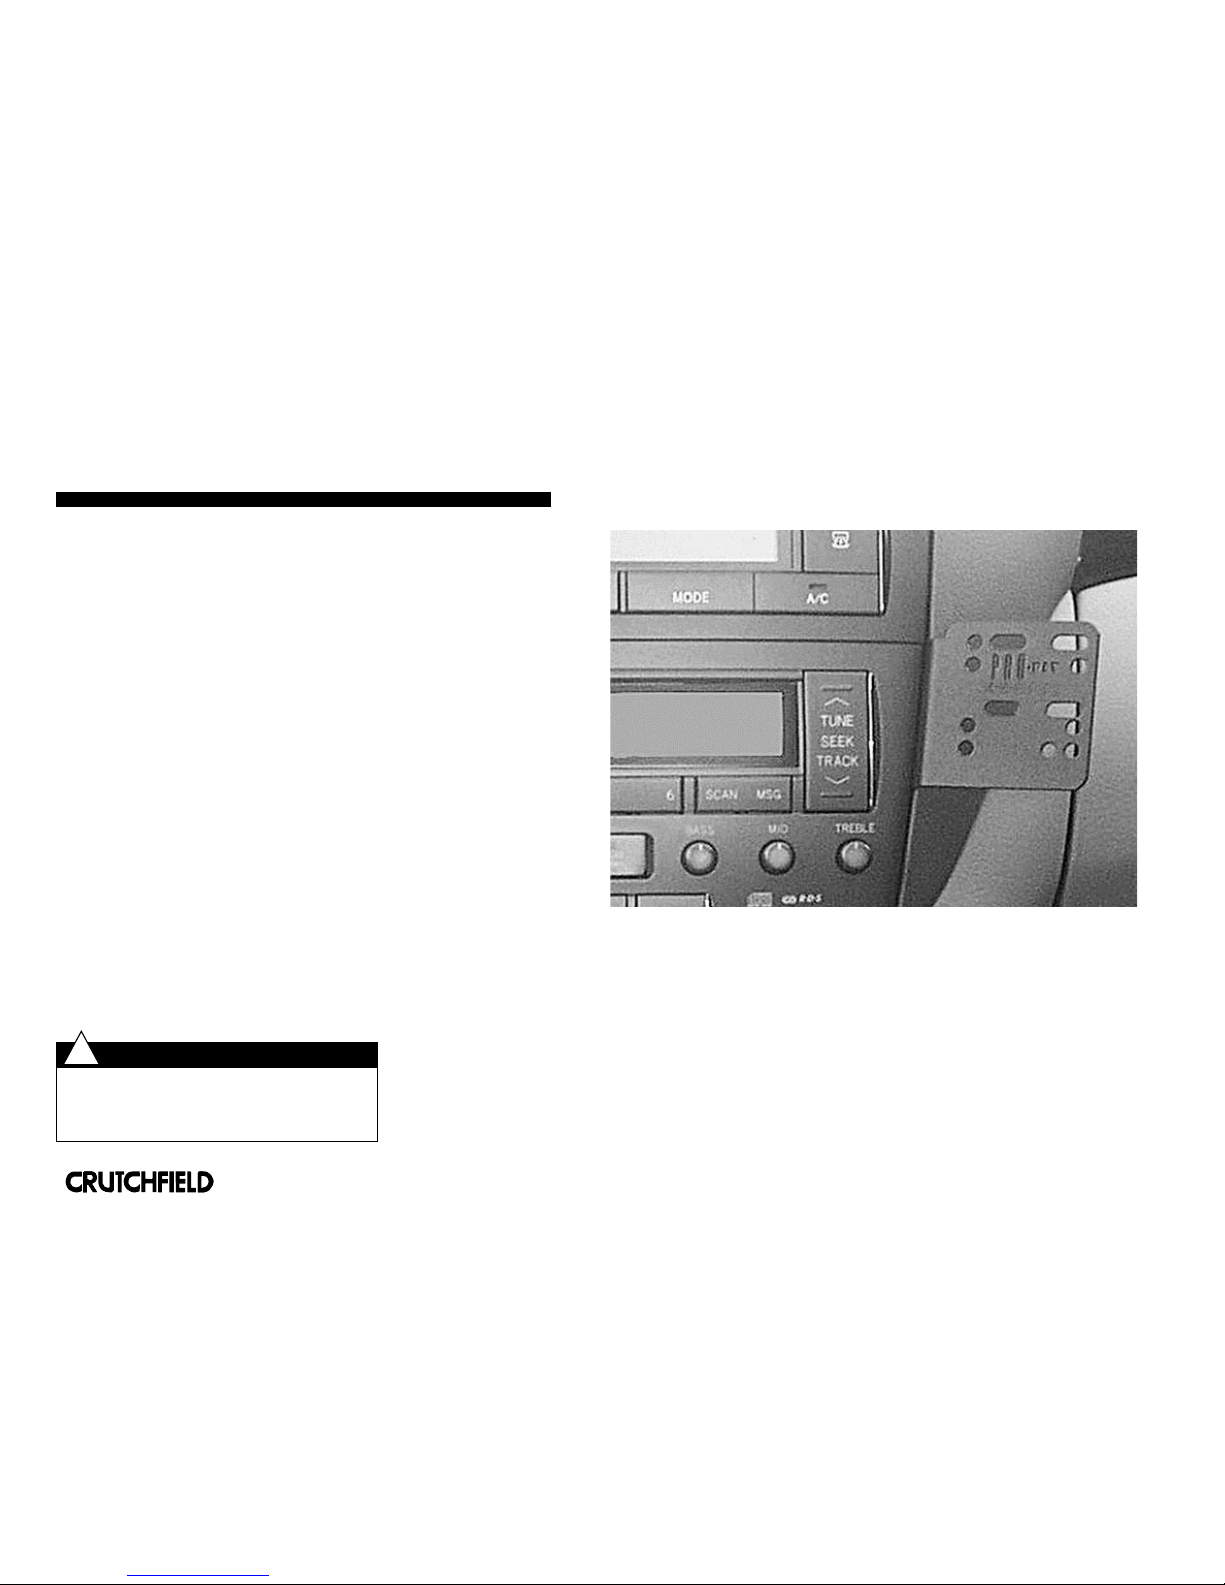
Vehicle-specific mounting kits let you install select satellite radio tuners
(or controller/displays) in hard-to-fit vehicles without modifying the dash.
These typically bolt to the dash frame and offer a backing plate for mounting
the tuner’s cradle (you’ll still need the tuner’s car accessory kit; you just won’t
use the included mounting hardware).
There are three advantages to vehicle-specific mounts:
1. Vehicle-specific mounts fit in convenient spots (selected by the
manufacturer) that do not interfere with dash features such as climate
controls and air-conditioning vents.
2. Vehicle-specific mounts are designed to blend-in well visually.
3. Since vehicle-specific mounts are bolted into place, the installation is more
sturdy and permanent-looking than standard adhesive-pad methods.
Installation of a vehicle-specific mount varies from vehicle to vehicle. In general,
though, you’ll likely have to engage in some dash disassembly and reassembly.
The instructions included with the mount will guide you through the process for
your vehicle.
Once you’ve installed the mount, you will need to attach the vehicle kit cradle to
the bracket. This can be done by matching the bolt pattern on the bracket with
the small screw holes on the back panel of the tuner’s cradle and using the
screws that come with the mount. You can also choose to use the self-adhesive
pad to attach the cradle to the mount arm, though this is less secure than
using screws.
Note: Vehicle-specific mounts are not available for all vehicles. Check our online
fit database by clicking on “What fits my car?” at Crutchfield.com or call a Sales
Advisor to see if we have one for yours.
Vehicle-specific mounts bolt to the dash frame and provide a convenient platform for
mounting a plug-and-play tuner.
Optional Vehicle-specific Mounts
Always be careful when drilling or cutting in a vehicle.
Be aware of things such as wiring, windows, fuel lines
and safety devices. Check drilling/cutting depth and location to avoid damage to vehicle appearance.
CAUTION:
!
 Loading...