

CRU Rax RAX210-QR, RAX211-QR, RAX212-QR, RAX215-QR, 219-QR User Manual
...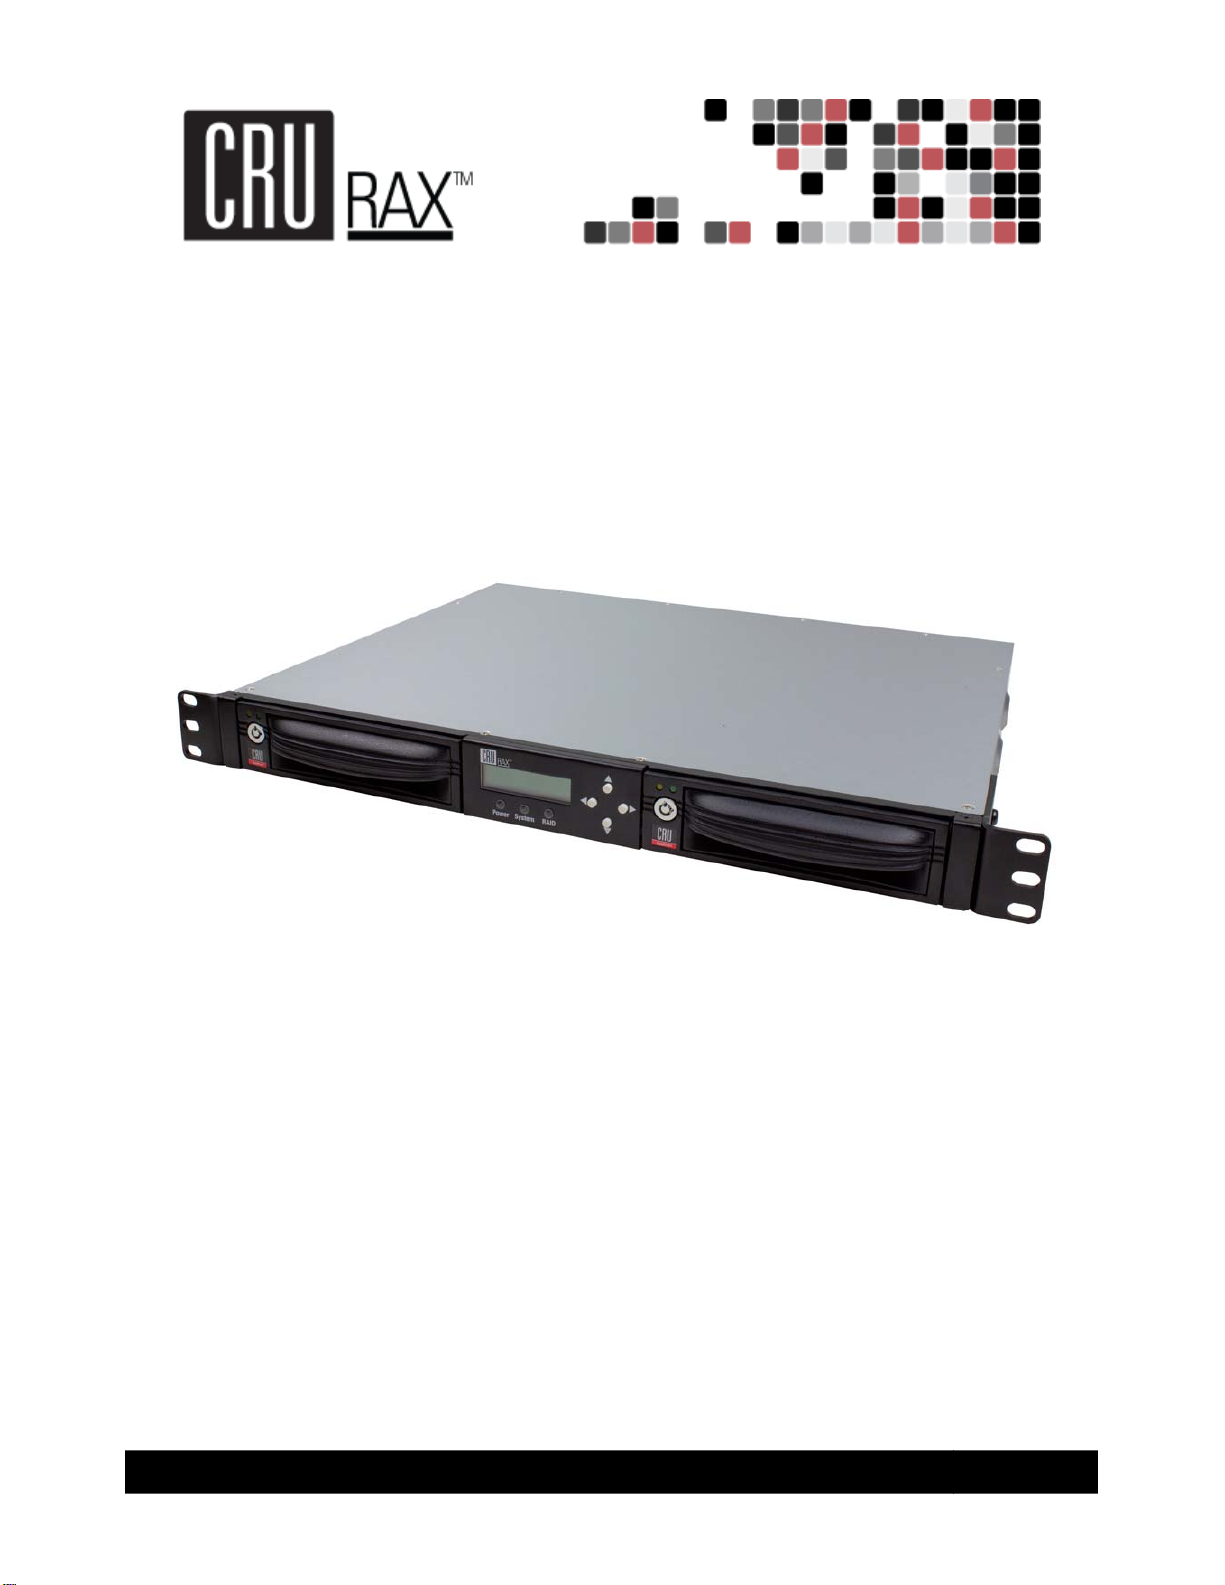
2-BAY RAX™ QR
USER MANUAL
Covers models RAX210-QR, RAX211-QR, RAX212-QR, RAX215-QR, and 219-QR
(Revised June 6, 2011)
Features
• Multiple connection options for wide compatibility
• Hardware RAID 1 protects against data loss due to drive failure by mirroring the
drives in real time
• Variety of bay types available. TrayFree models (RAX210) allow easy insertion
and removal of hard drives. Models with removable carriers (RAX211, RAX212,
RAX215) enclose and protect hard drives when removed from the RAX.
• Specially-designed drive and carrier interfaces are built to withstand thousands of
insertions
• LED indicators for Power, Access, System, and RAID
• Superior cooling with dual 40mm exhaust fans
• Rugged all-metal construction for superior durability
U s e r M a n u a l f o r R A X Q R ( A9-210-0009) REV 1.0 - 1 -

CRU
Table of Contents
1. Pre-Installation Steps 3
1.1 RAX QR Accessories 3
1.2 Identifying Parts 3
1.3 Consider your RAID Configuration 4
2. Hardware Setup 4
2.1 Installing Hard Drives 4
2.2 Tips for Rack Mounting RAX QR 5
2.3 Connecting and Powering RAX QR
3. LED Behavior
4. LCD Screens
5
6
6
5. Setting up the RAID 6
5.1 Creating a New RAID 7
5.2 Changing the RAID Type 7
6. Adding a New Disk 7
6.1 RAID 1
7
6.2 RAID 0 7
6.3 Single Disk Mode 7
7. Buzzer and Temperature Configuration 8
8. Encryption Information 9
9. Usage with Mac and Windows Operating Systems 9
9.1 Usage with Macintosh Computers 9
9.2 Usage with Windows Operating System 10
10. Frequently Asked Questions 12
11. Technical Specifications 13
U s e r M a n u a l f o r R A X Q R ( A9-210-0009) REV 1.0 - 2 -

CRU
ont
1. Pre-Installation Steps
1.1 RAX QR Accessories
Check the accessories with your RAX QR. Please contact CRU if any parts are missing or damaged.
The box should contain the following items:
1.2 Identifying Parts
Take a moment to familiarize yourself with the parts of RAX QR. This will help you to better understand
the remaining instructions.
Drive Activity LED
4cm Exhaust Fan
eSATA Port
Ejection Handle
FireWire Ports
Accessories Quantity
RAX QR unit 1
Power cord 1
Key set 1
Screw kit 1
Quick Start Guide and warranty
information
Fr
Power LED
System LED
View
Up, Down, Back (left arrow), Enter (right arrow) buttons
LCD
RAID LED
Key Lock
Drive Power LED
Rear View
AC Power Inlet
USB Port
1
Mounting Bracket
Power Switch (On/Off)
U s e r M a n u a l f o r R A X Q R ( A9-210-0009) REV 1.0 - 3 -

CRU
gly
1.3 Consider your RAID Configuration
If you purchased RAX QR with drives pre-installed and pre-configured, skip to Hardware Setup.
RAX QR supports RAID 0, RAID 1 and a single drive. Consider which configuration best suits your needs.
All hard drives must be initialized prior to use in RAX QR. It is not possible to add a drive to RAX QR and
access existing data on that drive. Before it can be readable, the hard drive must be initialized by RAX
QR which will cause the loss of all data on the drive. The drive(s) must be configured to RAID 0, RAID 1
or a single drive.
1.3.1 RAID 0
In this mode, RAX QR will configure the drives in a “striped” RAID. This will split your data between the
drives, offering faster performance and allowing you to use the full capacity of the drives in a single
volume. However, RAID 0 offers no data redundancy, so all data is unrecoverable if either drive fails.
1.3.2 RAID 1
In this mode, RAX QR will “mirror” the two drives for best data protection. In this mode, you will work with
a single volume equal in size to the capacity of one drive. When you copy data to the volume, RAX will
simultaneously write the data to both drives. If one drive were to fail, your data would still be preserved on
the other drive. After replacing a failed drive you can rebuild the RAID on the fly so that your data is once
again redundant and secure.
1.3.3 Single Disk Mode
In this mode RAX QR will support a single drive.
Because your RAX QR features a redundant RAID mode which protects against a hard drive mechanical failure, it
is an excellent part of any backup strategy. However, a RAID is not, in itself, a backup strategy. Many things
besides hard drive failure can compromise your data (e.g. malware, theft, fire, etc.) That's why it’s important to
have another copy of your data somewhere else. Follow the 3-2-1 backup rule: your data should exist in three
different places on two different storage media and at least one of those copies should be maintained offsite.
If you do not have an effective backup strategy, you may not be able to recover your data, or the cost of recovery
may be quite expensive. Our warranty does not cover costs associated with data loss (nor do the warranties of
other hard drive manufacturers). We know it would be heartbreaking to lose your data, so please plan
accordin
!
RAID is not a Backup
NOTE: There is no way to convert a drive
in Single Disk Mode to RAID 1 without
creating a new array which will cause the
loss of data on the hard drive.
2. Hardware Setup
2.1 Installing Hard Drives
2.1.1 HDD installation for RAX210-QR
Follow these steps for installing or removing a hard drive
from the front bays.
a) Pull on the ejection handle and open the door.
b) Slide in your SATA hard drive, connector-end first.
Note: the drive’s label should be facing up.
c) Shut the door.
U s e r M a n u a l f o r R A X Q R ( A9-210-0009) REV 1.0 - 4 -
 Loading...