

Page 1
CR6230A
SNAP
Page 2
ENGLISH
Page 3
ENGLISH
Page 4

ENGLISH
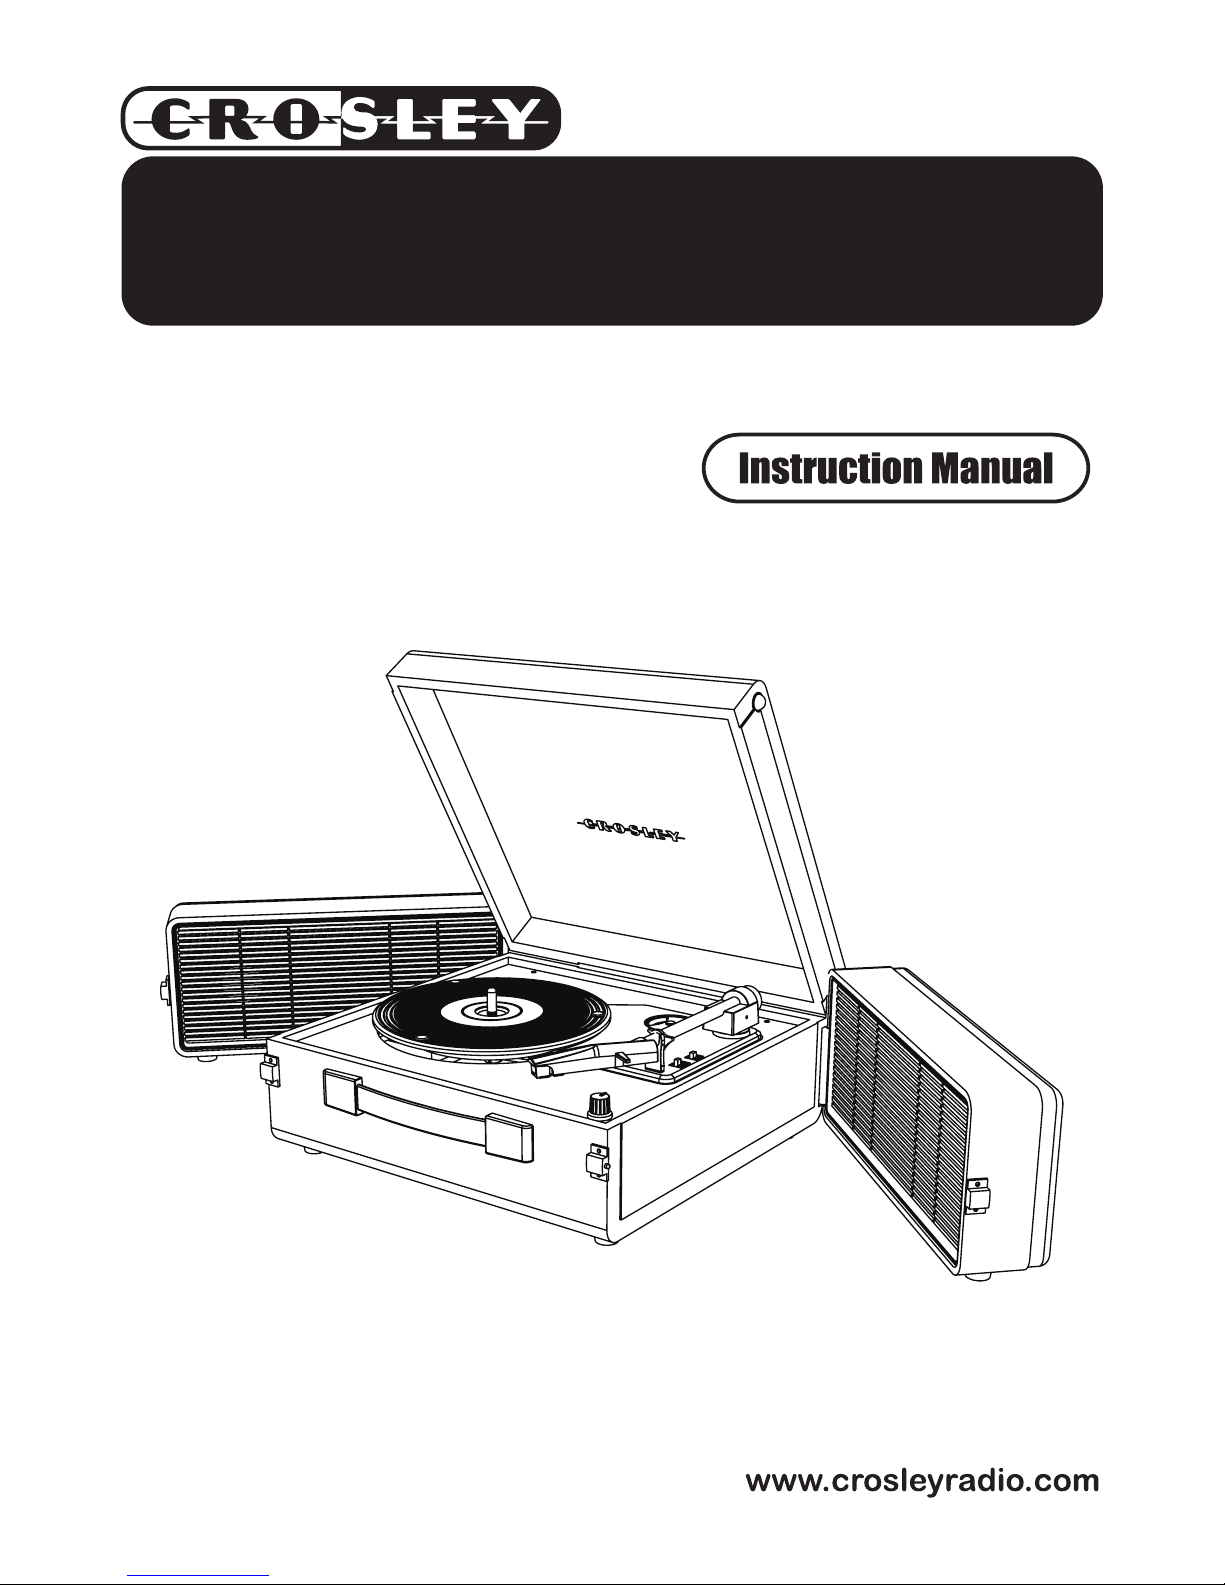
Thank you for purchasing the Crosley
SNAP(CR6230A). Before operating this unit,
please read this manual thoroughly and retain
it for future reference.
Control Locators................... 4
Unpacking............................ 5
Power Souce........................ 5
Turntable Operation............. 6
USB Operation.....................
6
Audio Output........................ 6
Aux In................................... 6
Troubleshooting Guide......... 7
Instructions in this manual describe the control
functions of the CR6230A.
Included in this package:
SNAP turntable
45 RPM Adapter
USB Cable
Recording Software
AC Adapter
3.5mm stereo cable
●
●
●
●
●
●
Page 5

ENGLISH
4
5
9
10
11
12
13
13
14
45 RPM Adapter
Tone Arm
Auto Stop Control Switch
Hold Down Clip
Speed Control Switch
USB Jack
Headphone Jack
Aux In Jack
Line Out Jack
Power Jack
14 AC Adapter
6 Tone Arm Rest
ON/OFF-Volume Control Knob
Speaker
1
2
3
7
8
Page 6

11
NOTE: Headphone is not included
Power Source
1 Untie the wire on the AC ADAPTER(14).
Headphone Jack Operation
1
Connect headphone to the HEADPHONE JACK(10).
2 Adjust volume to the desired listening level.
NOTE: When using headphone, the sound
from the unit’s speakers will be cut off.
6 Remove white protective needle cover by
gently pulling towards the front of the unit.
Unpacking
Remove packing materials from the unit.
Note: Save all packing materials.
2 Remove AC ADAPTER(14) from the giftbox.
3 Remove tie from AC ADAPTER(14).
4 Set the unit on its end, open the lid of the unit.
7 Release tone arm HOLD DOWN CLIP(3) by
gently pushing to the right. This will unlcok
TONE ARM(2) from its arm rest. Re-lock the
HOLD DOWN CLIP(4) when moving the unit
to another location.
2 Plug the AC ADAPTER(14) into appropriate wall
outlet.
3 Plug the small end of the adapter into the Power
JACK(13).
5 Remove black tie-warp from the bottom of the
TONE ARM(2).
Page 7

Accessory: ADAPTER FOR 45 RPM
This adaptor allows you to play 45 RPM records.
Turntable Operation
2 Place the record on the turntable.
USB Operation
Using the included software and cable, the
USB connection allows you to record your
records onto your compuater. Follow these
instructions to use the USB.
AUX IN
1 Set the SPEED CONTROL SWITCH(5) to the
correct speed (33
1
/3, 45 or 78rpm).
3 Move the TONE ARM(2) to the desired
starting point on the record. The record will
start playing.
4 Turn the VOLUME KNOB(9) to adjust the
volume to the desired level.
1 Insert the enclosed software CD into your
computer.
2 Follow the instructions on the computer
screen to install the software. If the CD
does not load automatically, browse the CD
and run the executable file called
“CR-USB.exe”.
3 Connect the square end of the USB cable
to the USB JACK(9) on the right side of the
turntable.
4 Connect the other end to a USB port on
your computer.
5 On your computer, open the Recording
Software.
6 For instructions on operating the recording
software, browse the software CD and
open the Manuals folder.
1 Place the 45 RPM ADAPTER(1) over the
spindle.
2 Gently place your 45 RPM record onto the
turntable.
3 Follow the steps under turntable operation to
play your record.
1 Plug one end of the provided 3.5mm stereo
cable into the AUX IN JACK(11).
2 Plug the other end of the stereo cable into the
output jack of your desired external music
device.
3 Check the volume level of your external
device.
4 Refer to the user manual for correct
operations of the external device to play
music.
Page 8

Troubleshooting
The unit does not operate.
Tone arm will not move.
removed.
1 The AC Power cord is not connected. Make
sure it is connected to an AC outlet at the
back of the unit.
No sound is coming from the unit.
1 The white protective needle cover was not
with a stereo cable.
2 Turn up the volume.
1 Black tie-wrap was not from underneath tone
arm.
3 Make sure the AUX IN JACK is not plugged
2 Tone arm hold down clip was not released.
 Loading...