

Crimestopper SV-5600 Installation Manual

INSTALLATION INSTRUCTIONS:
Part # SV-5600 PC-F Full Frame Type (Black or Chrome)
Part # SV-5500 PC-B Top Bar Type (Black or Chrome)
Part # SV-“PK” Kits with PlateCam and 3.5” LCD monitor
FEATURES:
• Revolutionary patented design integrates a Color rear vision camera with your rear
license plate
• Enhance the look of your Car, SUV, Truck or Van.
• The 130° ultra wide-angle CCD color camera provides rear images in real time and
eliminates the dangerous “blind-spot” directly behind your vehicle when backing.
• Works day or night, on most vehicles.
• Simple installation: No major tools required. Video monitor required, not included.
• The plate cam easily connects with other SecurView products including the SV-8000 2.5
in LCD rear view mirror monitor, 3.5” mini monitor or your existing LCD/TFT displays.
• The PlateCam™ is designed for vehicles in which the license plate location is centered
and above the level of the rear bumper. The PlateCam™ may not perform well on
vehicles with low or offset license plate positions.
US Patent# 5574443, 6433680, 6441872
DISCLAIMER:
Under no circumstances shall the manufacturer or distributor of the PlateCam™ be held liable for
consequential or incidental damages sustained in connection with the use of the PlateCam™ Rear Vision
System. The PlateCam™ is designed as a safety enhancement device and is in no way intended as a
replacement for rear-view mirrors, side-view mirrors or physically checking the surroundings when
backing a vehicle. Always check surroundings for safety when backing! Objects on the monitor are
closer than they appear. For the best fit, modification of the vehicle license may or may not be
necessary. It is the sole responsibility of the vehicle owner to check and verify any and all State or
Federal Motor vehicle codes with regards to modifications of vehicle license plates. The manufacturer of
the PlateCam™ assumes no liability or responsibility whatsoever with regards modifications of the
license plate.
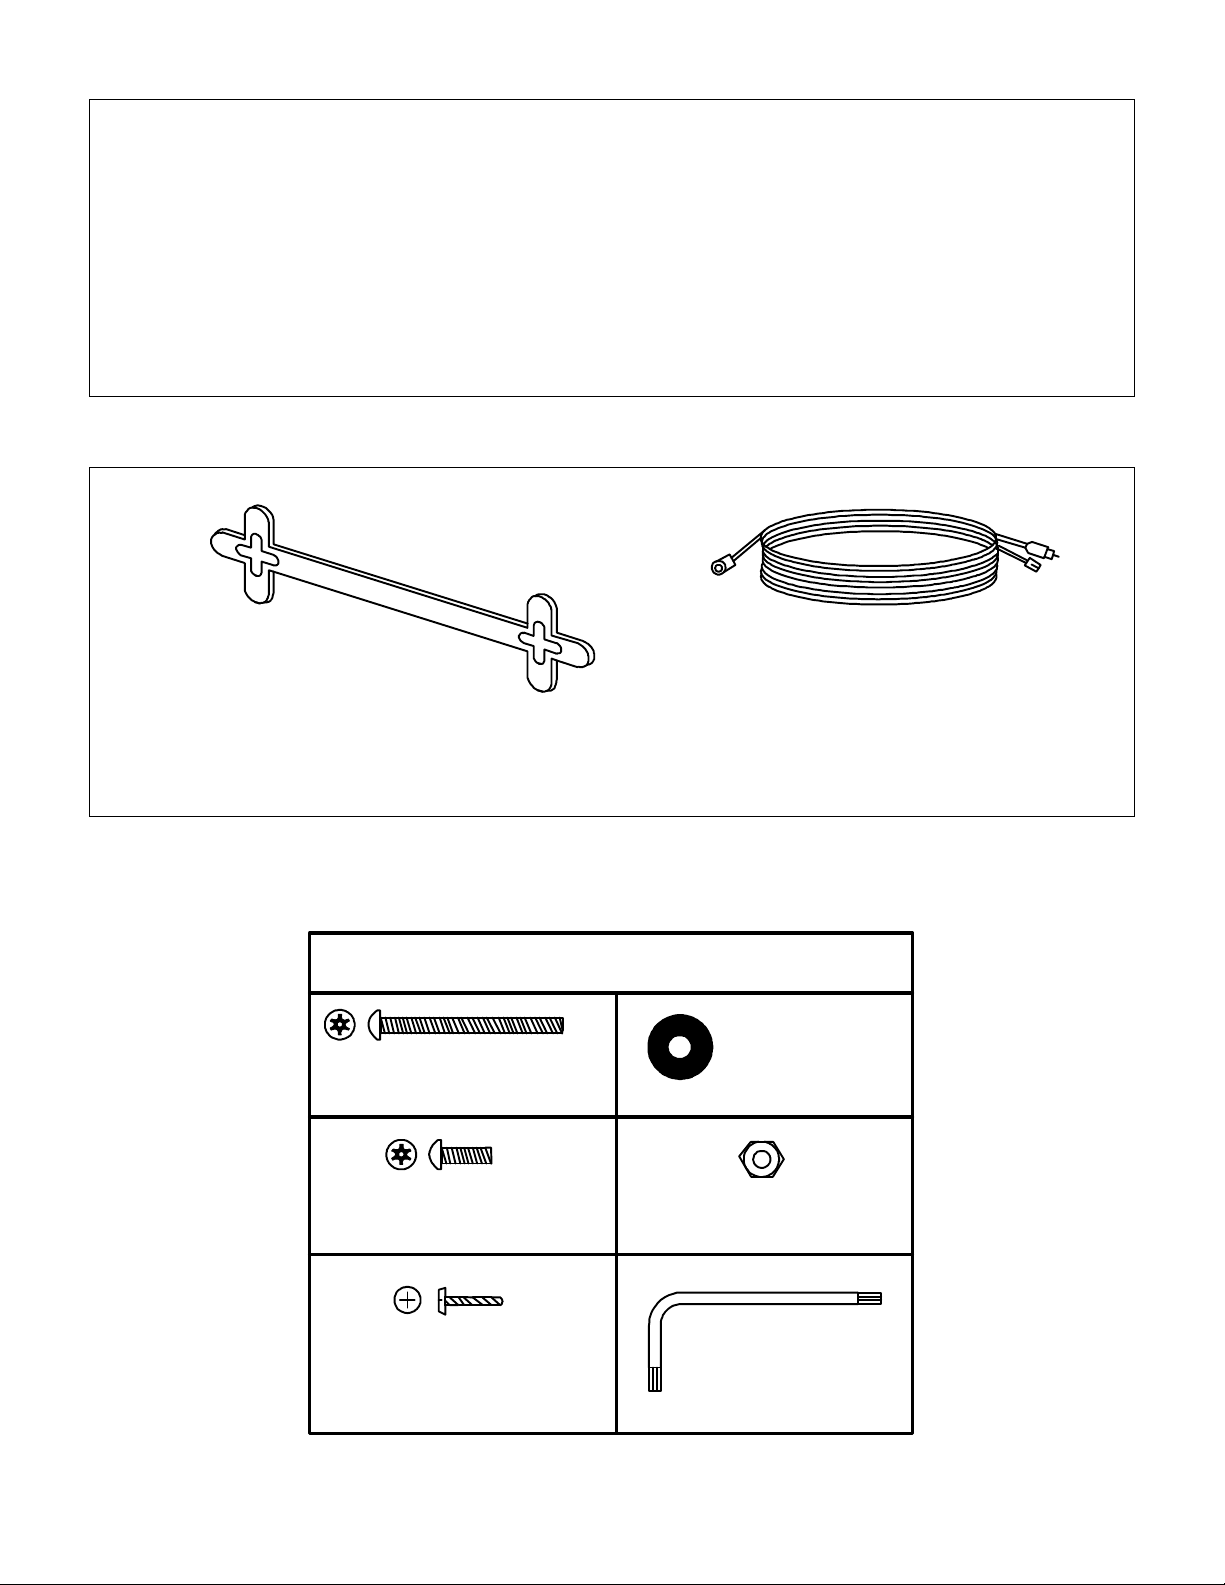
OPTIONAL ACCESSORIES:
SV-40AB
Adjuster Bracket
SV-40AB: An adjustable bracket is available for vehicles that do not have clearance under the trunk lip or the
License plate lighting assembly to install the Plate cam or Bar Cam.
SV-30EXT: 30 FT extension cable for vehicles requiring an extended cable run.
SV-30EXT
Extension Cable
HARDWARE / PART LIST:
PARTS LIST:
2 X Torx Pin 2.5"
Security Bolt
2 X Torx Pin 7/8"
Security Bolt
2 X Phillips
Module Box
Screw
2
4 X Spacer/
Washer
2 X Nut
T-30 Torx L-KEY
Security Pin

INSTALLATION NOTES (Read First!):
MOUNTING:
1. The PlateCam™ Rear Vision System uses a super wide-angle lens for best all around
performance. The Camera will display the full width of most parking spaces up to 6 feet or
even wider.
2. The PlateCam is designed to work best on vehicles that have a license plate located at the
center and above the rear bumper. If your vehicle has a plate location that is offset to the left
side, right side, or your plate is located under the bumper then the PlateCam™ may not
provide optimum performance.
3. The design of the frame (or “Bar”) itself allows the camera to be angled towards the rear
“Blind Spot” behind the vehicle. In some cases adjustment may be necessary. An optional
CAMERA:
REVERSE (MIRROR) IMAGING:
The PlateCam’s Camera has built-in circuitry to “mirror” the image so objects on the right of vehicle
appear on the right and objects on the left appear on the left when looking at a standard monitor. If
your existing monitor or in-dash monitor has a reverse camera input where the monitor itself performs
the mirror image, then your picture will not be correct. This is due to the fact the image is being
mirrored by the plate cam and mirrored by your monitor. Check to see if you can control the settings
in your monitor to turn off the mirror image feature. If you do not, then you require a ”Normal Image”
camera module. The Normal Image module is not included in the kit and must be purchased
separately.
PICTURE QUALITY:
The 1/3” CCD camera provides the best quality picture available. Objects on the monitor are closer
than they actually appear.
WIRING:
1. Carefully choose a hidden out-of-sight location [possibly behind the plate] for drilling the cable
2. Choose a convenient place to run the camera cable up the left, right or center of the vehicle. As
3. As a time-saver, you can connect the camera power at the rear of the vehicle behind the reverse
4. Run the video cable to your monitor’s video input or reverse camera input.
5. The mini power plug is designed for use with an optional SecurView SV-7000 3-in/4-out Audio
slotted adjuster bracket is available separately to adjust your frame (or bar).
1. The Camera has built-in circuitry to reverse the image so objects on the right of vehicle
appear on the right and objects on the left appear on the left when looking at a standard
monitor. (See Reverse Imaging next section for more information.)
2. The color CCD camera is maintenance-free, waterproof and vibration resistant.
3. The camera is NOT a night vision Infra-red camera, however the backup lights on your
vehicle and/or any ambient light in the area should allow the system to still be useful at night
in most installations.
4. The camera is completely electronic. There are NO manual adjustments for focus, etc.
hole. Some vehicles may have an existing hidden rubber grommet or plug available to avoid
having to drill into the body. Be sure to double-check for any wiring or obstructions behind the
surface where you are going to drill the cable hole. Use the rubber grommet (included on cable)
to make a watertight seal for the cable where it passes into the vehicle.
a rule of thumb, try to avoid main factory harness looms that may contain high levels or RF noise
or interference.
lights. The White power wire goes to Reverse Light +12V, and the Black wire to Ground.
Video switcher with a reverse camera port. If you are not using the SV-7000 simply cut off the 2pin plug and connect the Red wire to Reverse (12V) power and connect the black wire to Chassis
ground.
3
 Loading...