

Crest Audio 8002, PRO II SERIES Owner's Manual
owner’s manual
Ch A Ch B
-
80
-
30
-
15
-
10
-
6
-
3
-
1
ØdB
-
80
-
30
-
15
-
10
-
6
-
3
-
1
ØdB
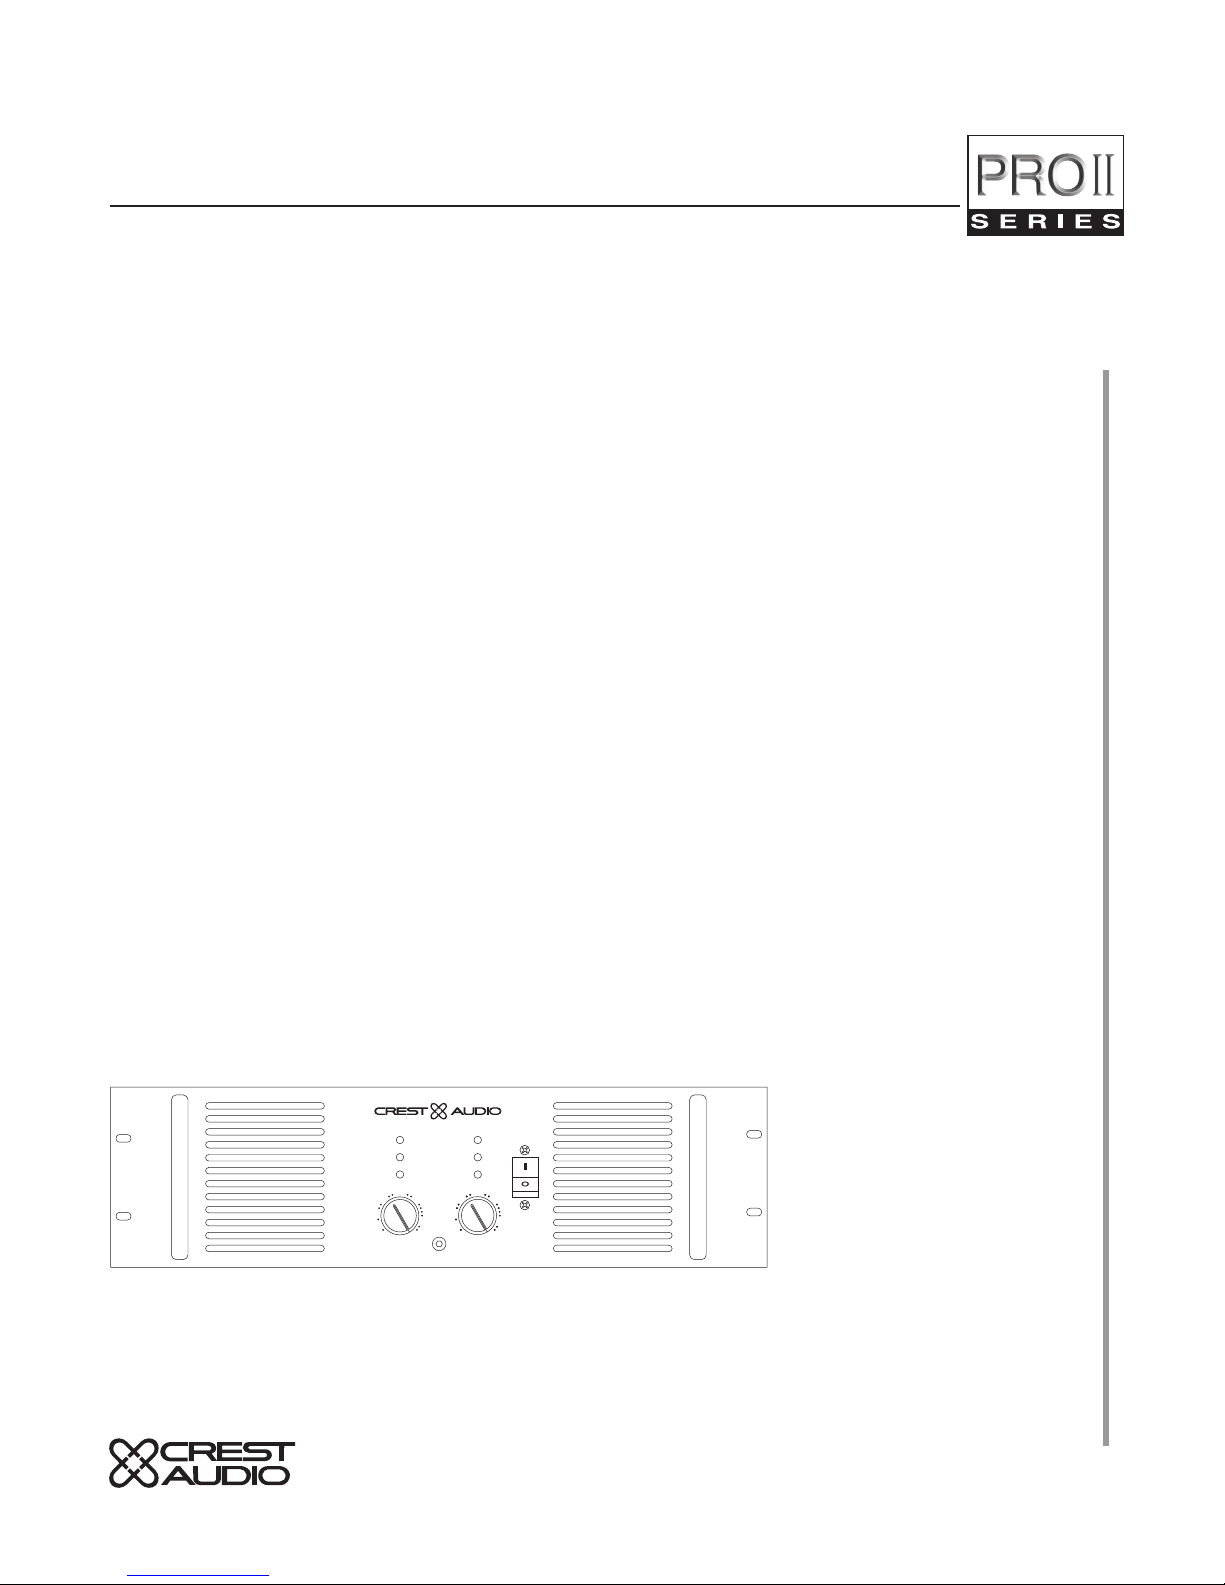
8002
Professional Power Amplifier
Status
Signal
ACL
8002 power amplifier


p. 1
table of contents
1
2
3
4
5
6
7
how to use this manual
p.2
introduction
p.3
installation
p.5
unpacking
mounting
cooling and ventilation
powering
maintenance
features overview
p.11
front panel
rear panel
operation modes
p.17
stereo
parallel
bridged
connections
p.21
input
output
safety
p.27
tourclass protection
precautions
user responsibility
service and support
p.33
support
contact us
registration
specifications
p.36
block diagram
p.37
wire gauge charts
p.38
a
b
c
contents
appendixes

p. 2
Pro II owner’s manual
how to use this manual
1
conventions
terms
official Crest Audio features and
each indicator or control on the amplifier will appear as: terms
actions
specific actions or selections the user can execute will appear as: actions
tasks
are broken down into steps 1
2
3
warnings
indicators
tips
see
see—refers to other sections of the manual containing
supplementary information on the current topic or a related issue
note
note—supplimentary feature information
Prefered methods.
Helpful hints.
Feature insights.
+
Procedures not to attempt.
Issues or hazards to keep
in mind when operating
the equipment.
a
What to look for on
the equipment display.
Alerts, indicators, or
prompts that may appear.
®

p. 3
introduction
1
welcome
Congratulations on your purchase of a new Pro II Series professional
power amplifier, and thank you for your confidence in Crest Audio products.You are among the growing number of audio professionals who have
made Crest Audio one of the world’s leading suppliers of professional and
commercial/industrial audio systems.
For your safety, please read the Important Precautions section before
installing and operating the amplifier. The Crest Audio Pro II Series is based
on the same advanced circuit topologies that have made Crest’s original
Professional Series amplifiers the choice of touring professionals worldwide. Pro II Series amplifiers are designed for high operating efficiency and
accurate sonic performance across the full audio bandwidth, even under
stressful conditions.
The Pro II Series heralds a major advance in amplifier design from Crest
Audio, providing the extreme reliability and hallmark sonic accuracy for
which Crest products are famous, in a rugged package but at only half the
weight of previous models of similar power.These dramatic weight savings
are made possible by PowerLok, a radical new power-supply technology
that provides significant performance and flexibility advances over conventional designs.PowerLok is Crest Audio's unique implementation of Power
Factor Correction, which allows current to be drawn throughout the
entire cycle of the
AC line-frequency, providing maximum output power,
while drawing significantly smaller peak currents from the
AC line.
Compared with an amplifier using a conventional power-supply, PowerLok
requires less peak power to produce identical output power, and because
PowerLok's current peaks are smaller, a Pro II amplifier can be serviced by
a lower-rated breaker than a conventional amplifier of similar wattage. See
separate literature for full details on the benefits of PowerLok technology.
In order to maintain strict quality assurance standards, all Crest Audio
power amplifiers are built in our state-of-the-art
USA manufacturing facili-
ty. Internal components are the finest available and key sub-assemblies are
pre-tested before final assembly. Each amplifier is “burned in” and thoroughly tested
(using precision audio test equipment) before shipping. In
addition, all Pro II Series amplifiers incorporate Crest’s exclusive TourClass
protection features to safeguard both internal circuitry and connected
loudspeakers.
This proven combination of advanced design, quality construction, and
comprehensive circuit protection is your guarantee of fail-safe reliability.
You can depend on consistent, stable performance even when your Pro II
Series amplifier is subjected to punishing extremes in the most demanding
fixed or mobile sound reinforcement applications.

p. 4

p. 5
installation
2
unpacking
mounting
cooling and
ventilation
powering
maintenance
/
what to do with the shipping carton
/
proper rack-mounting technique
/
keeping the amplifier cooled
/
grounding the amplifier
/
required AC line voltages
/
routine maintenance practices

Pro II owner’s manual
p. 6
installation
2
unpacking
Please inspect the amplifier carefully immediately after unpacking.If you find
any damage, notify your supplier/dealer immediately. Only the shipper may
file a damage claim with the carrier for damage incurred during shipping. Be
sure to save the carton and all packing materials for the carrier’s inspection.
If the packing materials are in good condition, please save them.
If you ever need to ship the unit back to Crest Audio or an authorized service center, you should use only the original factory packing.
For replacement packaging, call Crest Audio’s
Customer Service
Department directly.
see—service and support
+
p. 7
installation
2
mounting
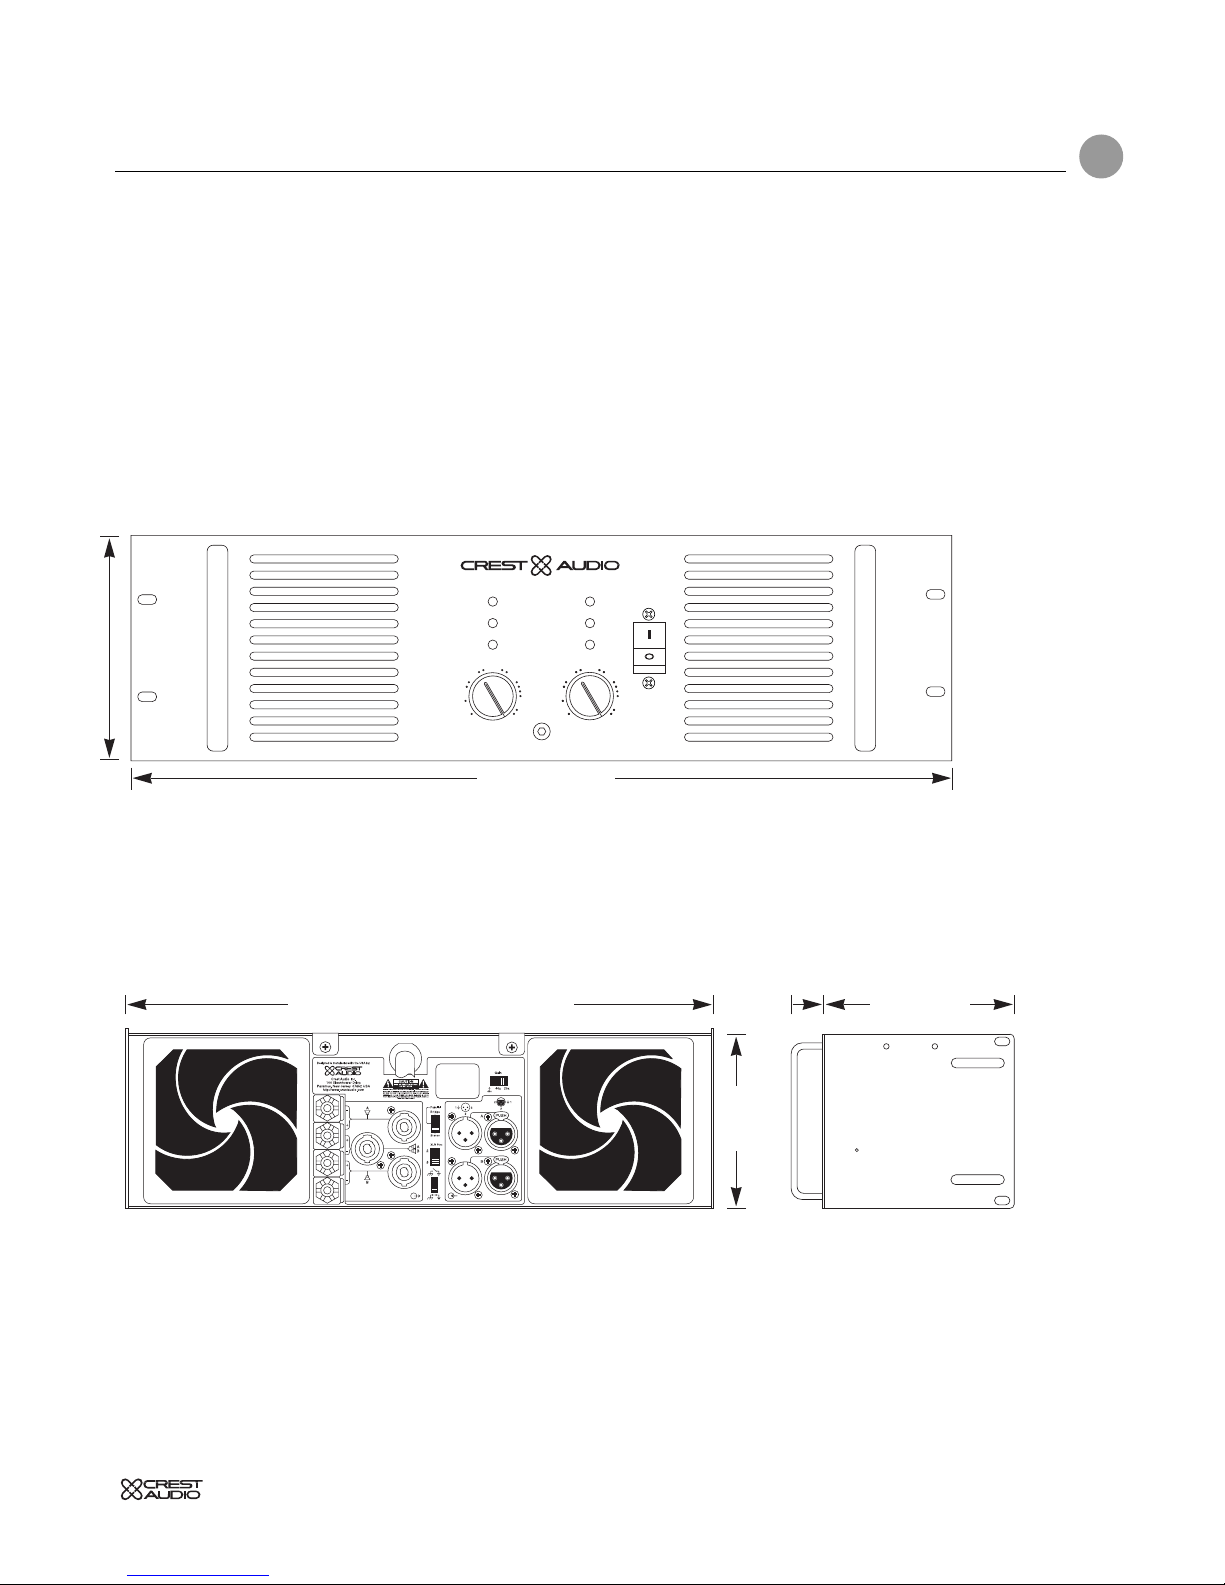
All Pro II Series amplifiers mount in standard 19-inch racks.Four front-panel
mounting holes are provided on each amplifier. Rear mounting ears give additional support, and use of rear supports is highly recommended in all mobile
and touring sound systems. Handles are fitted standard.
Ch A Ch B
-
80
-
30
-
15
-
10
-
6
-
3
-
1
ØdB
-
80
-
30
-
15
-
10
-
6
-
3
-
1
ØdB
8002
Professional Power Amplifier
Status
Signal
ACL
front
height
5.25"/
133mm
front width 19"/483mm
8002 shown
8002 shown
35mm
rear width 17"/432mm (19” / 483mm to rack ear s)
depth 18"/457mm
rear
height
5.25"/
133mm

Pro II owner’s manual
p. 8
installation
2
To ensure optimum
cooling of the amplifier,
periodically clean its fan
filters. These are removable
without tools.
Make certain that there is
enough space around the
front of the amplifier
to allow the heated air to
escape. If the amplifier is
rack-mounted, do not use
doors or covers on the front
of the rack; the exhaust air
must not be impeded
In racks with closed backs:
for every four amplifiers,
allow at least one standardrack-space opening in the
front of the rack.
a
cooling and ventilation
Pro II Series amplifiers use a twin-tunnel forced-air cooling system to maintain a low, even operating temperature.
Drawn in by dual 105
CFM (cubic feet-per-minute) DC fans on the rear panel,
air flows through the cooling fins of the channel heat-sinks,dissipating power
transistor heat
—then exhausts through the front panel slots.
Heat sink temperature-sensing circuits control the “intelligent” variablespeed fans. Fan speed increases only as required by heat-sink temperatures
—
keeping fan noise to a minimum.
Under extreme thermal load, the fans will force a very large volume of air
through the heat sinks. If either heat-sink surpasses the maximum allowed
temperature, the sensing circuit will open the output relay, disconnecting the
load from that channel.
If the power supply overheats, another sensing circuit opens both channel
output relays, until it has cooled to a safe temperature.

p. 9
installation
2
powering
Unless otherwise specified when ordered, Pro II amplifiers shipped to customers are configured as follows:
North America 90–255
VAC
@
50–60Hz
Europe 180–255 VA C @50–60Hz
Asia 180 –255 VAC @50–60Hz
Australasia 180–255 VA C @50–60Hz
South America 90–255 VAC @50–60Hz
Japan 90–255 VA C @50–60Hz
maintenance
A Pro II Series amplifier requires no routine maintenance other than the
occasional cleaning or replacement of the fan intake filters on the rear of the
amplifier.
(This operation does not require any tools.) Filters must be kept
clear and clean to ensure proper ventilation through the unit.
If the amplifier is used in an extremely dusty or smoky environment, the filter should be cleaned or changed frequently and the unit should be periodically “blown free”
(using compressed air) of any foreign matter that may have
penetrated the filter.
Users will not need to make any internal adjustments to the amplifier during its lifetime. There are no user-serviceable parts or adjustments that
require opening the power amplifier.
Always turn off and disconnect the amplifier from
mains voltage before making audio connections.
As an extra precaution, have
the attenuators turned down
during power-up.
a
Cover removal exposes
the risk of shock, so refer
all servicing to qualified
service technicians authorized by Crest Audio.
a

p. 10

p. 11
features overview
3
front panel
rear panel
/
location of connectors and controls
/
legend of panel symbols
 Loading...