

5925 Heisley Road • Mentor, OH 44060-1833
INSTALLATION, OPERATION and MAINTENANCE
MANUAL for Cres Cor
RADIANT OVENS
Ovens
Rev. 0 (5/13) Page 1 of 12
FL-2340-D
1000-CH-SS-D
1000-CH-AL-D
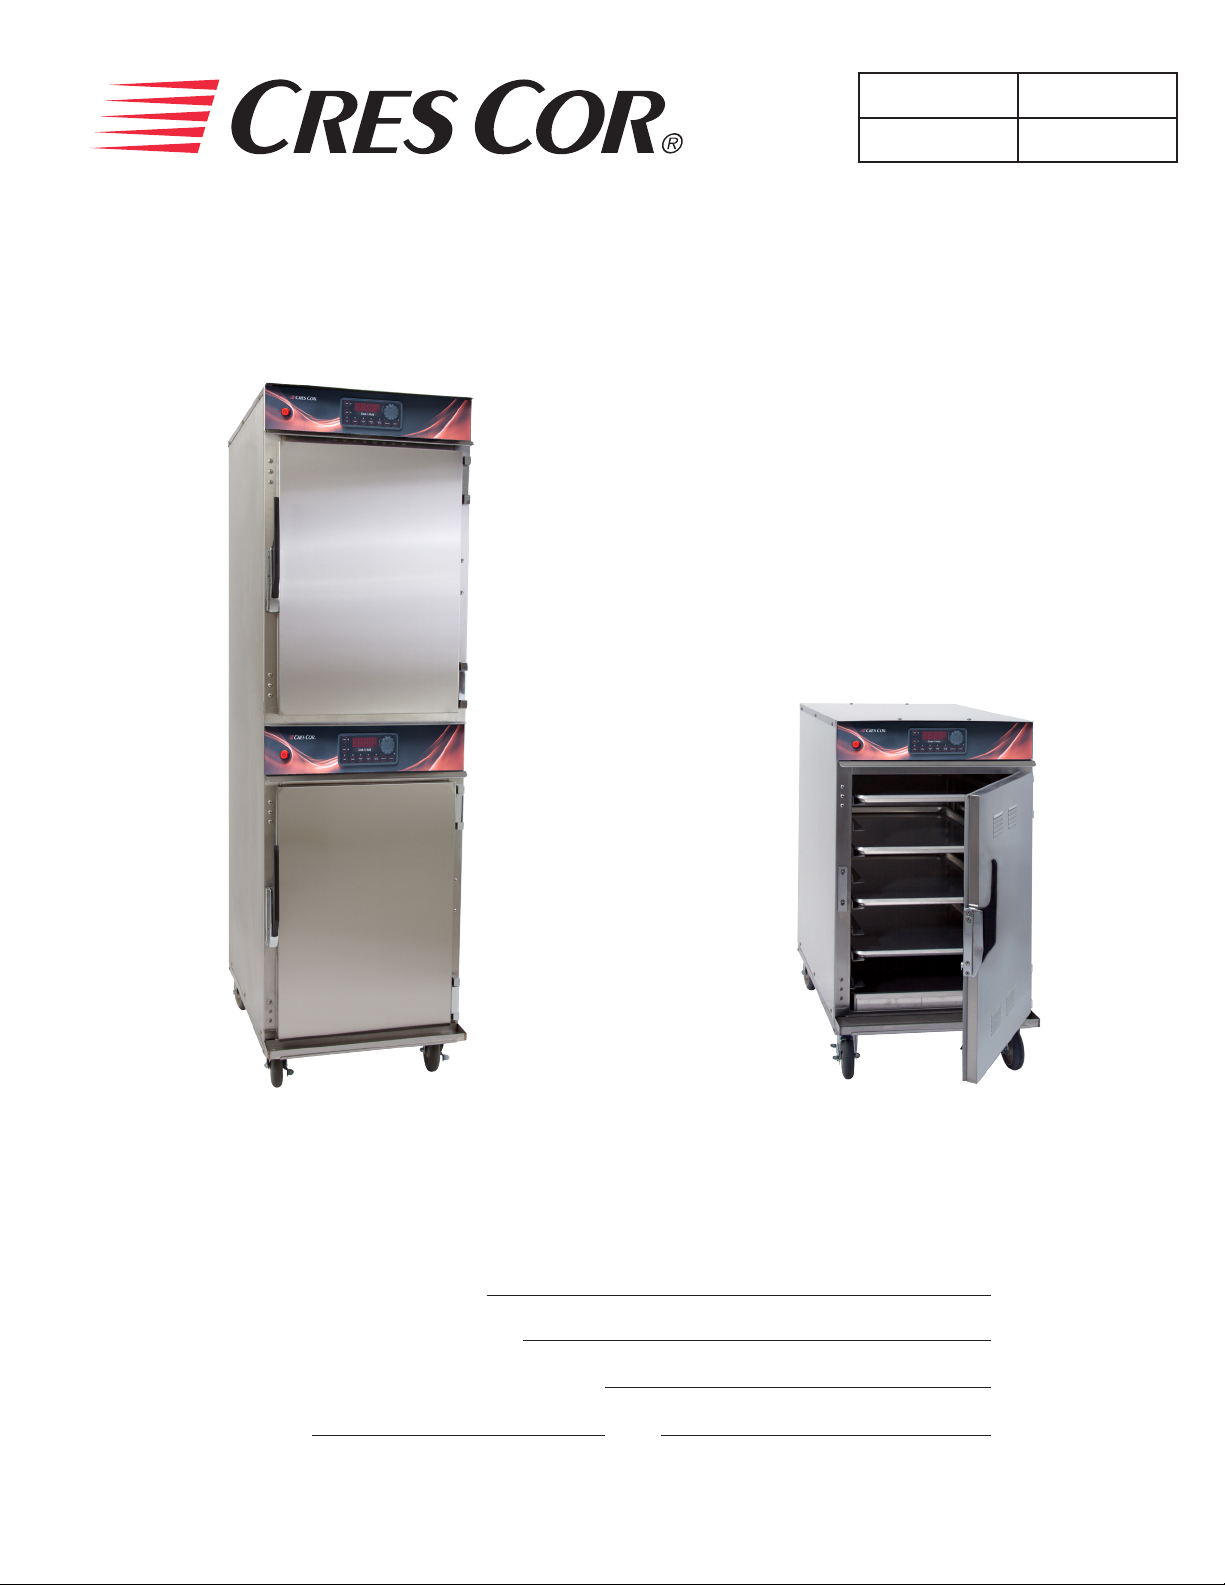
Models: 1000-CH-D SERIES
Cabinet model number:
Cabinet serial number:
Authorized Service Agency:
Ph: Fax:
Keep this manual for future reference.
Call Toll-free: 877-CRES COR (273-7267) • Fax: 800-822-0393 • www.crescor.com
1000-CH-SS-SPLIT-D
1000-CH-AL-SPLIT-D
1000-CH-SS-SPLIT-D120
Ovens
Rev. 0 (5/13) Page 2 of 12
FL-2340-D
5925 Heisley Road • Mentor, OH 44060-1833
TABLE OF CONTENTS
SUBJECT PAGE
INSTALLATION INSTRUCTIONS ...................................................................................... 3, 4
OPERATING INSTRUCTIONS ............................................................................................ 5, 6
Illustration, Control Panel ............................................................................................ 5, 6
MAINTENANCE INSTRUCTIONS
How to Clean the Unit .................................................................................................. 7
Trouble Shooting Guide ............................................................................................... 8
Replacement Parts ........................................................................................................ 9
Illustration; Ovens ........................................................................................................ 9
Wiring Diagram for 1000-CH-SS or 1000-CH-AL ...................................................... 11, 12
Wiring Diagram for 1000-CH-SPLIT .......................................................................... 13
SERVICE POLICY and AGENCY LIST ......................................................................... FL-1400
WARNING
RISK OF FIRE OR ELECTRIC SHOCK
DO NOT OPEN
WARNING: TO REDUCE THE RISK OF FIRE OR ELECTRIC SHOCK,
DO NOT REMOVE COVER (OR BACK)
NO USER-SERVICEABLE PARTS INSIDE
REPAIR SHOULD BE DONE BY AUTHORIZED SERVICE
PERSONNEL ONLY
Call Toll-free: 877-CRES COR (273-7267) • Fax: 800-822-0393 • www.crescor.com
Ovens
Rev. 0 (5/13) Page 3 of 12
FL-2340-D
5925 Heisley Road • Mentor, OH 44060-1833
INSTALLATION INSTRUCTIONS
VENTING YOUR OVEN:
1. The purpose of ventilating hoods is to direct and
capture smoke, grease-laden vapors, heat, odors, or
fumes.
2. Low temperature equipment (maximum
temperature 250°F/121°C) does not produce heat,
odors, fumes, grease-laden vapors or smoke and is
not required to be vented.
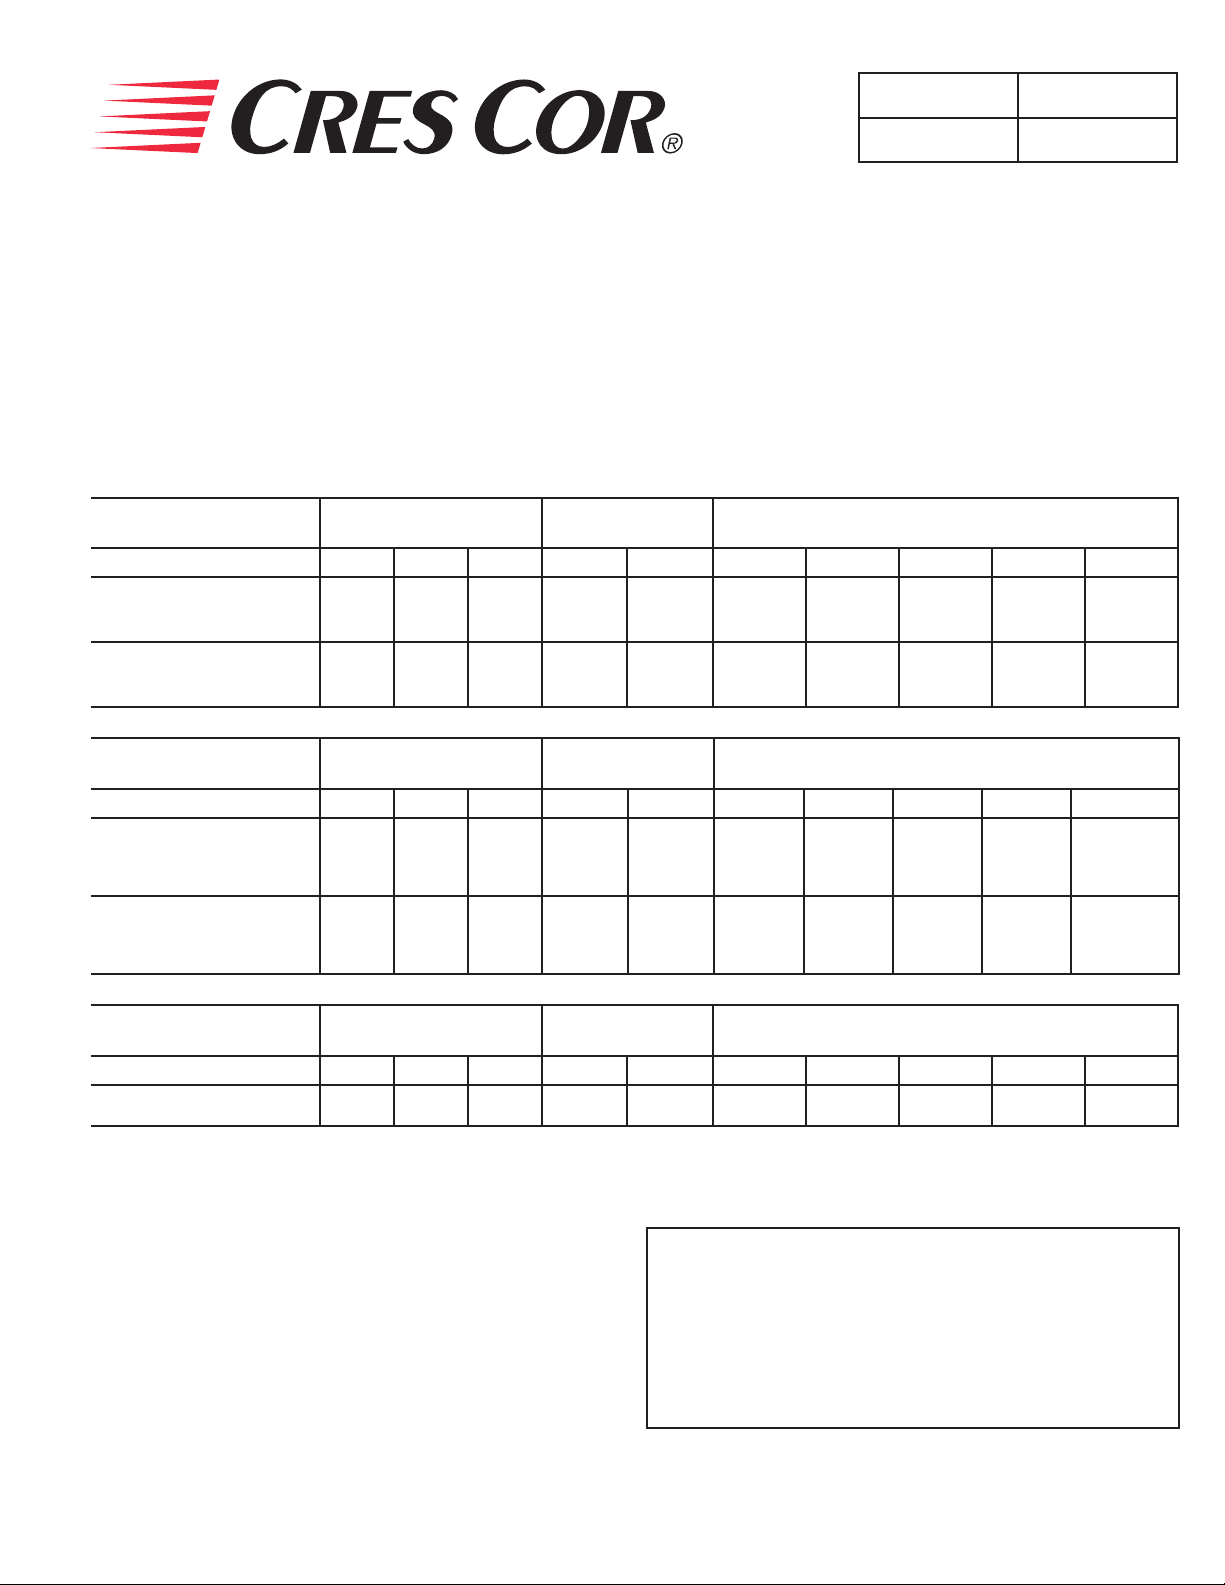
SPECIFICATIONS: All units are rated 3000 watts.
CMP MODEL NOS.
SINGLE OVENS Volts Ph Hz. Amps Volts Amps Ph Wire Volts NEMA
ELECTRICAL SPECS
(AC SERVICE)
ELEC. LOAD POWER SUPPLY REQUIREMENT
3. Most jurisdictions consider our low-temperature
ovens (maximum temperature is 350°F/177°C) as
low-heat appliances not requiring vent hoods.
4. Installation must conform with local codes. The
authority having jurisdiction of enforcement of
the codes will have the responsibility for making
interpretations of the rules.
1000CHSSSPLITD
1000CHALSPLITD
1000CHSSSPLITD3
1000CHALSPLITD3
208
240
208
240
1
1
3
3
60
60
60
60
14
13
208
240
8
7
208
240
20
20
20
20
1
1
3
3
2
2
3
3
208
240
208
240
6-20P
6-20P
L15-20P
L15-20P
SPECIFICATIONS: All units are rated 6000 watts. *For USA Only - Canadian is 6-50P
CMP MODEL NOS.
DOUBLE OVENS Volts Ph Hz. Amps Volts Amps Ph Wire Volts NEMA
1000CHSSD
1000CHSS2D
1000CHALD
1000CHSSD3
1000CHSS2D3
1000CHALD3
ELECTRICAL SPECS
(AC SERVICE)
208
240
208
240
1
1
3
3
60
60
60
60
ELEC. LOAD POWER SUPPLY REQUIREMENT
29
25
16
14
208
240
208
240
30
30
20
20
1
1
3
3
2
2
3
3
208
240
208
240
*6-30P
*6-30P
L15-20P
L15-20P
SPECIFICATIONS: All units are rated 2000 watts.
CMP MODEL NOS.
SINGLE OVENS Volts Ph Hz. Amps Volts Amps Ph Wire Volts NEMA
1000CHSSSPLITD120 120 1 60 16.6 120 20 1 2 120 5-20P
Model number “AL” is aluminum outer body with stainless steel doors and interior.
All models designed for AC Service. Model number may include a variety of informational sufx letters.
ELECTRICAL SPECS
(AC SERVICE)
ELEC. LOAD POWER SUPPLY REQUIREMENT
NOTE: OVENS NEED TO BE INSTALLED BY A
QUALIFIED PERSON.
Call Toll-free: 877-CRES COR (273-7267) • Fax: 800-822-0393 • www.crescor.com
For models rated at 2/08/240 Volts:
Check the voltage selector switch which is under an access
cover on the back of the oven near the power cord.
Flip the switch “UP” for 208 Volts
Flip the switch “DOWN” for 240 Volts
MAKE SURE THE SWITCH POSITION MATCHES
YOUR POWER SOURCE.
Ovens
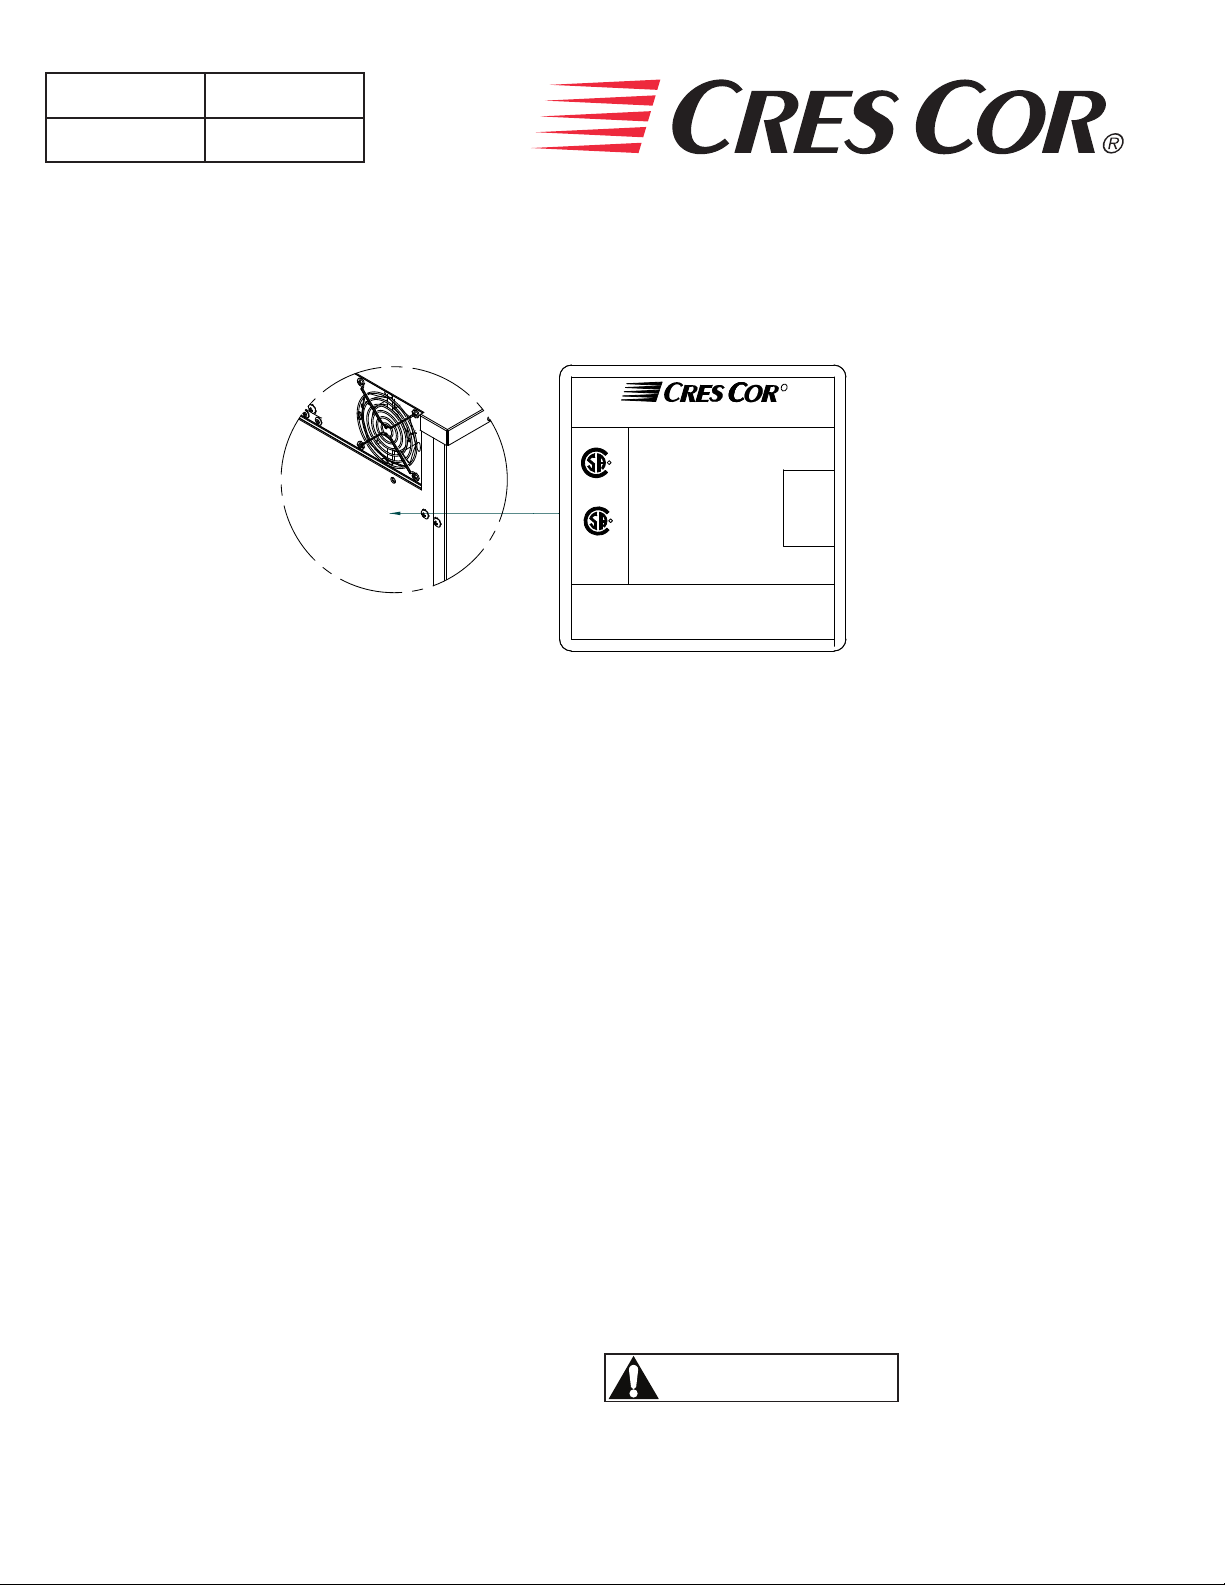
FAA-K5645C-001
1
60
1000CH
FAA-K5645C-001
29
208/240
3000
1
60
SAMPLE
R
C
US
R
R
MOD.
Hz.
SER.
PH.
WATTS
VOLTS
AMPS
MOD.
Hz.
SER.
PH.
WATTS
VOLTS
AMPS
5925 HEISLEY RD. MENTOR, OHIO 44060
COMMERCIAL COOKING APPLIANCE
MADE IN USA
CSA certified to UL 197 Rev. 9
FL-2340-D
Rev. 0 (5/13) Page 4 of 12
5925 Heisley Road • Mentor, OH 44060-1833
INSTALLATION INSTRUCTIONS (continued)
IDENTIFYING YOUR CABINET:
Look for this label on the back of your cabinet. This information is needed when calling for questions or service.
UPPER RIGHT CABINET CORNER
HOW TO INSTALL CABINETS:
1. Remove all packing material from the inside and all
vinyl from the outside of oven.
2. Place the oven in a well ventilated area on level oor.
Clearance requirements: 3” (76mm) at the back, 2”
(51mm) at the top, 1” (25mm) at both sides.
3. Install the pan slide racks on the sidewalls, if necessary.
4. Slide drip pan(s) onto the bottom of the compartment(s).
All models are rated at 208/240 Volts.
HOW TO REVERSE THE DOOR OPENINGS, IF
NEEDED:
1. Unscrew and remove the latch from the door and
magnetic strike from the cabinet.
2. Unscrew the hinges from the cabinet body and remove
door.
3. Remove the screws plugging the mating hinge, latch
and strike holes on the opposite sides of the cabinet
body and door.
4. Re-mount the hinges to the opposite side of the cabinet
and door.
5. Remount the latch and strike to the opposite side
Call Toll-free: 877-CRES COR (273-7267) • Fax: 800-822-0393 • www.crescor.com
FOR FIRST-TIME OPERATION ONLY:
A new oven needs to “burn off” factory oils and glue before
it’s rst use. Do NOT load food into oven until this has
been done!
1. Push switch to “ON”; the light will come on.
NOTE: The letters “LOTPR” (low temperature) will show
on the control panel until it reaches 140°F (60°C).
2. Press the “COOK” button.
3. Push down and turn the control knob to show 200°F.
Push the knob again to set the temperature. Run the unit
for one (1) hour.
4. Turn the unit off and let cool.
5. Wipe the inside clean with detergent and hot water.
DOOR VENT ADJUSTMENT:
Open the door(s) and move the vent tabs on the
inner door(s) as needed to release humidity.
WARNING
Air is VERY HOT when door is opened.
 Loading...