


4GB DIGITAL MP3 PLAYER
4GB DIGITAL MP3 PLAYER
WITH LCD BACKLIGHT
WITH LCD BACKLIGHT
DISPLAY
DISPLAY
Owner's Manual
PLEASE READ BEFORE OPERATING THIS EQUIPMENT.
Model: CMP1230F

FCC NOTICE:
This equipment has been tested and found to comply with the limits for a Class B digital
with the limits for a Class B digital device, pursuant to part 15 of the FCC Rules.These
limits are designed to provide residential protection against harmful interference in
residential installation. This equipment generates, uses and can radiate radio frequency
energy and, if not Installed and used in accordance with the instructions, may cause
harmful interference to radio communications.
However, there is no guarantee that interference will not occur in a particular installation. If
this equipment does cause harmful interference to radio or television reception. which can
be determined by turning the equipment off and on, the user is encouraged to try to
correct the interference by one or more of the following measures:
z
Receiver or relocate the receiving antenna.
z
Increase the separation between the equipment and receiver.
z
Connect the equipment into an outlet on te circuit different from that to which the
receiver is connected.
z
Consult the dealer or an experienced radio/TV technician for help.
FCC NOTICE:
To assure continued compliance, follow the attached installation instructions and use only
shielded cables when connecting to other devices. Modifications not authorized by the
manufacturer may void user’s authority to operate this device.
1

2
IMPORTANT SAF ETY INSTRUCTIONS
This manual contains important safety precautions and information
for correct usage. Please be sure to read this manual carefully
before use to avoid any damages to the device.
z
Please do not place the product in hot, wet or dusty
environment.
z
Avoid dropping or clashing the product.
z
Please select a suitable volume and avoid loud sound while
using earbuds. Please turn down the volume or stop using if
you get a roaring in your ears.
z
Please do not disconnect the device while formatting,
downloading and uploading; otherwise it may cause
application errors.
z
Please do not disassemble the product per sonally, and avoid
cleaning the product with ethyl alcohol, thinner.
z
Do not use this product in the areas which prohibit use of
electronic devices, for ex ampl e, in airpl a ne.
z
Please do not use this product while driving or walking in the
street, or it might cause an accident.
NOTES: This device does not support waterproof function.

3
LOCATION OF CONTROLS
1. LCD Display
2. Phones Jack
3. Play/Pause/Stop Button
4. Wrist Strap Holder
5. VOL (Volume) +/- Buttons
6. Hold Switch
7. MODE Toggle Switch
8. Built-in Microphone
9. USB Plug
10. Cover of USB plug

4
Battery Installation
Install or replace the battery when the battery
indicator is showing low power(see the icons
Battery Full Battery low
on the right) as follows:
1.
Open the battery door on the rear of the unit by
sliding it out
.
2. Insert 1(one) AAA battery (not included) as shown
after figure and the polarity marking inside battery compartment.
3. Slide in the battery door.
NOTE: Alk aline batt eries are recommended for longer playing time.
BATTERY PRECAUTIONS
Follow these precautions when us ing battery in the device:
1. Use only the size and type of battery specified.
2. Be sure to follow the correct polarity when installing, the battery as
indicated. As reversed batteries may cause damage to the device.
3. Do not mix different types of batteries together(e.g. Alkaline and
Carbon –zinc) or old batteries with fresh ones.
4. If the batteries in the device are consumed or the device is not to be
used for a long period of time, remove the batteries to prevent damage
or injury from possible battery leakage.
5. Do not try to recharge batteries not intended to be recharged; they can
overheat and rupture.(Follow battery manufacturer’s directions.)
6. Do not dispose of batteries in fire,batteries may explode or leak.
7. Clean the battery contacts and also those of the device prior to battery
installation.
5
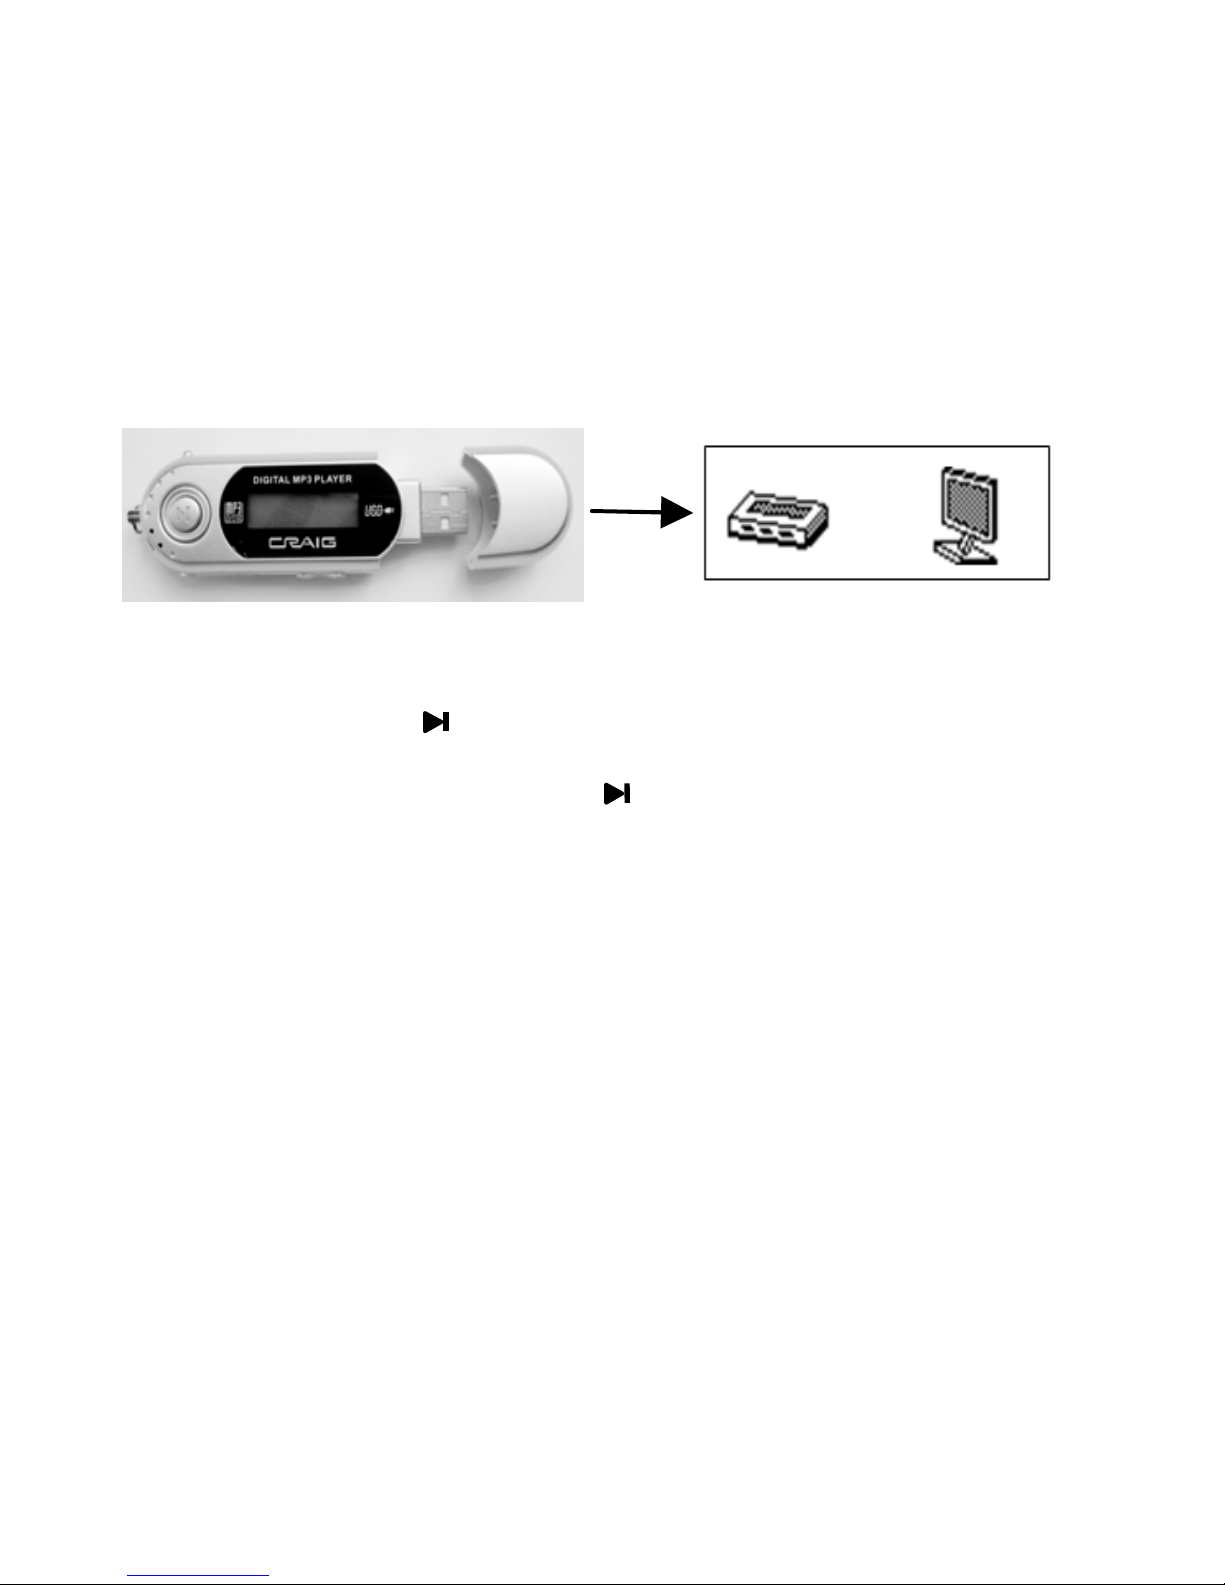
Downloading and Transferring Files
Pull out the cover of the USB Port on the Player as the figur e below then
connect the Player to the USB Port on the PC.
Power On/Off
1. Press and hold the But t on for approximately 2 seconds to power on
the unit.
2.To power off, press and hold the Button until “Bye-Bye” appears on
the display then release the button.
Earbuds
Insert the supplied Earbuds to the Phones Jack on the unit.
NOTE: Please select a suitable volume and avoid loud sound while using
Download MP3/WMA files into
the unit.
 Loading...