

Page 1

Operator's Manual
II:RRFTSHRN'I
10 mm (3/8 in.) CORDLESS DRILL-DRIVER
Variable Speed / Reversible
Stock Nos.
_22535 - 9.6 Volt
22536 - 12 Volt
Model Nos.
973.225350 - 9.6 Volt
973.225360- 12 Volt
Save this manual for
future reference
CAUTION: Read and followall
Safety Rules and OperatingInstructions
beforefirst use of this product.
Customer Help Line: 1-877-369-8665
Sold by: Sears Canada Inc., Toronto M5B 2B8
Visit the Craftsman web page: www.sears.com/craftsman
972000*963
2-02
• Safety
• Features
• Operation
• Maintenance
• Parts List
Page 2
• Table Of Contents .......................................................................................................................................................... 2
• Warranty......................................................................................................................................................................... 2
• Introduction..................................................................................................................................................................... 3
• Gsnerai Safety Rules, SpecificSafety Rules, And Symbols ..................................................................................... 3-6
• ProductSpecifications.................................................................................................................................................... 7
• Features ..................................................................................................................................................................... 7-8
• Operation.................................................................................................................................................................. 8-13
• Maintenance................................................................................................................................................................. 14
• Acceasodas.................................................................................................................................................................. 14
• ExplodedView And Repair Parts list .......................................................................................................................... 15
• PartsOrdering/Service ............................................................................................................................................... 16
FULL TWO YEAR WARRANTY ON CRAFTSMAN TOOL
IfthisCRRFTSMIIMtool failsto to operate withintwo yearsfromthe date of purchase,return it to the nearestSears
Canada Inc. ("Sears') storeand "Sears"willrepair It,free of charge.
Ifthistool is used for commercialor rentalpurposes,thiswarranty appliesfor only90 daysfrom the date of purchase.
Thiswarranty is inadditionto any statutorywarranty.
Sears Canada Inc., Toronto MSB 2B8
Look for this symbol to point out imporlant safety precautions. It means attentionlll Your safety is
involved.
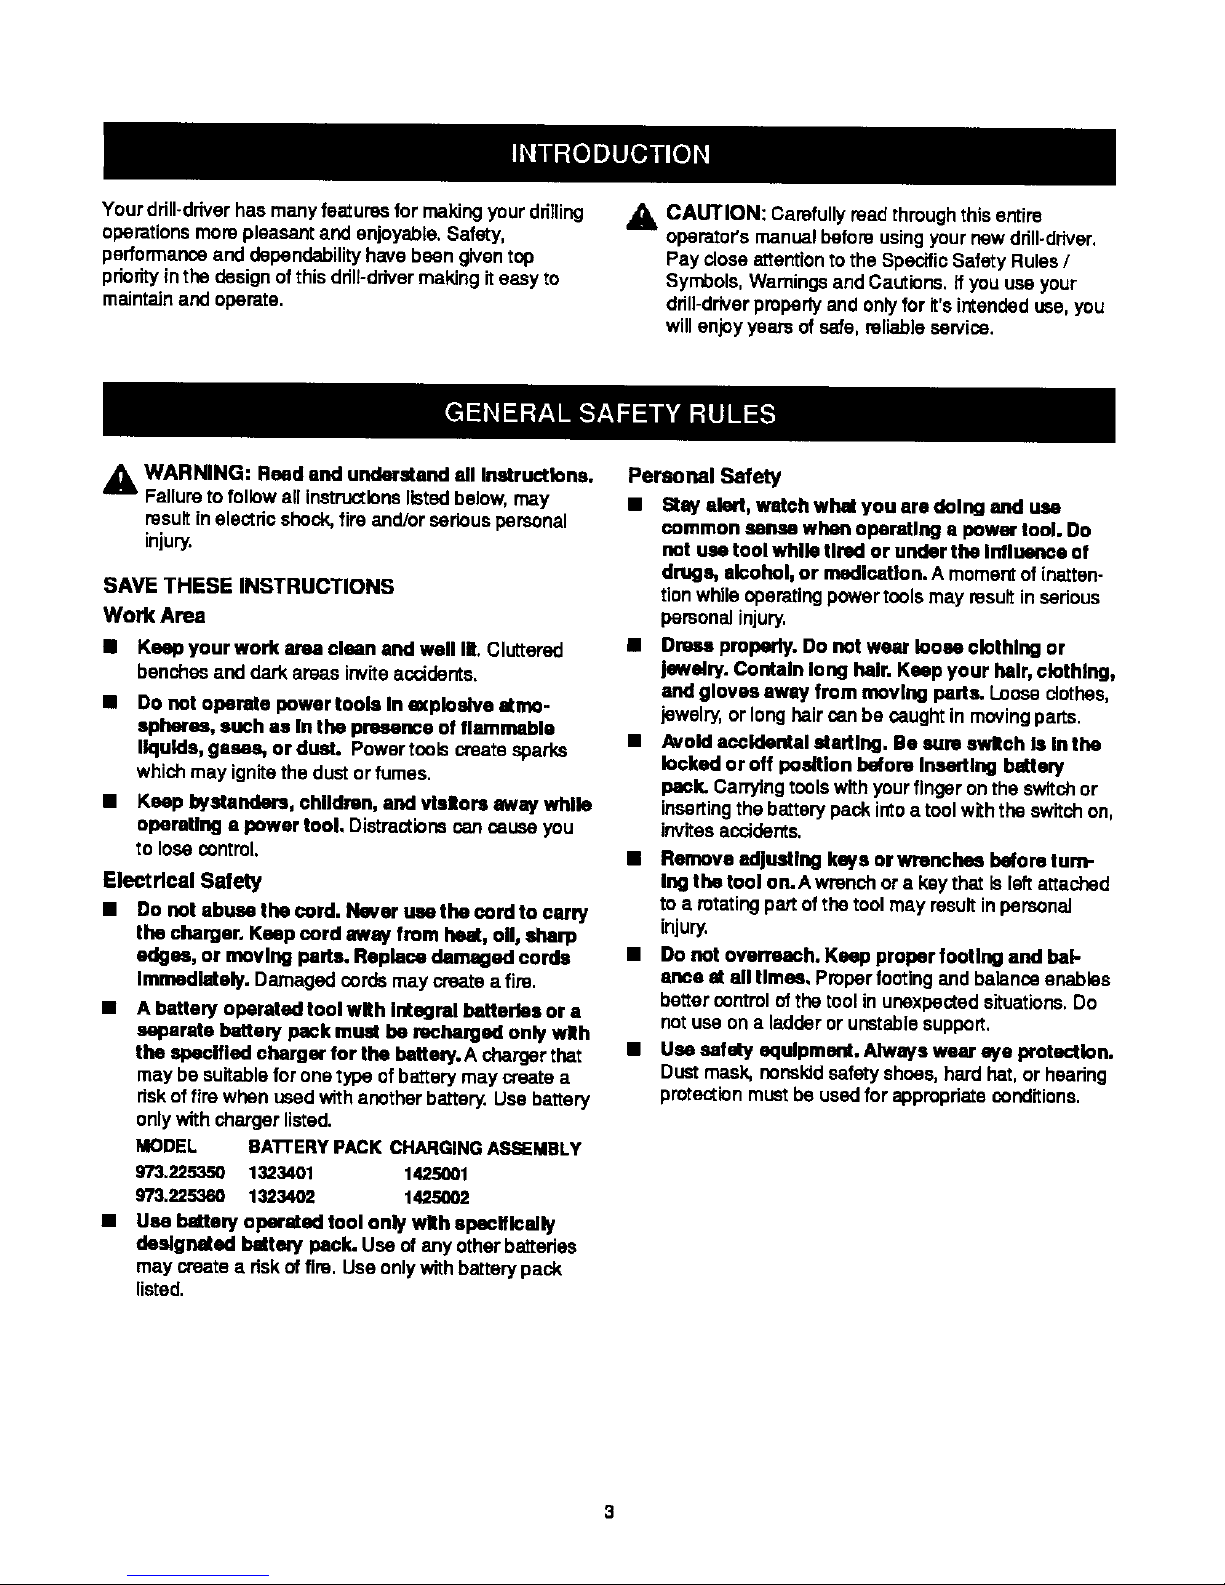
A WARNING:
The operation ofanypowertool_ resultinforeignobjectsbeingthrown into youreyes, which can
resultinsevere eye damage. Before beginningpower tool operation,always wear safetygogglesor
safetyglasses withside shieldsand a fullface shieldwhen needed. We recommendWide Vision
Safety Mask for useover eyeglasses orstandard safetyglasseswith side shields,availableat Seam
RetailStores.Alwayswear eye protectionwhichis markedto complywithANSI Z87.1.
"SAFETY AND INTERNATIONAL SYMBOLS
Thisoperator'smanual describes safetyand internationalsymbolsand piotographsthat may appear on thisproduct.
Read the operator'smanualfor completesafety,assembly, operatingand maintenance,and repairinformation.
@
MEANING
Do notexposeto rainor usein damp locations.
2
Page 3
Yourdrill-driverhasmanyfeaturesformakingyourdrilling
operationsmorepleasantandenjoyable.Safety,
performanceand dependabilityhavebeen giventop
pnorityinthe design of thisdrill-drivermaking iteasy to
maintainand operate.
,_ CAUTION: Carefully readthrough thisentire
operator'smanual before usingyournewdrill-driver.
Pay closeattentiontothe SpecificSafety Rules/
Symbols,WarningsandCautions. ifyou useyour
drill-driverproberlyand onlyfor it'sintendeduse, you
willenjoyyears ofsafe, reliableservice.
A WARNING: Read and understand all Irmtructlino.
Failureto followall instructionslistedbelow, may
resultinelectdoshock,fire and/orseriouspersonal
injury.
SAVE THESE INSTRUCTIONS
Work Area
• Keep your work area clean and well lB.Cluttered
benchesand dark areas inviteaccidents.
Do not operate power tools In m(ploalve atmo-
spheres, such as In the presence of flammable
liquids, gases, or dust. Powertools createsparks
whichmay ignitethe dustor fumes.
• Keep bystanders, children, and visllora away while
operating a power tool. Distractionscan cause you
to lose control.
Elect dcal Safety
• Do not abu_sethe cord. Never use the cord to carry
the charger. Keep cord away from he_, o11,shaft)
edges, or moving parts. Replace damaged cords
Immodlatoly. Damaged cordsmay createa fire,
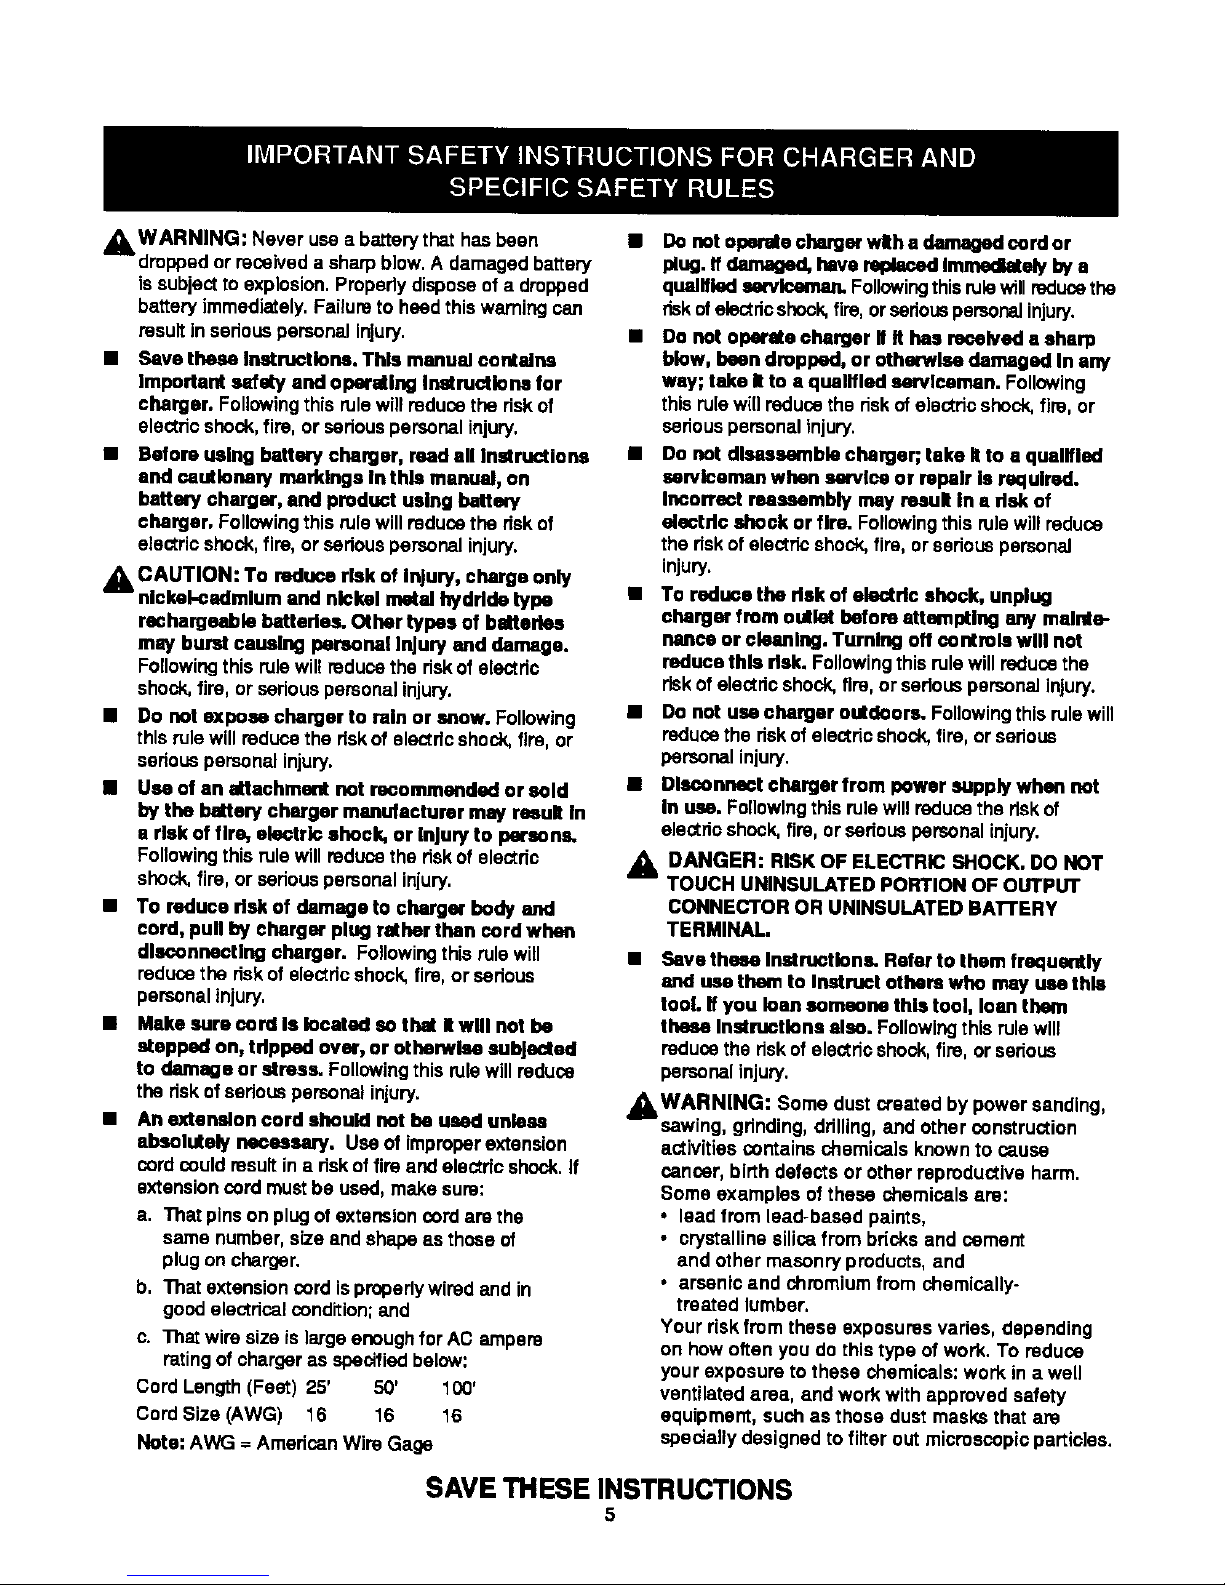
• A battery operated tool wRh Integral hattorles or a
separate battery pack must be recharged only wlh
the specified cherger for the battery. A chargerthat
may be suitablefor one type ofbatterymay create a
riskoffire when usedwith anotherbattery.Use battery
onlywithcharger listed.
MODEL BATFERYPACKCHARGINGASSEMBLY
973.225350 1323401 1425001
973.225360 139.3402 1425002
Use hattery operated tool only with spuclflcally
designated battery peck. Use of any otherbatteries
may creme a riskoffire. Use onlywithbatterypack
listed.
Personal Safety
• Stay alert, welch whst you are doing and use
common eanM when oparetlng a power tool. Do
not use tool while Urad or under the Influence of
drugs, alcohol, or medication. A moment ofinatten-
tionwhileoperatingpowertools may result inserious
personalinjury.
• Dress properly. Do not wear loose clothing or
jewelry. Confaln long hair. Keep your heW,clothing,
and gloves away from moving pads. Looseclothes,
jewelry,or longhaircanbe caughtin movingparts.
• Avoidaccidental starting. Be sum switch Is In the
licked or off paaltion before InserUng battery
pack. Carryingtoolswithyour fingeronthe switchor
insertingthebattery packintoa tool withthe switchon,
invitesaccidents.
• Remove adjusting keys ormnchse beforatum-
Ing the tool on.A wrenchor a keythat is Isf_attached
to a rotatingpartof the toolmay resultinpersonal
injury.
• Donot overreach. Keep proper footing and hal-
=nee st all tlmea. Properfootingand balanceenables
better controlof thetool in unexpectedsituations,Do
net useon a ladderor unstablesupport,
• Use safety equlpmcoL Always wear aye protection.
Dustmask, nonskidsafetyshoes,hardhat, or hearing
protectionmustbe usedfor appropriateconditions.
Page 4
Tool Use and Care
• Use clamps or other practical way to secure end
support the workploce to a stable platform. Holding
the workby handor againstyour bodyisunstableand
may leadto lossof control.
• Do not fome tool. Use the corract tool for your
applicction. The correcttoolwill dothejob betterand
safer at the rateforwhich it isdesigned.
• Do not use tool if switch does not turn It on or off.
A tool that cannotbe controlledwiththe sw_chis
dangerousand mustbe repaired.
• Discomte_ hettec/pack fromtoolor plaestlw w_lctt
In the lockedor off poallicnbalers nwldngeny edJust-
merits,changingam or storklgthetcoL Such
pr_ver_ve safetymeasuresreduceriskofsta_ngthe_col
a_er_l_.
• Store Idle tools out of reach of children and other
unlrained persons. Too|sare dangerousinthe hands
of untrainedusers.
• When battery pack is not in use, keep It away from
other metal objects like: paper clips, coins, keys,
nails, screws, or other roll metal objects that can
make a connection from one terminal to another.
Shortingthe batteryterminatstogethermay cause
sparks,bums, ora fire.
• Maintain tools wIth oars. Keep cutting tools sharp
and olsun. Propedymaintainedtools, withsharp
cuttingedgesare less likelytobindand are easier to
control.
• Checkfor mlesitgnmontor bindingof moving pads,
brealmgeof pads, andany other condItion that may
affect the toors operation, ffdamaged, have the tool
se_lced before using. Manyaccidentsarecaused by
poodymaintainedtools,
• Use only eccosserles that are recommended by
the manufacturer for your model. Accessoriesthat
may be suitablefor one tool, may createa nckof injury
when used onanothertool.
Service
• Tool =mvlce must be performed only byqualified
repair personnel. Serviceor malntananco performed
by unqualifiedpersonnelcould resultin a nsk of injury.
• When servicing a tool, use only Identicat replace-
merit parts. Follow Instructions In the Maintenance
section of this manual. Use of unauthonzedpartsor
failureto followMaintenance Instructionsmaycreatea
riskofshockor iniury,
Hold tool by Insulated gripping surfaces when performing an operation where the cutting tool may contact hidden
wiring. Contactwith a *live" wire willmake exposed metal partsofthe tool"live"and shockthe operator.
AddlUonal Rules For Safe Opera.on
• Know your power tool. Read operetoYs manual
carefully. Learn Its applications end limitations, as
well asthe specific potential hazards related to
this tool. Followingthisrulewillreducethe riskof
electricshock,fire, or sedous injury.
• Make anre your extsuston cord ISIn gnod condllon.
When using an ex'tansicn cord, he =are to use one
heavy enough to eany the cuwent your product will
draw. Awlro gags size (A.W.G.) of at Isast 16 Is
recommended for an extenalon cord 100 fact or
In length.A corda(coedlng 100feet Isnot recom-
mended. If In doubt, usethe next heavlar gage. The
smaller the gage number, the he=wlarthe cord, An
undemizedcordwill cause a dropin linevolt=qgeresult-
inginlossof power andoverheating,
Important Rules for Battery Tools
• Bsttery tools do not heveto he plugged Into an
eta€ideal outlet; therefore, they am always In
operating condItion. Be aware of possible hazards
when not using your battery tool or when chang-
Ing sccesserlos. Followingthis rulewi11reducethe
dskofsled:rioshock, fire, or seriouspersonal injury.
• Do not place battery tools or their bsttorlse near
fire or heat. This will reduce the riskof explosionand
possible injury.
_L WARNING: Batteriesvent hydrogengas and can
explodeinthe presence of a seurca ofignition, such
as a pilotlight.To reducethe riskof seriouspersonal
injury,never use any cordless productinthe pres-
ence ofopenf_me. An explodedbattery canpropel
debrisand chemicals.Ifexposed, flushwithwater
immediately.
Do not charge bsttow tool In u damp orwet
location. Followingthis rulewillreducethe risk of
electricshock.
For best results, your battery tool should be
charged In s location where the temperature Is
mare then 50°F but less than IOOOF.Do not store
outside or In vehicles.
• Under extreme usage or temperature condItions,
battery Isekugumey occur. If Itqukl comes In
contact with your skin, wseh Immediately with
seep and water, then noutrallz= with lemon juice
or vinegar. If liquid gets Into your eyes, flush them
with olean water for at least 10 minutes, then seek
Immedlatu medical attenilon. Followingthisrule will
reducethe risk of seriouspersonal injury,
4
Page 5
_kWARNING: Never use a batterythat hasbeen
dropped orreceived a sharpblow. A damaged battery
is subjectto explosion.Properlydisposeof a dropped
battery immediately.Failureto heed this warningcan
resultinsedous personal Injury.
• Save these Instructions. This manual contains
Important safety and operating Instructicns for
charger. Followingthis rulewill reducethe riskof
electricshock,fire, orserious personalinjury.
• Before using battery charger, reed all Instructions
and cautlonon/markings In this manual, on
hatteoy charger, and product using balttary
charger. Following this rule willreducethe riskof
electricshock,fire, or serious personal injury.
_k CAUTION: To reduce risk of Injury, charge only
nickel-cadmium and nickel metal bydrlde type
rashargnsble hattedes. Other types of batteries
may burst causing personal Injury and damage.
Followingthis rulewill reducethe dsk of electric
shock,firs, or serious personalinjury.
Do not expose charger to rain or snow. Following
this rulewill reduce the riskof electricshock,fire, or
serious personal injury.
Use of an attachment not recommended or sold
by the battery charger manufacturer may result In
s risk of fire, electric shack, or Injury to persons.
Followingthis rulewill reducethe riskof electric
shock,fire, or seriouspersonalinjury.
To reduce risk of damage to charger body and
cord, pull by charger plug rather than cord whan
disconnecting charger. Followingthis rulewill
reducethe riskof electricshock, fire, or serious
personalinjury.
Make sure cord Is located sothat It will not ha
stepped on, tdpped over, or othenvlse subjected
to damage or stress. Followingthis rule will reduce
the risk ofseriouspersonalinjury.
An extension cord should not he used unless
absolutely necessary. Use of improperextension
cordcould resultin a riskoffire and electricshock.If
extensioncord mustbe used, make sure:
a. That pinson plugof extensioncordam the
same number,size and shape as those of
plug on charger.
b. That extensioncordisproperlywired and in
good electricalcondition;and
c. That wire size is large enough for AC ampere
ratingof chargeras specifiedbelow:
Cord Length(Feet) 25' 50' 100'
Cord Size (AWG) 16 16 16
Note: AWG = AmericanWire Gage
• Do notoperatechargarwlthadamagndcordor
plug. If damaged, have raglanndImmediately by a
qualIfied serviceman.Followingthisrulewill reducethe
riskofelectricshock,fire, orserious personalinjury.
• Do not operate charger If It has received a sharp
blow, been dropped, or othen_lse damaged In any
way; take It to a qualIfied serviceman. Following
this rulewill reducethe riskof electricshock,fire, or
sedous personalinjury.
• Do not disassemble charger; take Itto e qualified
serviceman whan service or repair is required.
Incorrect reeseembly may result In a dak of
electric shock or fire. Followingthis rulewill reduce
the riskof electric shock,fire, orseriouspersonal
injury.
• To reduce the risk of eluctdc shack, unplug
charger from outlet before attempting any malnte-
nanns or cleaning. Turning off controls will not
reduce this dsk. Followingthis rule will reducethe
riskofelectdc shock,fire, or seriouspersonalinjury.
• Do not use charger outdoors. Followingthis rule will
reducethe riskof electric shock,fire,or serious
personalinjury.
• Disconnect chargerfrom power supply when not
In use. Followingthisrule will reducethe riskof
electricshock, fire, or serious personalinjury.
A DANGER: RISK OF ELECTRIC SHOCK. DO NOT
TOUCH UNINSULATED PORTION OF OUTPUT
CONNECTOR OR UNINSULATED BATFERY
TERMINAL.
• Save these Instructicne. Refer to them frequently
and use them to Instruct others who may use this
tool. If you loan someone this tool, loan them
these Instructions also. Followingthisrule will
reducethe riskof electricshock,fire,or serious
personal injury.
_.WARNING: Some dust created by power sanding,
sawing, grinding, drilling, and other construction
activitiescontains chemicals knownto cause
cancer, bl_h defects or other reproductive harm.
Some examples ofthese chemicalsare:
• lead from lead-based paints,
• crystallinesilica from bricks and cement
and other masonry products, and
• arsenic and chromiumfrom chemically-
treated lumber.
Your riskfrom these exposuresvaries, depending
on how often you do this type of work. To reduce
your exposure to these chemicals: work in a well
ventilated area, and work with approved safety
equipment, such as those dust masks that are
specially designed to filter out microscopic particles.
SAVE THESE INSTRUCTIONS
5
Page 6

Important:Someofthefollowingsymbolsmaybeusedonyourtool.Pleasestudythemandlearntheirmeaning.Proper
interpretationofthesesymbolswillnllowyouto operatethe tool betterand safer,
SYMBOL _ DESIGNATION/EXPLANATION
V Volts Voltage
A Amperes Currem
Hz Hertz Frequency(cyclesper second)
rain Minutes Time
"_ AlternatingCurrent Type or a characteristicof current
--= DirectCurrent Type or a charaoteristloof current
no No LoadSpeed Rotationalspeed,at no load
•../rain Revolutionsor ReciprocationPer Minute Revolutions,strokes,
surfacespeed, orbitsetc, per minute
Safety Symbol Indicatesdanger,warningor caution.
Alert
It rreans a_entlonlll Your safety is
involved,
The purpose of safety symbols Is to attract your nttention to poselbio dangers. The safely symbols, and
the explanations with them, deserve your careful attenilon and understanding. The safety warnings do
not by themselves eliminate any danger. The Instructions or warnings they give are not substitutes for
proper accident prevention measures.
SYMBOL
&
,&
A
&
NOTE:
MEANING
SAFETY ALERT SYMBOL:
Indicatesdanger,warning,orcaution.Maybe usedinconjunction withothersymbolsorpictogrephs.
DANGER: Failure to obey a safetywarningwill resuitinsedous injuryto yourselforto others,
Alwaysfollowthe safety precautionsto reducethe riskoffire,electrioshockand personal injury.
WARNING: Failureto obey a selety warning can resultin serious injurytoyourseffotto others,
Alwaysfollowthe safety precautionsto reducathe riskof fire,eleotdcshockand personal injury.
CAUTION: Failure to obey a safetywarningmay resultinpropertydamage or personalinjuryto
yourselforto others,Alwaysfollowthe safetyprecautionsto reducethe riskoffire,electricshock
and personalinjury.
Advisesyou of informationorinstructionsvitalto the operationor maintenanceof the equipment.
6
Page 7

DRILL-DRIVER
Chuck
Motor
Switch
No LoadSpeed
Clutch
MaximumTorque
CHARGING ASSEMBLY
Rating
ChargingVoltage
Charge Rate
BATTERY PACK
973.225350
10 mm (3/8 in.Keyless)
DC Motor9.6 Volt
Vadable Speed
O-7OORPM
24 Positions
90 in,/lbs
1425001
"_20V, 60 Hz, AC only
9.6 Volt
3-6 Hours
1323401
973.225360
10 mm (3/8 in.) Keyless
DC Motor 12 Volt
Vadable Speed
0-600
24 Positions
"_00in._bs
1425002
"_20V, 60 Hz, AG oNy
12 Volt
3-6 Hours
1323402
KNOW YOUR DRILL-DRIVER
F_zLIl'eI.
Beforeattemptingto use your drill-driver,familiarize
yourselfwith all operatingfeatures and safety
requirements.
KEYLESS CHUCK
Yourddll-ddverhasa keylesschuckthat allowsyouto hand
tightenor releaseddnbit inthe chuck jaws,
SWITCH
To tum yourddll-ddverON, depressthe switchtdggen
Release switchtdggsrto turnyour ddll-ddverOFF,
SWITCH LOCK
The switchtdgger can be locked inthe OFF position.This
feature helps reducethe possibilityofaccidentalstarting
when not in use,
VARIABLE SPEED
Your drillhas a variablespeed switch thatdelivemhigher
speed with increasedtdggerpressure.Speed is controlled
bytheamountof switchtdggerdepression.
FORWARDIREVERSE SELECTOR
(DIRECTION OF ROTATION SELECTOR)
Yourdrill-driverhas a forward/h_erse selector located
abovethe switchtdgger,
WRIST STRAP
See F_ure I.
Awriststrap isprovidedto mduosthe chancesof dropping
yourdrill-driver.Plaosone handthroughthe wriststrap
when carryingtool.
BIT STORAGE
When not in use,bits providedwith yourdrill-drivercartbe
placedin the storagearea locatedon the bottomofthe
motorhousing,
LEVEL
To keepdd]l bit leveldudng ddllingoperations,a level is
locatedonthe back of the motor housing.
_, WARNING: Do notallowfamiliaritywithyourdri!l-
driverto make youc_reless. Rememberthst a
careless fractionof a secondissufficientto inflict
severe iniury,
A WAFINING: If any partsare missing,donotoperate
yourddll-ddveruntilthe missingpartsare replaced.
Failureto do sooould resultinpossibleserious
personalinjury,
7
Page 8

TOROUE
ADJUSTMENT
KEYLESS I_NG
CHUCK
SWITCH
TRIGGER
SCREWDRIVER
BITS
BAI"rERY
PACK
WRIST
STRAP
BATTERYPACKSHOWN
INCHARGINGSTAND
REDUGHT
(LED)
CHARQ[NG
STAND
CHARGER
DIRECTION
OF ROTATION
SELECTOR
(FORWARD
REVERSE)
LEVEL BATTERY PACK
STOOGE
8
Fig. 1
The batterypackforyourtoolhasbeen shippedIn a low
chargeconditionto prevent possibleproblems.Therefore,
youshouldchargeit overnightpriorto use.
Note: Batterieswill notreachfull charge the first time they
are charged.Allowseveralcycles(drillingfollowed by
recharging]for themto becomefullycharged.
CHARGING BATrERY PACK
See F-_ure I.
• Chargebatterypack only withthe chargingassembly
provided.
• Make sure power supply Is normal household
voltage, 120volts, 60 Hz, AC only.
• Connectchargarto power supply.
• Place batterypack in chargingstand.Alignraisedrib
on batterypackwithgroovein charging stand.
See F_ure I.
• Pressdown on batterypackto be sum contacts on
batterypack engagepropadywith contacts incharging
stand.
• Thecharge indicaZorlight(LED), Iocad_edonthe
charging stand, willlightup red and glowwhenthe
chargerisproperlyconnected to power supply.This
lightindicatesthe chargeris operatingproperly.Itwill
remainon untilbatterypackisremovedfrom charging
standor chargerisdisoonneotedfrompowersupply,
The tightonlyglowswhile batterypack is charging.
• Note: ffchargerdoes not chargebatterypack, ratum
batterypack and charging essembly to your nearest
Sears RepairCenter for electricalcheck.
• Afternormalusage,3 hoursorlessofchargingtimeis
requiredtofullyrechargebatterypack.Note: it battery
packis cornplstely discharged,6 hoursor longerof
chargingtime is requiredto fullyrechargebatterypack.
• Thebatterypack willbecome slightlywarmtothe
touchwhilecharging.Thisisnormaland does not
indicatea problem.
• Do not place charger inan area of extreme heat or
cold. it willworkbestat normal roomtemperature.
• Whenbatteriesbecomefully charged,unplugcharger
from power supplyand remove thebatterypack.
IMPORTANT INFORMATION FOR RECHARGING
HOT BATTERIES
When usingyour drill-drivercontinuously,the batteries in
yourbatterypackwillbecome hot,You shouldlet a hot
batterypackcool down for approximately30 minutes
before attemptingto recharge,
Note: This situationonlyoccurswhen continuous useof
yourdrillcausesthebatteriesto become hat. itdoes net
occurundernormaldmumstances,Refarto "CHARGING
BA'I'rERY PACK" for normalrechargingof batteries,ffthe
chargerdoesnotchargeyourbatterypack undernormal
dmumstances,returnboththe batterypack andchargerto
your nearest Searsrepairranter for electrioaicheck.
Page 9

WARNING:Alwayswearsafetygogglesorsafety
glasses withside shieldswhen operatingtools.
Failuretodo so could resultin objectsbeingthrown
Into your eyes, resultinginpossibleseriousinjury.
SWITCH
See _gure 2.
To turnyour ddllON, depressthe switchtdgger.To turn it
OFF, release the switchtdgger.
VARIABLE SPEED
This tool has a vadable speed switchthat delivers higher
speedand torquewith increasedtdggerpressure. Speed is
controlledbythe amount of switchtdgger depression,
Note: Youmighthear a whistlingor dngingnoisefrom the
switchduring use, Do notbe concerned,this isa normal
part of the switchfunction,
TO INSTALL BATrERY PACK
• Lockswitchtriggeronyour drill by placingthe direction
of rotationselector in centerposition.Sea F7#u/e4.
• Place battery peck inyour ddU.Align raisedrib on
batterypackwith grooveinsideddlL Sac F/gura3.
t
BATI'ERY
PACK
DEPRESSLATCHESTO
RELEASEBATTERYPACK
LATCHES
Fig. 3
• Make sure the latcheson each side ofyourbattery
packsnap in place and batterypack issecured indrill
beforebeginningoperation.
CAUTION: When placingbatterypack inyour drill,
be sure raisedfibon battery pack alignswithgroove
Insideddll and latchessnap Imoplace pmpedy.
Improperassemblyof batterypack canc_use
damageto intemat components.
TO REMOVE BA'R'ERY PACK
• Lockswitch triggeron your drillbyplacingthe direction
ofrotationselector insenter position. Sae r"Tgu/e4.
• Locatelatcheson end of batterypackand depress to
release batterypack from yourddll. See F_jure 3.
• Remove batterypack from yourdrill.
Page 10

SWITCHLOCK
See Figure 4.
The switchtriggercan be lockedinthe OFF position.This
feature can be used to prevent the possibilityofaccidental
startingwhen not in use. To lockswitchtdgger, push the
directionof rotationselector(Forward/ReverseSelector)
to the centerposition.
SELECTORWITH
CENTERLOCKPosfrlON
FORWARD
A WARNING: Batterytoolsare always in operating
condition.Therefore, switchshouldalways be locked
when not in useor carrying at your side,
REVERSIBLE
KEYLESSCHUCK
See R'gum 5.
Yourdrillhas e keylesschuck Asthe came implies,youcan
handtightenorreleasedrillbitsinthechuckjaws.Graspand
hold the collar of the chuck withone hand.Rotate the chuck
bodywith your other hand.The arrowsonthe chuck
indicatewhichdirection to rotatethe chuckbodyinorderto
LOCK (tighten)or UNLOCK (release)the drillbit.
UNLOCK CHUCK
CHUCK (RELEASE) COLLAR
TRIGGER
Fig. 4 (TIGHTEN)
WARNING: Donot holdchuckbedywith one hand
and usepower of the drillto tighten chuck jaws on
drillbit,Chuckbodycouldslipinyour hand oryour
handcould slipand come in contact with rotatingdrill
bit.This could cause an accidentresultinginserious
persona]injury.
See Figure 4.
This tool hasthe feature of being reversible.The direction
ofrotationiscontrolled by a selector locatedabove the
switchtrigger. With the drillheld in normaloperating
position,the directionof rotationselector should be
positionedto the leftof the switeh for drilling.The drilling
directionis reversedwhen the selector isto the rightof
the switch. When the selector Isin centerposition,the
switchtrigger is locked.
_lh CAUTION: To prevent gear damage, always allow
chuck to come to a complete stopbefore changing
the directionof rotation.
To stop, release switchtrigger and allowthe chuckto come
to a completestop.
10
Page 11

INSTALLING BITS
See Figure 6.
• Lockthe switchtrigger by placingthediractionof
rotationselector incenter position. See Figure#.
• Openor dose chuck _ws to a pointwhere the open-
ingis slightlylargerthan the bit size you intendto use.
Also, raisethefront ofyour drillslightlyto keepthe bit
from falling outofthe chuckjaws.
• Insertdrillbit straightinto chuckthe fulllengthof the
jaws as shownin Figure 6.
• Tightenthe chuck jaws on drillbit.
UNLOCK CHUCK
CHUCK (RELEASE) COU,.AR
DRILLBiT
LOCK
(TIGHTEN) CHUCK
BODY
RIGHT Fig. 6
• To tightenthe chuckjaws on ddll bit;graspand hold
the collarof the chuckwithone hand,while rotating
the chuckbody with yourother hand.
Note: Rotate the chuckbodyIn the directionof the
arrowmarked LOCK to tightenchuck jaws.
• Do not usea wrench to tightenor loosenthechuck
jaws.
_k WARNING: Make sureto insertdrillbit straightinto
chuck jaws. Do not Insert drillbit intochuckjaws st
an anglethen tighten, as showninFigure 7. This
couldcause drillbitto be thrown fromddll,resulting
in possible serious personalinjury ordamage tothe
chuck.
REMOVING BITS
See F_gure6.
• Lockthe switchtriggerby placingthe directionof
rotationselectorin center position.Sae FTqum4,
• Loosenthe chuck jawsfrom ddllbit.
• Toloosen:grasp and held the collar ofthechuck with
one hand,whilerotatingchuckbodywith yourother
hand. Note; Rotate chuck bodyin the directionofthe
arrowmarked UNLOCK to loosenchuckjaws.
• Do not use a wrenchto tightenor loosenthe chuck
j_WS.
• Removedrillbitfrom chuckJaws.
ADJUSTABLE TORQUE CLUTCH
Your ddll isequipped with an adjustable torque clutchfor
driving different types of screws into different matedals.
The propersetting dependson the type of matahaland the
size of screwyou are using.
TO ADJUST TORQUE
• Identify the twentyfour torqueindicatorsettingslocated
onthe frontofyourdrill.See Fi#/Jre8,
• Rotateadjustingringtothe desiredsetting.
• 1 - 4 Fordrivingsmallscrews.
5 - 8 Fordrivingscrewsintosoft
material.
• 9-12 Fordrivingscrews intosoft and hard
materials.
• 13- 16 Fordrivingscrewsin hard wood.
• 17- 20 For drivinglarge scmws.
• 21 - 4k,1 For heavy drilling.
TODECREASE
TORQUE ADJUSTING
RING
TOINCREASE
TORQUE
Fig.8
WRONG
Fig. 7
11
Page 12

BITSTORAGE
See Fioure9.
When not in use, bitsprovidedwithyourdrillcanbe
placed inthe storage area locatedon the bottomofyour
drillas shown infigure 9.
DRILLING
See Figure I f.
SCREWDRIVERBITS
BIT
STORAGEAREA
Fig. 9
A WARNING: Alwayswear safety gogglesor safety
glasseswithside shieldswhen operatingtools.
Failureto do so couldresultin objectsbeing thrown
intoyour eyes, resultingin possibleserious injury.
LEVEL
See Figure fO.
A convenient feature providedwith yourdrillis a level. It
is recessedin the motor housingon backof your drill. It
canbe usedto keepddllbit level duringdrillingopera-
tions,
REARVIEWOFDRILL
Fig. 11
When drillinghardsmoothsurfaces use a centerpunchto
mark desired holelocation. Thiswill preventthe drill bit
from slippingoff(:enterasthe holeis started. However,
the lowspeed feature allowsstartingholes withoutcenter
punchingif desired, To accomplishthis, simplyoperate
your drillat a lowspeed untilthe hole is started.
The materialto be drilledshouldbe secured ina vise or
withdamps to keep it fromturning as the drillbit rotates,
Holdtool firmly and place the bit at the pointto be drilled.
Depressthe switchtrigger to start tool.
Move the ddl]bit Intothe workplecoapplyingonlyenough
pressureto keep the bitcutting,Do notfores orapply side
pressuretoelongate a hole.
LEVEL
Fig. 10
_, WARNING: Be preparedfor bindingor bit
breakthrough.When these situationsoccur,drillhas
a tendency to graband kickopposite to the direction
ofrotationand could cause lossof oontrol when
breakingthroughmaterial. If notprepared, this loss
of control can resultin possibleseriousinjury.
When diflllngmetals,use a light oil on the drillbitto keep
Itfrom overheating. The oilwillprolongthe lifeof the bit
and increasethe drillingaction.
ff the bitjams inworkpiece or ifthe drillstalls, release
switchtrigger Immediately.Removethe bit from the
workpiecaand determinethe reason for jamming.
12
Page 13

CHUCKREMOVAL
See Figures 12, 13, and 14.
The chuck mustbe removedinorder to use some
accessories.To remove:
• Lockthe switchtrigger by placing the directionof
rotationselectorIn centerposition.See _gura 4.
• Inserta 5/16 In. orlargerhex key Intothe chuckof your
dnlland tightenthechuck jaws securely.
• Tap the hex key sharply with a mallet in a clockwise
direction.See fTgure 1_ This will loosenthe screw in
the chuck for easy removal.
MAILEr
CHUCK
JAWS
KEYLESS
CHUCK
HB( KEY Fig, 12
• Open chuck jawsand remove hex key. Removethe
chuck screwby tuming it ina clockwisedirection.
See Figure f3.
Note: The screw has left hand threads.
SCREWDRIVER
• Ir_ert hex key in chuck andtightenchuck jaws se-
curely.Tap sharplywitha mallet ina counterclockwise
direction.This will loosenchuckon the spindle.Itcan
now be unscrewedby hand. See Figure 1#.
Fig. 14
TO RETIGHTEN A LOOSE CHUCK
The chuck may become loose on spindleand developa
wobble.Periodicallycheck chuck screw for tightness.
To tighten, follow these steps:
• Lockthe switchtdggerby placingthe directionof
rotation selector in centerposition.See F/gum 4.
• Open the chuck jaws.
• Insert hex key intochuck and tightenchuck jaws
securely. Tap hex keysharplywitha mallet in a
clockwisedirection.This willtighten chuck onthe
spindle.
• Open thechuck jaws and remove hexkey.
• _ghten the chuckscrew.
Note: The chuck screw hasleft handthreads.
Fig. 13
13
Page 14

WARNING: When sewlclng, use only Identical
Craltsman replacement parts. Use ofany other
pan maycreatea hazard orcauseproductdamage.
Avoidusingsolventswhen c_eaningplasticparts. Most
plasticsare susceptibleto damage from varioustypesof
commercialsolventsand may be damaged by theiruse.
Use clean c_othsto remove dirt, dust,oil, grease, etc.
A WARNING: Do not at any timelet brake fluids,
gasoline,petroleum-basedproducts,penetratingoils,
etc. come incontact with plasticparts. They contain
chemicalsthat can damage,weaken or destroy
plastic.
Do not abuse powertools. Abusivepracticescan
damage tool as well as workplece.
Only the partsshownon parts list,page 15, are Intended
to be repaired or replacedbythe customer.Allotherparts
shouldbe replacedat a Sears Service Center.
WARNING: Donot attemptto modifythis tool or
create accessoriesnot recommendedfor use with
thistool,Any such alterationor modificationis
misuse and could resultin a hazardouscondition
leading topossibleseriouspersonalinjury.
BATFERIES
Your ddlrs batterypack isequippedwith nickel-cadmium
rechargeeblebatteries. Lengthofservicefrom each
charging willdepend onthe type of work youare doing.
The battehes in thistoolhave been designedto provide
maximumtroublefree life.However, likeall batteries,they
willeventuallywear out, Do not disassemblebatterypack
and attempt to replacethe batteries, Handlingofthese
batteries, espaciaily whenwearing ringsand jewelry,
could resultin a serious bum.
To obtainthe longestpossiblebatterylife, we suggestthe
following:
• Storeand chargeyourbatteries in a cool area.
Temperaturesabove orbelownormal room
temperaturewillshortenbatterylife.
• Neverstora batteries in a dischargedcondition.
Rechargethem immediatelyafter they are
discharged.
• All batteriesgraduallylosetheircharge. The higher
thetemperature the quickerthey losetheir charge, ff
you storeyourtoolfor longperiodsof time without
using it, rechargethe bettedasevery monthortwo.
Thispracticewill pro!ongbattery life.
I FOR A COMPLETE SELECTION OF1
ACCESSORIES FOR THIS AND OTHER[
CRAFTSMAN POWER AND BENCH TOOLS,[
VISff YOUR NEAREST SEARS RETAIL STORE.)
14
Page 15

CRAFTSMAN 10 mm (3/8 In.) CORDLESS DRILL-DRIVER
MODEL NOS, 973.225350 / 973.225360
Them_de_numberw___bef_und_nap_ateatta_hedt_them_t_rh_using_A_waysmenti_nthem_de_number J
inallcorrespondenceregardingyour10 mm (3/8 In.) CORDLESS DRILL-DRIVER orwhen ordedngrepair
parts,
SEE BACK PAGE FOR PARTS ORDERING INSTRUCTIONS
2
4
Key Part
No. Number
1 616478-003
2 6903326
3 1323401
1323402
4 1425001
1425002
972000-963
PARTS LIST
Descdpltlon Quart,
Screw (Special)...................................................................... 1
Chuck(Item No._ 75188) ...................................................... 1
BatteryPack (Model973.225350) ......................................... 1
BatteryPack (Model973.225360) ......................................... 1
Charging Assembly(Model973,225350) ............................... 1
ChargingAssembly(Model 973.225360) ............................... 1
Operator'sManual
15
Page 16

Operator's Manual
STOCK NOS. 922535 / 222536
MODEL NOS. 973.225350 / 973.225360
Sears service is available at or through
your Sears Retail Store
or Catalogue Sales Office,
How to order repair parts
SERVICE AND REPAIR PARTS
CALL 1-800-665-4455 *
Keep this number handyshould you requirea
service call or need to order repairparts.
Ifordedng parts, make sure you have the name, make and
modelno, ofthe merchandise andthe name and number
ofthe partyou wish to order,
Whenorderingrepairpartsalways give:
1. The PartNumber
2. The PartDescription
3. The Model Numbers:
973.225350 / 973,225360
4. The nameofthe item:
10 mm (3/8 in.) CordlessDrill-Driver
* If calling locally, please use one of the following numbers:
Regina - 566-5124 Montreal - 333-5740
Toronto - 744-4900 Halifax - 454-2444
Kitchener - 894-7590 Ottawa - 738-4440
Vancouver - 420-8211
WE SERVICE WHAT WE SELL.
WE MAKE THIS PLEDGE BECAUSE OUR CONCERN FOR OUR CUSTOMERS DOES NOT END WITH
THE SALE. TO HONOR OUR PLEDGE, WE HAVE DEVELOPED A TOP-NOTCH SERVICE PROGRAM
STAFFED BY HIGHLY TRAINED SPECIALISTS. THEIR KNOWLEDGE OF OUR NEW PRODUCTS IS
CONSTANTLY UPGRADED. THEY USE ONLY PARTS SPECIFICALLY DESIGNED FOR YOUR FINE
SEARS PRODUCTS.
Sold by: SEARS CANADA INC., TORONTO MSB 2B8
 Loading...