

Craftsman 917.249130 Owner's Manual
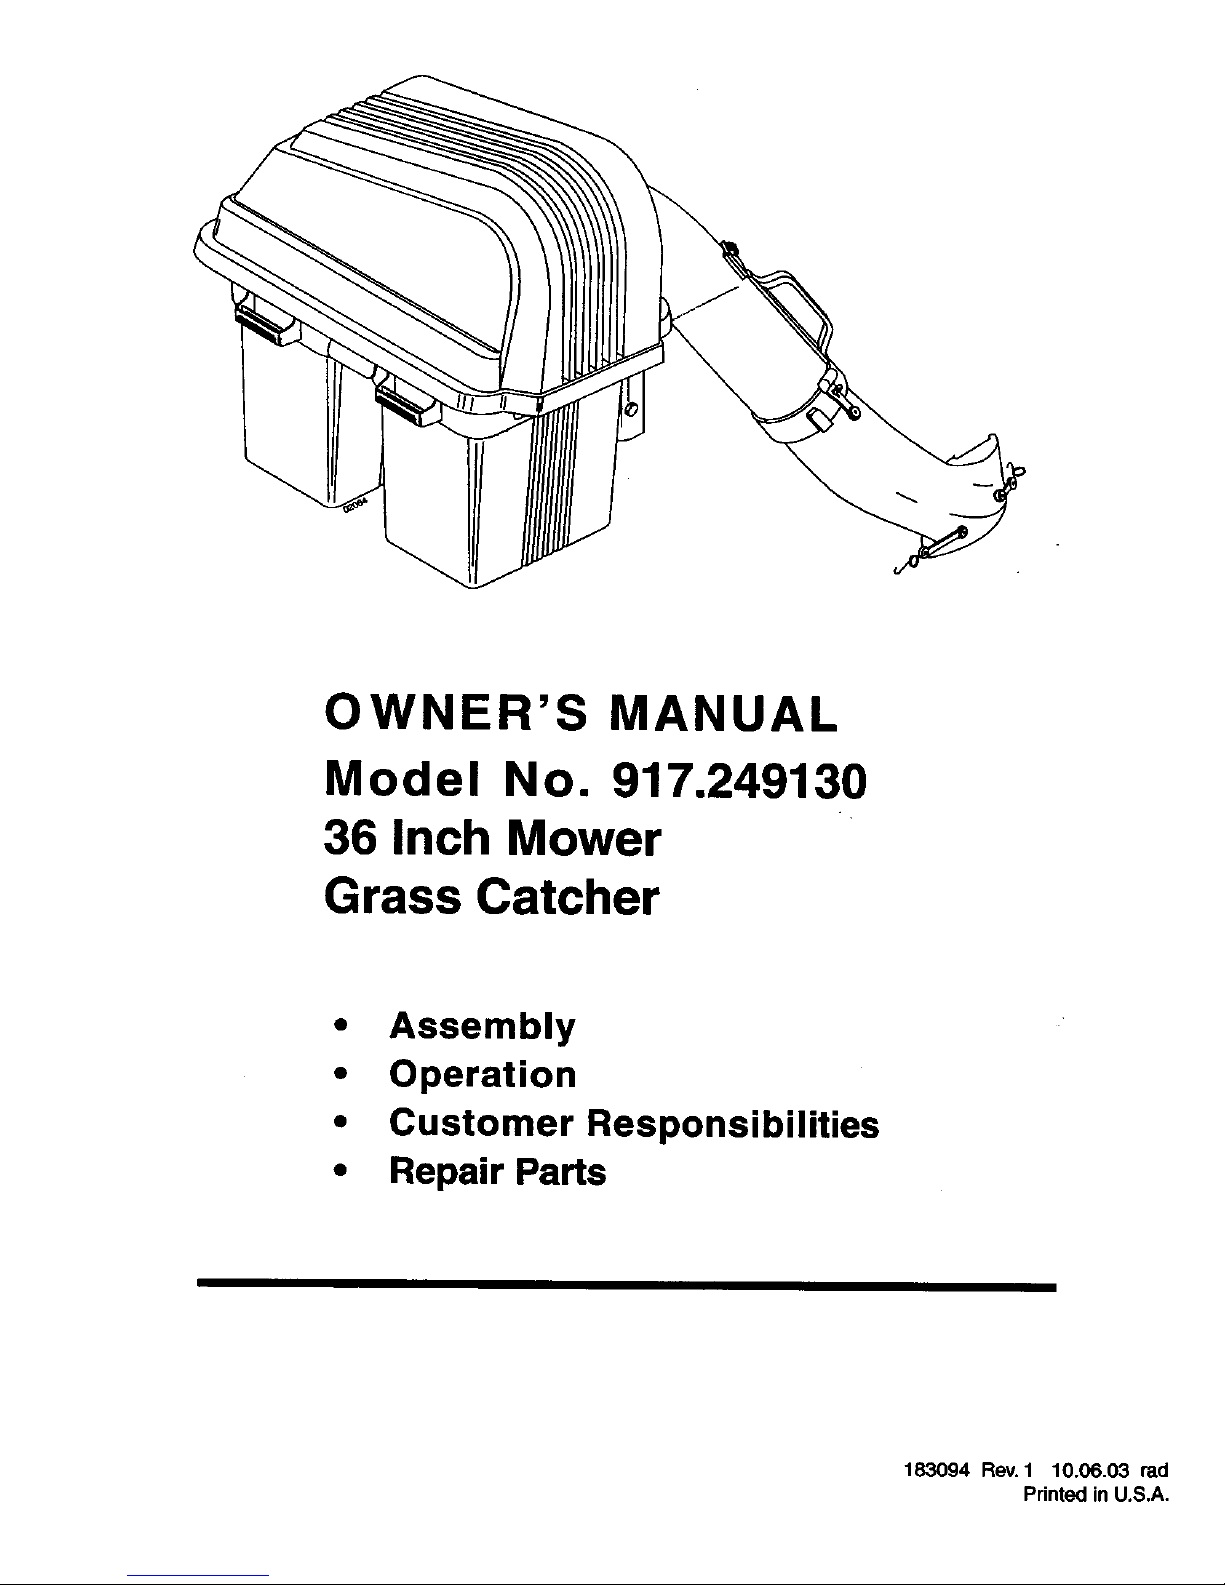
O WNER'S MANUAL
Model No. 917.249130
36 Inch Mower
Grass Catcher
• Assembly
• Operation
• Customer Responsibilities
• Repair Parts
183094 Rev. 1 10.06.03 rad
Printed in U.S.A.

SAFETY RULES
A
Safe Operation Practices for Ride-On Mowers
IMPORTANT: THIS CU'I-rING MACHINE IS CAPABLE OF AMPUTATING HANDS AND FEET AND THROWING OBJECTS. FAILURE
TO OBSERVE THE FOLLOWING SAFETY INSTRUCTIONS COULD RESULT IN SERIOUS INJURY OR DEATH.
I. GENERAL OPERATION
• Read, understand, and follow all instructions in the manual
and on the machine before starting.
• Only allow responsible adults, who are familiar with the
instruCtions,to operate the machine.
• Clear the area of objects such as rocks, toys, wire, etc.,
which could be picked up and thrown by the blade.
Be sure the area is clear of other people before mowing.
Stop machine ifanyone enters the area.
• Never carry passengers.
Do not mow in reverse unless absolutely necessary. Always
lookdown and behind before and while backing.
• Be aware of the mower discharge direction and do not point
it at anyone. Do not operate the mower without either the
entire grass catcher or the guard in place.
• Slow down before turning.
• Never leave a running machine unattended. Always turn
off blades, set parking brake, stop engine, and remove keys
before dismounting,
• Turn off blades when not mowing.
Stop engine before removing grass catcher or unclogging
chute.
• Mow only in daylight or good artificial light.
• Do not operate the machine while under the influence of
alcohot or drugs.
• Watch for traffic when operating near or crossing
roadways.
• Use extra care when loading or unloading the machine into
a trailer or truck.
• Data indicates that operators, age 60 years and above, are
involvedina large percentage of ridingmower-relatedinjudes.
These operators should evaluate their ability to operate the
ridingmower safely enough to protectthemselves and others
from sedous injury.
Keep machine free of grass, leaves or other debds build-up
which can touch hotexhaust / engine parts and bum. Do not
allow the mower deck to plow leaves or other debds which
can cause build-up to occur. Clean any oil or fuel spillage
before operating or storing the machine. Allow machine to
cool before storage.
II. SLOPE OPERATION
Slopes are a major factor related to loss-of-control and
tipover accidents, which can result in severe injury ordeath.
All slopes require extra caution. If you cannot back up the
slope or if you feel uneasy on it, do not mow it.
DO:
• Mow up and down slopes, not across.
• Remove obstacles such as rocks,tree limbs, etc.
• Watchfer holos, ruts,orbumps. U nevanterrain could overturn
the machine. Tallgrass can hide obstacles.
• Use slow speed. Choose a low gear so that youwill not have
to stop or shift while on the slope.
• FoUowthe manufacturer's recommendations forwhealweights
or counterweights to improve stability.
• Use extra care with grass catchers or other attachments.
These can change the stability of the machine.
• Keep all movement on the slopes slow and gradual. Do not
make sudden changes in speed or direction.
• Avoid starting or stopping on a slope. If tires lose traction,
disengage the blades and proceed slowly straightdown the
slope.
DO NOT:
• Donotturnonslopesunlessnecessary,andthen,turnslowly
andgraduallydownhill,ifpossible.
• DOnotmowneardrop-offs,ditches,orembankments.The
mowercouldsuddenlyturnoverif a wheel is overthe edge
ofaclifforditch,orifan edgecavesin.
• Do not mow on wet grass.Reduced tractioncouldcause
sliding.
• Donot try to stabilizethe machineby puttingyourfoot on
the ground.
Do notusegrasscatcheron steepslopes.
III. CHILDREN
Tragic accidents can occur if the operator is not alert to
the presence of children. Children are often attracted to
the machine and the mowing activity. Never assume that
children willremain where you last saw them.
Keepchildrenoutofthemowingareaandunderthewatchful
care of anotherresponsibleadult.
• Bealertandturnmachineoffif children enterthearea.
• Beforeandwhenbacking,lookbehind and down for small
children.
• Nevercarry children. They may fall off and be sedously
injuredorinterferewithsafemachineoperation.
• Neverallow childrento operatethe machine.
• Use extra care when approachingblind corners,shrubs,
trees,or otherobjectsthat mayobscure vision.
IV, SERVICE
• Useextracare inhandlinggasolineand otherfuels. They
areflammable andvaporsare explosive.
Useonlyanapprovedcontainer.
Neverremovegascaporaddfuelwiththeenginerunning.
Allowenginetocoolbefore refueling.Do notsmoke.
Neverrefuelthemachineindoors.
Neverstorethe machineorfuelcontainerinsidewhere
there isan openflame, suchasa waterheater.
• Neverruna machineinsidea closedarea.
Keepnutsandbelts,especiallyblade attachmentbolts,tight
andkeepequipmentingoodcondition.
• Nevertamperwithsafetydevicss.Checktheirproperoperation
regafady.
• Keepmachinefree of _.rass,leaves,or otherdebdsbuild-
up.Cleanoilorfuelspillage,Allowmachinetocoolbefore
stodng.
• Stopandinspecttheequipmontifyoustdkeanobject.Repair,
ifnecessary,beforerestarting.
• Never make adjustments or repairs with the engine
running.
• Grasscatcher componentsare subjectto wear, damage,
and deterioration,which could expose moving parts or
allowobjects to be thrown. Frequentlycheckcomponents
andreplacewithmanufacturer'srecommendedparts,when
necessary.
• Mowerbladesaresharpand can cut. Wrapthe blade(s) or
weargloves,anduse extracaution whenservicing them.
• Checkbrakeoperationfrequently.Adjustand service as
required.
2
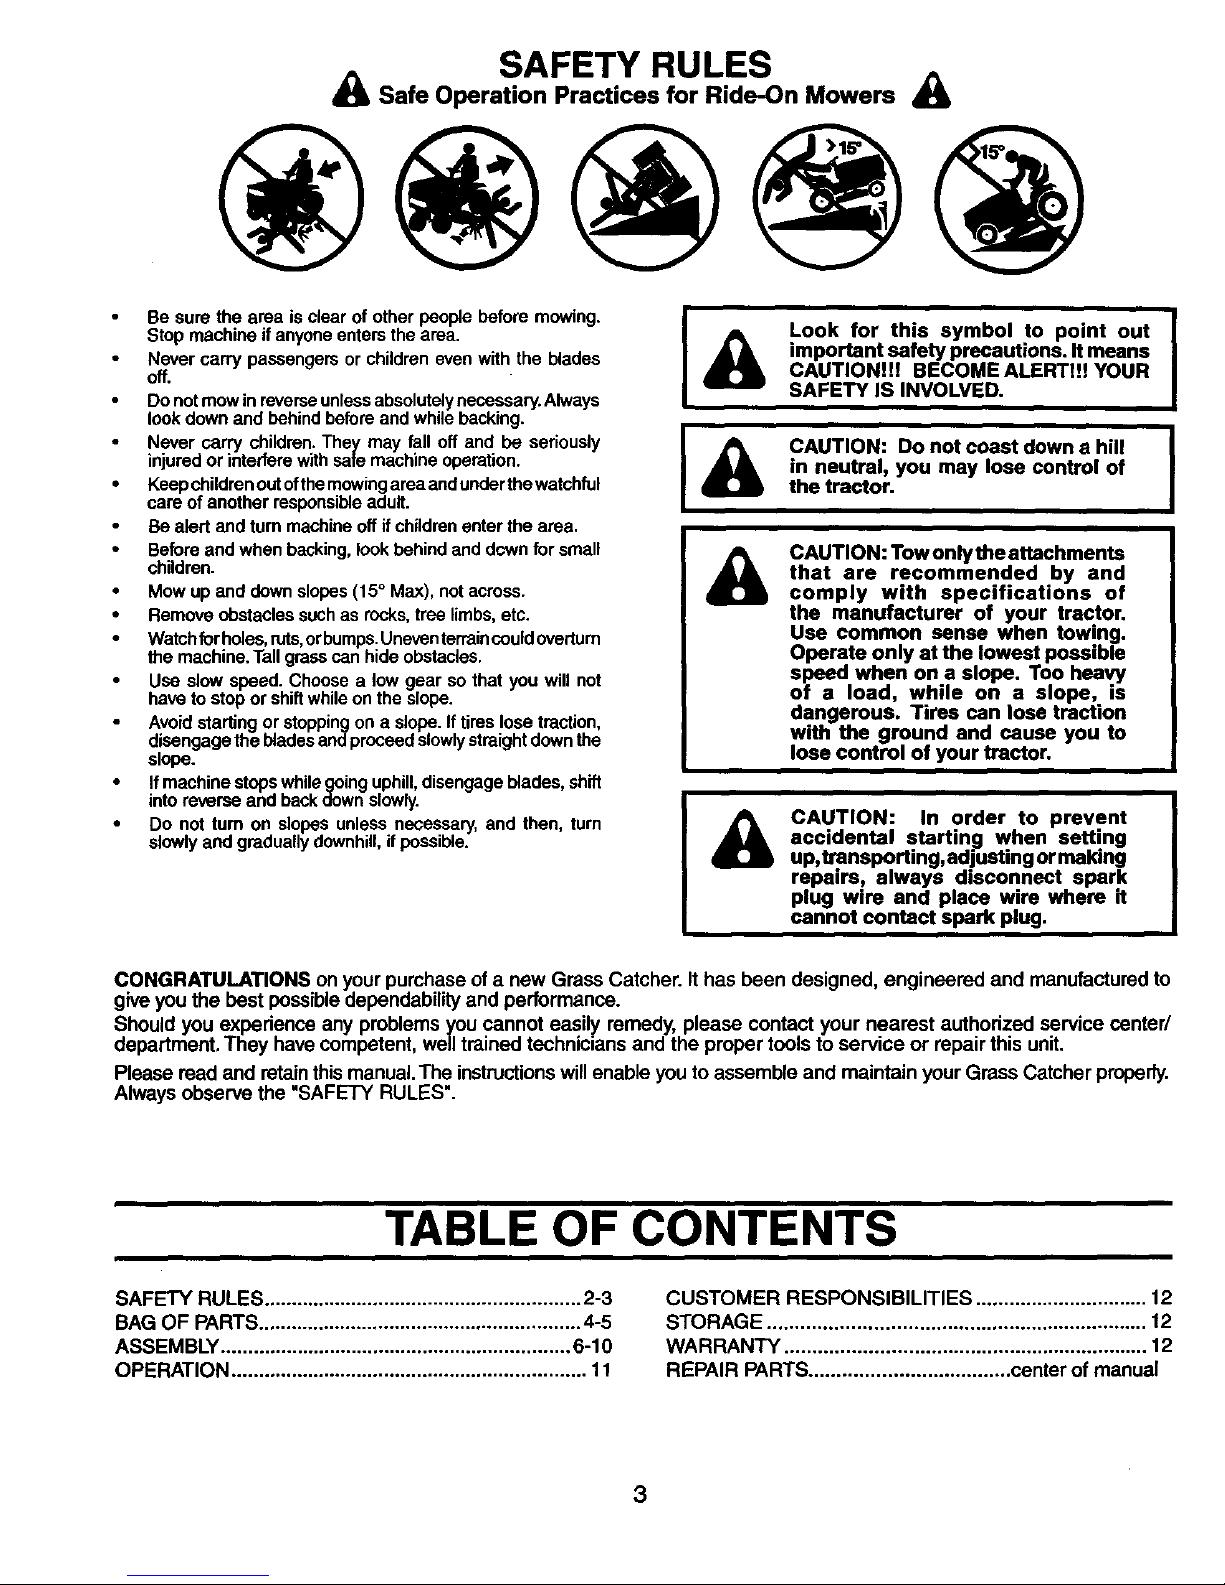
SAFETY RULES
A Safe Operation Practices for Ride-On Mowers A
Be sure the area is clear of other people before mowing.
Stop machine ifanyone enters the area.
Never carry passengers or children even with the blades
off.
Do not mow in reverseunless absolutelynecessary. Always
look down and behind before and while backing.
Never carry children. They may fall off and be seriously
injured or interfere with safe machine operation.
• Keep children out ofthe mowingarea andunder the watchful
care of another responsible adult.
Be alert and turn machine off if children enter the area.
• Before and when backing, look behind and dcwn for small
children.
• Mow up and down slopes (15 ° Max), notacross.
• Remove obstacles such as rocks, tree limbs, etc.
• Watch forholes, ruts,orbumps.Uneven tarrain couldoverturn
the machine. Tall grass can hide obstacles.
Use slow speed. Choose a low gear so that you will not
have to stop or shift while on the slope.
Avoid starting or stopping on a slope. If tires lose traction,
disengage the blades andproceed slowlystraight down the
slope.
• If machine stops while going uphill, disengage blades, shift
into reverse and back down slowly.
• Do not tam on slopes unless necessary, and then, turn
slowly and gradually downhill, if possible.
A
A
A
Look for this symbol to point out
important safety precautions. It means
CAUTIONI!! BECOME ALERT!!! YOUR
SAFETY IS INVOLVED.
CAUTION: Do not coast down a hill
in neutral, you may lose control of
the tractor.
CAUTION: Tow onlythe attachments
that are recommended by and
comply with specifications of
the manufacturer of your tractor.
Use common sense when towing.
Operate only at the lowest possible
speed when on a slope. Too heavy
of e load, while on a slope, is
dangerous, Tires can lose traction
with the ground and cause you to
lose control of your tractor.
CAUTION: In order to prevent
accidental startinJ_ when setting
up, trensporting,adjusting or maldng
repairs, always disconnect spark
plug wire and place wire where it
cannot contact spark plug.
CONGRATULATIONS on your purchase ofa new Grass Catcher. It has been designed, engineered and manufactured to
give you the best possibledependability and performance.
Should you experience any problems you cannot easily remedy, please contact your nearest authorized service center/
department. They have competent, well trainedtechnicians and the proper tools to service or repair this unit.
Please read and retain this manual.The instructionswill enable you to assemble and maintain your Grass Catcher properly.
Always observe the "SAFETY RULES'.
TABLE OF CONTENTS
SAFETY RULES .......................................................... 2-3
BAG OF PARTS ........................................................... 4-5
ASSEMBLY ................................................................ 6-10
OPERATION ................................................................. 11
CUSTOMER RESPONSIBILITIES ............................... 12
STORAGE .................................................................... 12
WARRANTY ................................................................. 12
REPAIR PARTS.................................... center of manual
3
KNOWYOUR GRASS CATCHER
READTHIS OWNER'S MANUAL AND SAFETY RULES BEFORE ASSEMBLING OR OPERATINGYOUR GRASS CATCHER.
Compare the illustrationswith the carton contents to familiarize yourself withthe parts before start ng the assembly.Study
the operating instructions and safety precautions thoroughly to insure proper functioning of your Grass Catcher and to
prevent injury to yourselfand others. Save this manual for future reference.
UNPACKING INSTRUCTIONS
• Remove all parts and packing materials from carton.
• Foldflapstoinsideofcarton andturn cartonupsidedown
on floor of work area. To protect grass catcher cover
duringassembly place coverupsidedownonoverturned
carton.
• Check carton contents against list. Be sure all parts
are there.
CARTON CONTENTS:
(2) Container Tops
(2) Container Bottoms
(1) Upper Chute
(1) Lower Chute
(1) Support Post
(1) Mounting Bracket
(1) Cover Assembly
(1) Cover Seal
(1) Bag of Parts
(1) Owner's Manual
(2) Cross Blades
(2) Adapters
(2) Blade Bolts
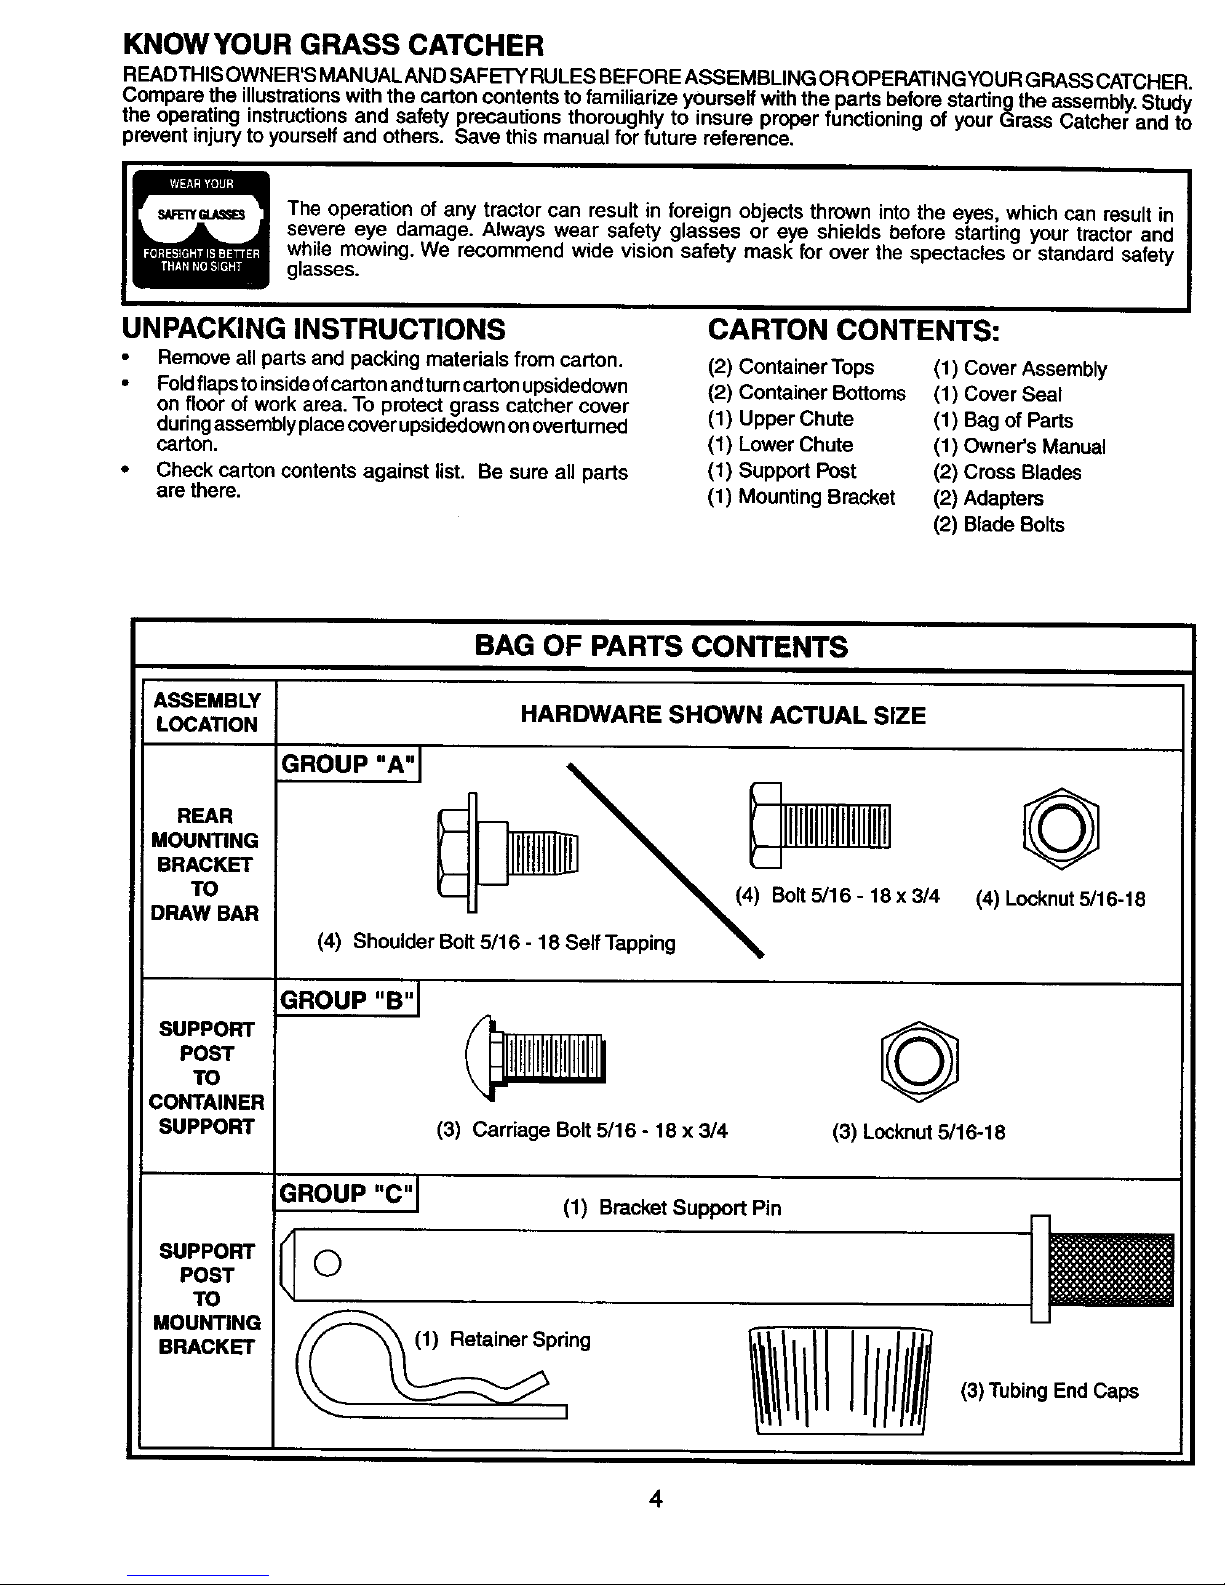
BAG OF PARTS CONTENTS
ASSEMBLY
LOCATION
REAR
MOUNTING
BRACKET
TO
DRAW BAR
SUPPORT
POST
TO
CONTAINER
SUPPORT
SUPPORT
POST
TO
MOUNTING
BRACKET
HARDWARE SHOWN ACTUAL SIZE
GROUP"A"I \ --
Lll"""l"" H"lzl
- c, 16_
(4) Shoulder Bolt 5/16 - 18 Self Tapping
GROUP "B"J
(3) Carriage Bolt 5/16 - 18 x 3/4
GROUP "C"J
(1) Bracket Support Pin
©
(3) Locknut5/16-18
I/l/l/Jl///j
@
(4) Locknut 5/16-18
(3) Tubing End Caps
4
LOWER
CHUTE
ASSEMBLY
TO
MOWER
DECK
CHUTE
LATCH
ASSEMBLY
TO
UPPER
CHUTE
CHUTE
LATCH
ASSEMBLY
TO
LOWER
CHUTE
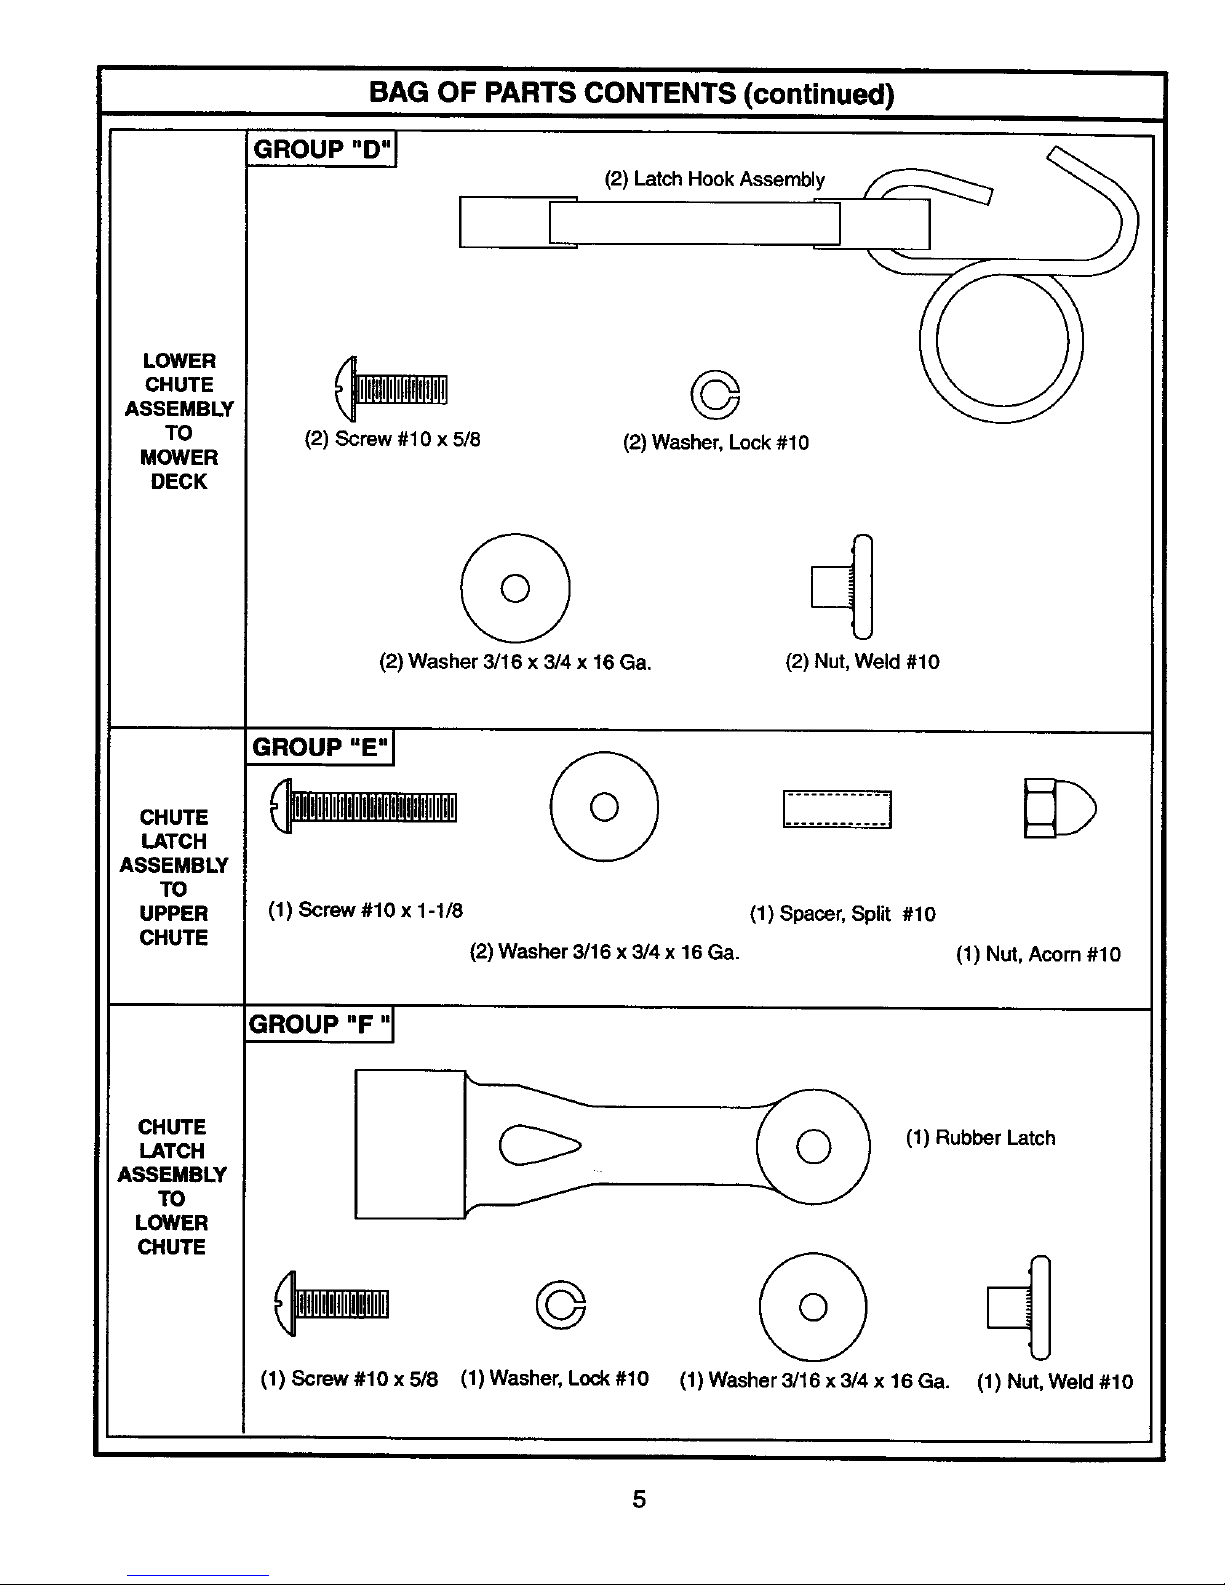
BAG OF PARTS CONTENTS (continued)
GROUP "D"J
(2) Screw #10 x 5/8
(2) Latch Hook Assembly
@
(2) Washer, Lock #10
_1
(2) Washer 3/16 x 3/4 x 16 Ga.
q
D
i
(2) Nut, Weld #10
GROUP "E" I
Q,IIWIIIJlMHlulIIHII
(1) Screw #10 x 1-118 (1) Spacer, Split #10
(2) Washer 3116x 3/4 x 16 Ga. (1) Nut, Acorn #10
GROUP "F "l
J
(1) Rubber Latch
(1) Screw #10 x 5/8
@
(1) Washer, Lock #10
De
(1) Washer 3/16 x 3/4 x 16 Ga. (1) Nut, Weld #10
5
 Loading...