

Page 1
OPERATOR’S MANUAL
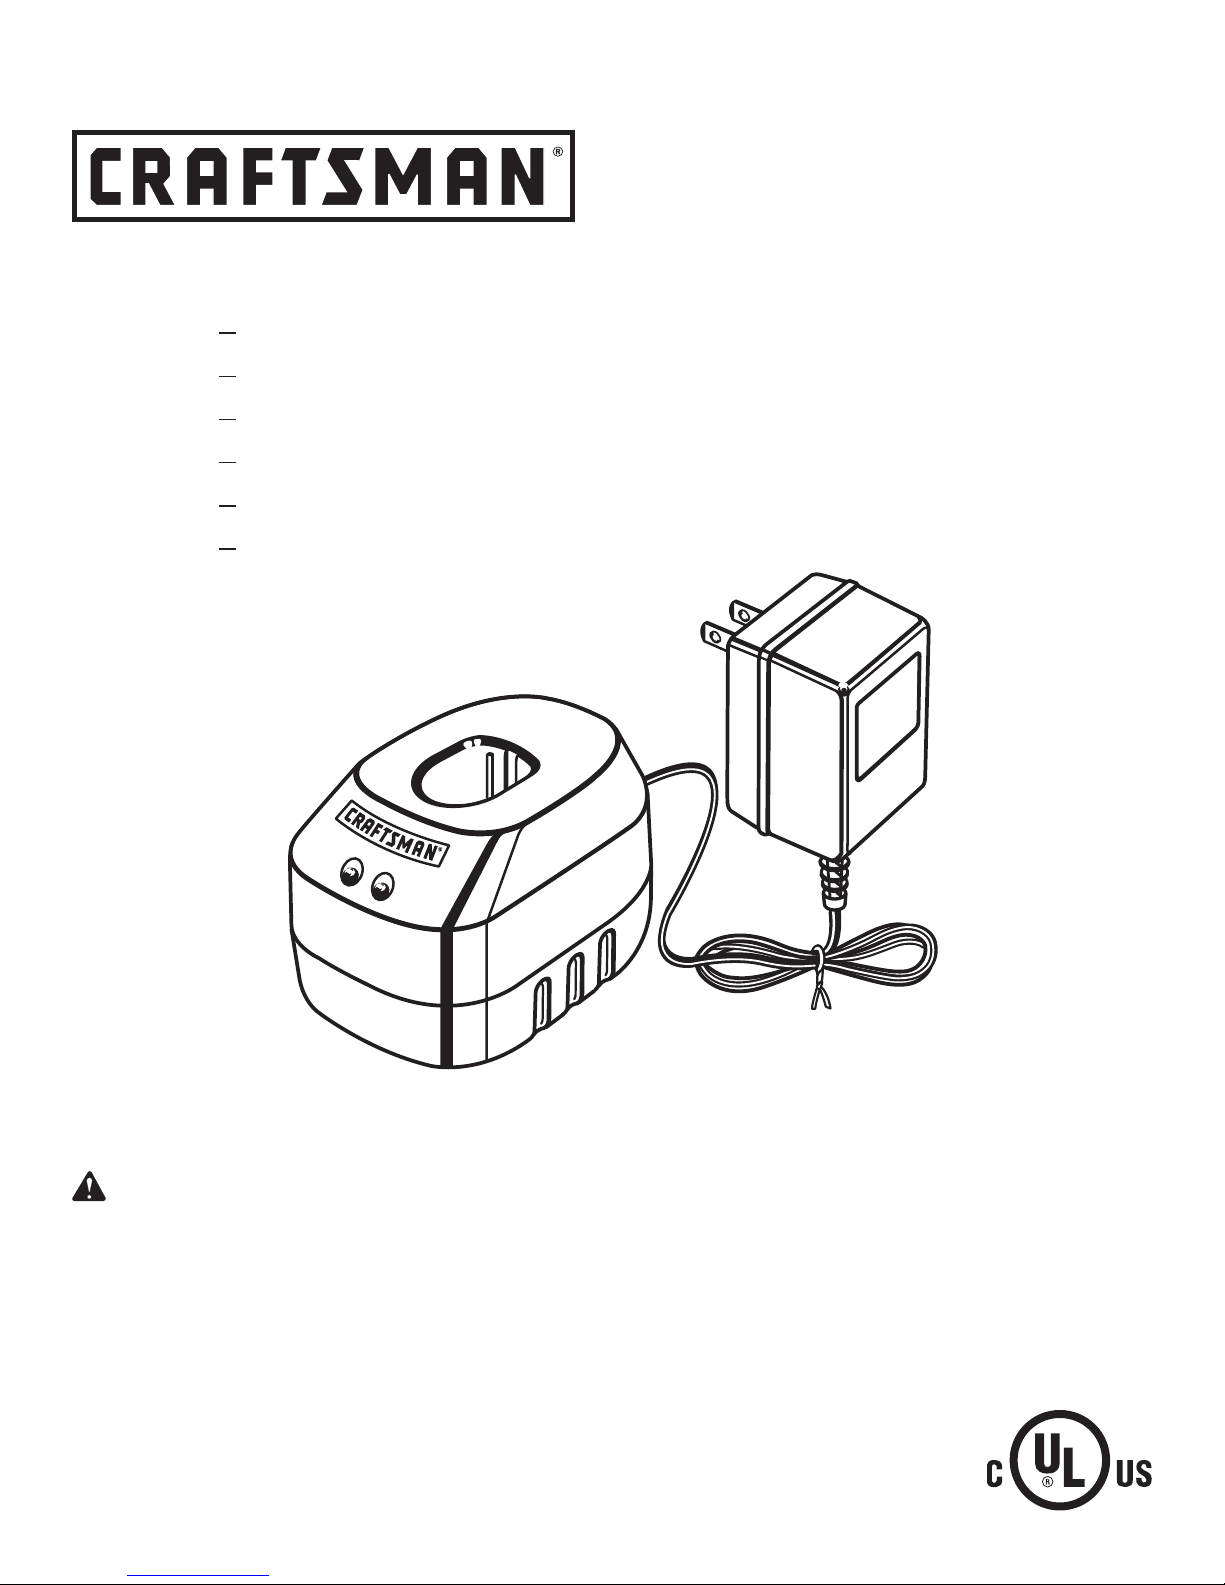
CHARGER
Item No. 911053 — 9.6 Volt (140302001)
Item No. 911055 — 12 Volt (140302002)
Item No. 911006 — 14.4 Volt (140302003)
Item No. 911466 — 15.6 Volt (140250023)
Item No. 911369 — 16.8 Volt (140250025)
Item No. 911379 — 18 Volt (140295004)
WARNING: To reduce the risk of injury,
the user must read and understand the
operator’s manual before using this
product.
Customer Help Line: 1-800-932-3188
Sears, Roebuck and Co., 3333 Beverly Rd., Hoffman Estates, IL 60179 USA
Visit the Craftsman web page: www.sears.com/craftsman
987000-133
7-20-07 (REV:01)
Save this manual for future reference
For use with Craftsman 9.6, 12, 14.4,
15.6, 16.8, and 18 Volt battery packs
as indicated
BATTERIES SOLD SEPARATELY
Page 2

WARRANTY
ONE YEAR FULL WARRANTY ON CRAFTSMAN TOOL
If this Craftsman tool fails to give complete satisfaction within one year from date of purchase, RETURN IT TO THE
NEAREST SEARS STORE IN THE UNITED STATES, and Sears will replace it, free of charge.
If this Craftsman tool is used for commercial or rental purposes, this warranty applies for only 90 days from the date of
purchase.
This warranty gives you specific legal rights, and you may also have other rights which vary from state to state.
Sears, Roebuck and Co., Dept. 817 WA, Hoffman Estates, IL 60179
IMPORTANT SAFETY INSTRUCTIONS
SAVE THESE INSTRUCTIONS
WARNING! READ AND UNDERSTAND ALL
INSTRUCTIONS. Failure to follow all instructions
listed below, may result in electric shock, fire
and/or serious personal injury.
Before using battery charger, read all instructions
and cautionary markings in this manual, on battery
charger, battery, and product using battery to prevent
misuse of the products and possible injury or damage.
CAUTION: To reduce the risk of electric shock
or damage to the charger and battery, charge
only nickel-cadmium rechargeable batteries as
specifically designated on your charger. Other
types of batteries may burst, causing personal
injury or damage.
Do not use charger outdoors or expose to wet or
damp conditions. Water entering charger will increase
the risk of electric shock.
Use of an attachment not recommended or sold
by the battery charger manufacturer may result in
a risk of fire, electric shock, or injury to persons.
Following this rule will reduce the risk of electric shock,
fire, or serious personal injury.
Do not abuse cord or charger. Never use the cord to
carry the charger. Do not pull the charger cord rather
than the plug when disconnecting from receptacle.
Damage to the cord or charger could occur and create
an electric shock hazard. Replace damaged cords
immediately.
Make sure cord is located so that it will not
be stepped on, tripped over, come in contact
with sharp edges or moving parts, or otherwise
subjected to damage or stress. This will reduce the
risk of accidental falls, which could cause injury, and
damage to the cord, which could result in electric
shock.
Keep cord and charger from heat to prevent
damage to housing or internal parts.
Do not let gasoline, oils, petroleum-based products,
etc., come in contact with plastic parts. They contain
chemicals that can damage, weaken, or destroy plastic.
Do not operate charger with a damaged cord or
plug, which could cause shorting and electric shock. If
damaged, have the charger replaced by an authorized
serviceman.
Do not operate charger if it has received a sharp
blow, been dropped, or otherwise damaged in any
way. Take it to an authorized serviceman for electrical
check to determine if the charger is in good working
order.
Do not disassemble charger. Take it to an authorized
serviceman when service or repair is required. Incorrect
reassembly may result in a risk of electric shock or fire.
Unplug charger from outlet before attempting any
maintenance or cleaning to reduce the risk of
electric shock.
Disconnect charger from the power supply when
not in use. This will reduce the risk of electric shock
or damage to the charger if metal items should fall into
the opening. It also will help prevent damage to the
charger during a power surge.
Risk of electric shock. Do not touch uninsulated
portion of output connector or uninsulated battery
terminal.
Plug charger into outlets on the wall or floor only.
Do not plug charger into overhead outlets.
Save these instructions. Refer to them frequently
and use them to instruct others who may use this
tool. If you loan someone this tool, loan them these
instructions also to prevent misuse of the product and
possible injury.
2
Page 3

SYMBOLS
Some of the following symbols may be used on this product. Please study them and learn their meaning. Proper
interpretation of these symbols will allow you to operate the product better and safer.
SYMBOL NAME
Wet Conditions Alert Do not expose to rain or use in damp locations.
Read The Operator’s Manual
Eye Protection
Safety Alert Precautions that involve your safety.
To reduce the risk of injury, user must read and understand
operator’s manual before using this product.
Always wear safety goggles or safety glasses with side shields and,
as necessary, a full face shield when operating this product.
FEATURES
PRODUCT SPECIFICATIONS
Charger Voltage ................................ 11053 — 9.6 Volt DC
11055 — 12 Volt DC
11006 — 14.4 Volt DC
11466 — 15.6 Volt DC
11369 — 16.8 Volt DC
11379 — 18 Volt DC
DESIGNATION/EXPLANATION
Charger Input.....................................120 V, 60 Hz, AC only
Charge Rate ..............................................................3 hour
Cord Length .................................................................. 6 ft.
Fig. 1
OPERATION
APPLICATIONS
You may use this product for the following purposes:
Portable charging of Craftsman batteries as indicated
by the chart that follows
KNOW YOUR CHARGER
See Figure 1.
The safe use of this product requires an understanding
of the information on the product and in this operator’s
manual as well as a knowledge of the project you are
attempting. Before use of this product, familiarize yourself
with all operating features and safety rules.
LED DISPLAY
The LED lights located next to each battery port indicate
the charge status of each battery.
CAUTION: If at any point during the charging
process none of the LEDs are lit, remove the battery
pack from the charger to avoid damaging the
product. DO NOT insert another battery. Return the
charger and battery to your nearest service center
for service or replacement.
3
Page 4

OPERATION
USE CHARGERS ONLY WITH BATTERY PACKS AND ITEM NUMBERS LISTED BELOW:
NOTE: The item number of the product containing each battery pack is shown in parenthesis.
CHARGER COMPATIBLE BATTERY PACKS
11053
11055
11006
11466
11369
11379
130139017 (11534), 1322519 (11332), 1322549 (11452), 1323412 (11347), 1322550 (17753)
130139014 (11535 / 11536), 130139014 (11565), 1310714 (11413), 1322518 (11414), 1323407 (11333),
1323407 (11409), 1310714 (11422), 130234026 (11460), 1323407 (177550), 1323407 (11400)
130260001 (11537), 130260001 (11524), 130139021 (11385), 130139020 (11386), 130260001 (113861),
130139016 (11533), 1323405 (11331), 1323424 (11451)
Note: Battery sold as Item No. 11054
Note: Battery sold as Item No. 11057
Note: Battery sold as Item No. 11007
130139015 (11521), 130234027(11463)
Note: Battery sold as Item No. 11465
1323414 (11415 / 11410)
Note: Battery sold as Item No. 11368
130260001 (114232), 1323509 (11416), 1323520 (11461)
Note: Battery sold as Item No. 11378
CHARGING THE BATTERY PACK
Charge battery pack only with the charging assembly
provided.
Make sure power supply is normal household voltage,
120 volts, 60 Hz, AC only.
Connect charger to power supply.
Place battery pack in charging stand. Align raised rib
on battery pack with groove in charging stand. See
Figure 2.
Press down on battery pack to be sure contacts on
battery pack engage properly with contacts in charging
stand.
The charge indicator light (LED), located on the
charging stand, will light up red and glow when the
charger is properly connected to power supply. This
light indicates the charger is operating properly. It will
remain on until battery pack is removed from charging
stand or charger is disconnected from power supply.
After normal usage, 3 hours or less of charging time is
required to fully recharge battery pack.
NOTE: If both red and orange LED indicators glow, the
battery pack is deeply or completely discharged, and
6 hours or longer of charging time is required to fully
recharge the battery pack.
If the charger does not charge the battery pack, or
the orange LED continues to glow after more than
30 minutes of charging, the battery pack may be
defective. Return the battery pack and charging
assembly to your nearest Sears Repair Center for
electrical check.
The battery pack will become slightly warm to the
touch while charging. This is normal and does not
indicate a problem.
Do not place charger in an area of extreme heat or
cold. It will work best at normal room temperature.
When batteries become fully charged, unplug charger
from power supply and remove the battery pack.
CHARGING A HOT BATTERY PACK
When using your tool continuously, the batteries in your
battery pack will become hot. You should let a hot battery
pack cool down for approximately 30 minutes before
attempting to recharge.
NOTE: This situation only occurs when continuous use of
your tool causes the batteries to become hot. It does not
occur under normal circumstances. Refer to Charging
the Battery Pack for normal recharging of batteries. If
the charging assembly does not charge your battery pack
under normal circumstances, return both the battery pack
and charging assembly to your nearest Sears Repair
Center for electrical check.
BATTERY PACK
SHOWN IN CHARGER
REd LEd
ORANGE LEd
4
CHARGING
ASSEMBLY
CHARGING STANd
Fig. 2
 Loading...