

Craftsman 536882091 Owner’s Manual
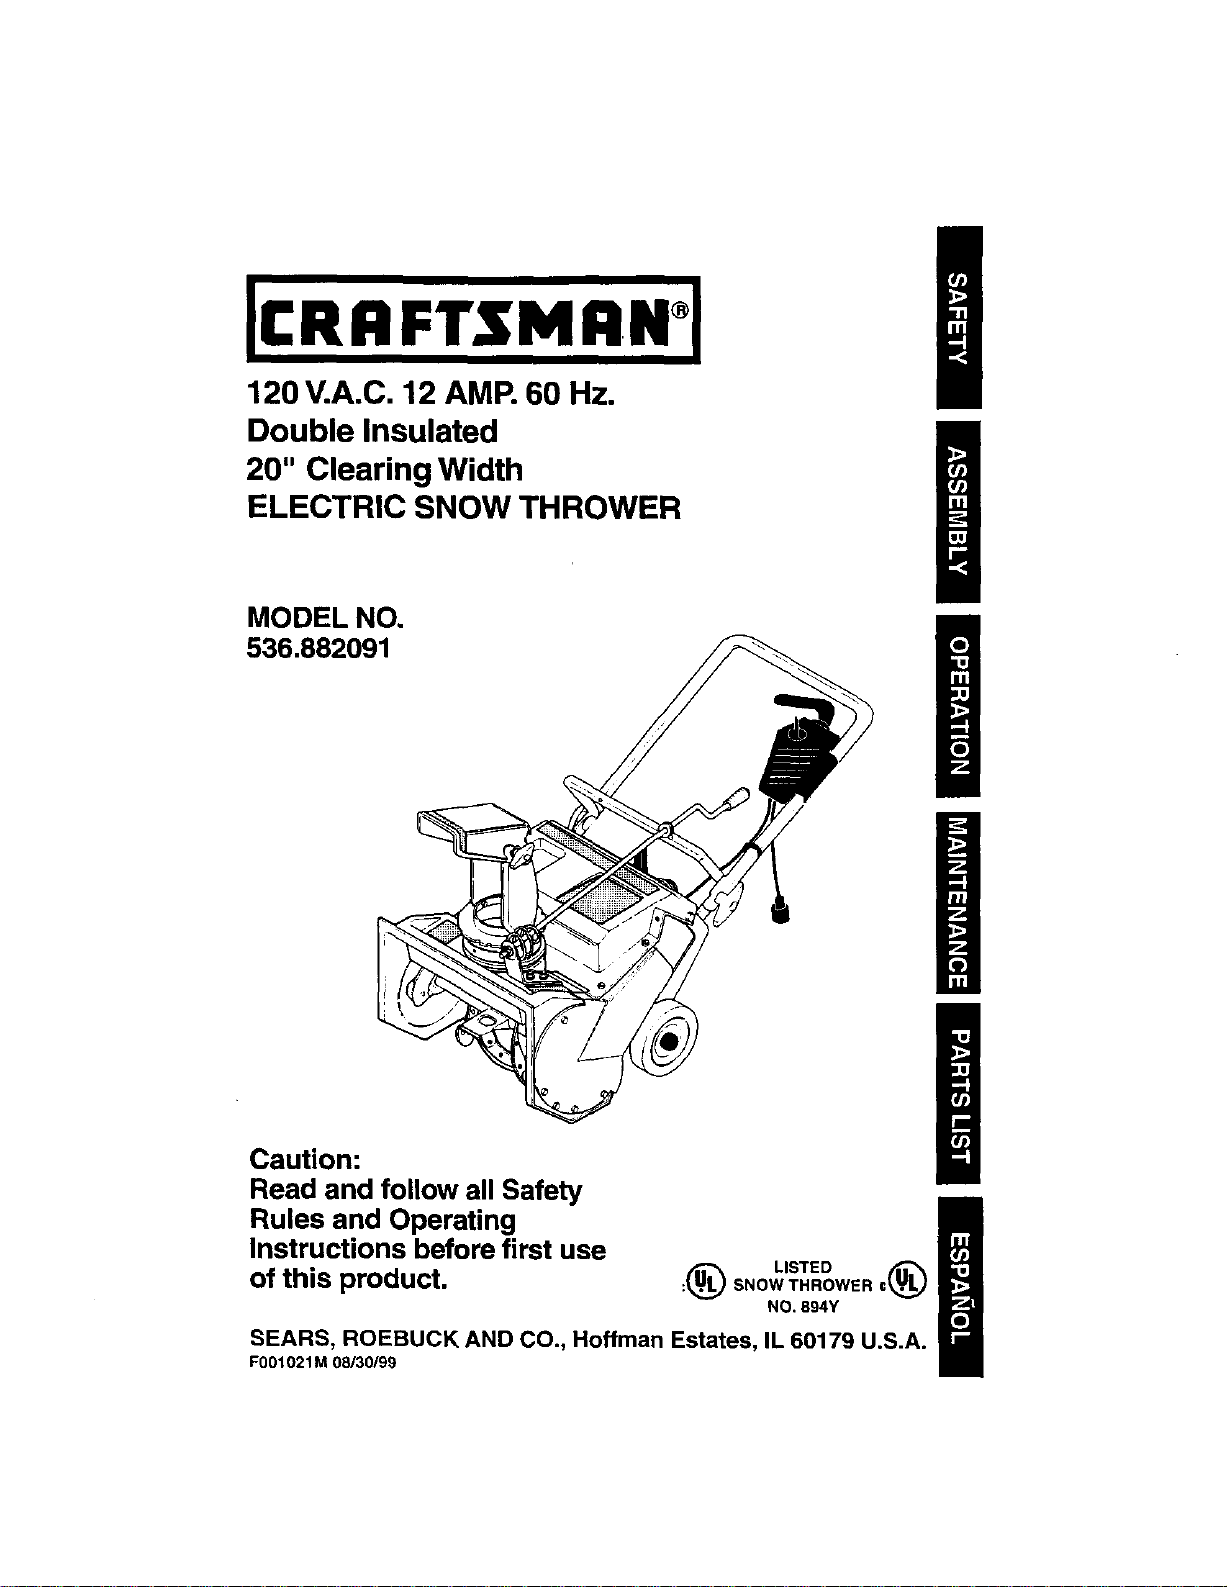
120 V.A.C. 12 AMP. 60 Hz.
Double Insulated
20" Clearing Width
ELECTRIC SNOW THROWER
MODEL NO.
536.882091
Caution:
Read and follow all Safety
Rules and Operating
Instructions before first use
of this product.
SEARS, ROEBUCK AND CO., Hoffman Estates, IL 60179 U.S.A.
F001021M 08/30199
:(_ LISTED
SNOW THROWER ©_L.,J
NO. 894Y
Table of Contents 2 Service and Adjustments 9-10
Warranty 2 Storage 10
Safety Rules 2-4 Troubleshooting 11
Contents of Shipping Carton 4 Repair Parts 12-20
Assembly 4-5 Spanish (Espa5ol) 21-32
Operation 5-8 Parts Ordering/Service Back Cover
Maintenance 8
LIMITED ONE-YEAR WARRANTY ON CRAFTSMAN SNOW THROWER
For one year from the date of purchase, when thisCraftsman Snow Thrower is main-
tained, lubricated, and tuned up according to the operating and maintenance instruc-
tions in the owner's manual, Craftsman will repair, free of charge, any defect in mate-
rial or workmanship,
Ifthis Craftsman Snow Thrower is used for commercial or rental purposes, this war-
ranty applies for only 90 days from the date of purchase.
This warranty does not cover the following:
• Items which become worn during normal use, such as drive belts and shear pins.
• Repairs necessary because of operator abuse or negligence, including bent drive
shafts and the failure to maintain the equipment according to the instructions con-
tained in the owner's manual.
WARRANTY SERVICE IS AVAILABLE BY RETURNING THE CRAFTSMAN SNOW
THROWER TO THE NEAREST CRAFTSMAN SERVICE CENTER/DEPARTMENT tN
THE UNITED STATES. THIS WARRANTY APPLIES ONLY WHILE THIS PRODUCT
IS IN USE IN THE UNITED STATES.
This warranty gives you specific legal dghts, and you may also have other rightswhich
may vary from state to state.
Sears, Roebuck and Co., D817WA, Hoffman Estates, IL 60179
Look for this symbol to point out Important safety precautions. Itmeans--
ATTENTION!!! Become alert!!! Your safety is Involved.
Z_ CAUTION: Always disconnect power cord
to prevent accidental starting when setting-up,
transporting, adjusting or making repairs.
IMPORTANT: Safety standards require operator
presence controls to minimize the dsk of injury.
Your snow thrower is equipped with such
controls. Do not attempt to defeat the function of
the operator presence control under any
circumstances.
BEFORE USE
• Read the owner's manual carefully. Be
thoroughly familiar with the controls and the
proper use of the snow thrower. Know how to
stop the snow thrower and disengage the
controls quickly.
• Do not operate the snow thrower without
wearing adequate outer garments. Wear
footwear that will improve footing on slippery
surfaces.
• Keep the area of operation clear of all persons,
particulahy small children and pets.
• Thoroughly inspect the area where the snow
thrower is to be used and remove all doormats,
sleds, boards, wires, and other foreign objects.
• Use extension cords and receptacles as
specified by the manufacturer for all snow
throwers with electdc ddve motors or with
factory-installod or optional starting motors.
• Usa only attachments and accessories
approved by the manufacturer of the snow
thrower. No attachments are recommended
for usa with this unit. Any such use might
increase the risk of injury to the operator.
• Never operate the snow thrower without good
visibility or light. Always be sure of your
footing, and keep a firm hold on the handles.
Walk; never run.
• This snow thrower is for use on sidewalks,
driveways, and other ground level surfaces.
CAUTION: should be exercised while using on
steep sloping surfaces. DO NOT USE SNOW
THROWER ON SURFACES ABOVE
GROUND LEVEL such as roofs of residences,
garages, porches or other such structures or
buildings,
2

• Check shear bolts and other boltsfrequently
for proper tightness to be sure the snow
thrower is in safe working condition.
• Let engine and snow thrower adjust to
outdoor temperatures before starting to clear
SNOW.
Z_ WARNING: The motor is equipped with a
protector that will disconnect power to the motor
temporarily if the snow thrower is overworked,
and will automatically reset as the motor cools.
If the motor stops, release the control bar, dis-
connect the extension cord and allow the motor
to cool 5 minutes before continuing operatton.
OPERATING SAFETY
• Do not operate this machine if you ara taking
drugs or other medication which can cause
drowsiness or affect your ability to operate
this machine.
• Do not use this machine if you are mentally or
physically unable to operate this machine
safely.
• Never allow childran or young teenagers to
operate the snow thrower. Keep them away
while it is operating. Never allow adults to
operate the snow thrower without proper
instruction.
• Always wear safety glasses or eye shields
during operation or while performing an
adjustment or repair to protect your eyes from
foreign objects that may be thrown from the
snow thrower,
• Always dress propody. Do notwear loose
clothing or jewalry. They can be caught in
moving parts.
• Do not put hands or feet near or under
rotating parts. Keep clear of the discharge
opening at all times.
• Exercise extreme caution when operating on
or crossing gravel ddves, walks, or roads to
avoid slipping or falling, especially when
operating in reverse or backing up. Stay alert
for hidden hazards or traffic.
• Do not clear snow across the face of slopes.
Exercise caution when changing direction on
slopes. Do not attempt to clear steep slopes.
• Never operate the snow thrower without
proper guards, plates, or other safety
protective devices in place.
• Operation of the snow thrower in the hand
hold position is unsafe, except in accordance
with the special instructions for such use
provided in this manual
• Never operate the snow thrower near glass
enclosures, automobiles, window wells, drop-
offs, and the like without proper adjustment of
the snow discharge angle. Keep children and
pets away.
• Never operate the snow thrower on graveled
surface uniass the snow thrower is adjusted
for such a surface in accordance with the this
manual. See Operating Tips in the Operation
section of this manual.
• Never operate the snow thrower at high
transport speeds on slippery surfaces. Look
behind and use care when backing.
• Never direct discharge at bystanqsrs or allow
anyone in front of the snow thrower.
• Take all possible precautions when leaving the
snow thrower unattended. Disengage the
auger/impeller, and remove key.
• To prevent accidental starting do not carry
plugged in snow thrower with finger on switch.
Be sure switch is off when plugging in.
• If cord is damaged in any manner while
plugged in, pull extension cord from wall
receptacle.
• Do not abuse cord. Never carry snow thrower
by cord or yank it to disconnect from recep-
tacle. Keep cord from heat, oil, and sharp
edges.
• Do not ovedoad the machine capacity by
attempting to clear snow at too fast a rate.
• Do not force snow thrower itwill perform better
and safer at the rate for which it was designed.
• Do not overreach, keep proper footing and
balance at all times.
WARNING: To prevent electric shock use a U.L.
listed two conductor extension cord suitable for
outdoor use in cold weather. Extension cord
should be no longer than 100 feet. See chart on
page 6 for recommended extension cords.
• TO prevent accidental disconnection of
extension cord from control switch during
operation, loop extension cord through strain
relief clip on control switch as shown in first
figure on page 7.
SAFE STORAGE
• Always refer to the owner's manual instructions
for important details if the snow thrower is to be
stored for an extended period.
• Store snow thrower indoors when not in use,
snow throwers should be stored indoors in dry,
locked-up place out of reach of children.
REPAIR/ADJUSTMENTS SAFETY
• After striking a foreign object, stop the engine
(motor), disconnect the cord on electric motors,
thoroughly inspect the snow thoroughly inspect
the snow thrower for any damage, and repair
the damage before restarting and operating the
snow thrower.
• If snow thrower should start to vibrate abnor-
mally, stop engine (motor) and check immedi-
ately for the cause. Vibration is generally a
warning of trouble.
• Stop the engine (motor) whenever you leave
the operating position. Also, disconnect the
power cord before unclogging the auger/
impeller housing or discharge chute, and when
making any repairs, adjustments, or inspections
to prevent accidental starting.
• When cleaning, repairing, or inspecting, make
certain the auger/impaller and all moving parts
have stopped. Disconnect the power cord for
service.
I
• Never attempt to make any adjustments while
the engine (motor) is running (except when
specifically recommended by the manufac-
turer).
• Maintain or replace safety and instruction
labels, as necessary.
• When servicing use only identical replace-
ment parts. Replace or repair damaged cords.
• Maintain snow throwers with care. Follow
instructions and changing accessories.
• Run the snow thrower a few minutas after
throwing snow to prevent freeze-up of the
auger/impeller.
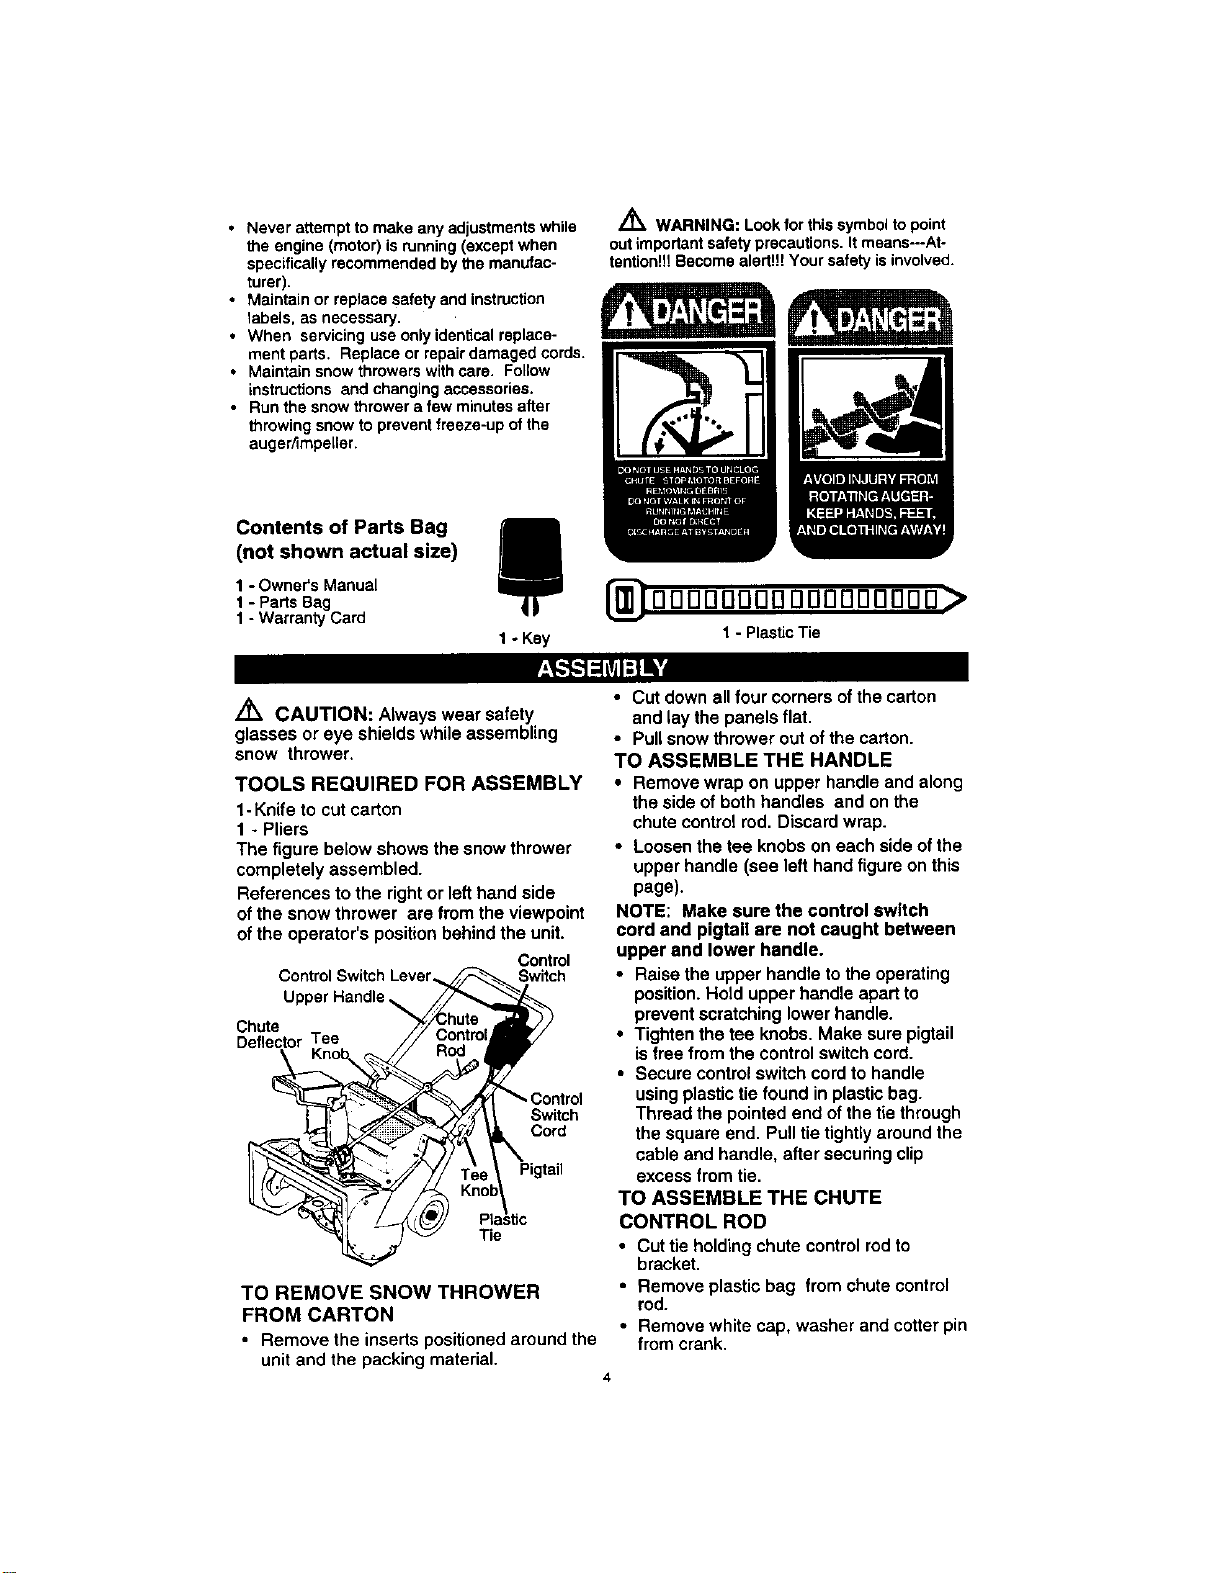
Contents of Parts Bag n
(not shown actual size)
1 - Owner's Manual
1- Parts Bag
1- WarrantyCard
q!
1 - Key
/_ WARNING: Look for this symbod to point
out important safety precautions. It means---At-
tention!!! Become alerti!! Your safety is involved.
ODDDODODDODDOOOOD
I-PlasticTie
Z_ CAUTION: Always wear safety
glasses or eye shields while assembling
snow thrower,
TOOLS REQUIRED FOR ASSEMBLY
1-Knife to cut carton
1 - Pliers
The figure below shows the snow thrower
completely assembled.
References to the right or left hand side
of the snow thrower are from the viewpoint
of the operator's position behind the unit.
ControlSwitch Lever Switch
Upper Handle
Chute
Deflector Tee
TO REMOVE SNOW THROWER
FROM CARTON
• Remove the inserts positioned around the
unit and the packing material.
Control
Switch
Cord
Tie
• Cut down all four corners of the carton
and lay the panels flat.
• Pull snow thrower out of the carton.
TO ASSEMBLE THE HANDLE
• Remove wrap on upper handle and along
the side of both handles and on the
chute control rod. Discard wrap.
• Loosen the tee knobs on each side of the
upper handle (see left hand figure on this
page).
NOTE; Make sure the control switch
cord and pigtail are not caught between
upper end lower handle.
• Raise the upper handle to the operating
position. Hold upper handle apart to
prevent scratching lower handle.
• Tighten the tee knobs. Make sure pigtail
is free from the control switch cord.
• Secure control switch cord to handle
using plastic tie found in plastic bag.
Thread the pointed end of the tie through
the square end. Pulltie tightly around the
cable and handle, after seeudng clip
excess from tie.
TO ASSEMBLE THE CHUTE
CONTROL ROD
• Cut tie holding chute control rod to
bracket.
• Remove plastic bag from chute control
rod.
• Remove white cap, washer and cotter pin
from crank.
4
 Loading...