

Craftsman 358796480 Owner’s Manual

Operator's Manual
CRRFTSMRN_
3.0 H.P.
ELECTRIC EDGER
Model No.
358.796480
/
@
Read and follow all Safety Rules and Operating
WARNING:
Instructions before first use of this product.
i_ For answers to your questions about this product,
call 7am-7pm, Mon.-Sat., or lOam-7pm, Sun.
• 1-800-235-5878 (Hours listed are Central Time)
/
/
Sears, Roebuck and Co., Hoffman Estates, IL 60179 USA
530087447 01/16/98

Warranty Statement 2 Service & Adjustments 8
Safety Rules 2 Storage 9
Assembly 5 Troubleshooting Chart 9
Operation 6 Spanish 10
Maintenance 8 Parts Ordering Back Cover
FULL TWO YEAR WARRANTY ON CRAFTSMAN ELECTRIC EDGER
If this Craftsman Electric Edger fails to perform properly due to a defect in material
or workmanship within (2) two years from the date of purchase, Sears will repair
or replace it, free of charge.
If this edger is used for commercial purposes, this warranty applies for only 90
days from the date of purchase.
If this edger is used for rental purposes, this warranty applies for only 30 days
from the date of purchase.
This warranty does not cover the blade.
WARRANTY SERVICE IS AVAILABLE BY RETURNING THE CRAFTSMAN ELECTRIC
EDGER TO THE NEAREST SEARS STORE IN THE UNITED STATES.
This warranty gives you specific legal rights, and you may also have other rights
which vary from state to state.
Sears, Roebuck and Co. D/817WA Hoffman Estates, IL 60179
WARNING: When using electric edg-
ers, basic safety precautions should
always be followed to reduce the risk
of fire, electric shock, and personal
injury. Read all instructions and safety
information throughout this manual.
DANGER; THIS POWER TOOL CAN BE
DANGEROUS! This unit can cause seri-
ous injury including amputation or blind-
ness to the operator and others. The
warnings and safety instructions in this
manual must be followed to provide rea-
sonable safety and efficiency in using
this unit. The operator is responsible for
following warnings and instructions in
this manual and on unit. Read entire
Operator's Manual before assembling
and using this unit! Restrict use of this
power tool to persons who read, under-
stand, and follow warnings and instruc-
tions in this manual and on the unit.
Safety Labels on unit
OPERATOR SAFETY
• Dress properly. Always wear safety
glasses or similar eye protection
when operating, or performing main-
tenance on your unit. (Safety glasses
are available.) Always wear face or
dust mask if operation is dusty. Al-
ways wear heavy, long pants, long
sleeves, boots, and gloves. Do not
go barefoot or wear sandals.
Objects
Safety
B_o_s Thrown
Glasses
• Secure hair above shoulder length.
Secure or remove loose clothing and
jewelry or clothing with loosely hang-
ing ties, straps, tassels, etc. They
can be caught in moving parts.
• Being fully covered also helps pro-
tect you from debris and pieces of
toxic plants thrown by the blade.
• Stay alert. Do not operate unit when
you are tired, ill, or under influence of
alcohol, drugs, or medication. Watch
what you are doing; use common
sense.
• Avoid unintentional starting of the
unit. Never carry the unit with your
2
fingerontheswitch.Besurethe
switchisnotintheonpositionwhen
connectingtheextensioncord.
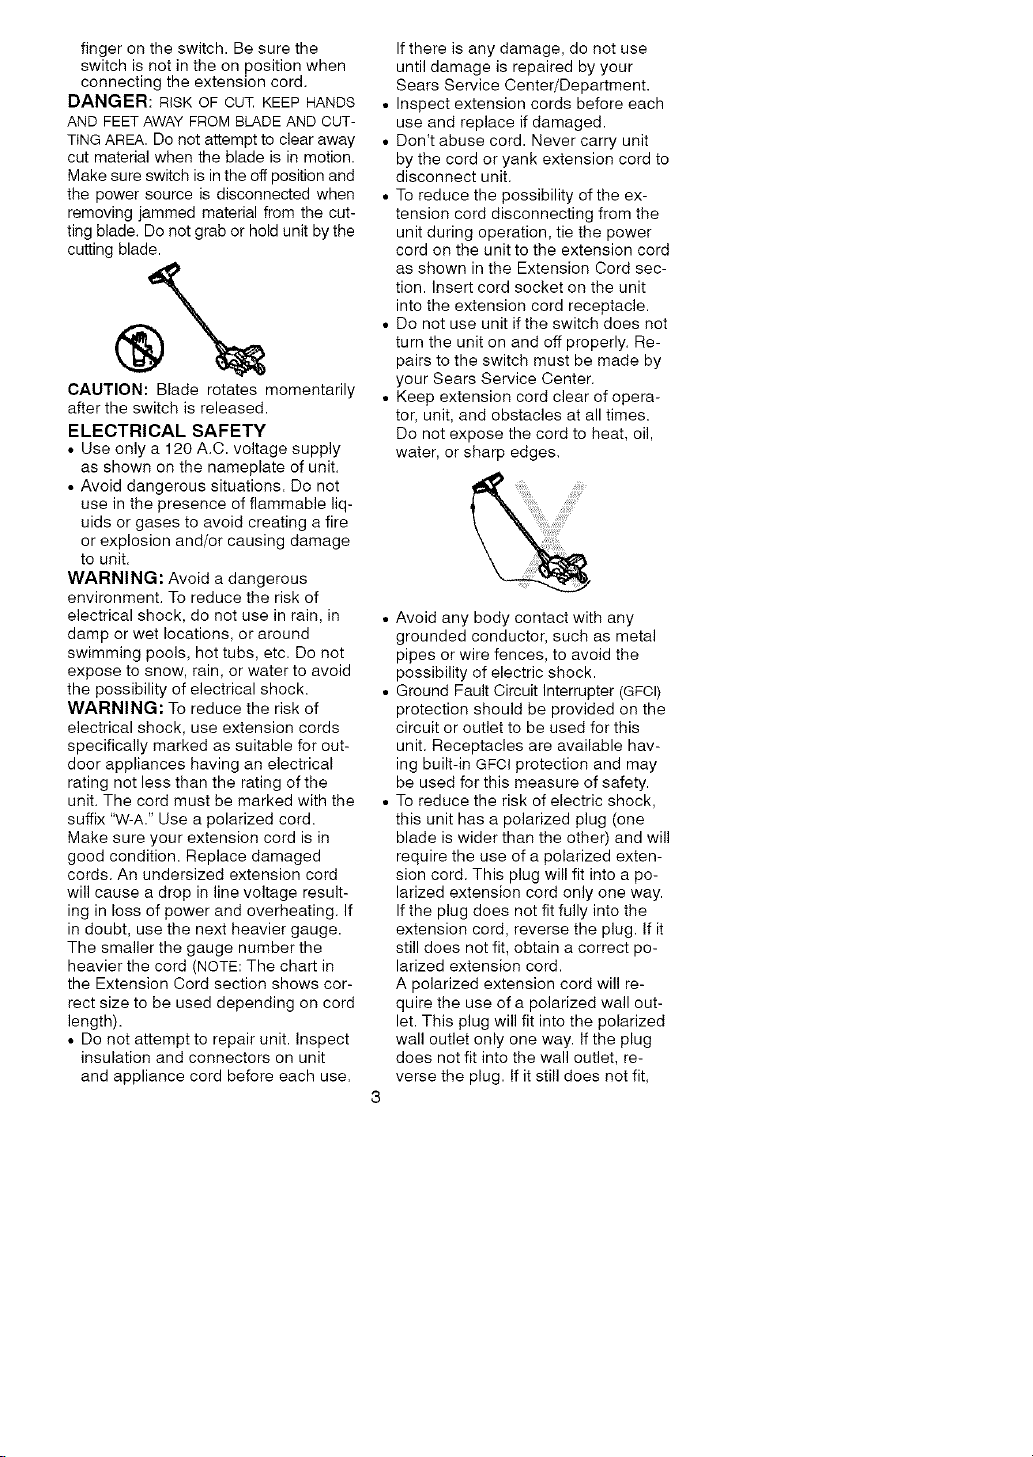
DANGER:RISKOFCUTKEEPHANDS
ANDFEETAWAYFROMBLADEANDCUT-
TiNGAREA.Donotattempttoclearaway
cutmaterialwhenthebladeisinmotion.
Makesureswitchisintheoffpositionand
thepowersourceisdisconnectedwhen
removingjammedmaterialfromthecut-
tingblade.Donotgraborholdunitbythe
cuttingblade.
®
CAUTION: Blade rotates momentarily
after the switch is released.
ELECTRICAL SAFETY
• Use only a 120 A.C. voltage supply
as shown on the nameplate of unit.
• Avoid dangerous situations. Do not
use in the presence of flammable liq-
uids or gases to avoid creating a fire
or explosion and/or causing damage
to unit.
WARNING: Avoid a dangerous
environment. To reduce the risk of
electrical shock, do not use in rain, in
damp or wet locations, or around
swimming pools, hot tubs, etc. Do not
expose to snow, rain, or water to avoid
the possibility of electrical shock.
WARNING: To reduce the risk of
electrical shock, use extension cords
specifically marked as suitable for out-
door appliances having an electrical
rating not less than the rating of the
unit. The cord must be marked with the
suffix "W-A." Use a polarized cord.
Make sure your extension cord is in
good condition. Replace damaged
cords. An undersized extension cord
will cause a drop in line voltage result-
ing in loss of power and overheating. If
in doubt, use the next heavier gauge.
The smaller the gauge number the
heavier the cord (NOTE: The chart in
the Extension Cord section shows cor-
rect size to be used depending on cord
length).
• Do not attempt to repair unit. Inspect
insulation and connectors on unit
and appliance cord before each use.
If there is any damage, do not use
until damage is repaired by your
Sears Service Center/Department.
• Inspect extension cords before each
use and replace if damaged.
• Don't abuse cord. Never carry unit
by the cord or yank extension cord to
disconnect unit.
• To reduce the possibility of the ex-
tension cord disconnecting from the
unit during operation, tie the power
cord on the unit to the extension cord
as shown in the Extension Cord sec-
tion. Insert cord socket on the unit
into the extension cord receptacle.
• Do not use unit if the switch does not
turn the unit on and off properly. Re-
pairs to the switch must be made by
your Sears Service Center.
• Keep extension cord clear of opera-
tor, unit, and obstacles at all times.
Do not expose the cord to heat, oil,
water, or sharp edges.
• Avoid any body contact with any
grounded conductor, such as metal
pipes or wire fences, to avoid the
possibility of electric shock.
• Ground Fault Circuit Interrupter (GPOI)
protection should be provided on the
circuit or outlet to be used for this
unit. Receptacles are available hav-
ing built-in GFCI protection and may
be used for this measure of safety.
• To reduce the risk of electric shock,
this unit has a polarized plug (one
blade is wider than the other) and will
require the use of a polarized exten-
sion cord. This plug will fit into a po-
larized extension cord only one way.
If the plug does not fitfully into the
extension cord, reverse the plug. If it
still does not fit, obtain a correct po-
larized extension cord.
A polarized extension cord will re-
quire the use of a polarized wall out-
let. This plug will fit into the polarized
wall outlet only one way. If the plug
does not fit into the wall outlet, re-
verse the plug. If it still does not fit,
contactaqualifiedelectricianto
installtheproperwalloutlet.Donot
changetheequipmentplug,exten-
sioncordreceptacle,orextension
cordpluginanyway.
UNIT SAFETY
• Do not attempt to repair unit. Inspect
entire unit and extension cord before
each use. Have damaged parts re-
paired or replaced by your Sears
Service Center. Make sure all fasten-
ers, handles, and guards are in place
and securely fastened. A guard or
other part that is damaged should be
properly repaired or replaced by a
Sears Service Center.
• Replace blades that are bent,
warped, cracked, broken, or dam-
aged in any other way.
• Before using your unit, have your
Sears Service Center repair or replace
parts that are cracked, chipped, bro-
ken, or damaged in any other way.
• Use only genuine Craftsman re-
placement blades and accessories
as recommended for this unit. Never
use wire, rope, string, etc. Use of any
other accessory or attachment may
increase the risk of injury or cause
damage to the unit.
• Keep blade guard in place and in
good working order.
EDGING SAFETY
• Inspect the area to be edged before
each use. Remove objects (rocks,
broken glass, nails, wire, string, etc.)
which can be thrown by blade or can
wrap around blade shaft.
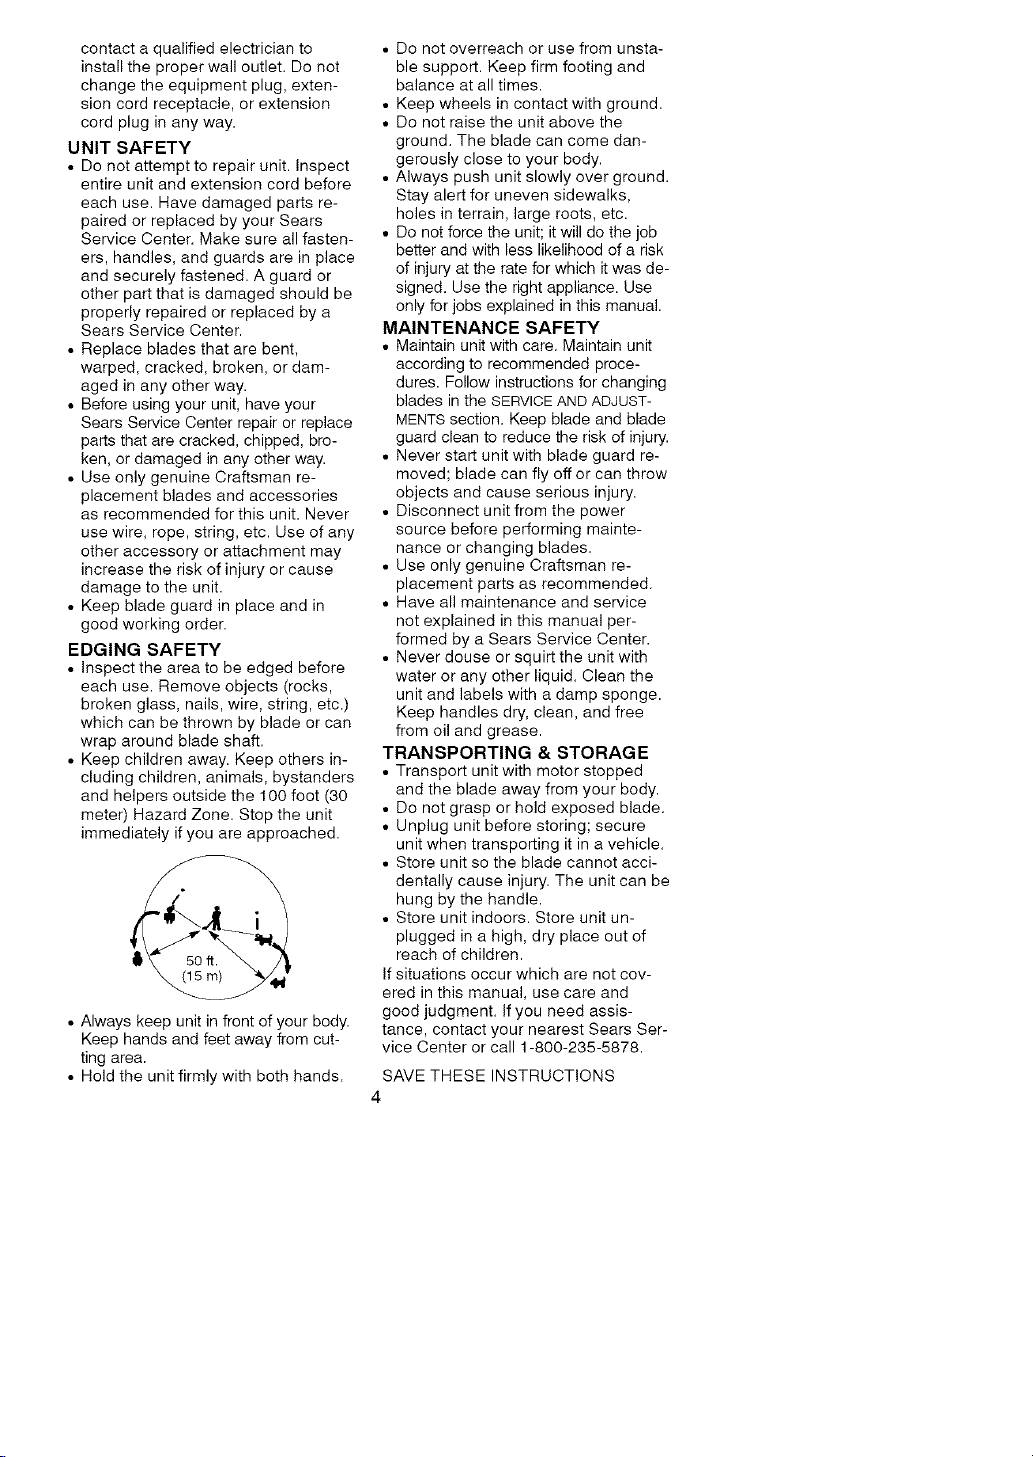
• Keep children away. Keep others in-
cluding children, animals, bystanders
and helpers outside the 100 foot (30
meter) Hazard Zone. Stop the unit
immediately if you are approached.
• Always keep unit in front of your body.
Keep hands and feet away from cut-
ting area.
• Hold the unit firmly with both hands.
• Do not overreach or use from unsta-
ble support. Keep firm footing and
balance at all times.
• Keep wheels in contact with ground.
• Do not raise the unit above the
ground. The blade can come dan-
gerously close to your body.
• Always push unit slowly over ground.
Stay alert for uneven sidewalks,
holes in terrain, large roots, etc.
• Do not force the unit; it will do the job
better and with less likelihood of a risk
of injury at the rate for which it was de-
signed. Use the right appliance. Use
only for jobs explained in this manual.
MAINTENANCE SAFETY
• Maintain unit with care. Maintain unit
according to recommended proce-
dures. Follow instructions for changing
blades in the SERVICE AND ADJUST-
MENTS section. Keep blade and blade
guard clean to reduce the risk of injury.
• Never start unit with blade guard re-
moved; blade can fly off or can throw
objects and cause serious injury.
• Disconnect unit from the power
source before performing mainte-
nance or changing blades.
• Use only genuine Craftsman re-
placement parts as recommended.
• Have all maintenance and service
not explained in this manual per-
formed by a Sears Service Center.
• Never douse or squirt the unit with
water or any other liquid. Clean the
unit and labels with a damp sponge.
Keep handles dry, clean, and free
from oil and grease.
TRANSPORTING & STORAGE
• Transport unit with motor stopped
and the blade away from your body.
• Do not grasp or hold exposed blade.
• Unplug unit before storing; secure
unit when transporting it in a vehicle.
• Store unit so the blade cannot acci-
dentally cause injury. The unit can be
hung by the handle.
• Store unit indoors. Store unit un-
plugged in a high, dry place out of
reach of children.
If situations occur which are not cov-
ered in this manual, use care and
good judgment. If you need assis-
tance, contact your nearest Sears Ser-
vice Center or call 1-800-235-5878.
SAVE THESE INSTRUCTIONS

CARTONCONTENTS
Model358.796480
Edger
Screws
Locknuts
Examinepartsfordamage.Donotuse
damagedparts.
NOTE:Ifyouneedassistanceorfind
thatpartsaremissingordamaged,call
1-800-235-5878.
ASSEMBLY
WARNING:Ifreceivedassembled,
repeatallstepstoensureyourunitis
properlyassembledandallfasteners
aresecure.
ThisOperator'sManualhasbeende-
velopedtohelpyouassembletheunit
andtoprovideitssafeoperation.Itis
importantthatyoureadtheentireman-
ualtobecomefamiliarwiththeunitbe-
fore you begin assembly.
Read your Operator's Manual
Tools you will need:
• Phillips Screwdriver
TUBE ASSEMBLY
• Insert tube into motor housing as
shown. Align the screw holes.
• Insert Iocknuts into the pockets in the
motor housing.
• Insert screws through aligned holes.
• Thread screws into Iocknuts; tighten.
Locknuts
J
!
Screws
EXTENSION CORD
Use only a 120 A.C. voltage supply as
shown on nameplate of the unit to
power your edger.
The extension cord used to reach the
power source must be:
• Specifically marked as suitable for
outdoor use. The cord must be
marked with the suffix "W-A."
• Heavy enough to carry current from
the power source the full length of the
extension cord to the unit. Otherwise,
loss of power and overheating can oc-
cur causing damage to unit. Refer to
chart for minimum wire gauge recom-
mendations. The cord must be
marked with the proper wire gauge.
(Appropriate extension cords are avail-
able.) Do not use multiple cords.
• In good condition. Cord insulation
must be intact with no cracks or
deterioration. Plug connectors must
be undamaged.
MINIMUM WIRE GAUGE
RECOMMENDATIONS
*American Wire Gauge
Secure extension cord to unit:
• Tie the power plug on the unit to the
extension cord as shown.
• Insert plug into cord socket.
Power Plug on Extension
DOUBLE INSULATION CONSTRUCTION
This unit is Double Insulated to help
protect against electric shock. Double
insulation construction consists of two
separate "layers" of electrical insula-
tion instead of grounding.
Tools and appliances built with a
double insulation system are not in-
tended to be grounded. No grounding
means is provided on this unit, nor
should a means of grounding be add-
ed to this unit. As a result, the exten-
sion cord used with your unit can be
plugged into any standard 120 volt
electrical outlet.
Safety precautions must be observed
when operating any electrical tool. The
double insulation system only provides
added protection against injury result-
ing from an internal electrical insulation
failure.
5
Cord
WARNING:Allelectricalrepairsto
thisunit,includinghousing,switch,
motor,etc., must be diagnosed and re-
paired by qualified service personnel.
Replacement parts for a double insu-
lated appliance must be identical to the
parts they replace. A double insulated
appliance is marked with the words
DOUBLE iNSULATiON or DOUBLE INSU-
LATED. The symbol [] (square within a
square) may also be marked on the
appliance. Failure to have the unit re-
paired by Sears service personnel can
cause the double insulation construc-
tion to become ineffective and result in
serious injury.
KNOW YOUR EDGER
READ THIS OPERATOR'S MANUAL AND SAFETY RULES BEFORE OPERATING YOUR
UNIT. Compare the illustrations to your unit to familiarize yourself with the location
of the various controls and adjustments. Save this manual for future reference.
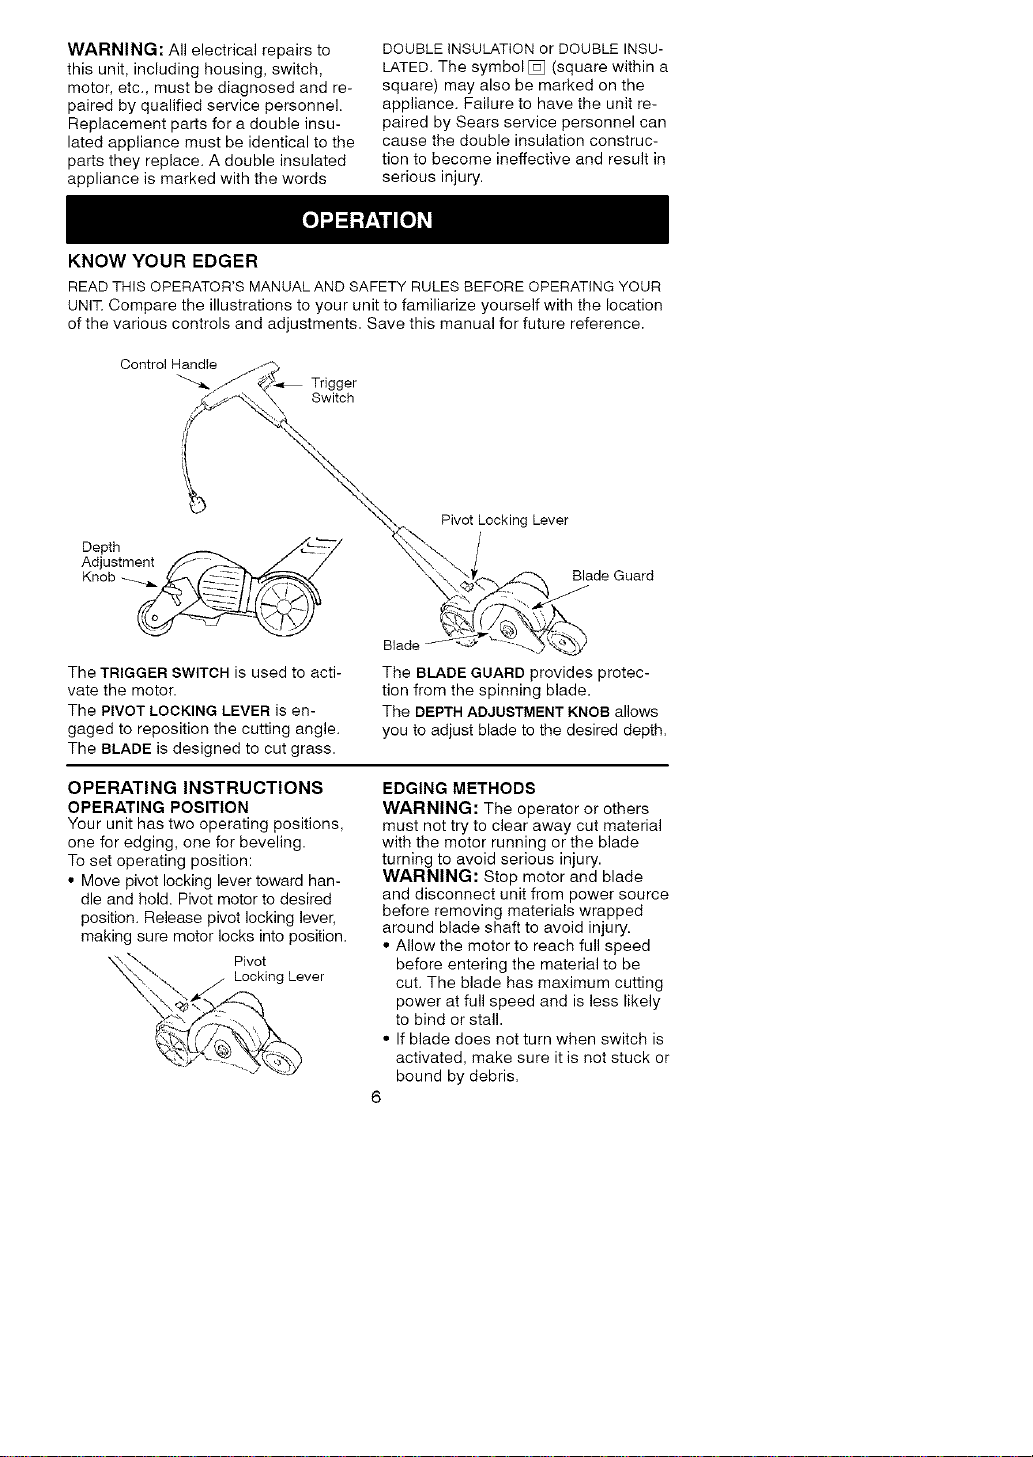
Control Handle
Trigger
Switch
\
Pivot Locking Lever
Blade Guard
The TRIGGER SWITCH is used to acti-
vate the motor.
The PIVOT LOCKING LEVER is en-
gaged to reposition the cutting angle.
The BLADE is designed to cut grass.
OPERATING INSTRUCTIONS
OPERATING POSITION
Your unit has two operating positions,
one for edging, one for beveling.
To set operating position:
• Move pivot locking lever toward han-
dle and hold. Pivot motor to desired
position. Release pivot locking lever,
making sure motor locks into position.
Pivot
Locking Lever
Blade
The BLADE GUARD provides protec-
tion from the spinning blade.
The DEPTH ADJUSTMENT KNOB allows
you to adjust blade to the desired depth.
EDGING METHODS
WARNING: The operator or others
must not try to clear away cut material
with the motor running or the blade
turning to avoid serious injury.
WARNING: Stop motor and blade
and disconnect unit from power source
before removing materials wrapped
around blade shaft to avoid injury.
• Allow the motor to reach full speed
before entering the material to be
cut. The blade has maximum cutting
power at full speed and is less likely
to bind or stall.
• If blade does not turn when switch is
activated, make sure it is not stuck or
bound by debris.
6
 Loading...