

Craftsman 358794763 Owner’s Manual
Operator's Manual
ICRRFTSMRN°I
25cc/1.5 cu.in. 2-Cycle
210 MPH/450 CFM
GASOLINE POWERED
BLOWERNAC
Model No.
358.794763
• Safety
• Assembly
• Operation
• Maintenance
• Parts List
• Espa_ol, p. 21
Read and follow all Safety Rules and Operating
WARNING:
Instructions before first use of this product.
i_ For answers to your questions about this product:
Call 7 am-7 pm, Mon.-Sat., or 10 am-7 pm, Sun.
1-800-235-5878 (Hours listed are Central Time)
Sears, Roebuck and Co., Hoffman Estates, IL 60179 U.S.A.
545218615 Rev. 6 5/31/09 BRW
Warranty Statement 2 Storage 14
Identification of Safety Symbols 2 Troubleshooting Table 15
Safety Rules 4 Emissions Statement 16
Assembly 6 Parts List 18
Operation 9 Spanish 21
Maintenance 12 Parts and Ordering Back Cover
CRAFTSMAN FU LL WARRANTY
Ifthis Craftsman product fails due to a defect inmaterial or workmanship within two years
from the date of purchase, return it to any Sears store, Parts & Repair Service Center,
or other Craftsman outlet in the United States for free repair (or replacement if repair
proves impossible).
This warranty applies for only 90 days if this product is ever used for commercial or
rental purposes.
This warranty covers ONLY defects in material and workmanship. Sears will
NOT pay for:
• Expendable items that can wear out from normal use within the warranty period,
such as the vacuum bag, filter or spark plug.
• Repairs necessary because of accident or failure to operate or maintain the
product according to all supplied instructions.
• Preventive maintenance, or repairs necessary due to improper fuel mixture,
contaminated or stale fuel.
This warranty gives you specific legal rights, and you may also have other rights
which vary from state to state.
Sears, Roebuck and Co., Hoffman Estates, IL 60179
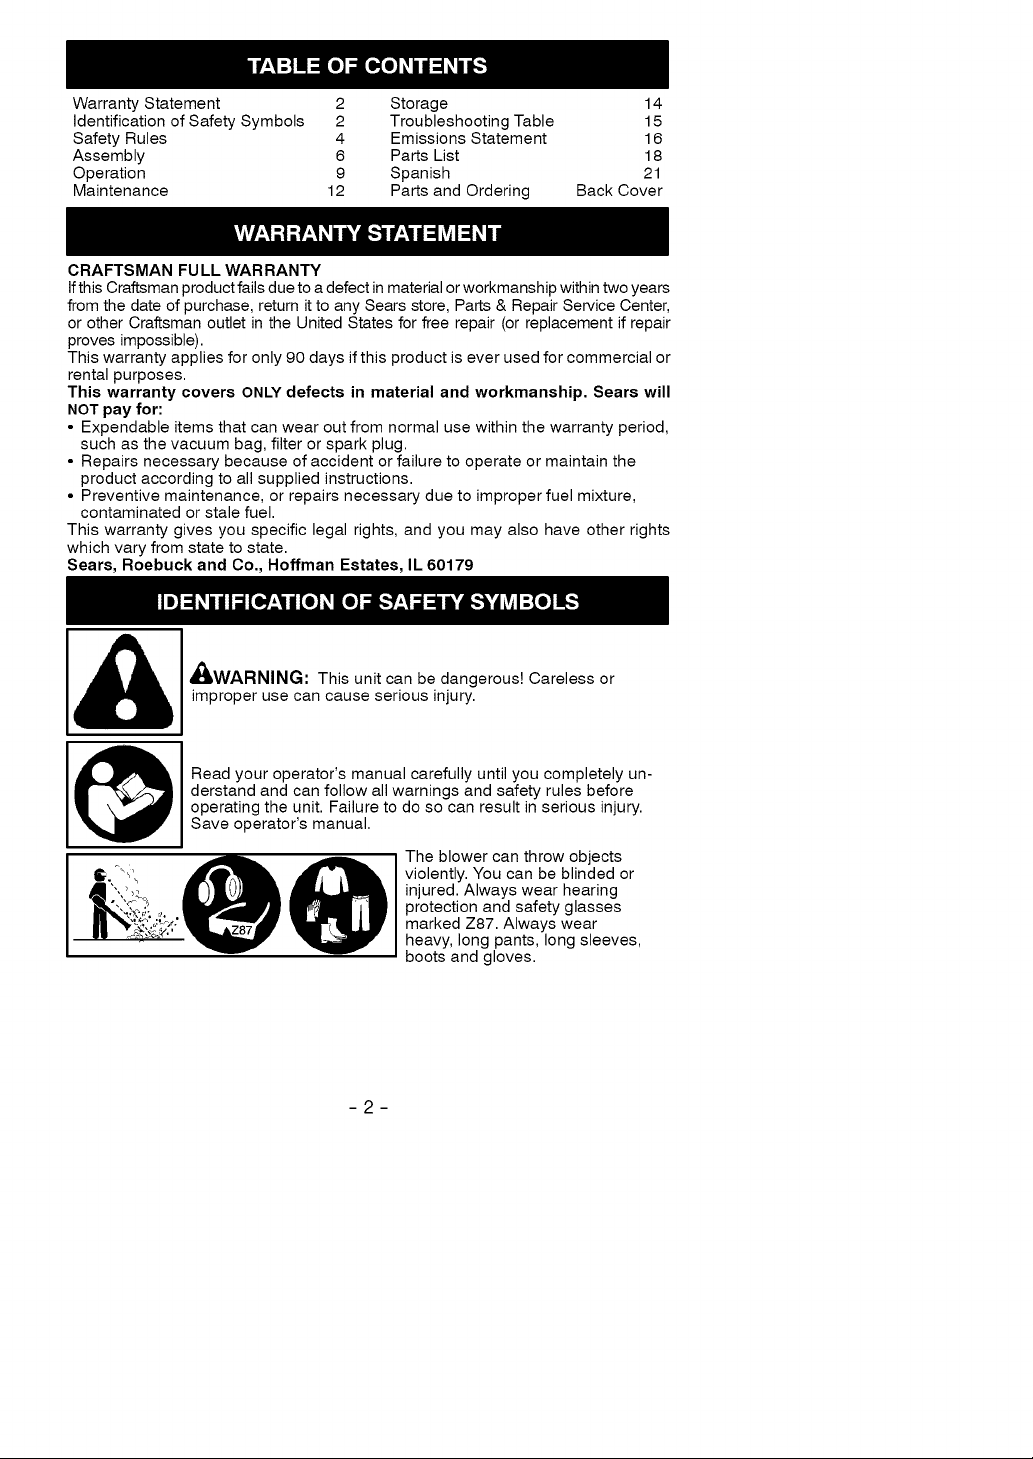
_WARNING: This unit can be dangerous! Careless or
improper use can cause serious injury.
Read your operator's manual carefully until you completely un-
derstand and can follow all warnings and safety rules before
operating the unit. Failure to do so can result in serious injury.
Save operator's manual.
The blower can throw objects
violently. You can be blinded or
injured. Always wear hearing
protection and safety glasses
marked Z87. Always wear
heavy, long pants, long sleeves,
boots and gloves.
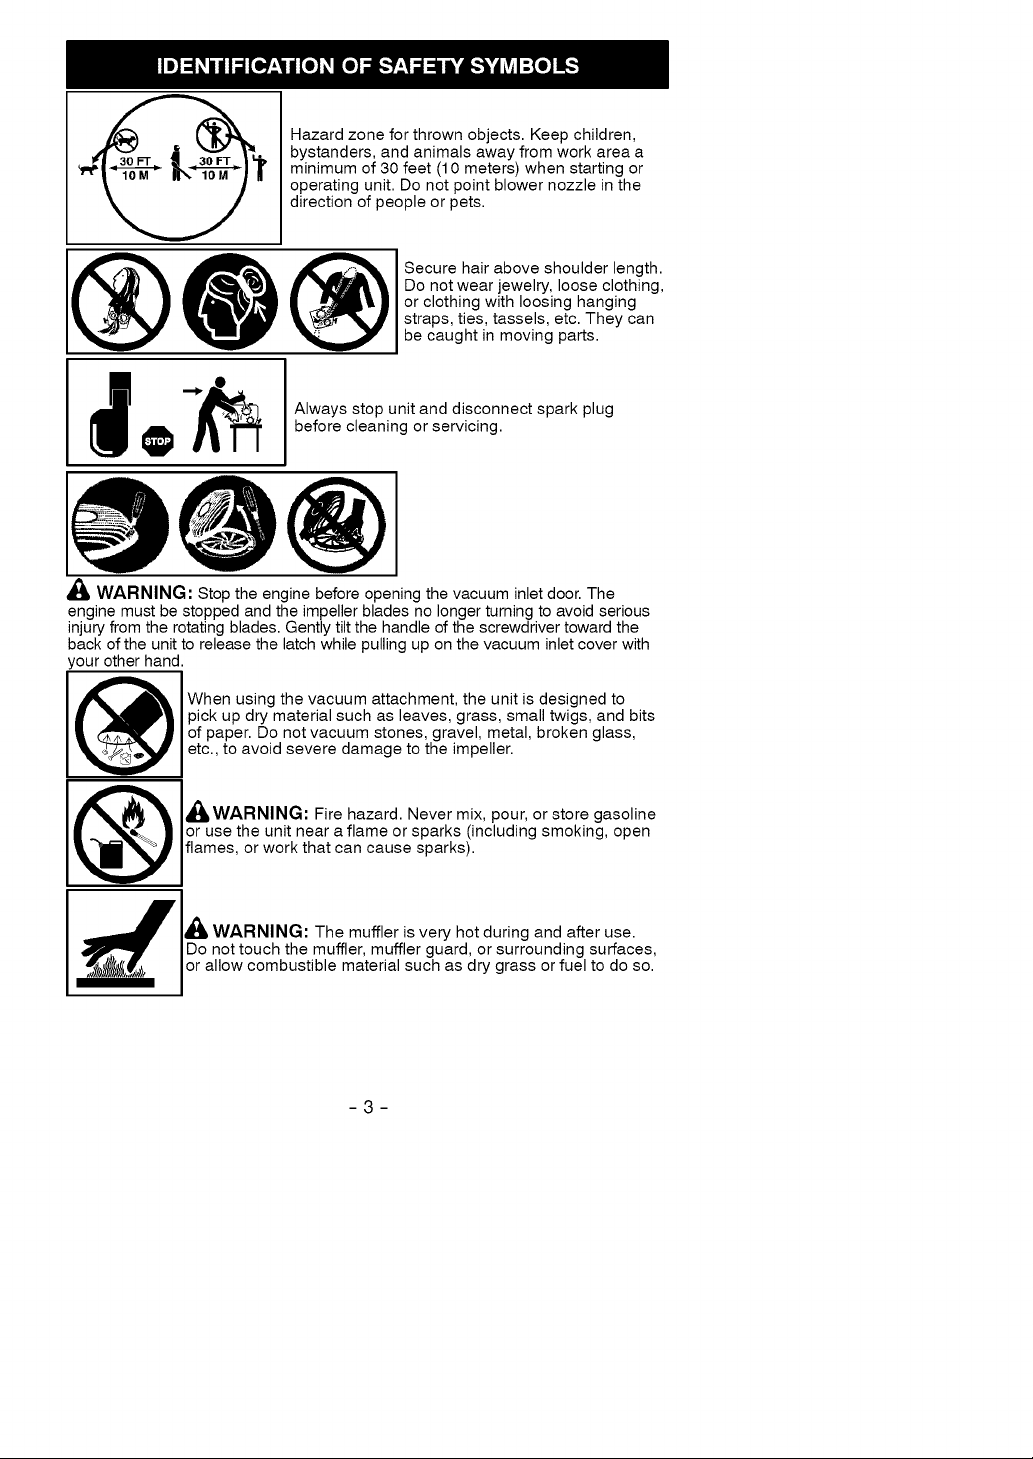
Hazardzoneforthrownobjects.Keepchildren,
bystanders,andanimalsawayfromworkareaa
minimumof30feet(10meters)whenstartingor
operatingunit.Donotpointblowernozzleinthe
directionofpeopleorpets.
Do not wear jewelry, loose clothing,
or clothing with loosing hanging
O secureha'rab°vesh°u'der'ength.
before cleaning or servicing.
I _ O _ Always stop u]nit and disconnect spark plug
_, WARNING: Stop the engine before opening the vacuum inlet door. The
engine must be stopped and the impeller blades no longer turning to avoid serious
injury from the rotating blades. Gently tilt the handle of the screwdriver toward the
back of the unit to release the latch while pulling up on the vacuum inlet cover with
your other hand.
When using the vacuum attachment, the unit is designed to
pick up dry material such as leaves, grass, small twigs, and bits
I
of paper. Do not vacuum stones, gravel, metal, broken glass,
etc., to avoid severe damage to the impeller.
straps, ties, tassels, etc. They can
be caught in moving parts.
1c_rusWeAthReNulNtGn:eFirre hazmardorNpVa_l_sm(iiX'cP°_rng rsst° rktngt Sopline
@
flames, or work that can cause sparks).
_, WARNING: The muffler is very hot during and after use.
Do not touch the muffler, muffler guard, or surrounding surfaces,
or allow combustible material such as dry grass or fuel to do so.
_WARNING:Failuretofollowall
SafetyRulesandPrecautionscanre-
sultinseriousinjury.
KNOWYOURUNIT
•Readyouroperator'smanualcare-
fullyuntilyoucompletelyunderstand
andcanfollowallwarningsand
safetyrulesbeforeoperatingtheunit.
• Restrictunittouserswhounder-
standandwillfollowallwarningsand
safetyrulesinthismanual.
_,WARNING:Inspectareabefore
startingunit.Removealldebrisand
hardobjectssuchasrocks,glass,
wire,etc.thatcanricochet,bethrown,
orotherwisecauseinjuryordamage
duringoperation.
Useyourunitasablowerfor:
• Sweepingdebrisorgrassclippings
fromdriveways,sidewalks,patios,etc.
• Blowinggrassclippings,straw,or
leavesintopiles,aroundjoints,orbe-
tweenbricks.
Useyourunitasavacuumfor:
• Pickingupdrymaterialsuchas
leaves,grass,smalltwigs,andbitsof
paper.
• Forbestresultsduringvacuumuse,
operateyourunitathighspeed.
• Moveslowlybackandforthoverthe
materialasyouvacuum.Avoidforc-
ingtheunitintoapileofdebrisas
thiscanclogtheunit.
• Keepthevacuumtubeaboutaninch
abovethegroundforbestresults.
PLANAHEAD
• Alwaysweareyeprotectionwhenop-
erating,servicing,orperformingmain-
tenanceonunit.Wearingeyeprotec-
tionwillhelptopreventrocksordebris
frombeingblownorricochetinginto
eyesandfacewhichcanresultin
blindnessand/orseriousinjury.Eye
protectionshouldbemarkedZ87.
• Alwayswearfootprotection.Donot
gobarefootorwearsandals.
• Alwayswearrespiratororfacemask
whenworkingwithunitindustyenvi-
ronments.
• Securehairaboveshoulderlength.
Secureorremovejewelry,loose
clothing,orclothingwithloosely
hangingstraps,ties,tassels,etc.
Theycanbecaughtinmovingparts.
• Donotoperateunitwhenyouare
tired,ill,upset,orifyouareunderthe
influenceofalcohol,drugs,ormedi-
cation.
• Keepchildren,bystanders,andani-
malsawayfromworkareaamini-
mumof30feet(10meters)when
startingoroperatingunit.Donot
pointblowernozzleinthedirectionof
peopleorpets.
HANDLE FUEL WITH CAUTION, IT IS
HIGHLY FLAMMABLE
• Eliminate all sources of sparks or
flame (including smoking, open
flames, or work that can cause
sparks) in the areas where fuel is
mixed, poured, or stored.
• Mix and pour fuel in an outdoor area;
store fuel in a cool, dry, well ventilated
place; use an approved, marked con-
tainer for all fuel purposes.
• Do not smoke while handling fuel or
while operating the unit.
• Make sure the unit is properly as-
sembled and in good operating con-
dition.
• Do not fill fuel tank while engine is
running.
• Avoid spilling fuel or oil. Wipe up fuel
spills before starting engine.
• Move at least 10 feet (3 meters)
away from fuel and fueling site be-
fore starting engine.
• Always store gasoline in a container
approved for flammable liquids.
OPERATE YOUR UNIT SAFELY
_ILWARNING: Stop the engine be-
fore opening the vacuum inlet door. The
engine must be stopped and the impel-
ler blades no longer turning to avoid se-
rious injury from the rotating blades.
• Inspect unit before each use for
worn, loose, missing, or damaged
parts. Do not use until unit is in
proper working order.
• Keep outside surfaces free from oil
and fuel.
• Never start or run engine inside a
closed room, building or other un-
ventilated area. Breathing exhaust
fumes can kill.
• To avoid static electricity shock, do
not wear rubber gloves or any other
insulated gloves while operating unit.
• Donotsetunitonanysurfaceexcept
aclean,hardareawhileengineisrun-
ning.Debrissuchasgravel,sand,
dust,grass,etc.couldbepickedupby
theairintakeandthrownoutthrough
dischargeopening,damagingunit,
property,orcausingseriousinjuryto
bystandersoroperator.
• Avoiddangerousenvironments.Do
notuseinunventilatedareasor
whereexplosivevaporsorcarbon
monoxidebuildupcouldbepresent.
• Donotoverreachorusefromunsta-
blesurfacessuchasladders,trees,
steepslopes,rooftops,etc.Keepfirm
footingandbalanceatalltimes.
• Neverplaceobjectsinsidethe
blowertubes;alwaysdirecttheblow-
ingdebrisawayfrompeople,ani-
mals,glass,andsolidobjectssuch
astrees,automobiles,walls,etc.The
forceofaircancauserocks,dirt,or
stickstobethrownortoricochet
whichcanhurtpeopleoranimals,
breakglass,orcauseotherdamage.
• Neverrununitwithouttheproper
equipmentattached.Whenusing
yourunitasablower,alwaysinstall
blowertubes.Whenusingtheop-
tionalvacuumkit,alwaysinstallvac-
uumtubesandvacuumbagassem-
bly.Makesurevacuumbagassem-
blyiscompletelyzipped.
• Checkairintakeopening,blower
tubes,andvacuumtubesfrequently,
alwayswithenginestoppedand
sparkplugdisconnected.Keepvents
anddischargetubesfreeofdebris
whichcanaccumulateandrestrict
properairflow.
• Neverplaceanyobjectinairintake
openingasthiscouldrestrictproperair
flowandcausedamagetotheunit.
• Neveruseforspreadingchemicals,
fertilizers,orothersubstanceswhich
maycontaintoxicmaterials.
• Toavoidspreadingfire,donotuse
nearleaforbrushfires,fireplaces,
barbecuepits,ashtrays,etc.
• Useonlyforjobsexplainedinthis
manual.
MAINTAIN YOUR UNIT PROPERLY
WARNING: Disconnect spark
plug before performing maintenance
except for carburetor adjustments.
• Have all maintenance other than the
recommended procedures described
in the operator's manual performed
by a Sears Service Center.
• Use only recommended Craftsman
replacement parts; use of any other
parts may void your warranty and
cause damage to your unit.
• Empty fuel tank before storing the
unit. Use up fuel left in carburetor by
starting engine and letting it run until
it stops.
• Do not use any accessory or attach-
ment other than those recommended
by manufacturer for use with your unit.
• Do not store the unit or fuel in a closed
area where fuel vapors can reach
sparks or an open flame from hot
water heaters, electric motors or
switches, furnaces, etc.
• Store in a dry area out of reach of
children.
SAFETY NOTICE: Exposure to vibra-
tions through prolonged use of gaso-
line powered hand tools could cause
blood vessel or nerve damage in the
fingers, hands, and joints of people
prone to circulation disorders or abnor-
mal swelling. Prolonged use in cold
weather has been linked to blood ves-
sel damage in otherwise healthy
people. If symptoms occur such as
numbness, pain, loss of strength,
change in skin color or texture, or loss
of feeling in the fingers, hands, or
joints, discontinue the use of this tool
and seek medical attention. An
antivibration system does not guaran-
tee the avoidance of these problems.
Users who operate power tools on a
continual and regular basis must moni-
tor closely their physical condition and
the condition of this tool.
SPECIAL NOTICE: This unit is
equipped with a temperature limiting
muffler and spark arresting screen
which meets the requirements of Cali-
fornia Codes 4442 and 4443. All U.S.
forest land and the states of California,
Idaho, Maine, Minnesota, New Jersey,
Oregon, and Washington require by
law that many internal combustion en-
gines be equipped with a spark arrest-
ing screen. If you operate in a locale
where such regulations exist, you are
legally responsible for maintaining the
operating condition of these parts. Fail-
ure to do so is a violation of the law.
Refer to the MAINTENANCE section for
information on maintenance of the
muffler and spark arresting screen.

CARTONCONTENTS
Checkcartoncontentsagainstthefol-
lowinglist.
Model 358,794763
• Blower
• Upper blower tube
• Lower blower tube
• High velocity nozzle
• Elbow tube
• Vacuum bag
• Upper vacuum tube
• Lower vacuum tube
• 2-Cycle engine oil
NOTE: It is normal for the fuel filter to
rattle in the empty fuel tank.
ASSEMBLY
_ILWARNING: Stop engine and be
sure the impeller blades have stopped
turning before opening the vacuum in-
let door or attempting to insert or re-
move the vacuum tubes. The rotating
blades can cause serious injury.
WARNING: If you receive your
unit assembled, repeat all steps to en-
sure your unit is properly assembled
and all fasteners are secure.
• A standard screwdriver is required
for assembly.
BLOWER ASSEMBLY
BLOWER TUBE ASSEMBLY
If you have already assembled your
unit for use as a vacuum, remove the
vacuum tubes and collection bag.
1. Align the rib on the upper blower
tube with the groove in the blower
outlet; slide the tube into place.
NOTE: Knob must be loose enough to
allow blower tube to be inserted in
blower outlet. Loosen knob by turning
counterclockwise.
3. Align the slots on the lower blower
tube with the tabs on the upper
blower tube.
er BIow.,_er TUbTeb
_-__ Lower Blower Tube
4. Slide the lower blower tube onto
the upper blower tube.
5. Turn the lower blower tube clock-
wise until a click is felt to secure
the lower blower tube to the upper
blower tube.
NOTE: When the upper and lower
blower tubes are assembled together
properly, the arrows on both tubes will
be aligned.
6. To remove the tubes, turn the knob
counterclockwise to loosen the
tubes; remove the tubes.
HIGH-SPEED NOZZLE ASSEMBLY
When greater air speed is desired, use
the high-speed nozzle.
1. Align the slots on the nozzle with
the tabs on the lower blower tube.
High-Speed
Nozzle
/
Lower Blower
Tube Tab
Blower Outlet
Groove
2,
Secure the tube by turning the
knob clockwise.
Rib
2. Slide the nozzle onto the lower
blower tube.
3. Turn the nozzle clockwise until a
click is felt to secure the nozzle to
the lower blower tube.
VACUUM ASSEMBLY
VACUUM BAG ASSEMBLY
1. Open the zipper on the vacuum
bag and insert the elbow tube.
-6-
 Loading...