

Craftsman 351223070 Owner’s Manual
Operator's Manual
I[RRFTSMRN'I
WOOD LATHE STAND
Model No.
351.223070
CAUTION: Read and follow
all Safety Rules and Operating
Instructions before First Use
of this Product.
Sears, Roebuck and Co,, Hoffman Estates, IL 60179 U.S.A.
www+ u ars, comlQ-an 8malt
24134,00 Draft (1_03/05)
• Safety
• Assembly
• Parts Ust
• Espaffol
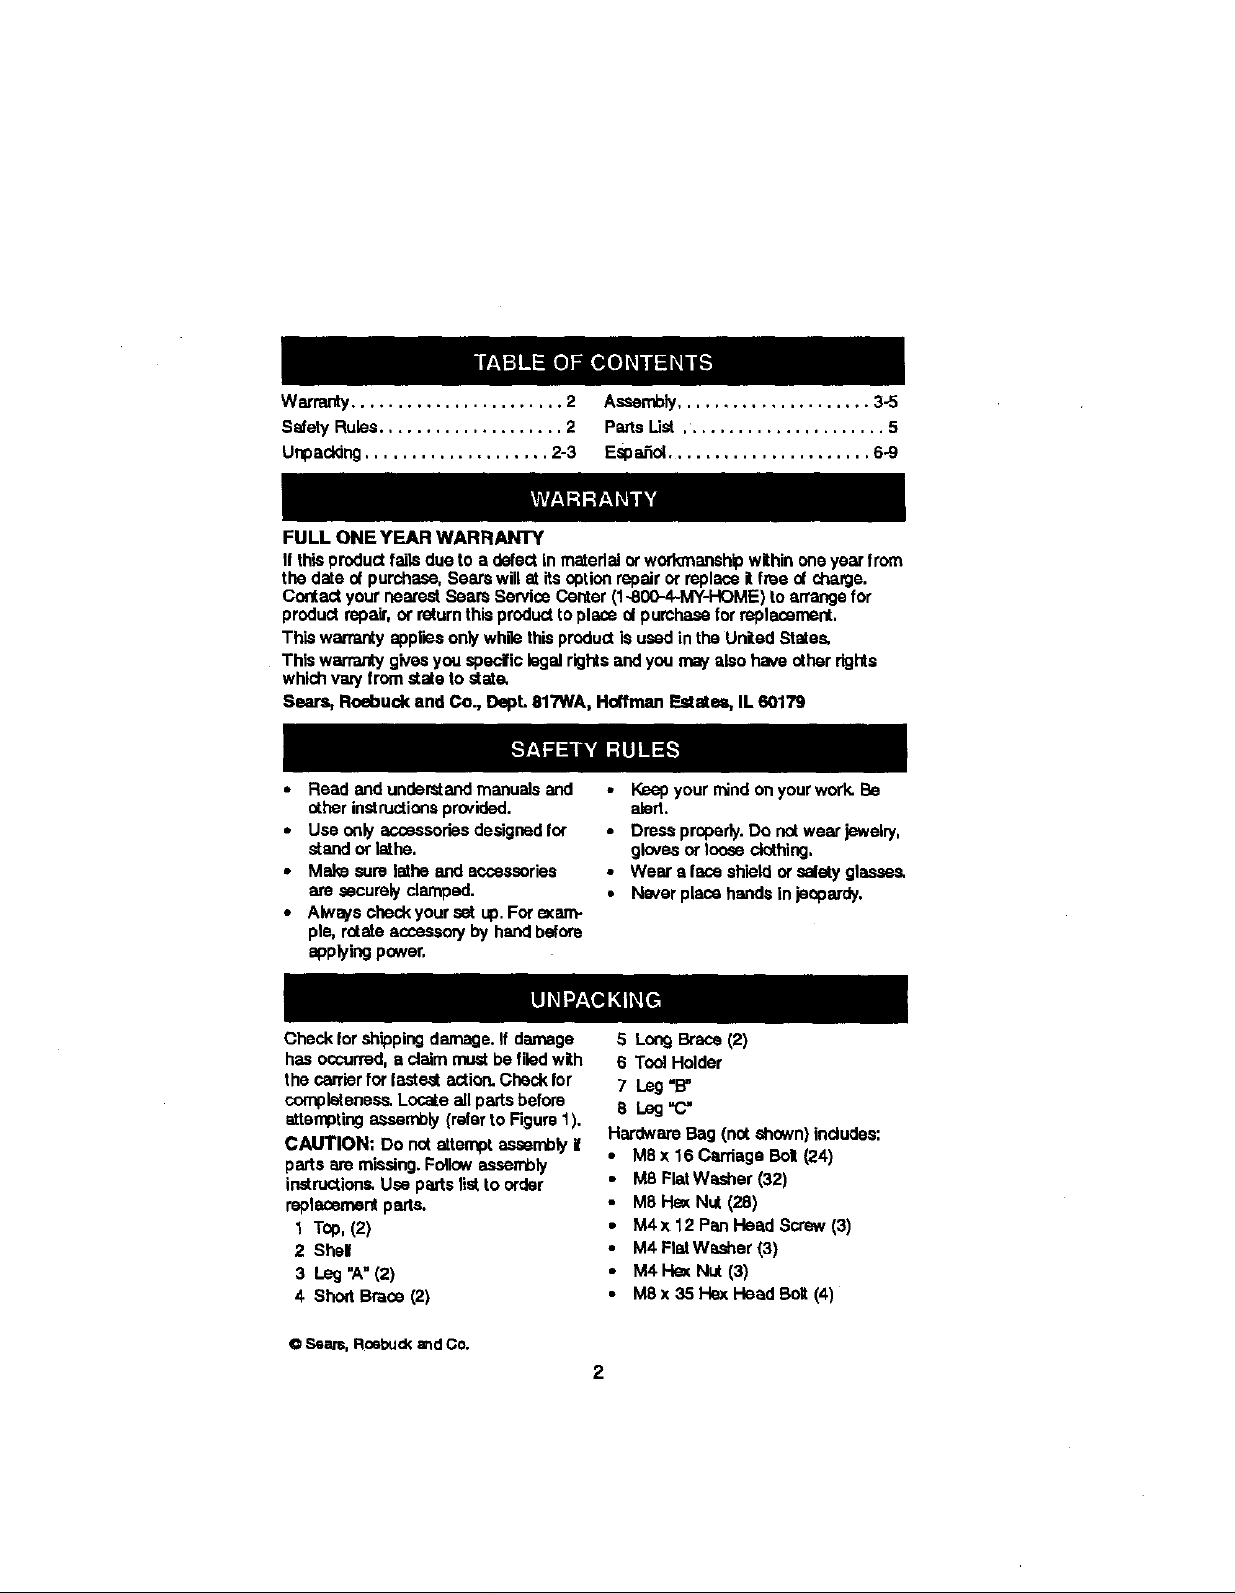
Warranty....................... 2 Assembly..................... 3-5
Safety Rules.................... 2 Parts List ...................... 5
Uepacking.................... 2-3 Espa_ol ...................... 6.9
FULL ONE YEAR WARRANTY
If this productfails due to a defect in matedal orworkmanshipwithinone year from
the date d purchase, Sears will at its option repair or replace it free afcharge.
Contactyour neareef Sears Service Center (1-800-4.-MY-HOME) to arrange for
productrepair, or returnthisproductto place ol purchaseforrapl_ment,
This warranty appliesonly whb this productis usedin the United States,
This warranty givesyouepeclle legal rightsand you may also have otherrights
whichvary from state to state.
Sears, Roebuck and Co., Dept. 817WA, Hoffman Estate_ IL 60179
• Read andunderstand manuals and
otherinstructionspro/ided.
• Use only _csessohes designed for
stand or lathe.
• Maks sure lathe and accessories
are securely damped.
• AIwws check your set up.For e_arn-
pie, rotate accessory byhand before
applying power,
Check for shippingdamage. If damage
has occurred, a claim mustbe fliedwith
the carrierfor fastest action.Check for
completeness.Locate all parts before
attempting assembly{referto Figure 1).
CAUTION: Do not attempt assemblyi
parts _ missing.Follow assan'_ly
instructions,Use parts listto order
replacement parts.
1 Top, (2)
2 Shell
3 Leg "A"(2)
4 Short Brace (2)
@Sears,RoebuckandCo,
• Keepyour mindon your work.Be
ated.
• Dress properly.Do notwearjewelry,
gloves or looseclothing,
• Wear aface shie_ or satetyglasses,
• Never place hands in jeopardy.
5 Long Brace (2)
6 ToolHolder
7 Leg "_'
8 Leg "C"
Hardware Bag (not shown) includes:
• M8x 16Carriage Boll (24)
• M8 Flat Washer (32)
• M8 Hex Nut (28)
• M4 x 12 Pan Head Screw (3)
• M4 FlatWasher (3)
• M4 Flex Nut(3)
• M8 x 35 Hex Heed Bolt (4)
2

\
Figure1. Unpaddnll
Rater to Figures1-8,
DESCRIPTION
SearsWood LatheStand is designedto
accommodateSears 15" Wood Lathe,
Model Number__21750.The standfea-
turassturdysteel constructionandfbar
board shelf,Fastenersare providedfor
securinglathe to stand,She| is provided
for e=drastability andaco_sary storage,
Before standis assembled,a suitable
locationshouldbe chosen.The lathe
and stand weigh appro=(imatsly225 bs.
when completelyassembled.They
shouldbe assembledon Iocatiee.
• Lathestandneedsto be set on a
fist, levelsurface,
• Good lightingand correctpower
supplyare also requiredfor s proper
workarea,
LEG SET ASSEMBLY
NOTE: Finger tightenbolts and nuts
untilassemblyd stand isconlplate and
lathe is positionedonstand.Then tight-
en allfasteners securely,
Assemble the hesd_od( side W_Jset:
• Place oee ofthe legs marksd'A' on
floor.
• Pce_ieetop insideleg so that slots
are alignedas indicatedin Figure 2,
• Attachtop to leg at stcts usingthree
8-1.25 x 16rnm carriagebolts,8rnm
fist washers and8,125ram hex nuts.
Rgure 2 -AttachTopto Leg'A'
• Place shod brace inside legand
attachusinghardware specified
above.Note that flange is located
towardsthe top,
Rguro 3 -Asmmble Shah Brace to leg
• Positionleg 'B"outsidethe top and
shod brace. Attach as indicatedin
Figure 4 usingfour bolts, washers
and nuts.
3
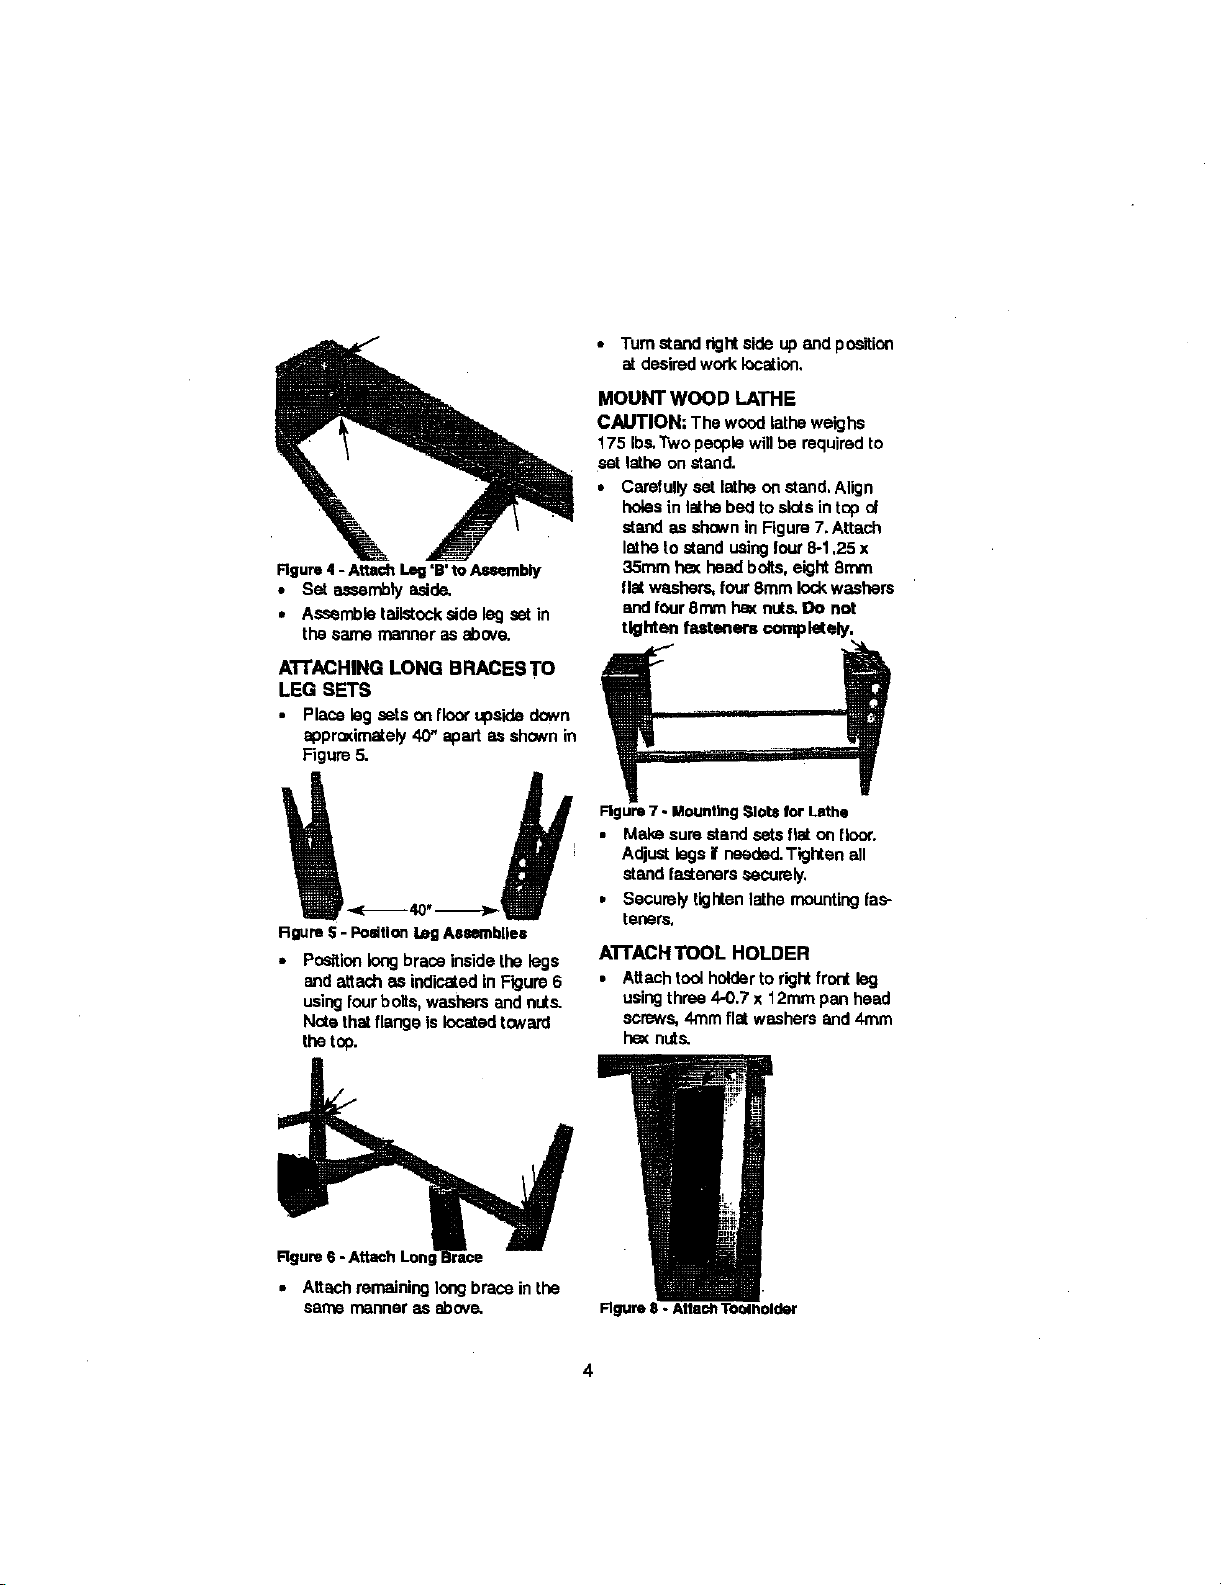
Rgure 4 - Attseh Leg"B'to Auembiy
• Set assemblyadde,
• Asserrble taltstockside leg set in
thesalnemanner as above,
ATTACHING LONG BRACES TO
LEG SETS
• Place leg sets on floor upsidedown
apprcz,dmately 40" apart as shown in
Figure5.
Rgure S- PositionLegAssemblies
,, Positionlong braceinside the legs
and attach as indicatedin Figure 6
usingfourbolts, washers and nuts.
Notethat flange is locatedtoward
thetop.
• Turnatandrights'tdeup_¢_dposit'K_
atdesiredworklocation,
MOUNT WOOD LATHE
CAUTION; The wood lathe weighs
175 Ibs,Twopeople willbe requiredto
set lathe on stand.
• Carefully set latheon stand. Align
holesin lathe bed to slots intop of
stand as shown in Figure 7. Attach
lathe to stand usingtour8-1.25 x
35mm has head bolts,eight 8mm
flatwashers, four 8ram _ washers
trod(_J_8rrcnhe_ nuts.Oo not
tighten fasteners _mpletely,
F_m'_7 - Mounting_tots _ Lsthe
Make sure stand setsfiat on floor.
Adjust legs i' needed.Tighten all
stand [astenarssecurely,
• Securely tightenlathe mountingfaS-
teners,
ATTACH TOOL HOLDER
• Attach toolholderto rightfront leg
usingthree 4-0.7 x 12ram pan head
screws,4ram flat washers and4rnm
he=(nuts.
Figure 6 - AtJach I.on
• Attech remaining long brace in the
Sa_ manner as abcv_
 Loading...