

Craftsman 25779780 Owner’s Manual
!Sears
......owner,s
manual
MODEL NO
257.79780
CAUTION:
Read RULES for
Safe OPERATION
and INSTRUCTIONS
Carefully
Sold by SEARS, ROEBUCK "AND CO, Chicago, IL. 60684 U.S.A.
and SIMPSONS-SEARS LIMITED, Toronto, Ontario, Canada.
I:RI:iFTSNI:INo
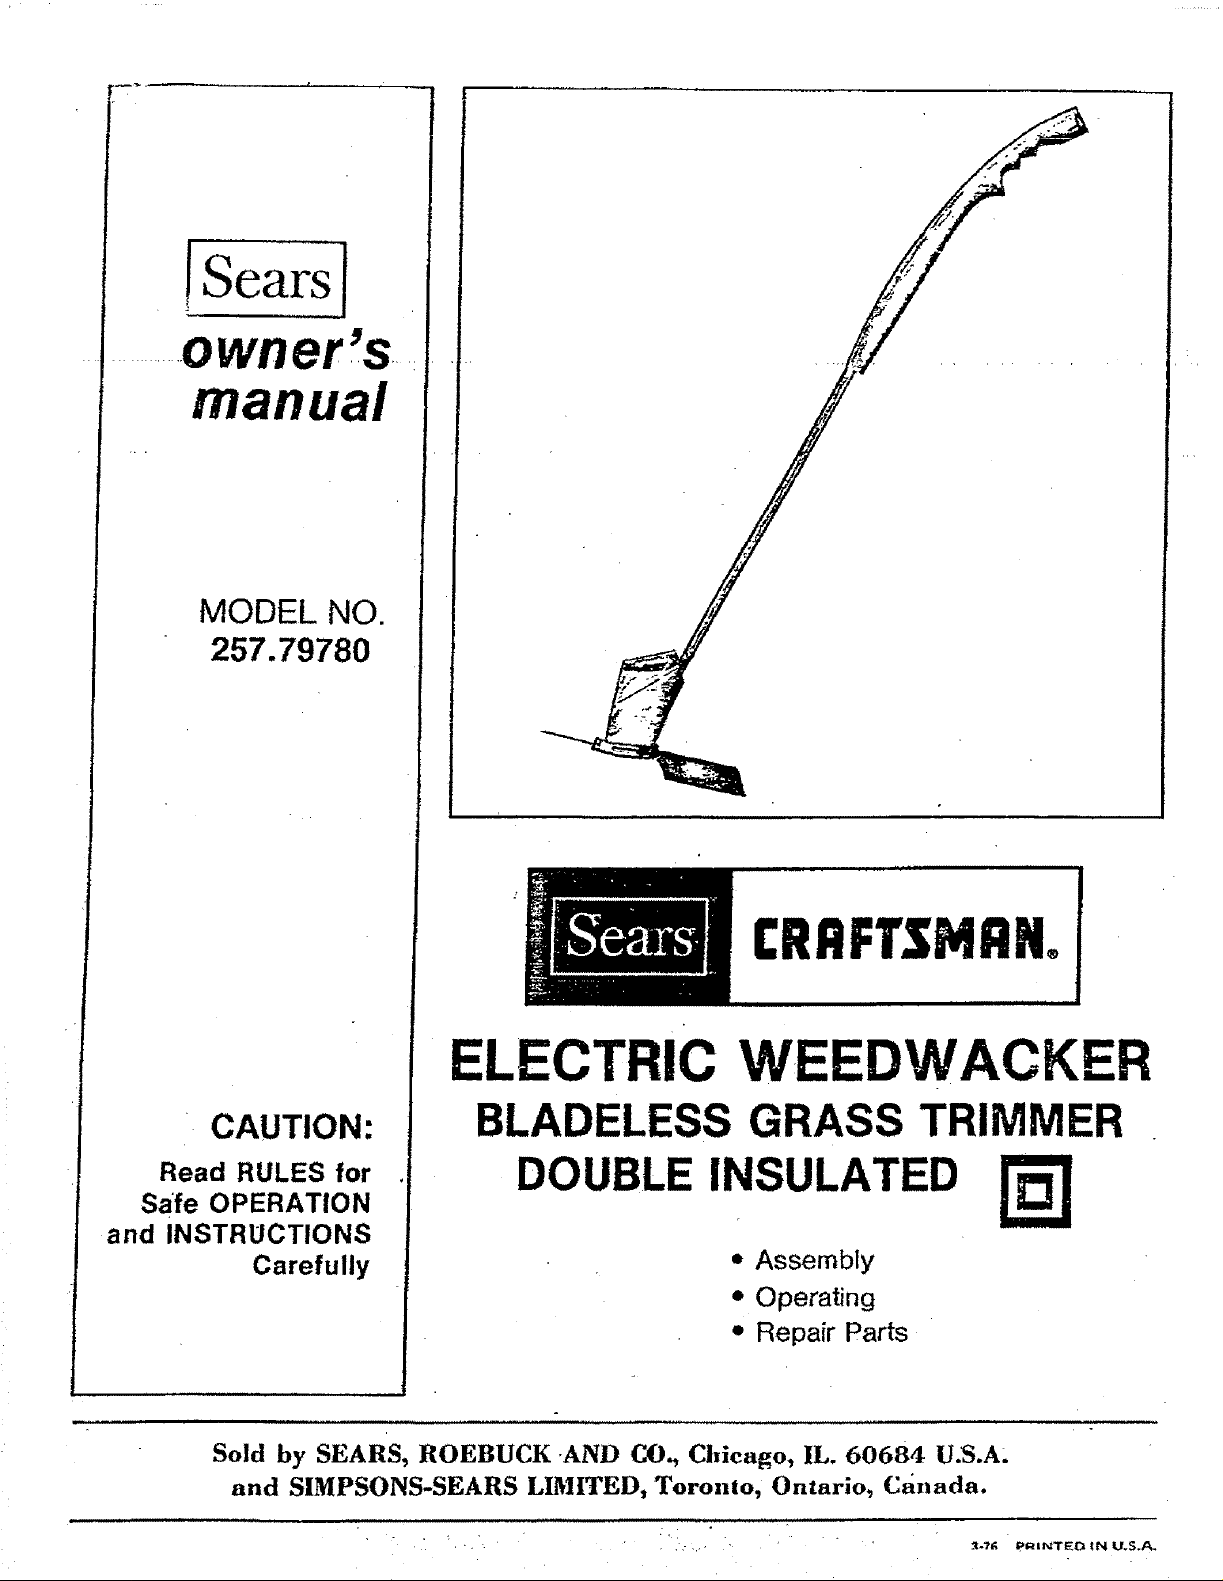
ELECTRIC WEEDWACKER
BLADELESS GRASS TRIMMER
DOUBLE INSULATED N
. Assembly
= Operating
e Repair Parts
[[ I
SAFETYRULESFORPOWERTOOLS
RULES FOR SAFE OPERATION
1. Keep fingers and feet and face clear of line while cutting.
2. Use SafeWGoggles.
3_ Always keep guard in place. "
4. Always wear shoes. Do not operate trimmer while bare-
foot or when wearing sandles, canvas or open toed
shoes.
..... 5, Keep spectators at a safe distance.
6. Do not allow anyone who is not familiar w_th these rules
to use the trimmer_
7, Do not use trimmer as a hedge trimmer,
8. Store indoors in a dry, high, or lock-up place out of reach
of children.
9, Don't force this tool, it wit[ work better and safer at the
rate it was designed. If motor slows down too much, pull
away.
10. Maintain trimmerwith care.
t 1. Do not immerse tool in water or operate in rain.
12. Always unplug cord when tool is unattended.
13. To prevent shock .hazard use only a U.L. Approved
extension cord suitable for outdoor use. A two wire cord
without a ground connection may be used since this tool is
double insulated. Cord should be 18 gauge or heavier.
More than 100 feet mavcaL:se slight loss of power. U.L.
[ _st_(I cords are available at local Sea_s Sto_es.
2. To install replacement spool and nylon line. Remove
spoor item #15 figure 3 by grasping center rib and twisting
left ¼ turn. Pull spool free.
3, To rewind nylon line. Hold Spout in hand with rib side
toward you. Wind nylon line clockwise.
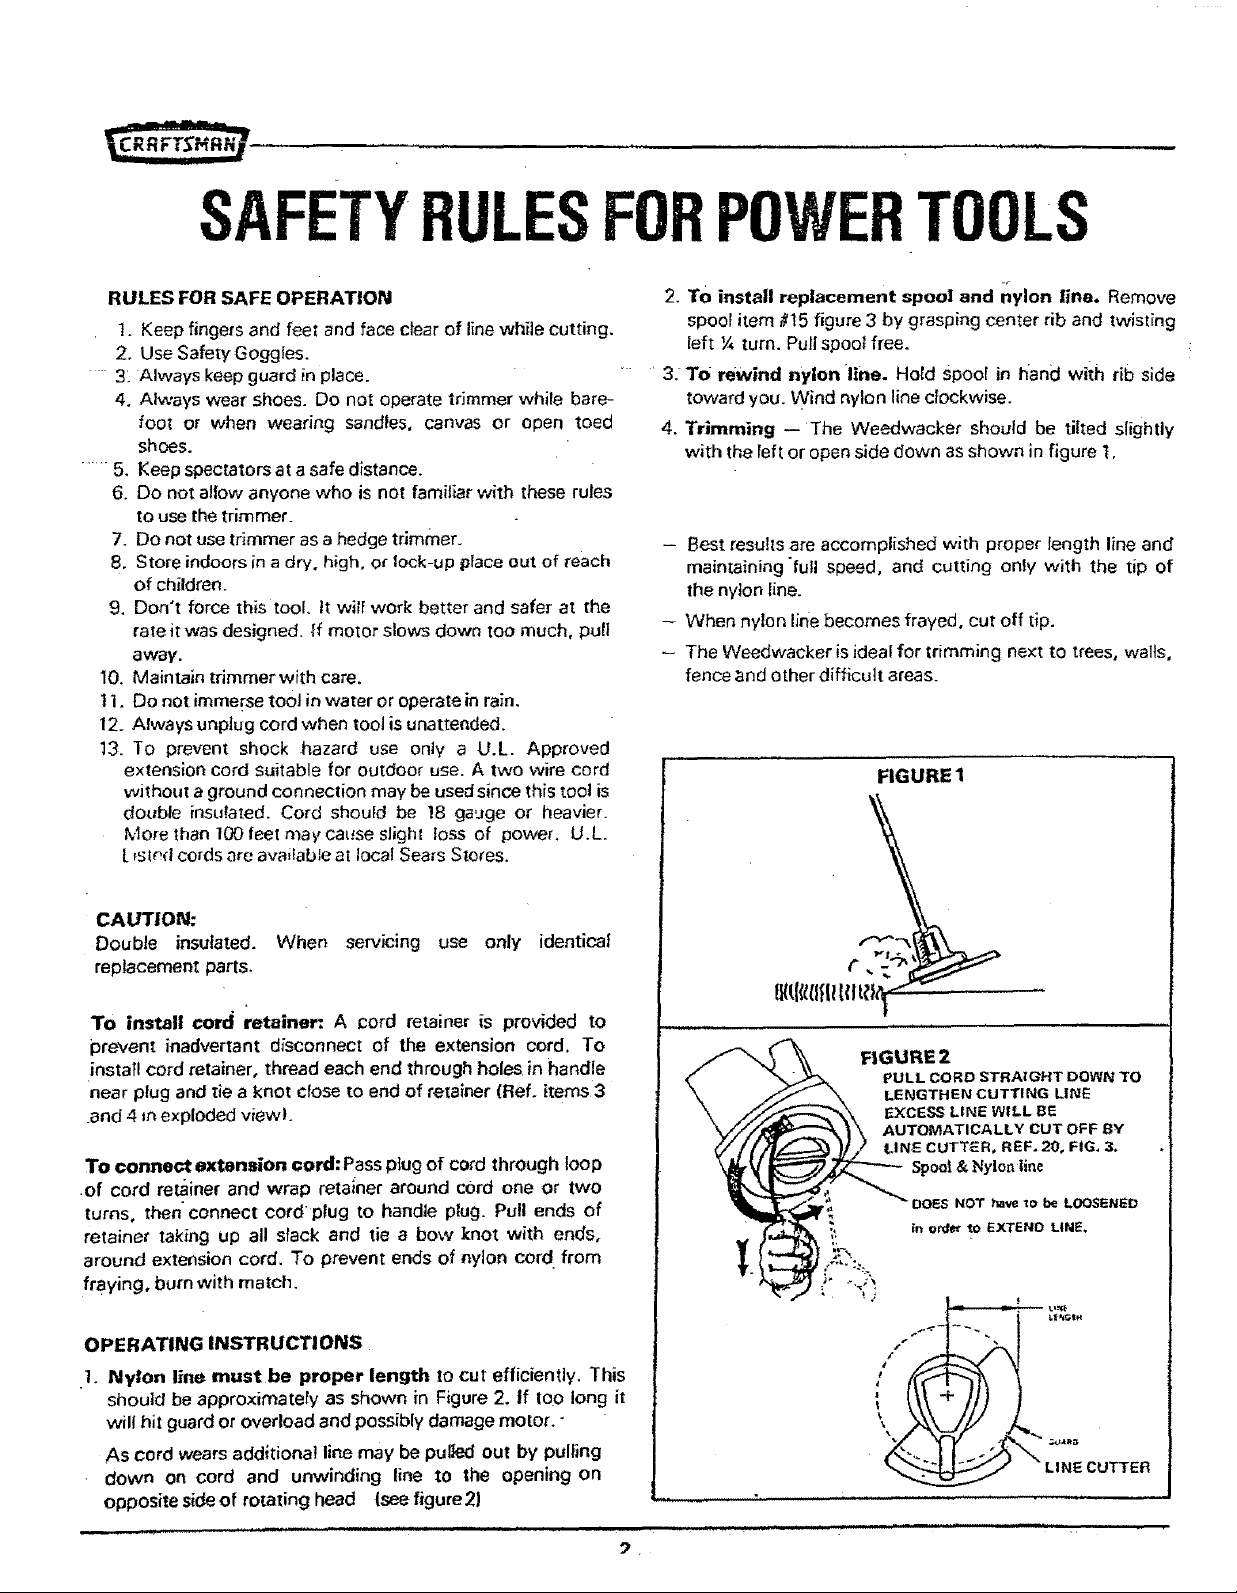
4. Trimming --The Weedwacker should be tilted slightly
with the left or open side down as shown in figure 1,
- Best results are accomplished with proper length line and
maintaining *full speed, and cutting only with the tip of
the nylon line.
-- When nylon line becomes frayed, cut off tip.
- The Weedwacker is ideal for trimming ne×t to trees, walls,
fence and other difficult areas,
FIGURE 1
CAUTION;
Double insulated. When servicing use only identical
replacement parts.
To install corcl retainer: A cord retainer is provided to
prevent inadvertant disconnect of the extension cord. To
install cord retainer, thread each end through holes in handle
near plug and tie a knot close to end of retainer (Ref. items 3
and 4 =nexploded view!.
To connect extension cord: Pass plug of cord through loop
of cord re_iner and wrap retainer around cord one or two
turns, then connect curdplug to hand]e plug. Pull ends of
retainer taking up all slack and tie a bow knot with ends,
around extension cord• To prevent ends of nylon cord from
fraying, burn with match,
OPERATING INSTRUCTIONS
1. Nylon line must be proper length to cut efficiently, This
should be approximately as shown in Figure 2. If too long it
will hit guard or overload and possibly damage motor."
As cord wears additional line may be pulled out by pulling
down on cord and unwinding line to the opening on
opposite side of rotating head (see figure2)
t"
1
FIGURE 2
PULL CORD STRAi;GHT DOWN TO
LENGTHEN CUTTING LINE
EXCESS LINE WILL BE
/_TICALLY CUT OFF BY
CUTTER. REF. 20, FIG, 3,
Spoof & Nylon line
DOES NOT have zo be LOOSENED
•_: _n order to EXTEND LINE.
LINE CUTTER
 Loading...