

Craftsman 257796010 Owner’s Manual

0WNER'SI
MANUAL
MODEL NO.
257.796010
CAUTION:
Read RULES for
safe OPERATION
and INSTRUCTIONS
Carefully
Sold by SEARS, ROEBUCK AND CO., Chicago, IL. 60684 U.S.A.
I RA
WEED AND GRASS TRIMMER
DOUBLE INSULATED
• Assembly
• Operating
• Repair Parts
PROTECTED UNDER ONE OR MORE OF THE FOLLOWING
U.S. PATENTS: 3.708.967; 3326.068; 3.859.776. OTHER U.S.
AND FOREIGN PATENTS PENDING.
J
Revo C 0585
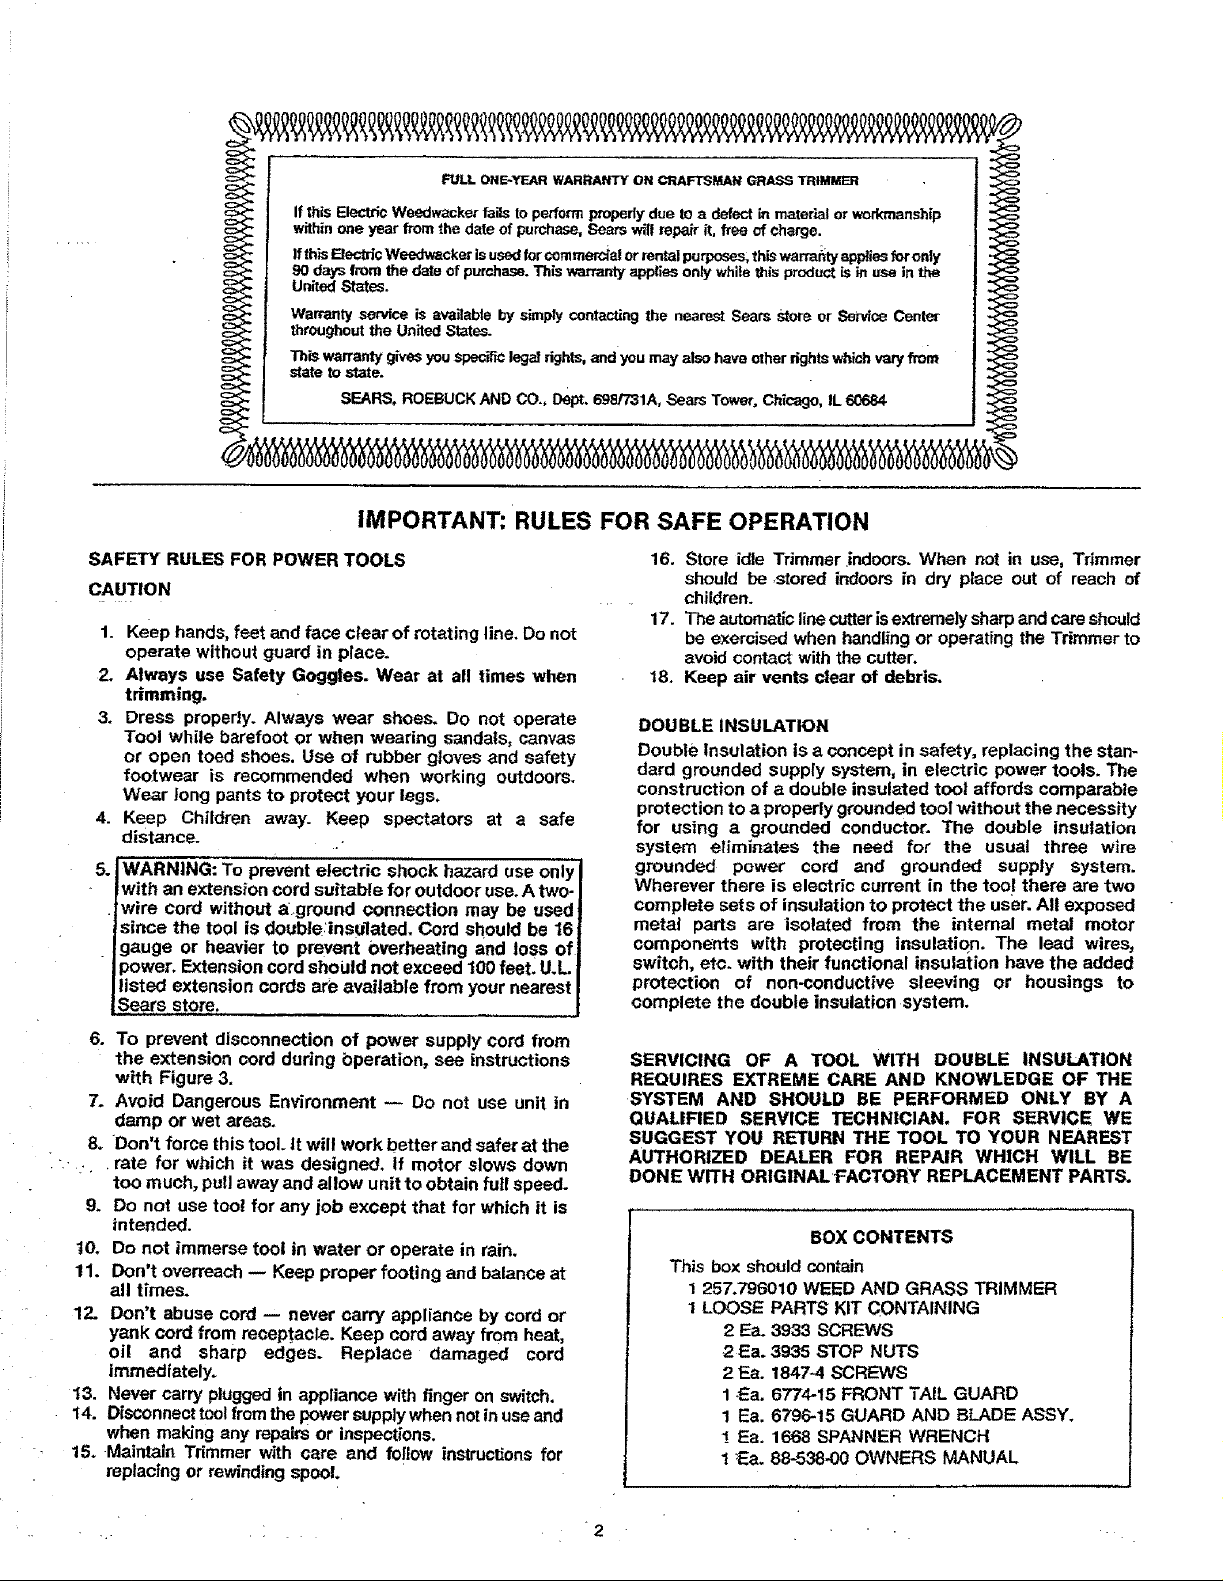
FULL ONE-YEAR WARRANTY ON CRAFTSMAN GRASS TRIMMER
If this Electric Weedwacker fails to perform propedy due tO a defect in mater'Jalor workmanship
within one year from the date of purchase, Sears will repair it, free of charge.
Ifthis ElectricWeedwackar is usedfor commercialor rental purposes,this warranty appliesfor only
90 days from the date of purchase. This warranty applies only v_ite this product isin use in the
United States,
Warrantyserviceis ava_ablebysimplycontactingthe nearestSeatsstereorServieaCenter
throughoutthe UnitedStates. :_
SEARS,ROEBUCKAND CO., Dept.698/731A,SearsTower,Chicago,IL60684
IMPORTANT: RULES FOR SAFE OPERATION
SAFETY RULES FOR POWER TOOLS
CAUTION
1.
Keep hands, feet and face clear of rotating line. Do not
operate without guard in place.
2.
Always use Safety Goggles, Wear at all times when
trimming.
3,
Dress propedy. Always wear shoes. Do not operate
Tool while barefoot or when wearing sandals, canvas
or open toed shoes. Use of rubber g!oves and safety
footwear is recommended when working outdoors.
Wear long pants to protect your legs.
4.
Keep Children away. Keep spectators at a safe
distance.
5.
WARNING: To prevent electric shock hazard use only
with an extension cord suitable for outdoor use. A two-
wire cord without aground connection may be used
since the tool is double:insulated. Cord should be 16
gauge or heavier to prevent Overheating and loss of
power. Extension cord should not exceed 100 feet. U,L
listed extension cords are available from your nearest
Sears store.
6. To prevent disconnection of power supply cord from
the extension cord during bperation, see instructions
with Figure 3.
7. Avoid Dangerous Environment -- Do not use unit in
damp or wet areas.
8o Don't force this tool. it will work better and safer at the
:. •rate for which it was designed. If motor slows down
too much, pull away and allow unit to obtain full speed,
9. Do not use too! for any job except that for which it is
intended.
10, Do not immerse tool in water or operate in rain,
11. Don't overreach -- Keep proper footing and balance at
all times.
12. Don't abuse cord -- never carry appliance by cord or
yank cord from receptacle. Keep cord away from heat,
oil and sharp edges, Replace damaged cord
immediately.
13. Never carry plugged in appliance with finger on switch.
14. Disconnect tool from the power supply when not in use and
when making any repairs or inspections.
15. Maintain Trimmer with care and follow instructions for
replacing or rewinding spool.
16. Store idle Trimmer .indoors. When not in use. Trimmer
should be ,stored indoors in dry place out of reach of
children.
17. Theautomaticlinecutterisextremelysharpandcateshould
be exercised when handling or operating the Trimmer to
avoid contact with the cutter.
18. Keep air vents clear of debris,
DOUBLE INSULATION
Double Insulation is a concept in safety, replacing the stan-
dard grounded supply system, in electric power tools. The
construction of a double insulated too! affords comparable
protection to a properfy grounded tool without the necessity
for using a grounded conductor. The double insulation
system e_iminates the need for the usual three wire
grounded power cord and grounded supply system.
Wherever there is electric current in the tool there are two
complete sets of insulation to protect the user. All exposed
metal parts are isolated from the internal metal motor
components with protecting insulation. The lead wires,
switch, etc. with their functional insulation have the added
protection of non-conductive sleeving or housings to
complete the double insulation system.
SERVICING OF A TOOL WITH DOUBLE INSULATION
REQUIRES EXTREME CARE AND KNOWLEDGE OF THE
SYSTEM AND SHOULD BE PERFORMED ONLY BY A
QUALIFIED SERVICE TECHNICIAN. FOR SERVICE WE
SUGGEST YOU RETURN THE TOOL TO YOUR NEAREST
AUTHORIZED DEALER FOR REPAIR WHICH WILL BE
DONE WITH ORIGINAL FACTORY REPLACEMENT PARTS.
BOX CONTENTS
This box should contain
1 257.796010 WEED AND GRASS TRIMMER
1 LOOSE PARTS KIT CONTAINING
2 Ea. 3933 SCREWS
2 Ea. 3935 STOP NUTS
2 Ea. 18474 SCREWS
1_a. 6774-15 FRONT TAIL GUARD
1 Ea. 6796-15 GUARD AND BLADE ASSY.
! Ea. 1668 SPANNER WRENCH
t "_a. 88-538.00 OWNERS MANUAL

ASSEMBLY INSTRUCTIONS
HANGER
Remove TRIMMER from carton and examine it thoroughly to
make sure it is not damaged.
- Remove and discard protective plastic clips inserted in
handle tubes before assembly of trimmer.
TOOLS NEEDED FOR ASSEMBLY
• Medium Phillips screwdriver
• Adjustable wrench or pliers
ATTACHING THE TUBES
1. Slide outer tube sleeve up lower tube and over upper
tube until the assembly holes are aligned, being
careful not to pinch or cut harness wire.
NOTE: Should the outer tube be difficult to slide, grasp
outer tube sleeve firmly and twist slowly back and
forth"whiie puslling Upward. ....................
2. Insert screws, attach Iocknuts and tighten. (FIG. I)
ATTACHING THE GUARD
POWER _
LOR_ GUARD _ TUBE
BLUE ASS'€. _ FRONTGUARD
currlNG
• r •
FIG.1
TURN TRIMMER UPSIDE DOWN. SLIDE. REAR GUARD
SECTION AND FRONT GUARD SECTION INTO GROOVES
ON TRIMMER HOUSING (F1G.2).
INSERT 2 SCREWS SUPPLIED AND TIGHTEN FIRMLY.
DO NOT OPERATE TRIMMER WITHOUT GUARD IN PLACE.
-CAUTION: THE CUTTING BLADE MOUNTED IN THE
GUARD ASSEMBLY IS EXTREMELY SHARP AND CARE
SHOULD BE EXERCISED WHEN HANDLING OR
OPERATING TRIMMER TO AVOID CONTACT WiTH
CUTTER.
FIG. 2
FR_ GUARD
THE OPERATION OF ANY TRIMMER CAN RESULT IN FOREIGN OBJECTS BEI NG THROWN
INTO THE EYES, WHICH CAN RESULT IN SEVERE EYE DAMAGE ALWAYS WEAR SAFETY
GLASSES OR EYE SHIELDS BEFORE COMMENCING POWER TOOL OPERATION. WE
RECOMMEND WIDE VISION SAFETY MASK FOR OVER SPECTACLES OR STANDARD
SAFETY GLASSES AVAILABLE AT SEARS RETAIL OR CATALOG STORES.
 Loading...