

Craftsman 146.107190 Owner's Manual
Owner's Manual
Smart Start TM
4-in. Applicator/
Buffer / Polisher
Model No.
146.107190
CAUTION: Read, understand and follow
all Safety Rules and Operating Instructions
in this manual before using this product.
• SAFETY
• OPERATION
• MAINTENANCE
• ESPANOL
Sears, Roebuck and Co., Hoffman Estates, IL 60179 U.S.A.
4-17-01

Safety Instructions ..................................... Pages 3-5
Operation ................................................... Pages 6-9
Maintenance .............................................. Page 10
Warranty. .................................................... Page 10
Accessories .............................................. Page 11
Repair Service, Maintenance Agreement
Phone Numbers ........................................ Page 12
SAVETHESE INSTRUCTIONS!
READ ALL INSTRUCTIONS!
2

I WARNING: BE SURE to read and understand all instructions. I
I
Failure to follow all instructions listed below may result in electricl
shock, fire and/or serious personal injury. |
I
I
WORK AREA SAFETY
1. ALWAYS keep your work area clean and well lit. Cluttered benches and
dark areas invite accidents.
2. DO NOT operate power tools in explosive atmospheres, such as in the
presence of flammable liquids, gases, or dust. Power toolscreate sparks
whichmay ignitethe dust or fumes.
3. ALWAYS keep bystanders, children, and visitors away while operating
a power tool. Distractions can cause you to lose control.
ELECTRICAL SAFETY
1. Double insulated tools are equipped with a polarized plug (one blade
is wider than the other.)This plug will fit in a polarized outlet only one
way. If the plug does not fit fully in the outlet, reverse the plug. If it still
does not fit, contact a qualified electrician to install a polarized outlet.
DO NOT change the plug in any way.
2. Double insulation [] eliminates the need for the three wire grounded power
cord and grounded power supply system. Applicable only to Class II
(double insulated) tools.
3. ALWAYS avoid body contact with grounded surfaces such as pipes,
radiators, ranges and refrigerators. There is an increased riskof electric
shock if your body isgrounded.
4. DO NOT expose power tools to rain or wet conditions. Water entering
a power tool will increase the riskof electricshock.
5. DO NOT abuse the cord. Never use the cord to carry the tools or pull
the plug from an outlet. Keep cord away from heat, oil, sharp edges or
moving parts. Replace damaged cords immediately. Damaged cords
increase the riskof electric shock.
6.When operating a power tool outside, ALWAYS use an outdoor
extension cord marked "W-A" or "W". These cords are rated for outdoor
use and reduce the riskof electric shock.
3
ELECTRICALSAFETYcont.
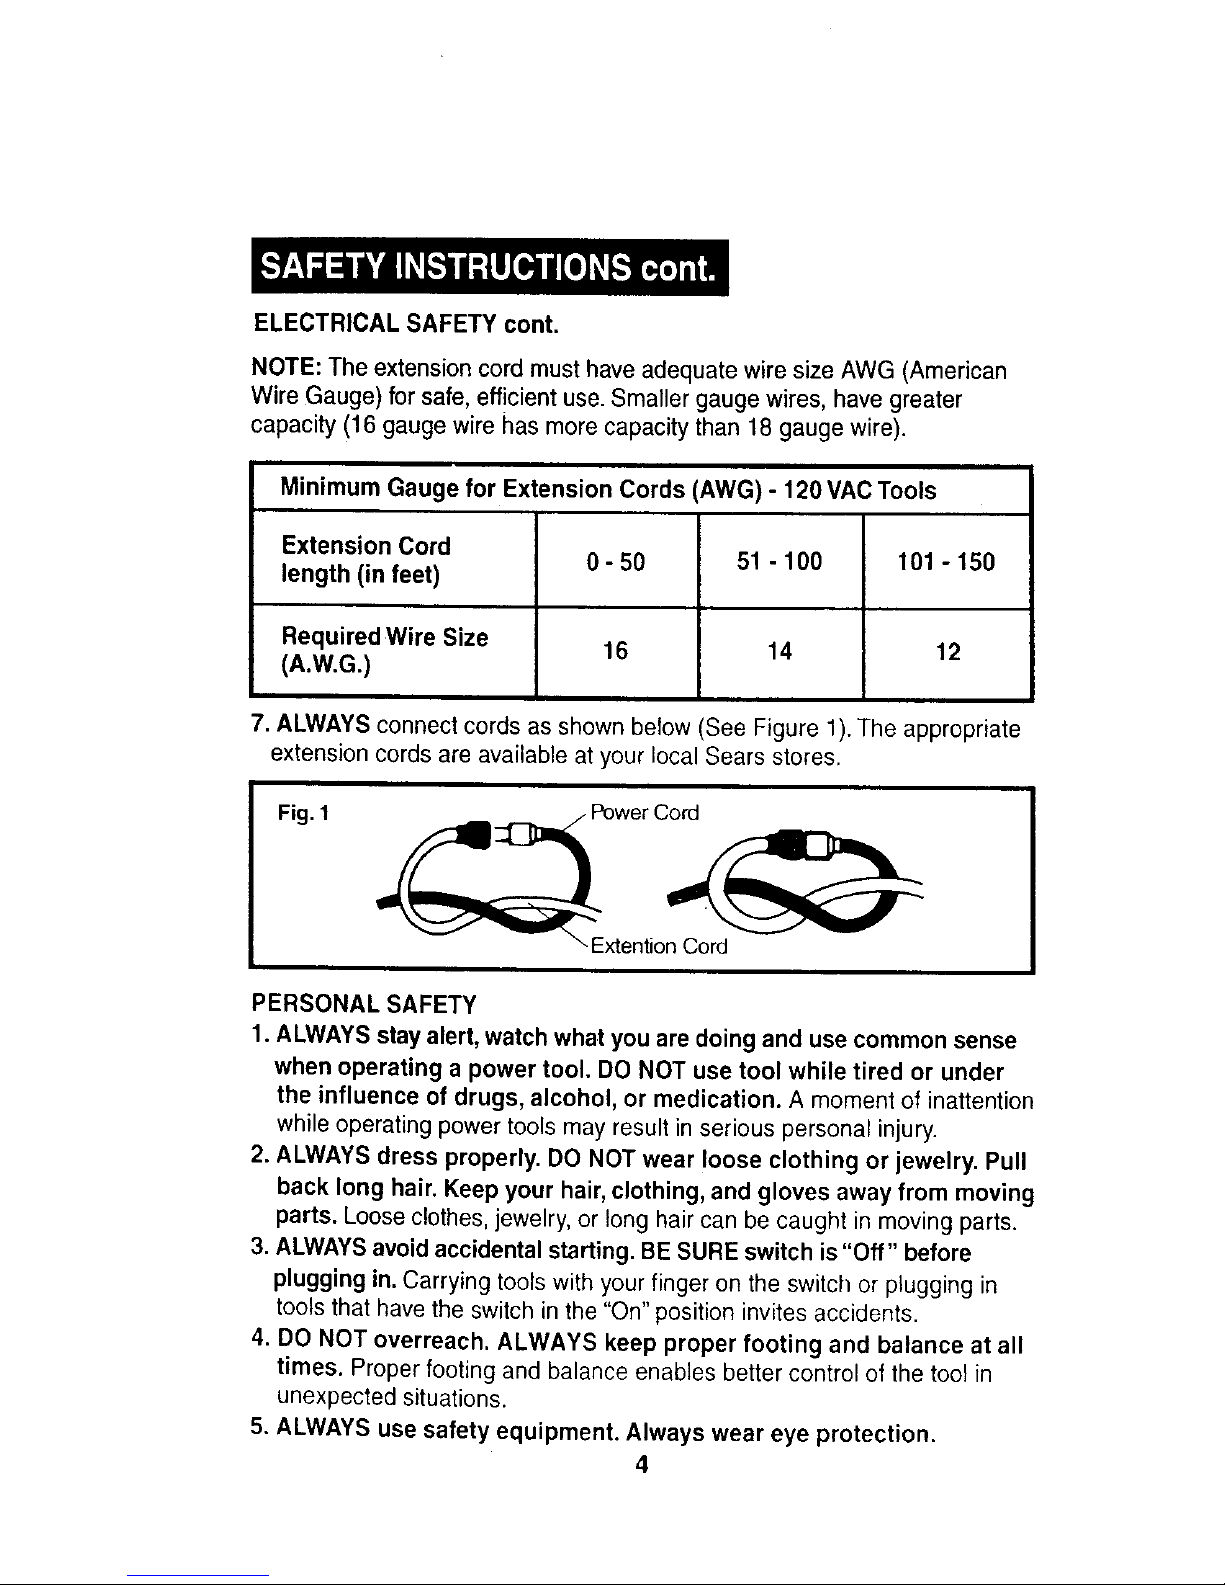
NOTE:The extension cord musthave adequate wire size AWG (American
Wire Gauge) for safe, efficient use. Smaller gauge wires, have greater
capacity (16 gauge wire has more capacity than 18 gauge wire).
Minimum Gauge for Extension Cords (AWG) - 120 VAC Tools
Extension Cord
length (in feet) 0 - 50 51 - 100 101 - 150
Required Wire Size 16 14 12
(A.W.G.)
7. ALWAYS connect cords as shown below (See Figure 1). The appropriate
extension cords are available at your local Sears stores,
Fig. 1
Power Cord
xtentio_
PERSONAL SAFETY
1. ALWAYS stay alert, watch what you are doing and use common sense
when operating a power tool. DO NOT use tool while tired or under
the influence of drugs, alcohol, or medication. A moment of inattention
while operating power tools may result in serious personal injury.
2. ALWAYS dress properly. DO NOT wear loose clothing or jewelry. Pull
back long hair. Keep your hair, clothing, and gloves away from moving
parts. Loose clothes, jewelry, or long hair can be caught in moving parts.
3. ALWAYS avoid accidental starting. BE SURE switch is "Off" before
plugging in. Carrying tools with your finger on the switch or plugging in
tools that have the switch in the "On" position invites accidents.
4. DO NOT overreach. ALWAYS keep proper footing and balance at all
times. Proper footing and balance enables better control of the tool in
unexpected situations.
5. ALWAYS use safety equipment. Always wear eye protection.
4
TOOL USE AND CARE SAFETY
1. DO NOT force the tool. Use the correct tool for your application.
The correct tool will do the job better and safer at the rate for
which it is designed.
2. DO NOT use the tool if the switch does not turn it "On" or "Off". Any
tool that cannot be controlled with the switch is dangerous and must
be repaired.
3. ALWAYS disconnect the plug from the power source before making any
adjustments, changing accessories or storing the tool. Such preventive
safety measures reduce the risk of starting the tool accidentally.
4. ALWAYS store idle tools out of the reach of children and other
untrained persons. Tools are dangerous in the hands of untrained users.
5. ALWAYS check for misalignment or binding of moving parts, breakage
of parts, and any other condition that may affect the tool's operation.
If damaged, have the tool serviced before using. Many accidents are
caused by poorly maintained tools.
I WARNING:
USE OF ACCESSORIES THAT ARE NOT RECOMMENDED FOR USE
WITH THIS TOOL MAY CREATE A HAZARDOUS CONDITION.
6. ALWAYS use only the Craftsman accessories that are recommended
for this tool. Accessories that may be suitable for one tool can become
hazardous when used on another tool.
SERVICE SAFETY
1. Tool service must be performed only by Sears or other qualified repair
personnel. Service or maintenance performed by unqualified personnel
could result in a risk of injury.
2. When servicing a tool, ALWAYS use only identical replacement parts.
Follow instructions in the maintenance section of this manual. Use of
unauthorized parts may create a risk of electric shock or injury.
SYMBOLS The following symbols appear on the label of your tool
V ........................................................................... volts
A ........................................................................... amps
Hz ......................................................................... hertz
........................................................................ alternating current
no ........................................................................ no-load speed
[] ........................................................................ double insulated
IMPORTANT! READ ALL INSTRUCTIONS!
5
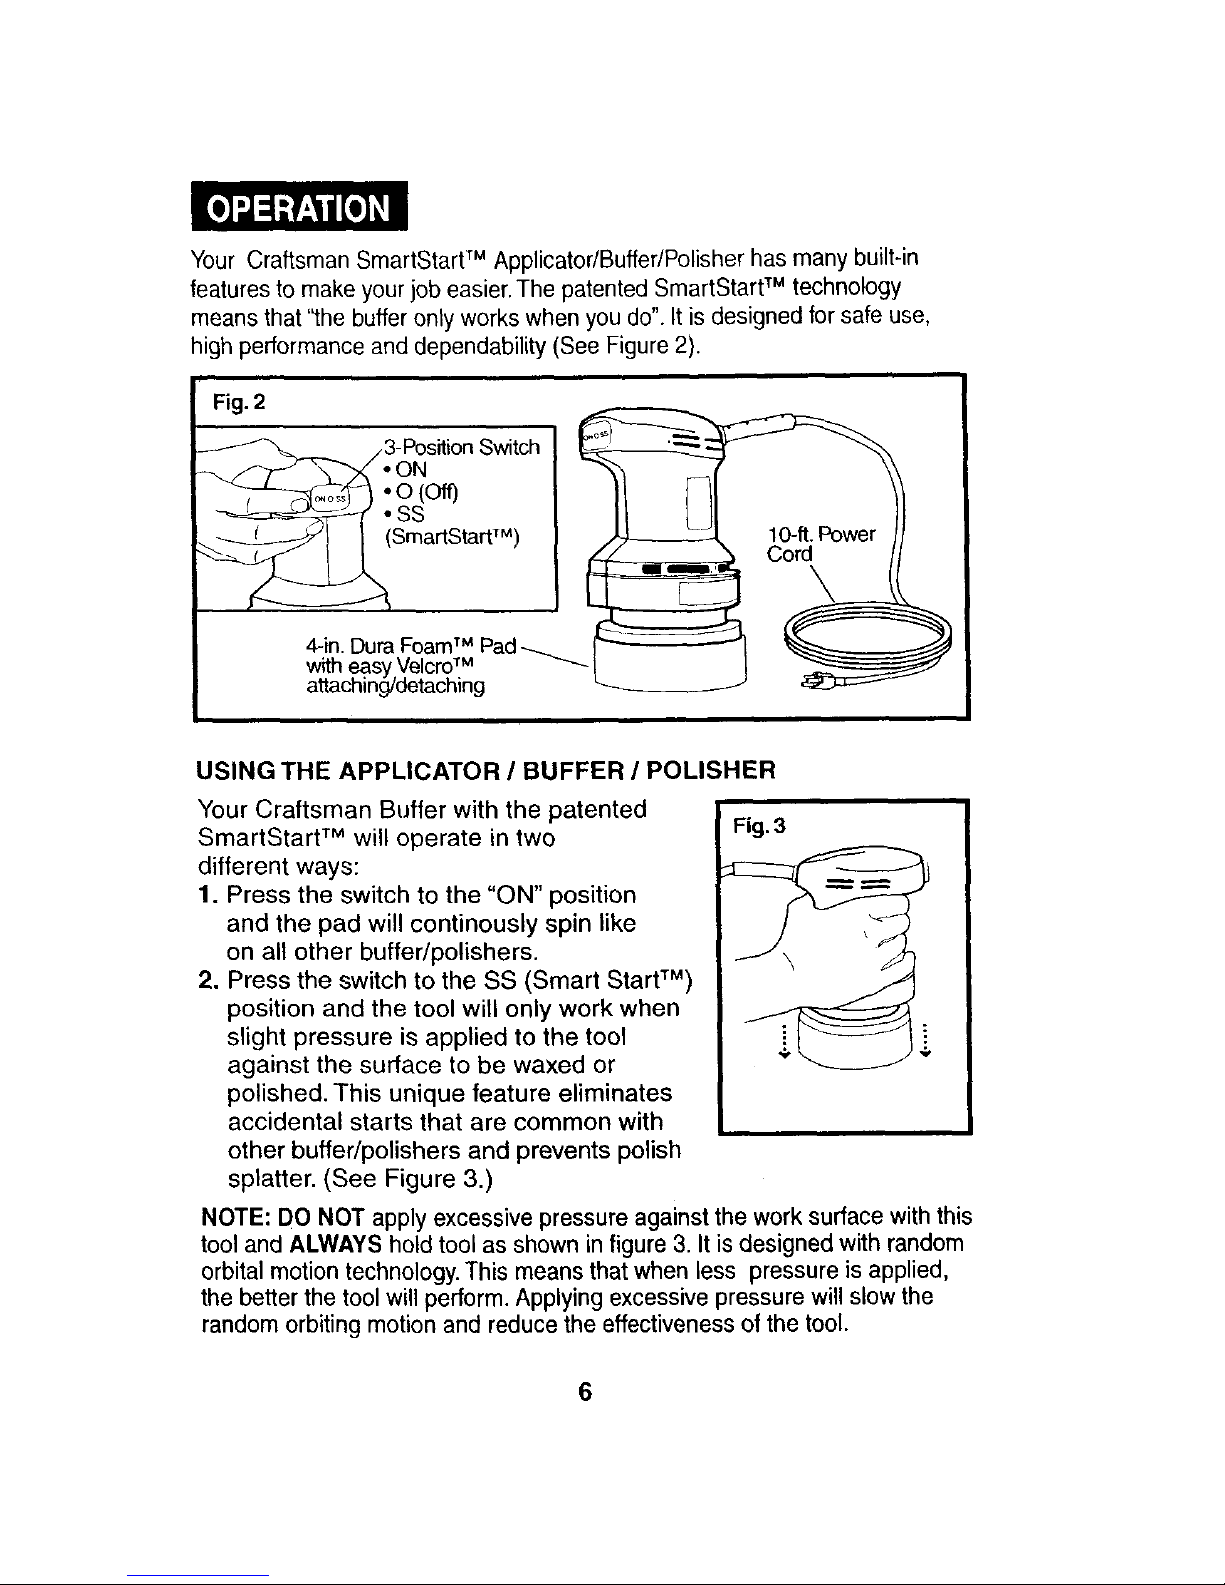
Your CraftsmanSmartStartTM Applicator/Buffer/Polisher has many built-in
features to make your job easier. The patented SmartStart TM technology
means that '"[he buffer only works when you do". It is designed for safe use,
high performance and dependability (See Figure 2).
Fig. 2
-_-_ / 3-Position Switch _ __---_
_!O(%(SmartStart ) _ '_lO-ft
SS TM _-_
- I " C-orci P°wer /
4-in. Dura FoamTi Pad--._ _ _
with easy Velcro TM -'-'-- I
attachin_detaching L..
USING THE APPLICATOR / BUFFER / POLISHER
Your Craftsman Buffer with the patented
SmartStart TM will operate in two
different ways:
1. Press the switch to the "ON" position
and the pad will continously spin like
on all other buffer/polishers.
2. Press the switch to the SS (Smart Start TM)
position and the tool will only work when
slight pressure is applied to the tool
against the surface to be waxed or
polished. This unique feature eliminates
accidental starts that are common with
other buffer/polishers and prevents polish
splatter. (See Figure 3.)
NOTE: DO NOT apply excessive pressure against the work surface with this
tool and ALWAYS hold tool as shown in figure 3. It is designed with random
orbital motion technology. This means that when less pressure is applied,
the better the tool will perform. Applying excessive pressure will slow the
random orbiting motion and reduce the effectiveness of the tool.
6
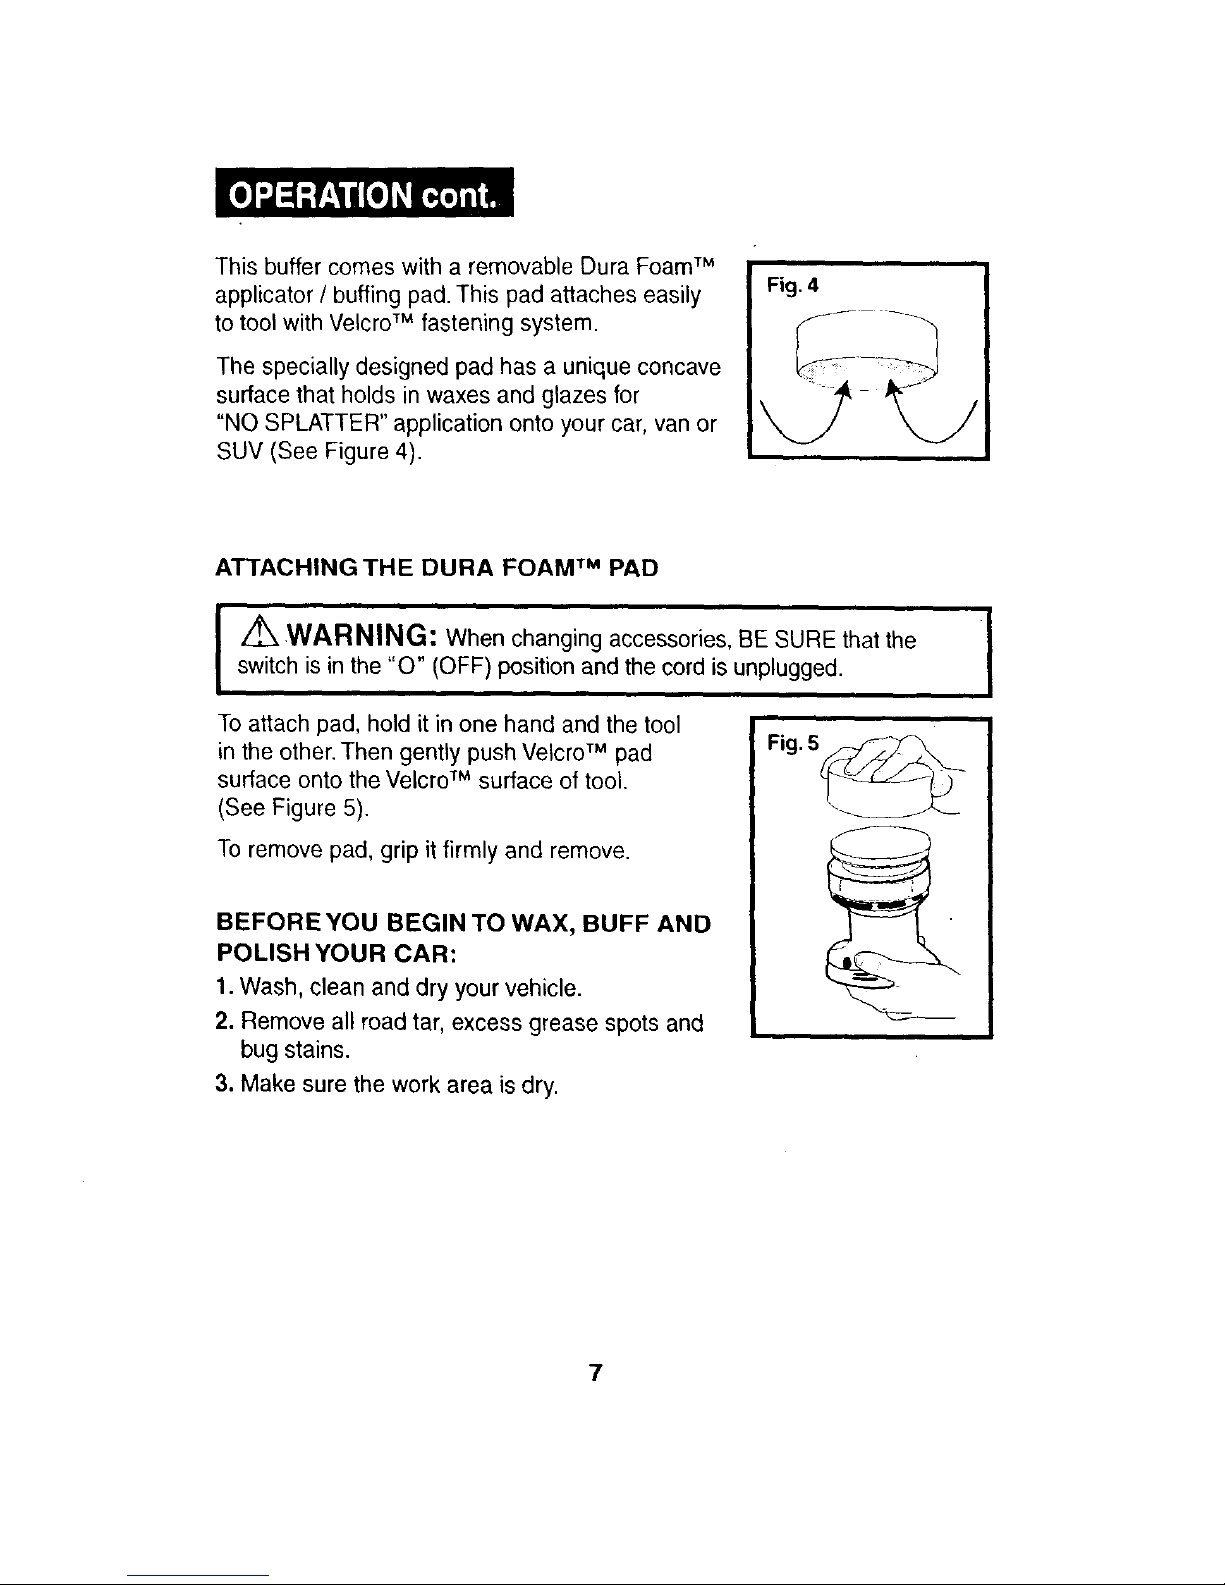
This buffer comes with a removable Dura Foam TM
applicator / buffing pad. This pad attaches easily
to tool with Velcro TM fastening system.
The specially designed pad has a unique concave
surface that holds in waxes and glazes for
"NO SPLATTER" application onto your car, van or
SUV (See Figure 4).
ATTACHINGTHE DURA FOAM TM PAD
I WARNING: When changing accessories, BE SURE that the
switch is in the "O" (OFF) position and the cord is unplugged.
To attach pad, hold it in one hand and the tool
in the other. Then gently push Velcro TM pad
surface onto the Velcro TM surface of tool.
(See Figure 5).
To remove pad, grip it firmly and remove.
BEFOREYOU BEGIN TO WAX, BUFF AND
POLISH YOUR CAR:
1. Wash, clean and dry your vehicle.
2. Remove all road tar, excess grease spots and
bug stains.
3. Make sure the work area is dry.
I
7
APPLYING WAX/POLISH TO DURA FOAM TM PAD
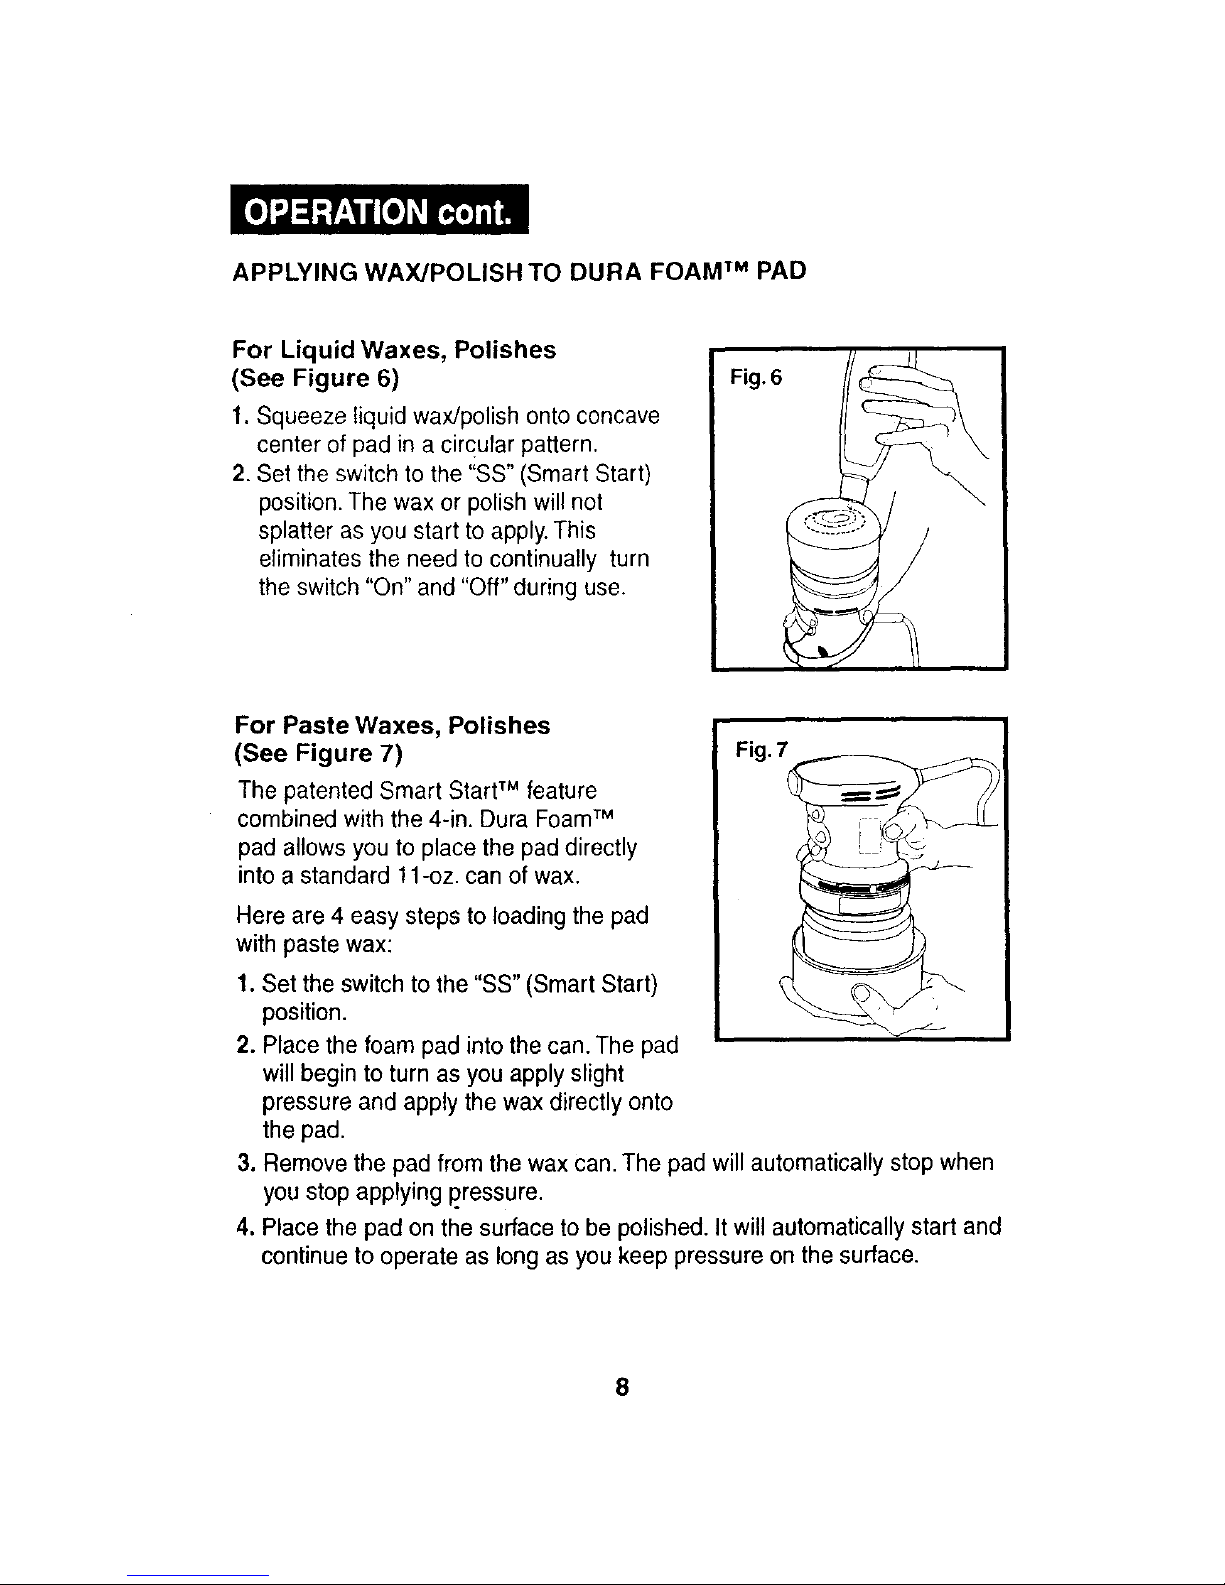
For Liquid Waxes, Polishes
(See Figure 6)
1. Squeeze liquid wax/polish onto concave
center of pad in a circular pattern.
2. Set the switch to the "SS" (Smart Start)
position. The wax or polish will not
splatter as you start to apply. This
eliminates the need to continually turn
the switch "On" and "Off" during use.
For Paste Waxes, Polishes
(See Figure 7)
The patented Smart StartTM feature
combined with the 4-in. Dura FoamTM
pad allows you to place the pad directly
into a standard 11-oz. can of wax.
Here are 4 easy steps to loading the pad
with paste wax:
1. Set the switch to the "SS" (Smart Start)
position.
2. Place the foam pad into the can. The pad
will begin to turn as you apply slight
pressure and apply the wax directly onto
the pad.
3. Remove the pad from the wax can. The pad will automatically stop when
you stop applying pressure.
4. Place the pad on the surface to be polished. It will automatically start and
continue to operate as long as you keep pressure on the surface.
8
 Loading...