

covington Rociprolap Instructions Manual
715 West Colton Avenue
Redlands, CA 92374
Toll Free: (877) 793-6636 US Only
Phone: (909) 793-6636
FAX: (909) 793-7641
Email: sales@covington-engineering.com
Covington Engineering Corp. © 2013
1
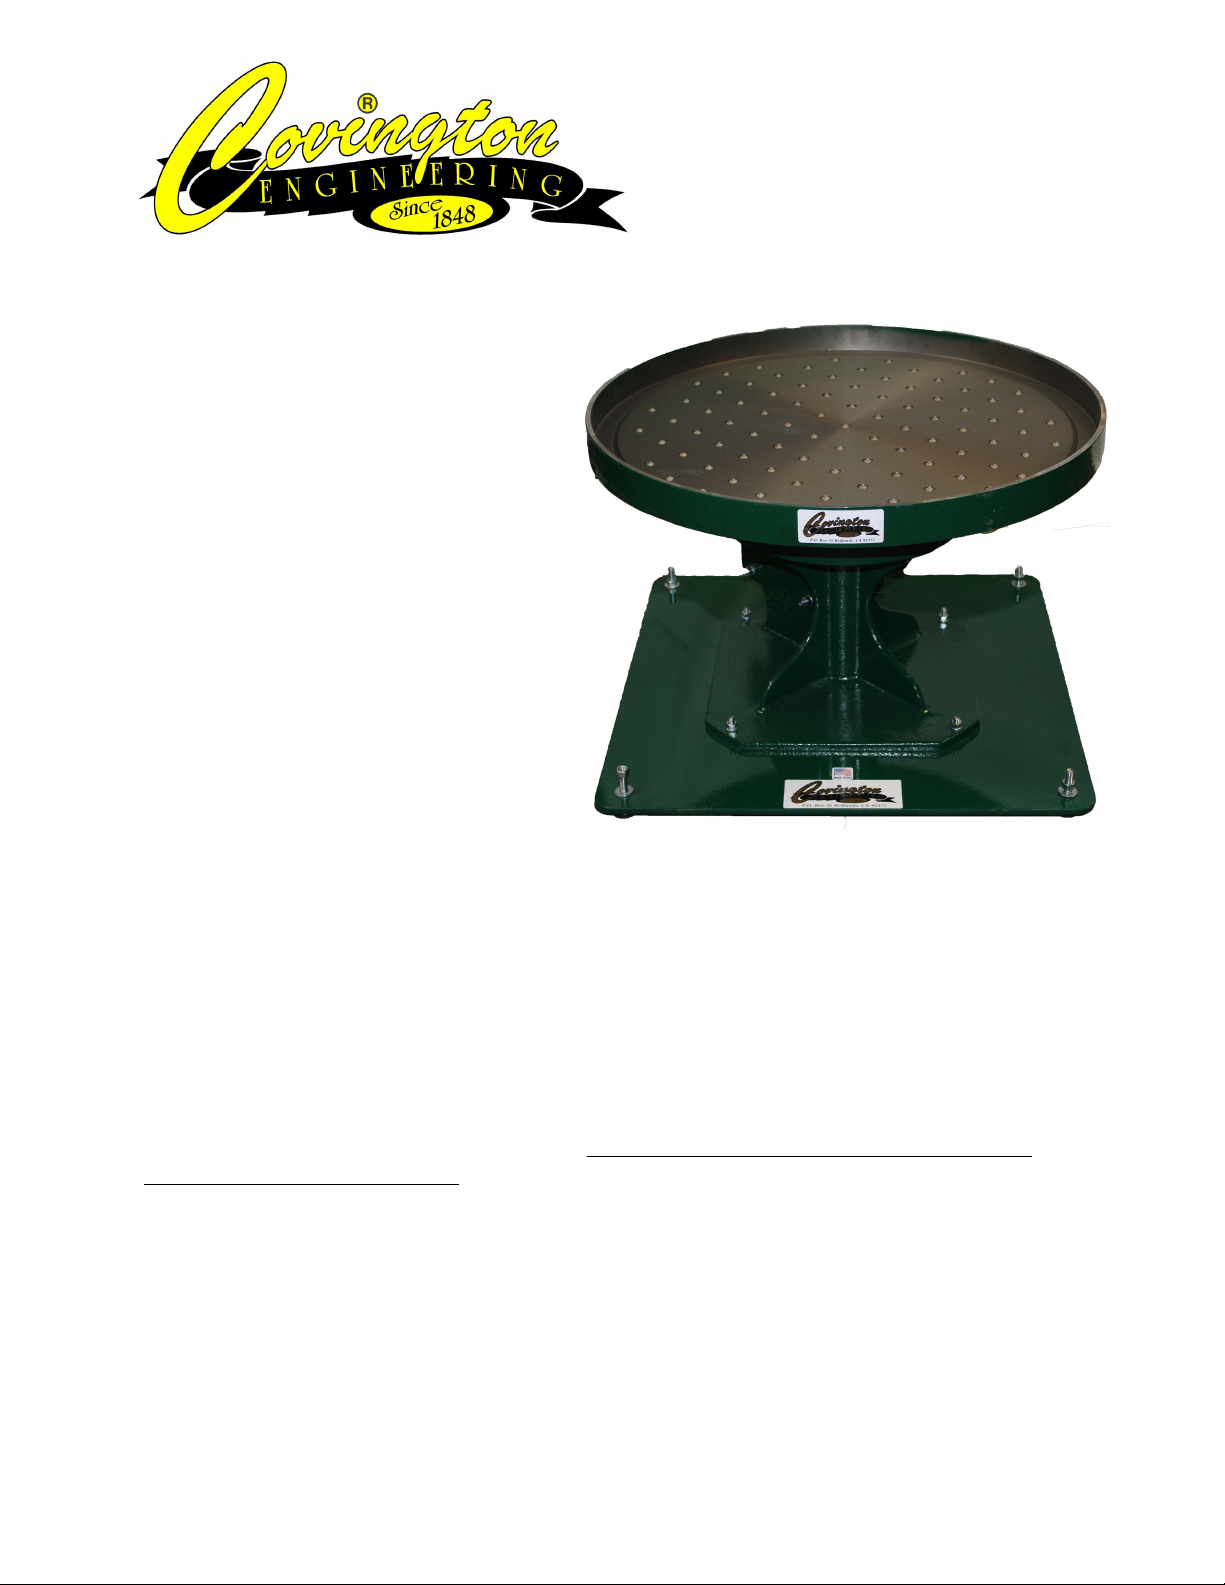
ROCIPROLAP® INSTRUCTIONS
1. Install the four leveling feet with a
washer, lock-washer, and nut on top.
2. Insert one steel disc in each bearing cup
making sure the steel disc sets down
flat. Place two nylon thrust bearings in
each container. Add three or four drops
of machine oil onto bearings.
3. Install the lap plate ensuring the plate
rests on the nylon thrust bearings by
twisting the plate back and forth. The
plate should turn freely. A visual
inspection will make certain.
4. Place a level on the machined surface
of the lap plate. Adjust leveling feet
until level. Turn level 90 degrees or one
quarter turn and adjust feet until level.
5. Start the machine and let run for
approximately five minutes. Check the
leveling feet by placing a finger against
the plastic pads and the floor. If one vibrates or bounces, loosen the nut and screw the foot
down by hand. Tighten the nut securely. Observe the lap plate in operation. With no load on
it, the lap plate should revolve about two to three times per minute. When lapping or
polishing it is normal for the lap plate to either slow down or revolve in the opposite
direction of the no load condition.
Caution: Take extreme care with the wearing ring surface. This is the portion of the plate that
rides on the nylon thrust bearings. It must be kept scrupulously clean and well oiled with 30 or
40 wt. oil. Never use grease.
HAZARDOUS CONDITION WARNING: NEVER START THE ROCIPROLAP WITH
THE LAP PLATE REMOVED.
MISCELLANEOUS ADVICE
• Inspect the nylon thrust bearings each time the plate is removed. If they are dirty or
discolored then the thrust plate is not being kept clean.
• When the plate begins to revolve faster than normal it is an indication that the thrust balls are
failing or that you have too much oil on the bearings. If too much oil is not the problem (the
problem usually is overly worn bearings), you must change the complete set. The nylon

715 West Colton Avenue
Redlands, CA 92374
Toll Free: (877) 793-6636 US Only
Phone: (909) 793-6636
FAX: (909) 793-7641
Email: sales@covington-engineering.com
Covington Engineering Corp. © 2013
2
thrust bearings are measured and packaged in sets – individual bearings may vary by as much
as .005 of an inch. Mixing them could damage the machine.
• Clean your material and machine thoroughly after each lapping operation. One grain of 80-
grit can scratch your material if allowed to mix with the next lapping operation.
• Never leave your flats on the lap plate when the machine is stopped for an indefinite period
of time. The can and will stick to the lap plate. Should you ever have this problem, add water
to the plate and start the machine. If the flat won’t come loose, jar it slightly with a block of
wood. Place the edge of the flat on the bumper ring when through with a lapping procedure
to avoid it sticking to the lap plate.
• After using the machine, when the machine won’t be in use for a day or so, put a thin coat of
oil on the inside of the plate. This will keep it from rusting.
• Never do fine (400g or 600g) lapping on a rusty plate. The scale from the rust will scratch the
surface of your material.
• Never overcrowd the plate. A 16” piece is the normal operating maximum for the 20” model,
Use the proportion should be followed in the other plate sizes.
LAPPING PROCEDURE
For a 24” Plate: With the machine running, pour about two (2) cups of 80-grit on the lap plate.
Add two (2) cups of water. Stop the machine and place material to be lapped on the lap plate and
start the machine. As the material begins the grind, the grit and water mixture will become a
creamy slurry. Maintain this creamy state throughout grinding process for maximum abrasion.
Note: Use equal amounts of grit and water to begin on all other plate sizes and lap into a
creamy slurry.
Always wash plate thoroughly between cycles to eliminate cross contamination of grits.
Testing for Flatness: Wash the piece off. Using an aluminum marking pencil, mark a 2” square
grid on the bottom of the piece. Replace the piece and lap for about 10 minutes. Remove piece
and examine the bottom. If the lines have been removed, the piece is flat and ready for the next
operation.
Second Lapping Operation: Once the material has been lapped flat on 80-grit, repeat the first
process using 220g and equal amounts of water.
Third Lapping Operation: Repeat the first operation using equal amounts of 400-grit and water.
Fourth Lapping Operation: Repeat the first operation using equal amounts of 600-grit and
water.
Polishing: Install the polishing pad, splash guard, and bumper ring. Start the machine and place
½ cup of Cerium Oxide on the pad and add enough water to create a creamy slurry. Most objects
 Loading...