

COSOSYS CARRY IT EASY LIGHT User Manual
Carry it Easy Light
User Manual
Manuel de l’utilisateur
Benutzerhandbuch
User Manual Version 2.13
© 2004-2008 CoSoSys SRL

Carry it Easy Light
User Manual...........................................................................................................3
Manuel de l'utilisateur.........................................................................................15
Benutzerhandbuch..............................................................................................27
2

Carry it Easy Light
User Manual
Table of Contents
Table of Contents..................................................................................................3
1. Introduction...................................................................................................4
2. System Requirements ..................................................................................5
3. Installation.....................................................................................................5
4. Getting Started..............................................................................................5
4.1. Starting Carry it Easy..............................................................................5
4.2. General navigation..................................................................................6
4.3. USB Drive / Portable Storage Capacity..................................................6
5. Working with Carry it Easy...........................................................................7
5.1. Security Settings.....................................................................................7
5.2. My Documents synchronization..............................................................9
5.3. View and Edit My Documents on portable storage...............................10
5.4. Data Compression on the Device.........................................................10
5.5. Folder and Desktop synchronization.....................................................11
5.6. Adding files and folders to your portable storage device ......................12
5.7. Work with the system tray menu...........................................................12
5.8. Safely remove hardware.......................................................................13
5.9. Configuring Multiple Devices at the same time.....................................14
6. Support........................................................................................................14
3 4

1. Introduction
Carry it Easy will enhance the functionality of your portable storage device and help
you keep your personal data available on the road.
With Carry it Easy and your portable storage device you can:
keep your Folders, Desktop and My Documents data synchronized,
compress your data to save valuable memory space,
password protect / (encrypt )all the data on your portable storage device.
Warning!
While using Carry it Easy , you should never disconnect your Device without
closing Carry it Easy properly first, via the exit button and then using the
“Safely Remove Hardware” option of Windows (see description below).

2. System Requirements
Operating Systems:
o Windows 2000 Service Pack 4
o Windows XP (Service Pack 2 is recommended)
o Windows Vista
Available USB port
Verbatim USB drive.
3. Installation
Carry it Easy usually comes pre-installed on your portable storage device.
No installation process on your PC is needed. Simply double-click on the
CarryitEasy.exe file and you can immediately start using the application.
In case your USB Drive didn’t include a CD-ROM with a copy of Carry it Easy we
recommend, that you make a backup copy of the CarryitEasy.exe to another storage
device.
In order to use Carry it Easy you should always start the CarryItEasy.exe file from
your USB Device.
4. Getting Started
4.1. Starting Carry it Easy
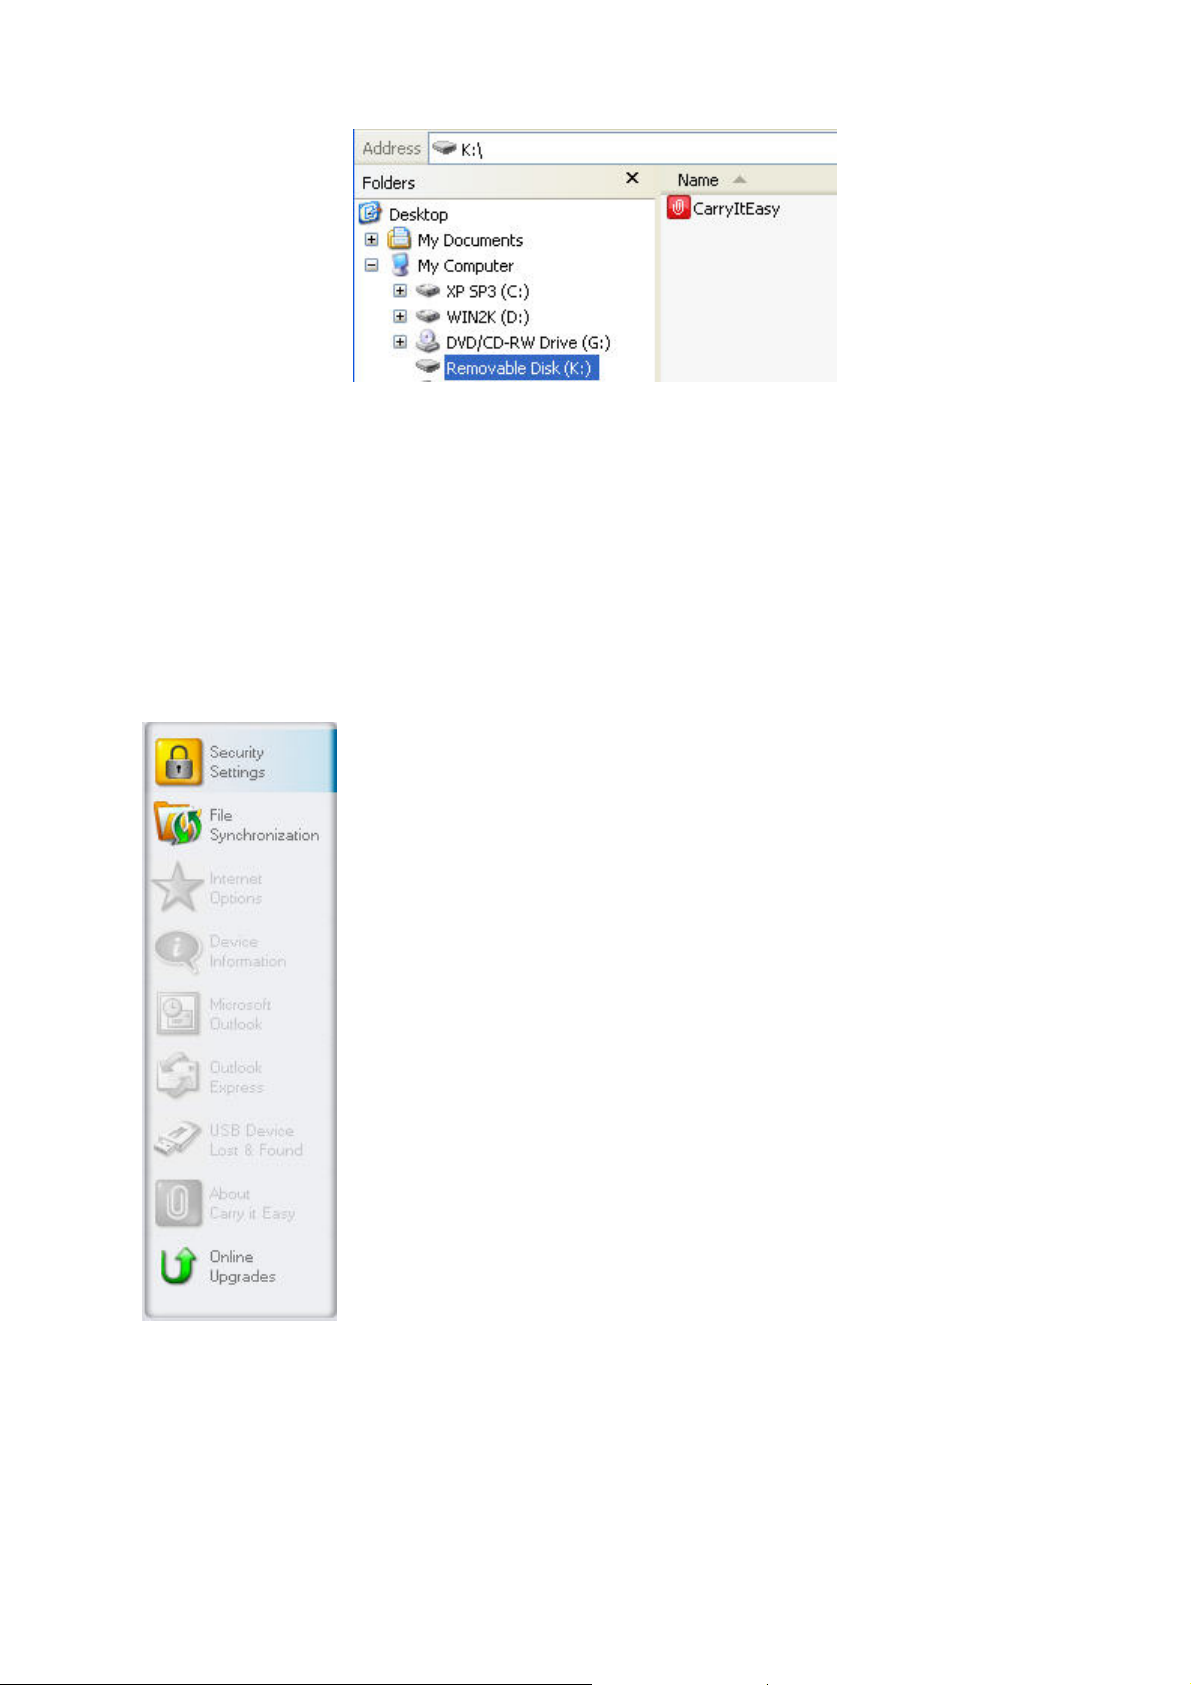
To start Carry it Easy, plug in your USB Drive or your portable storage device and
open My Computer (Windows Explorer).
Open the USB Drive or the removable storage drive with the drive letter e.g. D: or F:
depending on your computer and double-click on the CarryitEasy.exe file to start the
application.
5
The CarryitEasy.exe file will remain on your USB Drive in order to be able to use the
application when you switch between different computers. Please always run the
application from the USB Drive and not from your hard disk or your desktop.
4.2. General navigation
On the left side of the welcome window you will have the main
functions permanently available (see picture on the left). Just
click for example the Security Settings option, and you will have
the function available. You also have access to most features
through the system tray icon. The system tray functions are
described below.
4.3. USB Drive / Portable Storage Capacity
On the bottom of the main window, you always have displayed a fill bar indicating the
available space and the already used capacity of your USB Drive. When you make a
6

new selection e.g. of a My Documents folder you want to synchronize, the fill bar will
jump to the new capacity used to indicate what capacity would still be left on the
Device.
5. Working with Carry it Easy
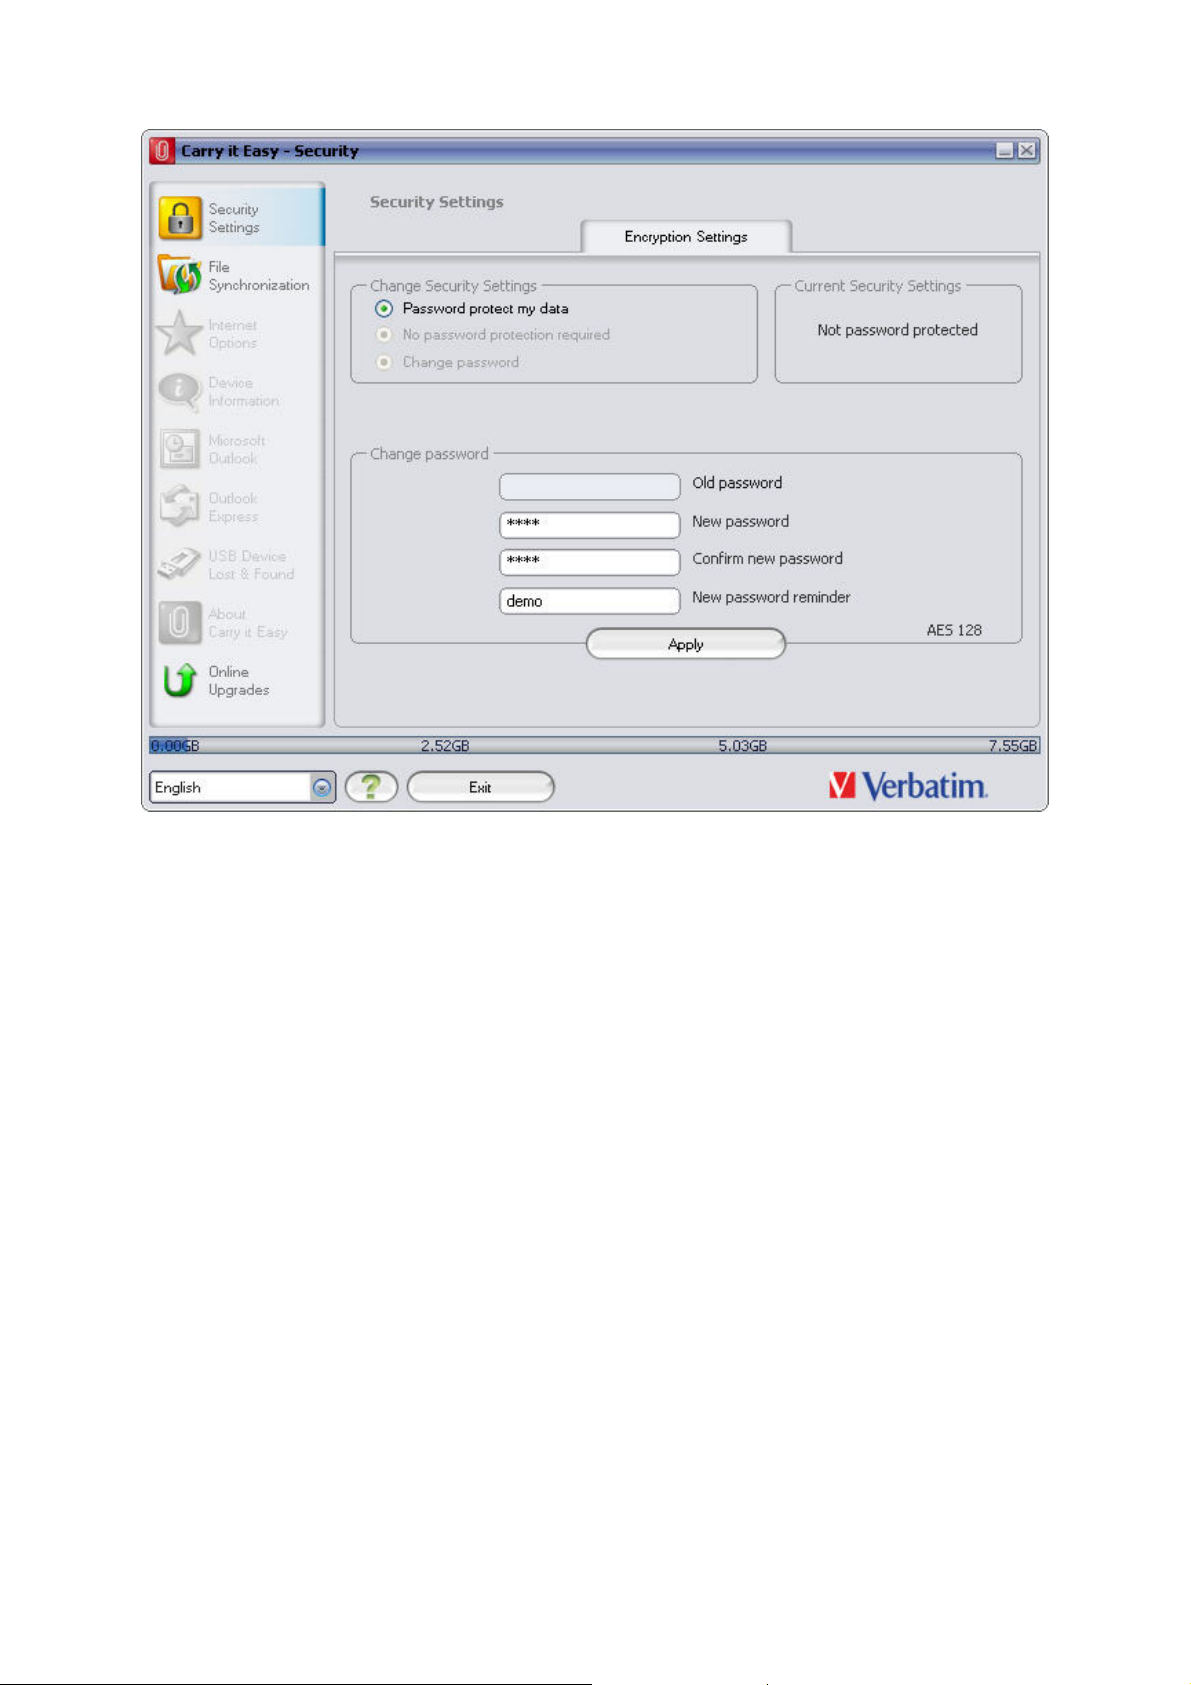
5.1. Security Settings
When using Carry it Easy for the first time, we recommend that you change the he
login window if you already have set a password and want to change it.
To set a password, select in the main “Security Settings” window the option
“Password protect my data” and enter a password as well as the password
confirmation and the password reminder, then click the “Apply” button.
Changing your existing password is also done in this window, by selecting the
option “Change password”. In order to be able to change the password you have to
give your old password and enter the new password with the password confirmation
and the new password reminder followed by clicking the “Apply” button.
If password protection is not required and you already have password protection,
you have to select the “No password protection required” option and give your old
password and click the “Apply” button.
7
If you choose to password protect your device, Carry it Easy will encrypt the
“Personal Data” folder on your portable storage device. Other data that are stored on
the Device but are not synchronized with Carry it Easy will remain unencrypted.
Carry it Easy encrypts only the data synchronized with Carry it Easy.
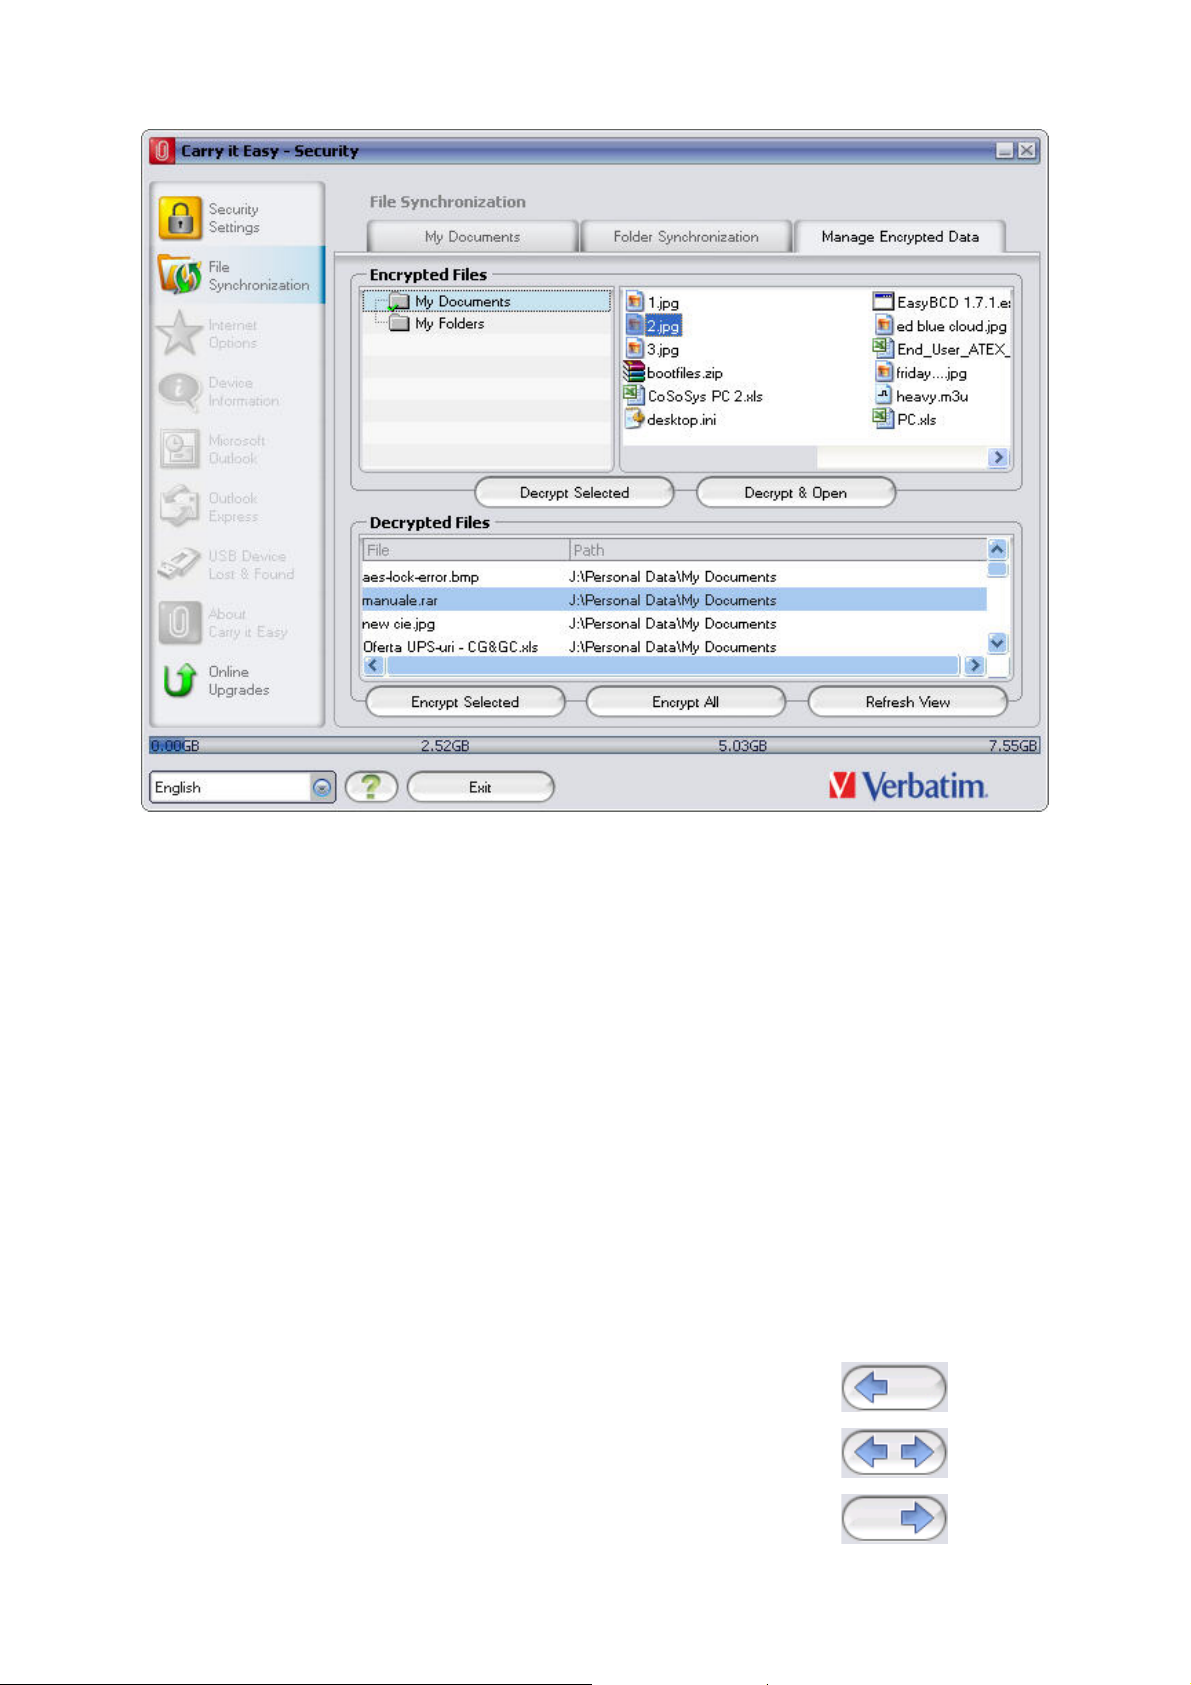
You can manage the encrypted files by going to the File Synchronization window.
After you password protect your data, the Manage Encrypted Data tab is activated.
You can decrypt & open any of your files and then re-encrypt them.
8
Changing the security settings can take a few minutes depending on how many files
are saved on the USB Drive. You will see a progress bar that indicates what the
current status is.
5.2. My Documents synchronization
To synchronize your My Documents, go to the File Synchronization option in the
main navigation menu on the left. On the “My Documents” tab sheet you will see the
My Documents directory with all the included subdirectories (“Hard Disk” image). The
folders you wish to synchronize with your USB Drive can simply be selected by
clicking them. You then have to choose one of the three synchronization rules
available.
a) Creates and/or updates older My Documents on
the Computer
b) Creates and updates all missing or older My
Documents
c) Creates and/or updates older My Documents on
the device
9

To synchronize data between the Computer and your portable storage device you
have to apply one of the three synchronization options and go either to the “Hard
Drive” or the “USB Drive” image. Select the folders you want to synchronize and click
the “Synchronize” button.
When the synchronization has begun, a progress bar will appear. In the progress bar
an option “View Details” is available to show errors that might occur during the
process. When the synchronization is finished the “Finished” button becomes active
indicating that the process has ended.
5.3. View and Edit My Documents on portable storage
To view, edit or delete files and folders that are stored on your USB Drive, you can
simply click on the “USB Drive” image in the My Documents tab sheet. When right
clicking over the respective folder, you have the option to open the data or to delete
them. When you have your data compressed you will not be able to use the right
click function.
5.4. Data Compression on the Device
Carry it Easy offers you the possibility to compress the documents you want to
synchronize in order to use the space on your Device more efficiently. Just click on
the “Data compression” tick box (screw clamp image) in the “My Documents” or the
“Folder Synchronization” tab sheet. When you click on the synchronization button the
documents you selected for synchronization will be compressed and moved to the
USB Flash Drive.
10
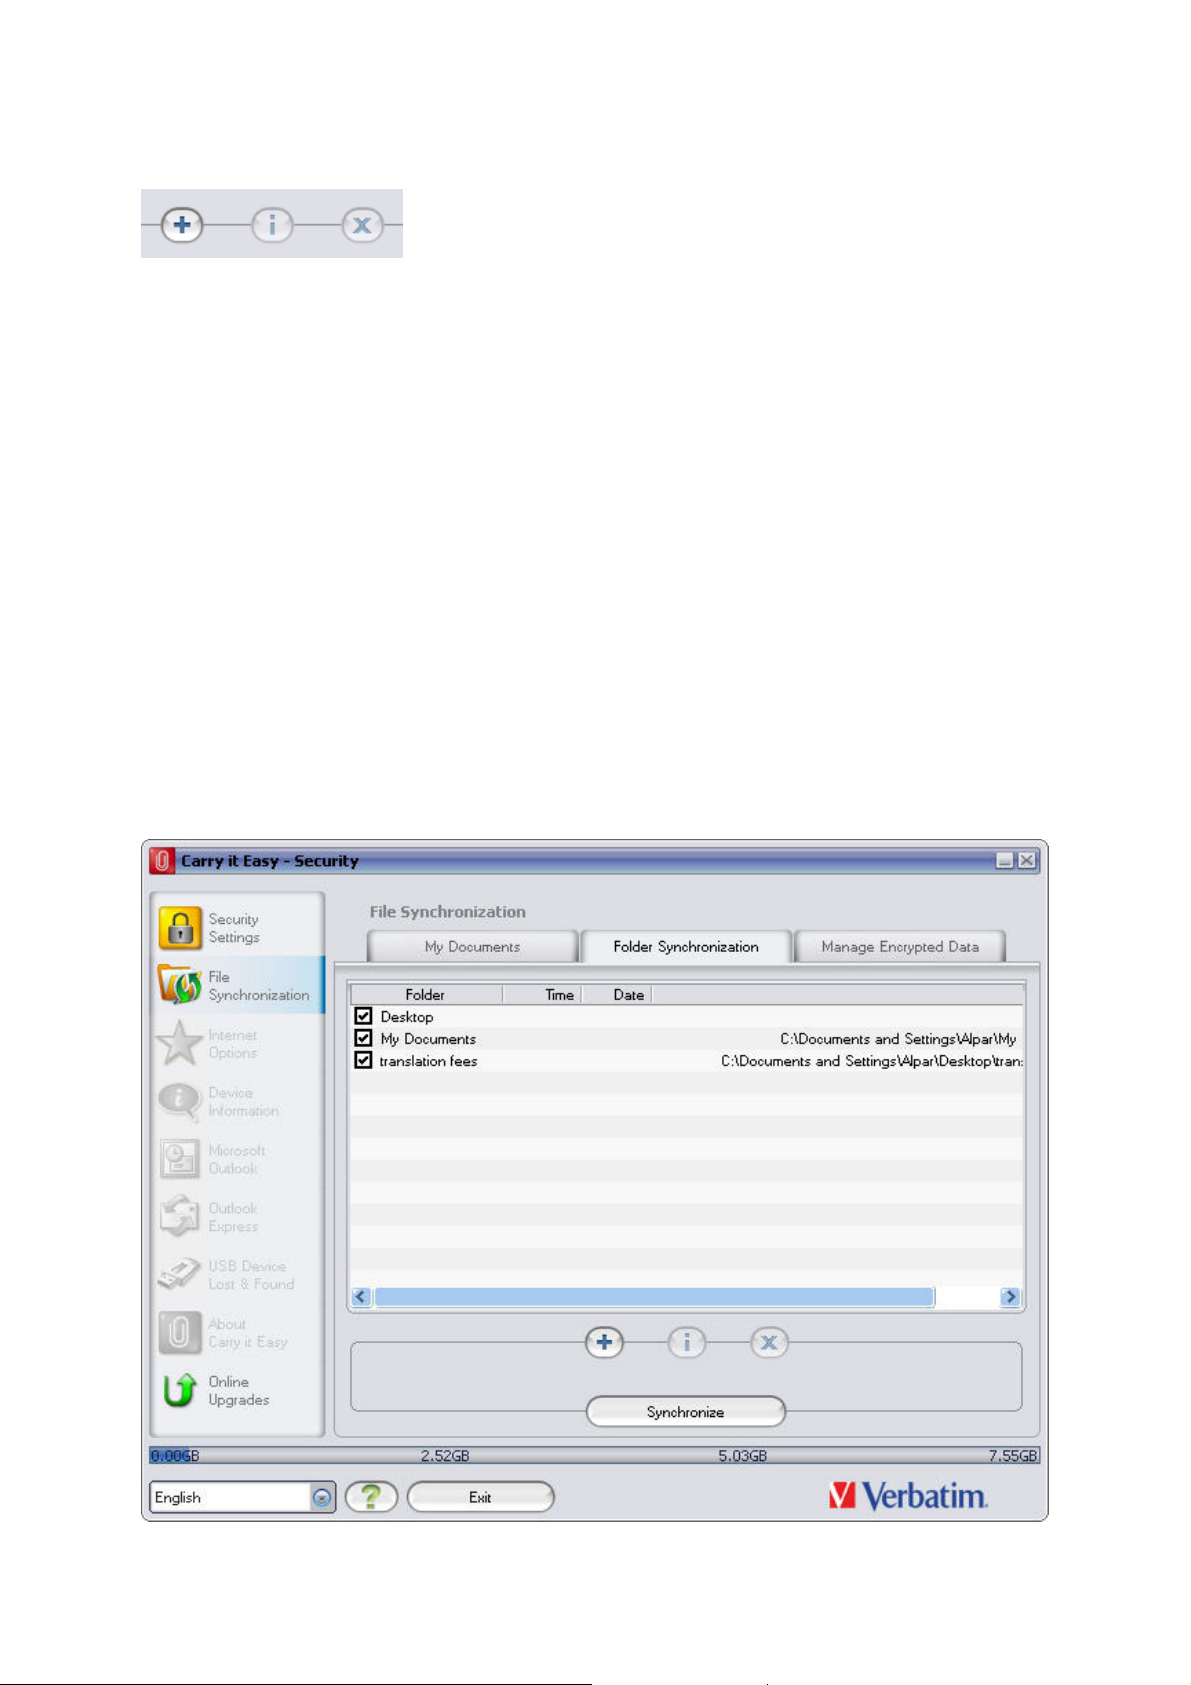
5.5. Folder and Desktop synchronization
Carry it Easy lets you create profiles so you can easily synchronize documents
between two or more computers. Go to the “File synchronization” window and click
on the “Folder Synchronization” tab. To add a folder to the synchronization list, just
push the “+” button. If you want to edit the synchronization options push the “i”
button. If you want to delete a profile push the “x” button.
To synchronize the selected profiles with your Device push the “Synchronize” button.
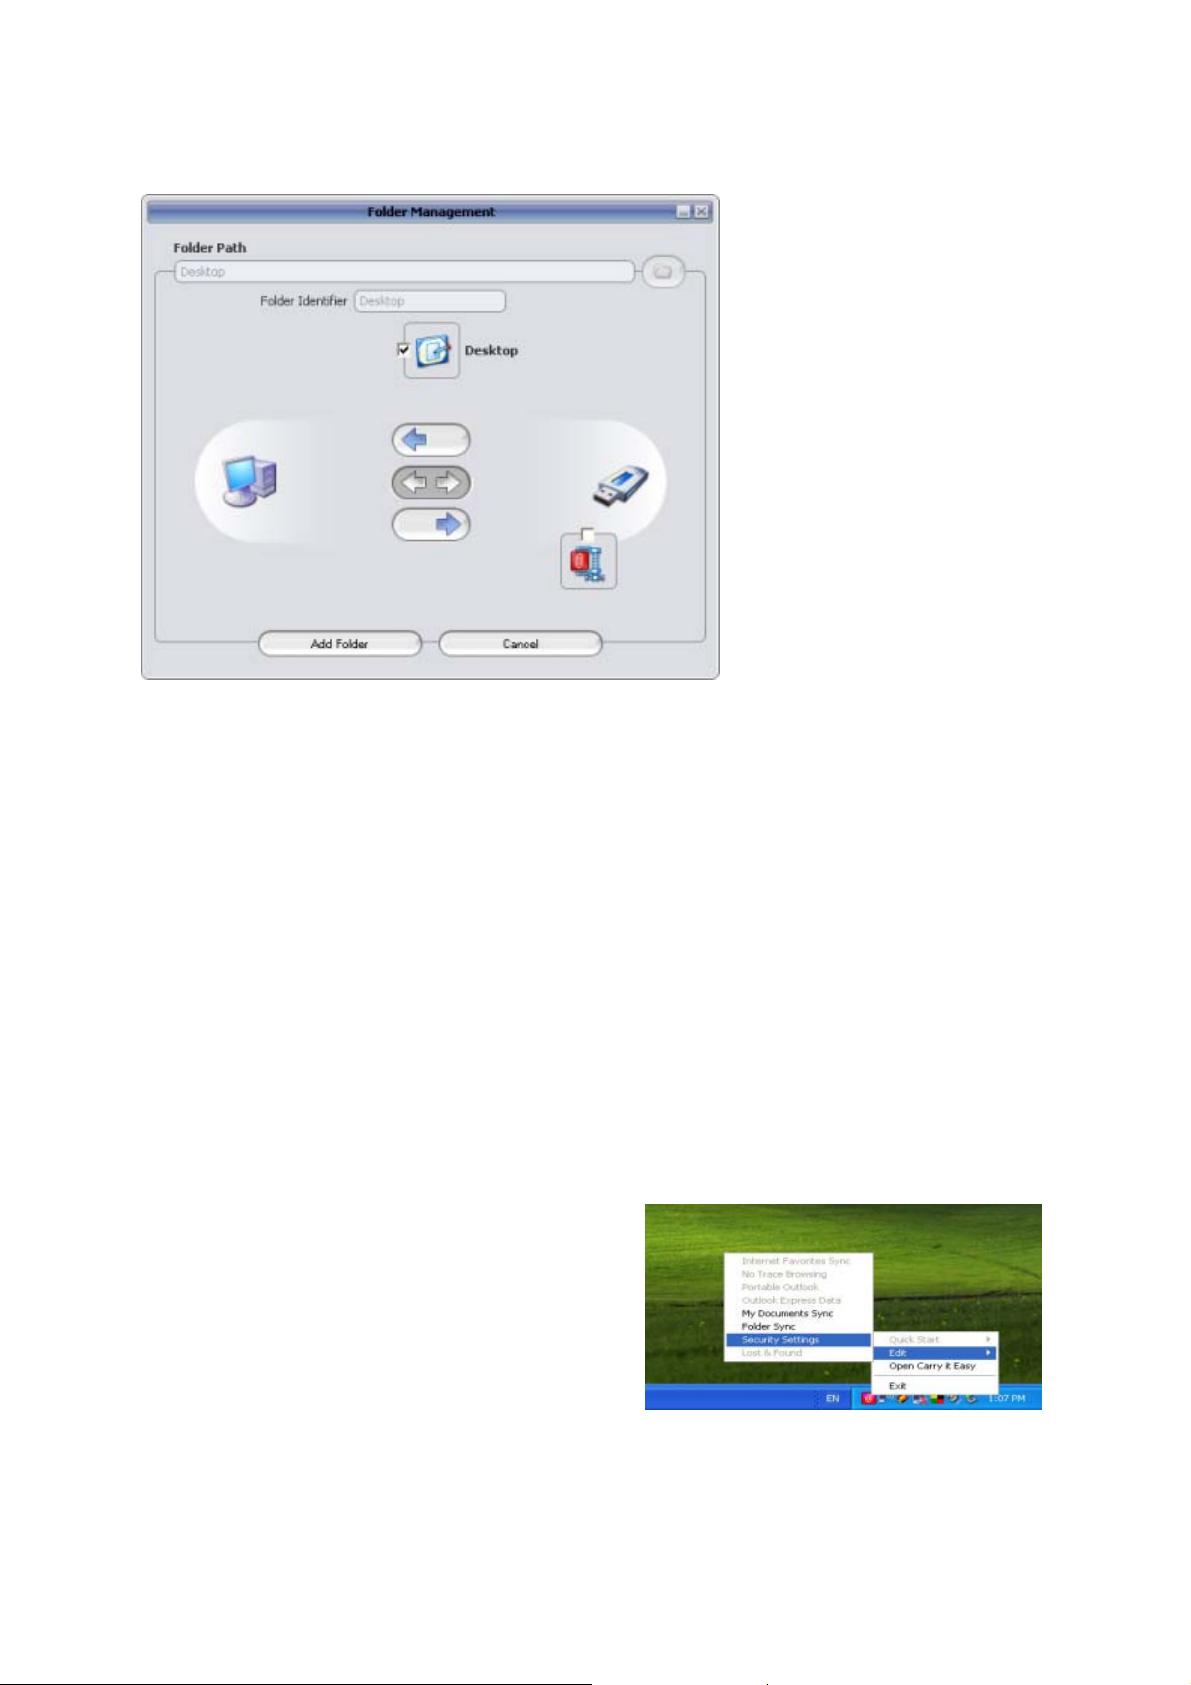
The first time you connect to another computer and try to synchronize your
documents you will be asked to select a folder on that computer with which the data
from your Device should be synchronized. You can do that by selecting the profile
you want to synchronize and then pushing the “i” button. The next time you want to
synchronize your data, just select it and click on the “Synchronize button”.
11
To synchronize your Desktop items follow the same steps as described above.
5.6. Adding files and folders to your portable storage device
To add further files and folders to your portable storage device, you have to login with
your password in Carry it Easy (if you have selected password protection) and copy
them into the directory e.g. E:[USB Drive]\Personal Data\My Folders. For these data,
the subfolder “My Folders” is available.
Attention! Save your data only in “My Folders”, otherwise if the security settings are
changed the data will be permanently lost.
5.7. Work with the system tray menu
Via the Carry it Easy Icon in the system tray
you are able to reach all the Carry it Easy
options.
12
 Loading...