

Page 1

1
Table of Contents
1 General Information ...........................................................................4
1.1 Main Features.................................................................................4
1.2 For Your Safety ..............................................................................5
1.3 Unpacking.......................................................................................5
1.4 General Operation of STB ...........................................................5
1.5 Front Panel......................................................................................6
1.6 Front Panel Display ......................................................................6
1.7 Rear Panel.......................................................................................7
1.8 Remote Control Unit.....................................................................8
1.9 Keys specification.........................................................................9
2 Installation of STB ............................................................................10
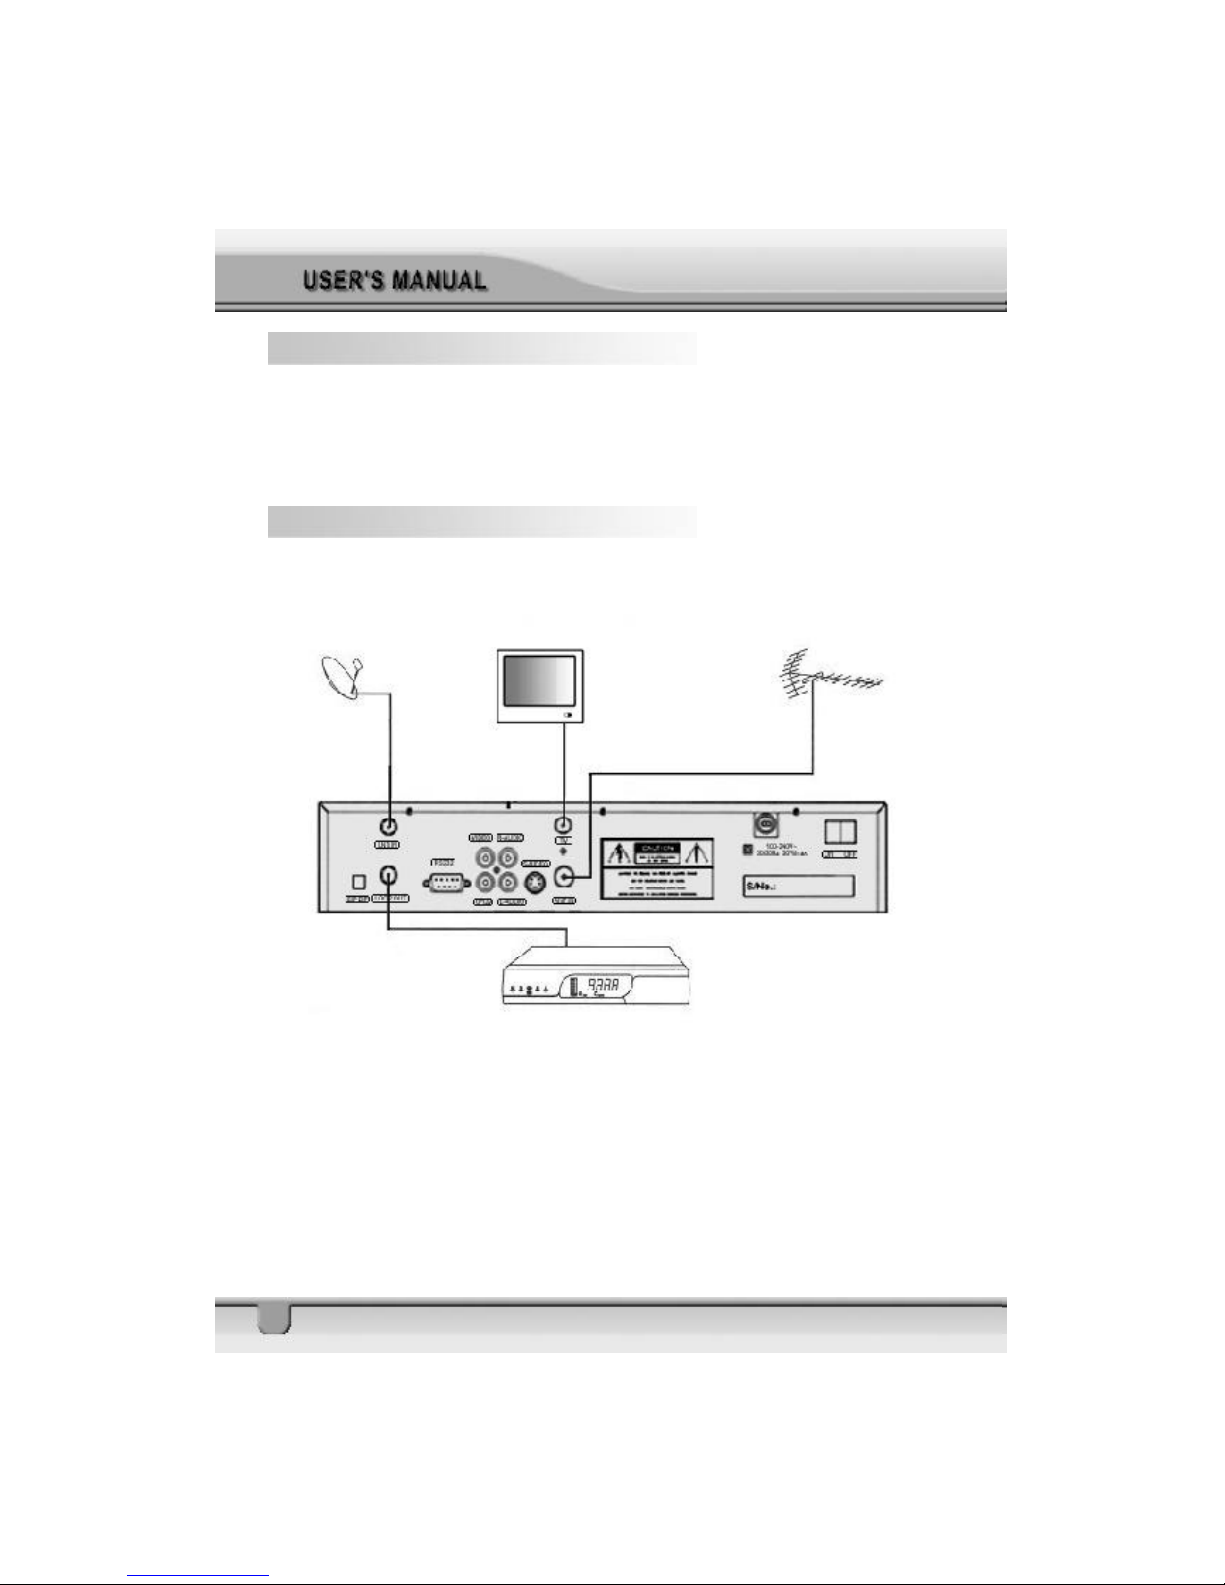
2.1 Connecting to Antenna and TV ...............................................10
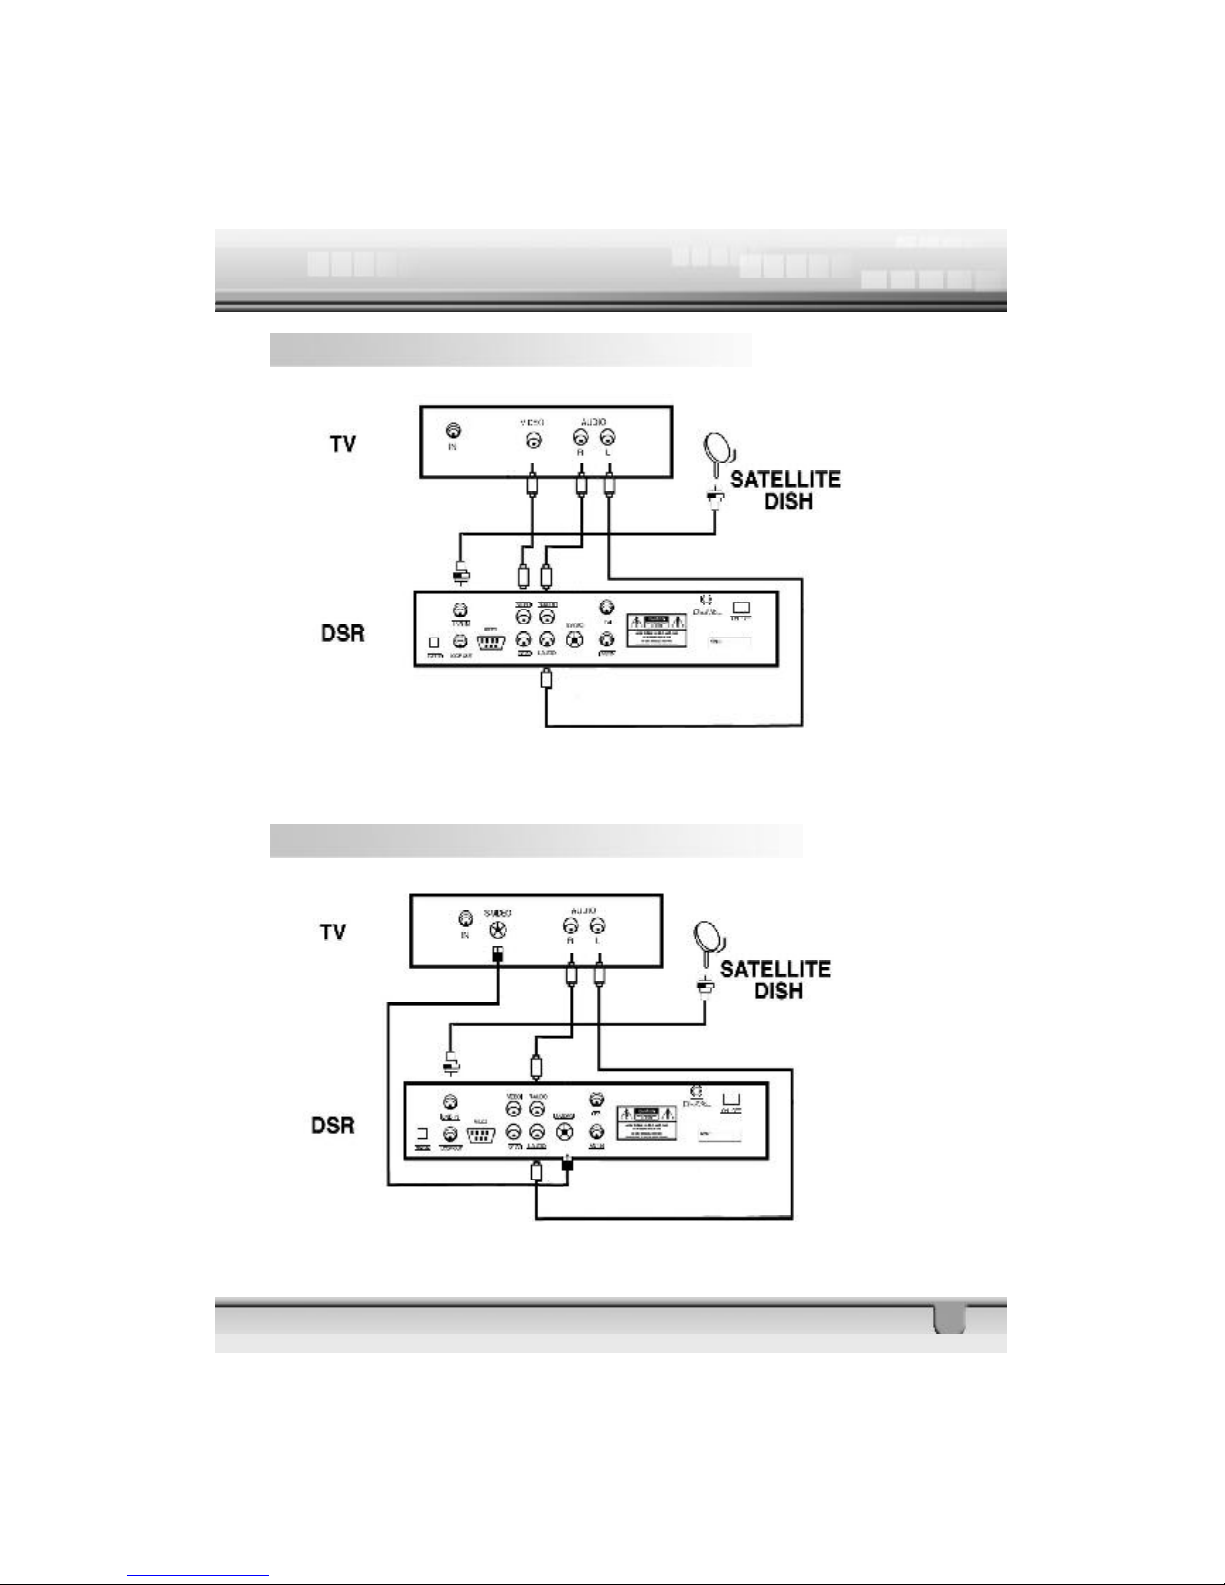
2.2 Connecting to TV using RCA Support................................... 11
2.3 Connecting to TV using S-VIDEO Support ..........................11
3 Me nu Information .............................................................................12
4 Us er Installation................................................................................12
4.1 Antenna Setup – 1) DiSEqC 1.2...............................................13
4.1.1 East W est Limit ......................................................................... 13
4.1.2 Reset DiSEqC limit ...............................................................14
4.2 Antenna Setup – 2) Fixed..........................................................15
4.3 Channel Search – 1) DiSEqC 1.2.............................................15
4.4Channel Search – 2) Fixed..........................................................18
4.5 System Setting.............................................................................18
4.6 Parental Lock ...............................................................................19
4.7 Factory Default.............................................................................21
Page 2
2
5 General Viewing Function..............................................................21
5.1 Select Channel.............................................................................21
5.2 Previous Channel Recall...........................................................22
5.3 TV & Radio Mode.........................................................................22
5.4 TV & VCR Mode ...........................................................................22
5.5 Channel Information...................................................................22
5.6 Volume & Audio Control .............................................................23
5.7 Position...........................................................................................23
5.8 Sat ....................................................................................................23
5.9 Favourite List................................................................................24
6 Channel Manager .............................................................................24
6.1 Channel Manager .........................................................................24
6.2 Favorite Channel .........................................................................25
6.3 Move Channel ..............................................................................25
6.4 Lock Channel ...............................................................................26
6.5 Rename Channel.........................................................................26
6.6 Delete Channel.............................................................................27
6.7 Sort Channel.................................................................................27
7 Receiver Information .......................................................................28
8 EPG (Electronic Program Guide)..................................................28
9 Timer ....................................................................................................29
9.1 Time Adjust ...................................................................................29
9.2 Time Reservation ........................................................................29
10 Antenna Direction Help .................................................................29
11 Menu Tree of STB ...........................................................................31
12 Technical Specification.................................................................33
13 Trouble Shooting............................................................................36
Page 3

3
Table of Figures, Charts and Tables
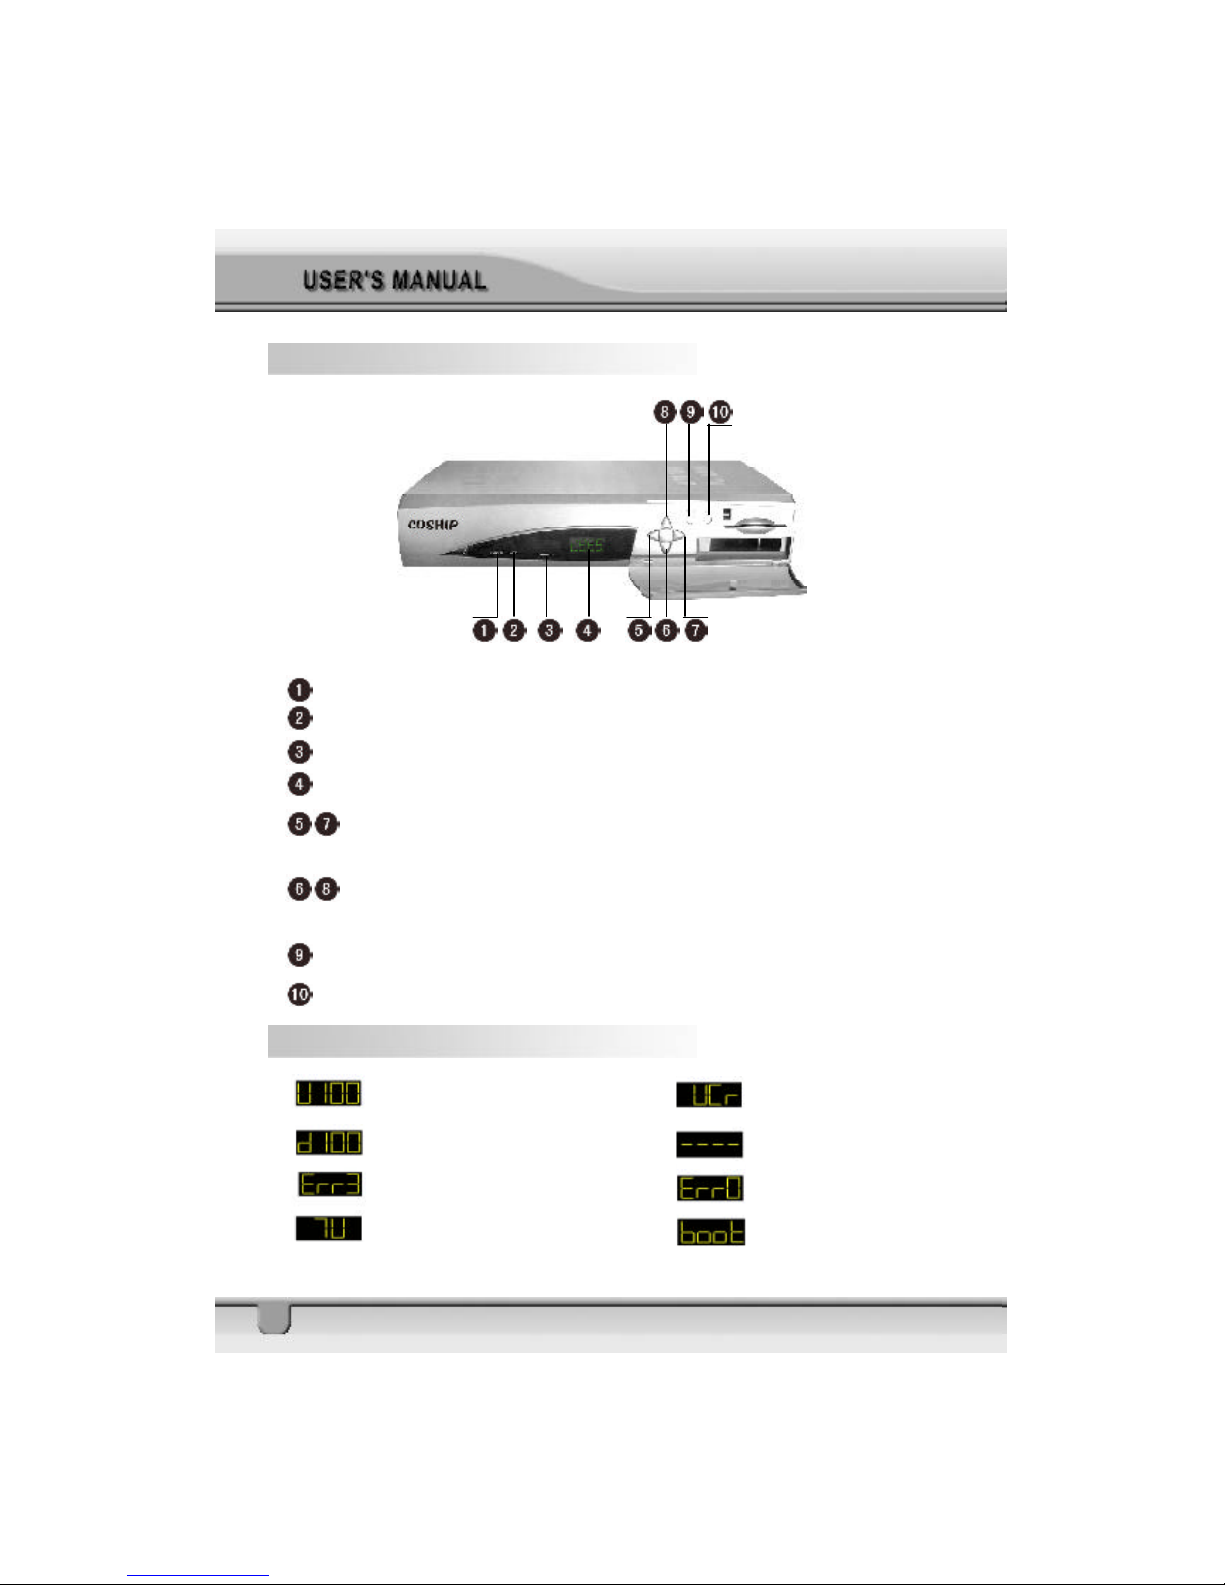
Figure 1:Front Panel 6
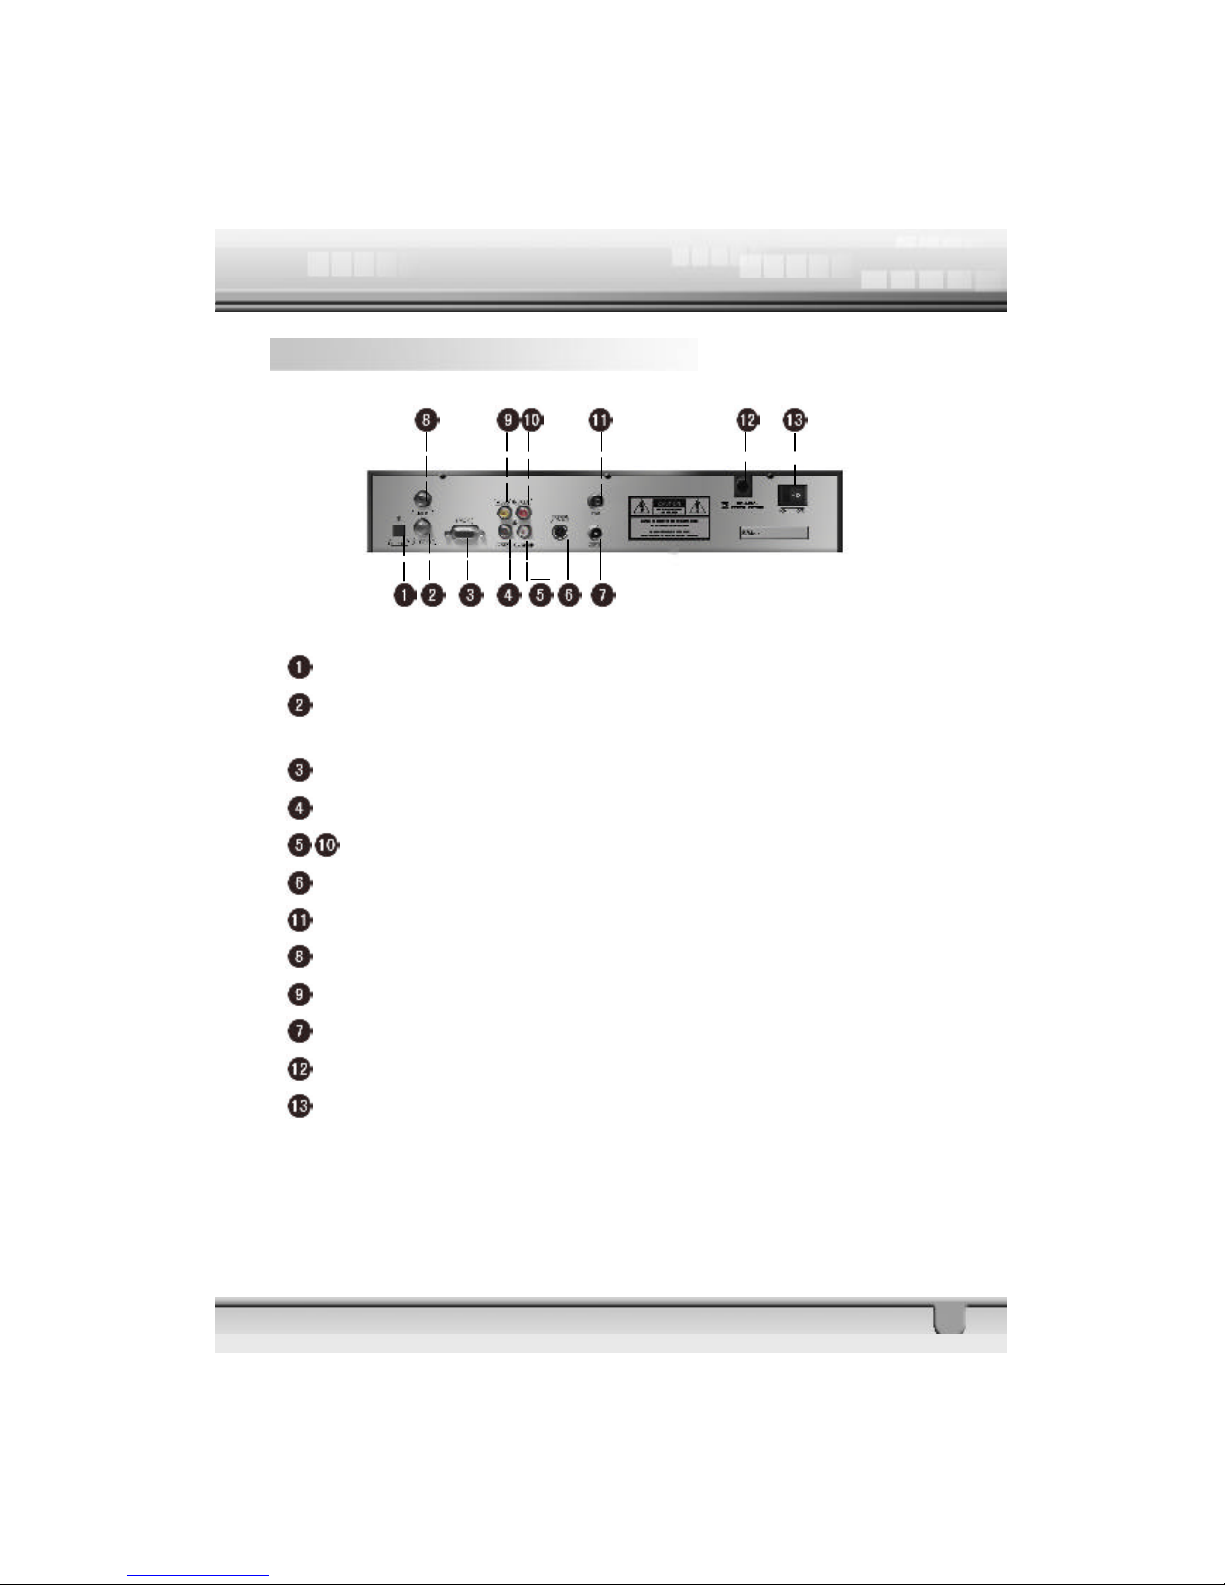
Figure 2:Rear Panel 7
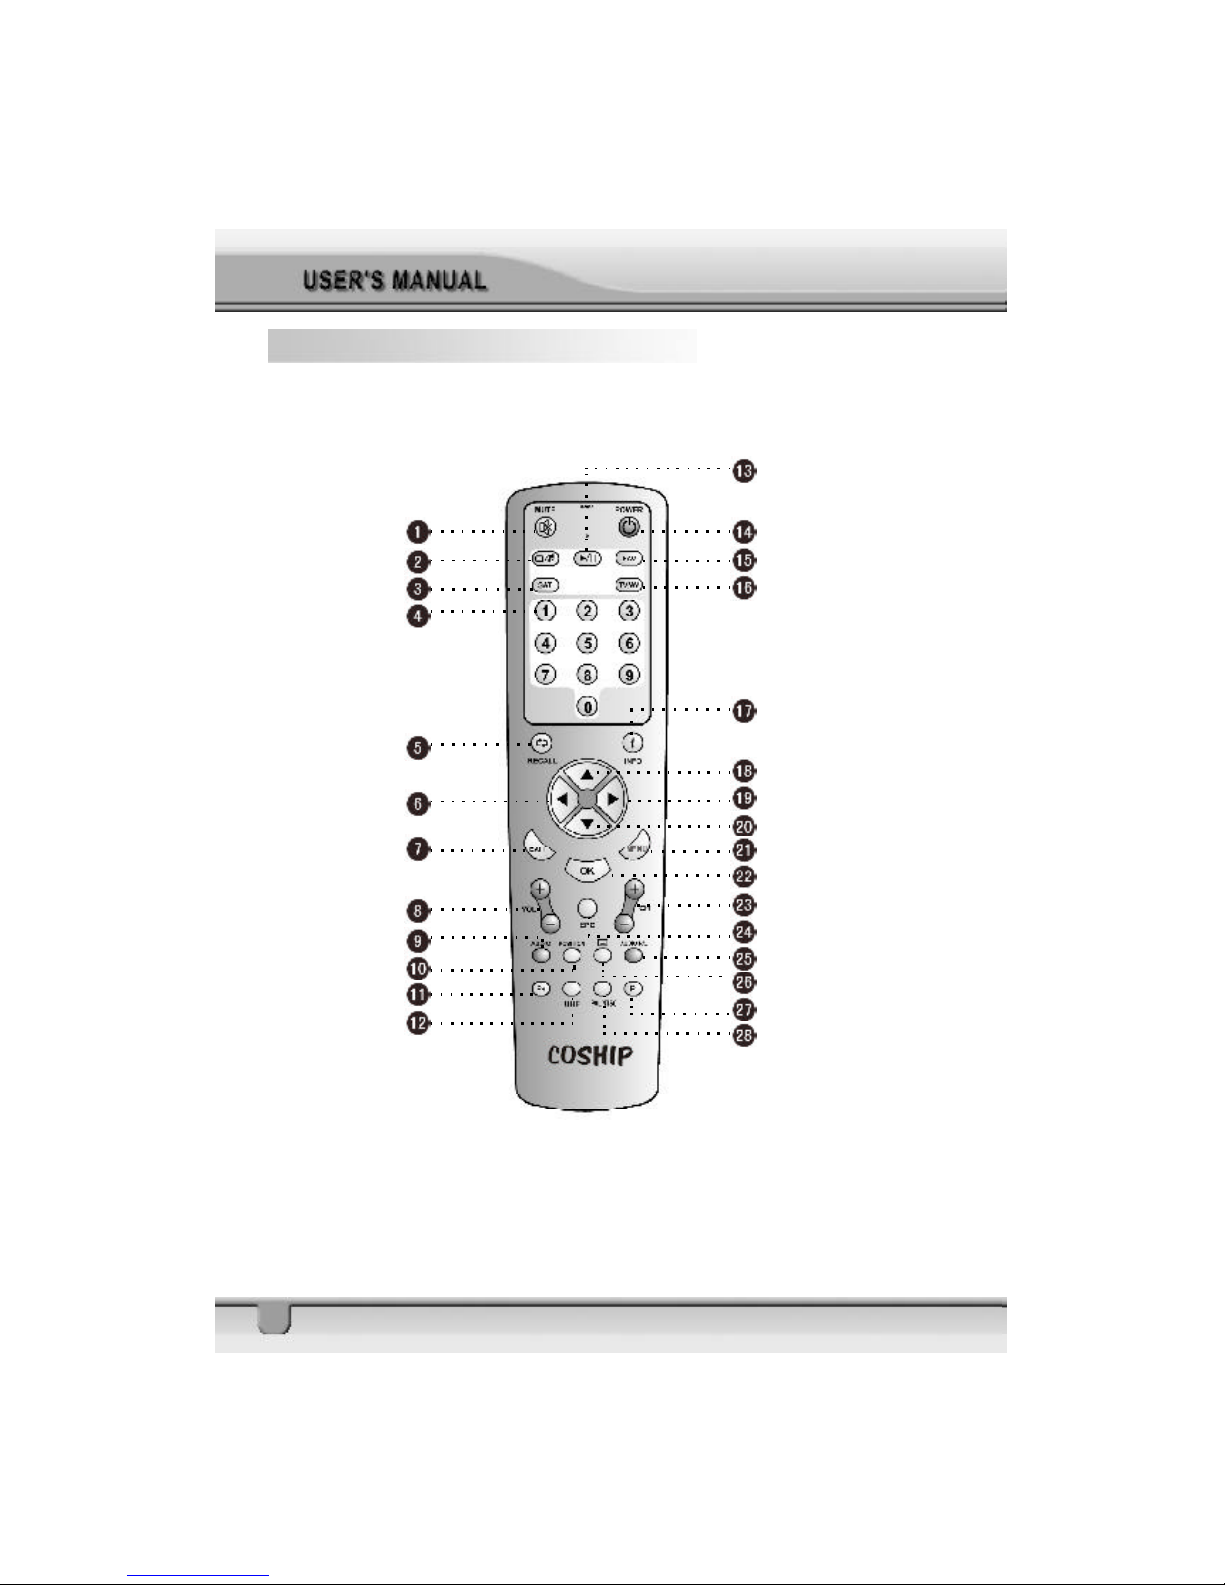
Figure 3:Remote Control Unit 8
Page 4

4
1 General Information
This digital satellite receiver allows you to view a variety of satellite programs. This
user’s guide c overs the installation of the STB and the necessary steps to operate
various features. It al so explains special features available only in this STB in detail,
and will allow you to take full advantage of these features.
1.1 Main Features
v Fully MPEG2, DVB compliant
v Digital Audio with AC-3 support by S/P DIF(Optional)
v PIG (Picture In Graphic) support
v DiSEqC1.2 positioner for multi-satellites (63 satellites)
v C/Ku band control for each antenna
v User Friendly and easy-to-use menu system
v Various channel editing functions (favorite, moving, locking, renaming,
deleting and sorting)
v User programmable various satellite & transponder information
v Automatic search for newly added transponder (Network Auto Search)
v Stores up to 2000 channels
v Easy and fast software upgrade through RS-232 port
v Timer fu nction, automatically turns On/Off by setting function (daily, weekly,
monthly, one time)
v Automatic reserved channel moving system
v Electronic Program Guide (EPG)
v OSD Teletext (DVB ETS 300 706) and Subtitle function support
v VBI Teletext support
v Antenna positioning help feature
v Multi video output – CVBS, RGB
v Provides various switch types, LNB types and NTSC/PAL monitor type
v SCPC/MCPC receivable from C/Ku band satellite
v Multi LNB controlled by DiSEqC 1.2 and 22KHz, 0/12 volt switching
v 256 color On-Screen-Display
v Automatic PAL/NTSC conversion
v Automatic last channel saving
Page 5

5
1.2 For Your Safety
v Allow clear space around the STB for sufficient ventilation
v Do not c over the receiver or place it on a unit that emits heat
v Use a soft cl oth and a mild solution of washing liquid to clean the casing
v Do not c onnect or modify cables when the STB is plugged in
v Do not remove the cover
v Do n ot allow the unit to be exposed to extreme heat, cold or humid conditions
v Never allow liquids, spray or other materials to come into contact with the
inside of the model.
1.3 Unpacking
Unpack the recei ver and check to make sure that all of the following items are included in the packaging.
v 1 x Remote Control Unit (RCU)
v 1 x User’s Guide
v 1 x Digital Satellite Receiver
1.4 General Operation of STB
Throughout this manual you will notice that the everyday operation of your STB is
based on a series of user friendly on screen display and menus. These menus will
help you get the most from your STB, guiding you through installation, channel
organizing, viewing and many other functions.
Al l functions can be carried out using the buttons on the RCU, and some of the
functions can also be carried out using the buttons on the front panel.
If at any time when using the menus you want to return to the normal TV mode, press
the TV/A V button.
Please be aware that new software may change the functionality of the receiver.
Should you experience any difficulties with the operation of your unit, please consult
the relevant section of this manual, including the Problem Shooting, or alternatively
call your dealer or a customer service adviser.
Page 6
6
1.5 Front Panel
STANDBY: Show the STB is under STANDBY mode
LOCK: Signal lock lamp
INTENSITY
DISPLA Y: Shows channel number, error messages, etc
When watching a channel, adjust the volume or move to the left or right item in
th e menu.
When watching, chang to the previous or next channel, or move to the next higher
or lower item in the menu.
MENU: Show the Main Menu and command box on the screen
OK: Execute the selected item in the menu
1.6 Front Panel Display
: UP LOAD PROCEDURE : VCR MODE
: DOWN LOAD PROCEDURE : SYSTEM WAITTING
: ERROR IN DATA TRANSMITTING : FLASH ROM ERROR
: TV MODE : SYSTEM BOOTING
Page 7
7
1.7 Rear Panel
DIGITAL AUDIO: Connect to TV for digital audio output
LOOP OUT: Connect to another receiver (IF loop through output from
digital tuner)
RS232: Connect to a PC for software upgrade
0/12V: Connect to an external 0/12V switch
L-AUDIO/R-AUDIO: Connect to TV or audio tuner
S-VIDEO: Connect to the S-VHS jack of the TV or VCR
TV: UHF RF output to TV set’s antenna in
LNB IN: Connect to satellite antenna (IF input from LNB to digital tuner)
VIDEO: Connect to the TV using RCA jack (CVBS output to TV)
ANT IN: Signal input from local CATV network or outdoor TV antenna
100-240V~: Power supply
ON /OFF: Main power switch
NOTE:
The above picture of rear panel is referenced, please operate real one.
Page 8
8
1.8 Remote Control Unit
Page 9
9
1.9 Keys specification
Press to t emporarily cut off the sound
Switch between TV and Radio mode
Display the satellite list of searched channels
Enter number of the required menu item or select a channel number to watch
Switch back to previous channel
Move cursor up/down/left/right
Return to the previous menu on the menu screen or escape from the item
When watching a channel, adjust the volume
When watching a channel, switches the audio languages
Display position bar on the screen to adjust the antenna or for manual search
Moves up/down a page in the channel list
Switches to UHF tuning mode
Pause/Play A/V
Turns power ON/ OFF of the DSR
Display the favorite channel list
Switch bet ween TV or AV mode, only applicable when the STB has the SCART socket.
Shows information of the current channel
Press to display the Main Menu on the screen
Executes the selected item in the menu screen, or enters the desired value in any input
mode
When watching a channel, change channels
Calls up the EPG (Electronic Program Guide)
Switches among left audio/right audio/stereo
Switches to teletext or subtitle mode
Switches between PAL and NTSC
Page 10
10
2 Installation of STB
This section explains the installation of t he receiver. Refer to the manuals supplied
with the equipment for the installation of outdoor equipment such as the dish antenna.
When adding new equipment, be sure to refer to the related parts of the manual for
the installation.
2.1 Connecting to Antenna and TV
Page 11
11
2.2 Connecting to TV using RCA Support
2.3 Connecting to TV using S-VIDEO Support
Page 12
12
3 Menu Information
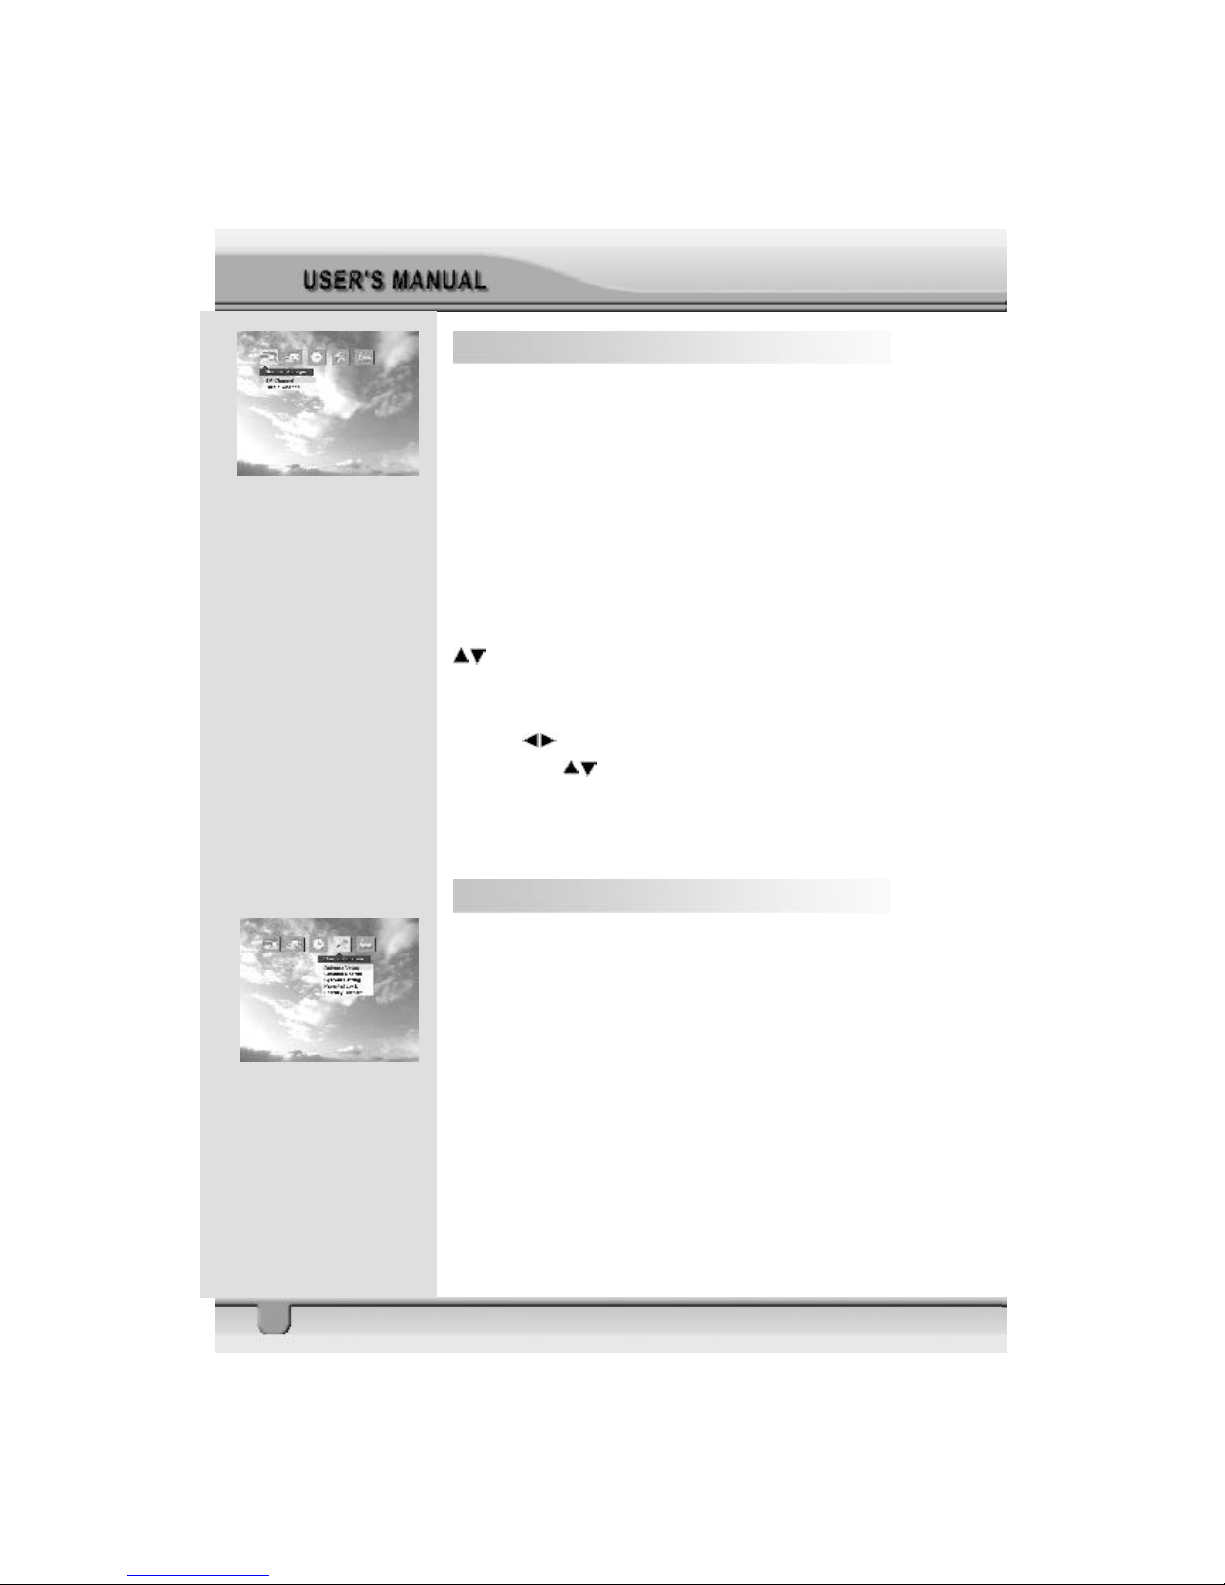
Once you have installed and connected the cables of the
receiver, the menu will be displayed.
This menu consists of 5 menu options as shown below.
v Channel Manager
v Program Guide
v Timer
v User Installation
v Receiver Information
During the installation the OK key confirms a selection and
key shows th e Drop Down List Box. You can also use the
numer ic keys on the RCU to enter a numeric value for watching
TV.
Use the keys to move left or righ t from one line to another
line. Us e the keys to move the cursor up or down in the
sub-menu.
To esc ape the menu system at anytime, press EXIT key on
the RCU.
4 User Installation
This menu consists of 5 sub-menus as shown below.
v Antenna Setup
v Channel Search
v System Setting
v Parental Lock
v Factory Default
Page 13
13
4.1 Antenna Setup – 1) DiSEqC 1.2
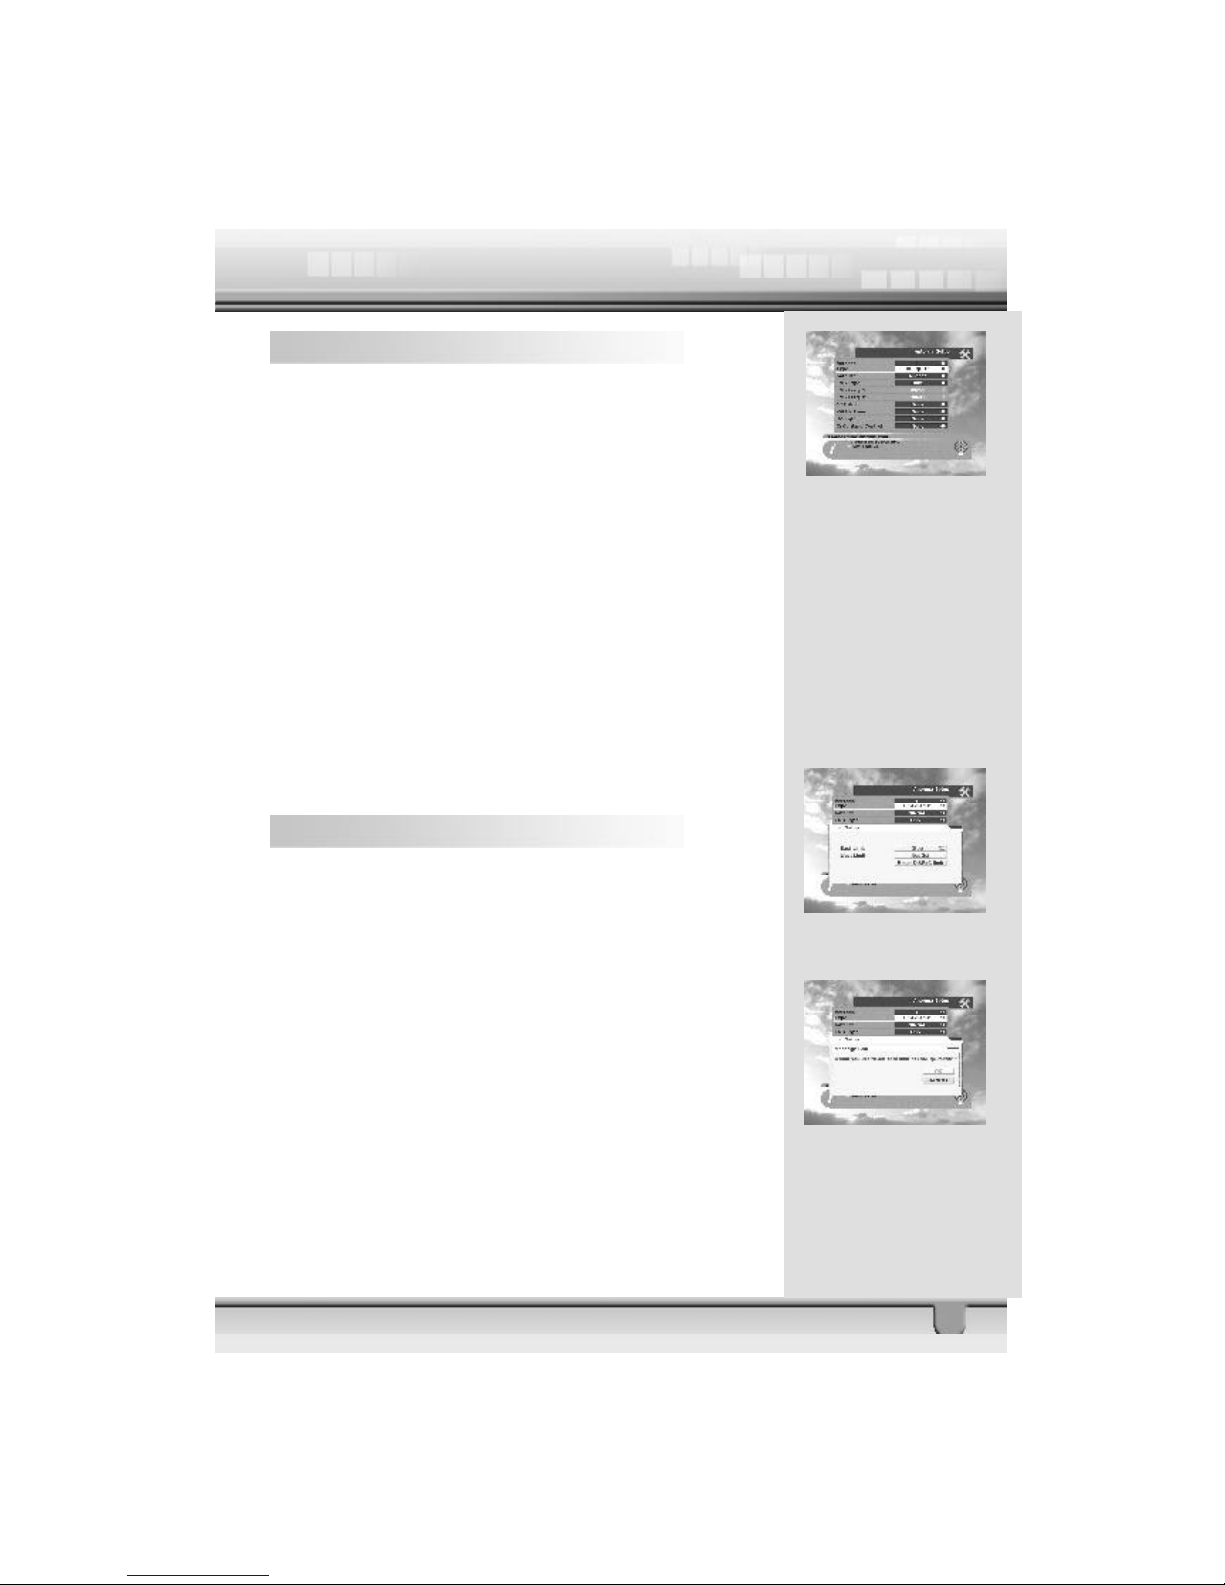
1. Antenna : You can select a maximum of 16 antennas with
the combination switches.
2. Type : Select your antenna type to be DiSEqC1.2.
3. Satellite : Select first satellite you want.
4. LNB Type : Select your LNB type. If you have universal
LNB, select Univ.
5. LNB Freq. : Enter the proper LNB frequency referring to
your LNB using the numeric ke ys on the RCU or use the KEY
PAD displayed by pressing OK key.
If you have a dual LNB, enter the proper value in the value box.
6. Switches (0/12 Volt, 22KHz Tone, DiSEqC) : You can
selec t the switches with which you want to configure the
antenna.
7. C/Ku band control : You can select C/Ku band control by
selectiing the switch type.
4.1.1 East West Limit
On selecting Limit Setup button, the Limit Setup menu will
pop up. Pr essing the key on the RCU continuously will take
you to the easternmost point. Press the OK key on the RCU.
The message “Would you like to set East limit of DiSEqC
motor?” will be displayed for your confirmation. Place cursor
on the OK button on the screen and press OK key on the RCU
to confirm the East limit.
To set West limit, follow the same steps as East limit.
Page 14
14
4.1.2 Reset DiSEqC limit
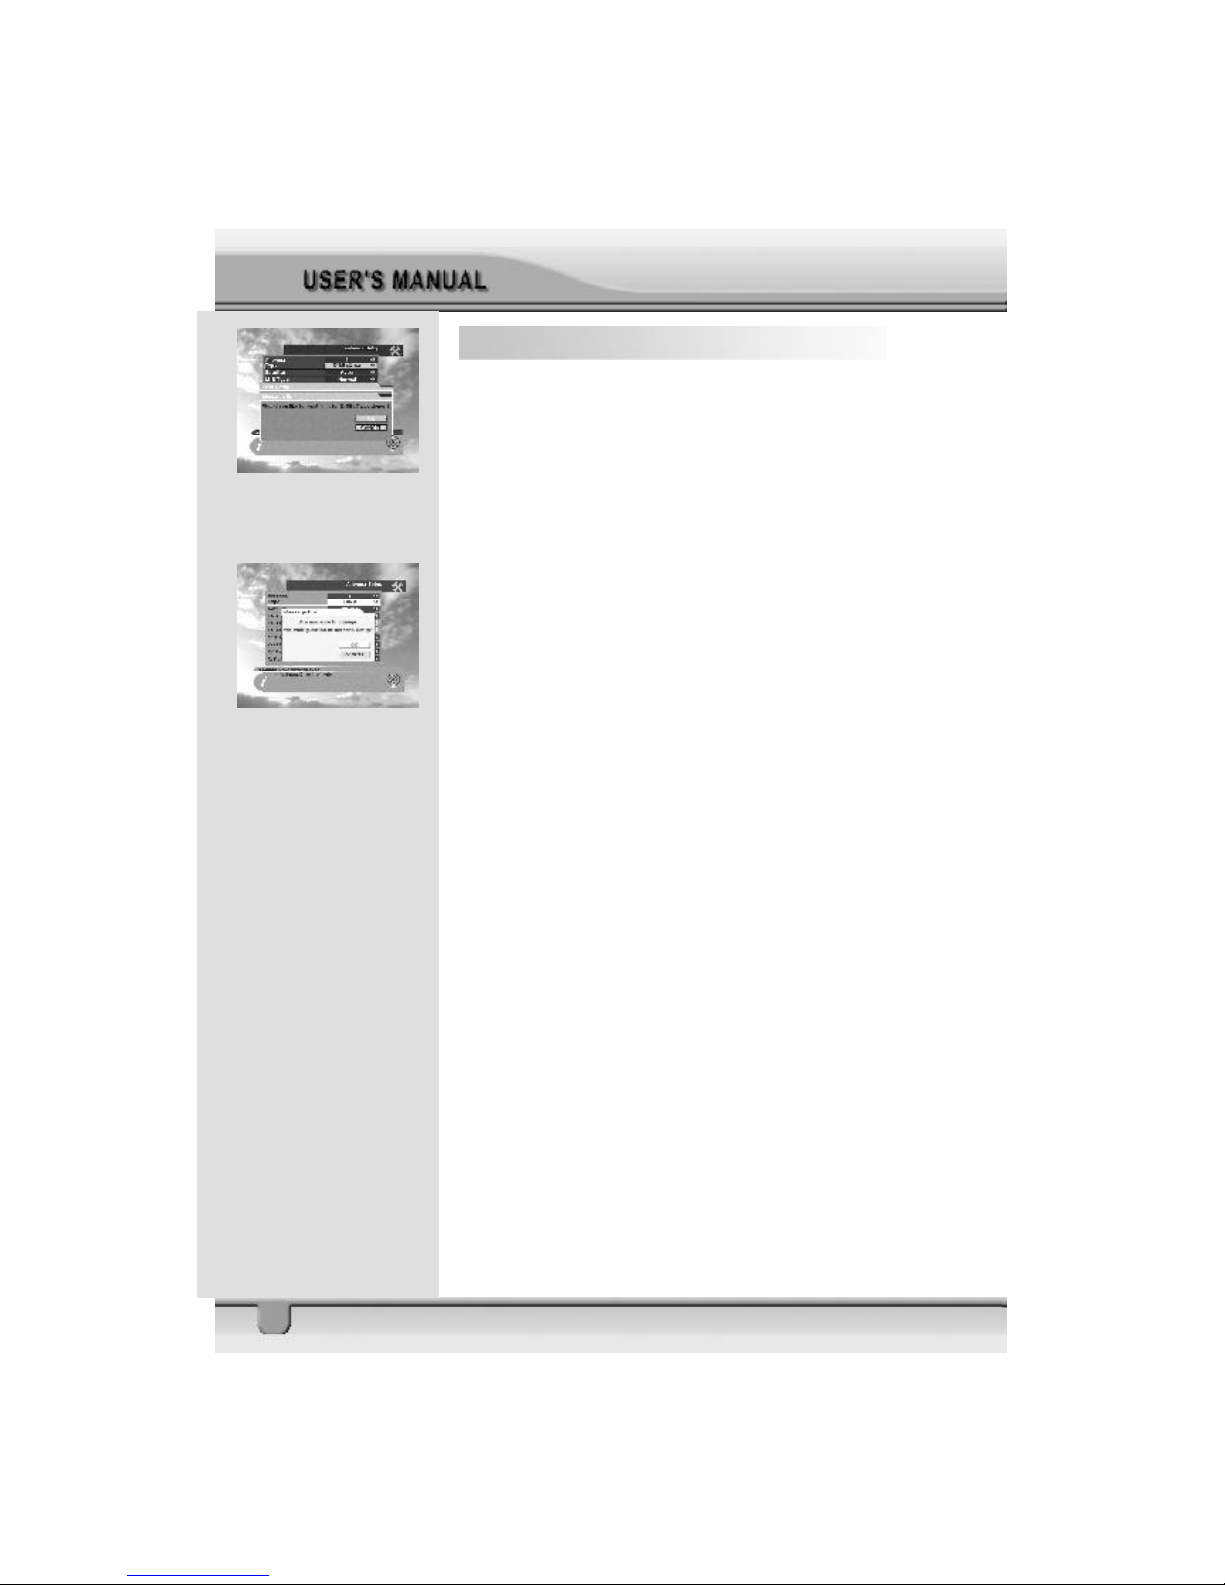
If you want to reset the East limit or West limit, place the
cursor on Res et DiSEqC Limit button and then press OK key
on the RCU. The message “Would you like to reset limit
for DiSEqC positioner?” will be displayed for your confirmation.
Select OK button by pressing OK key on the R CU. The cursor
will move to the East limit button so that you can reset the
lim it. To reset West limits follow the same steps as East
limits.
Select EXIT to finish antenna setup. The message “Are you
s ure to change the configuration of Antenna setup?” will
be displayed. Select OK button on the screen and then wait
for the data to be saved.
Page 15
15
4.2 Antenna Setup – 2) Fixed
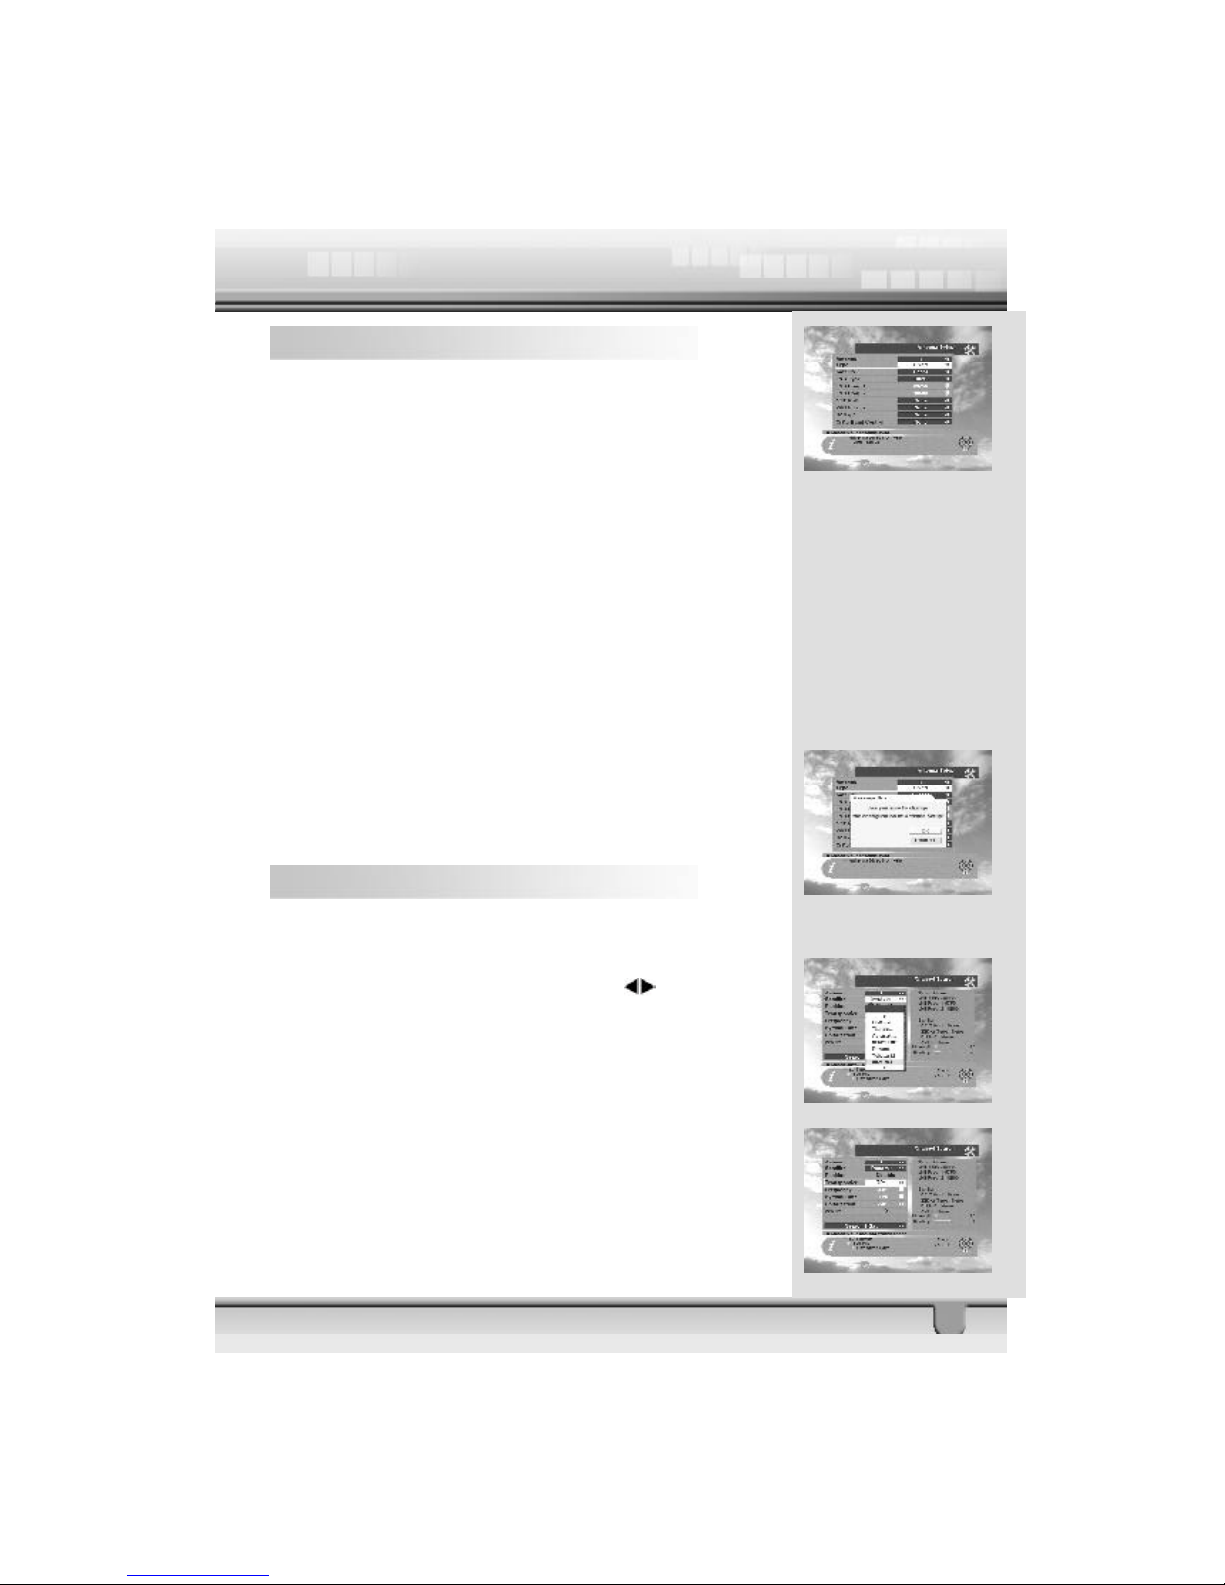
1. Antenna : You can select a max imum of 16 antennas with
the combination switches.
2. Type : Select your antenna type to be fixed.
3. Satellite : Select satellite you want.
4. LNB Type : Select your LNB type. If yo u have universal LNB,
select Univ.
5. LNB Freq. : Enter the proper LNB freque ncy referring to your
LNB by using numeric key on the RCU.
If you have a dual LNB, enter th e proper value in the value box.
6. Switches (0/12 Volt, 22KHz Tone, DiSEqC) : You can se-
lect th e switches with which you want to configure the antenna.
7. C/Ku band control : You can select C/ Ku band control by
selecting the switch type.
Select EXI T to finish antenna setup. The message “Are you
s ure to change the configuration of Antenna setup?” will
be displayed. Please select the ok button on the screen and
then wait for the data to be saved.
4.3 Channel Search – 1) DiSEqC 1.2
1. Antenna : Select your antenna number.
2. Satellite : Select desired satellite using keys.
Pressing the ok key will also display a list of satellites. You
can see the information of the selected satellite on the right
side.
Edi t Mode: If you want to edit certain preprogrammed data
such as Transponder, Frequency, Symbol Rate, Polarization
and 22 KHz, press Edit Mode key (Re d color key) on the
RCU.
Page 16
16
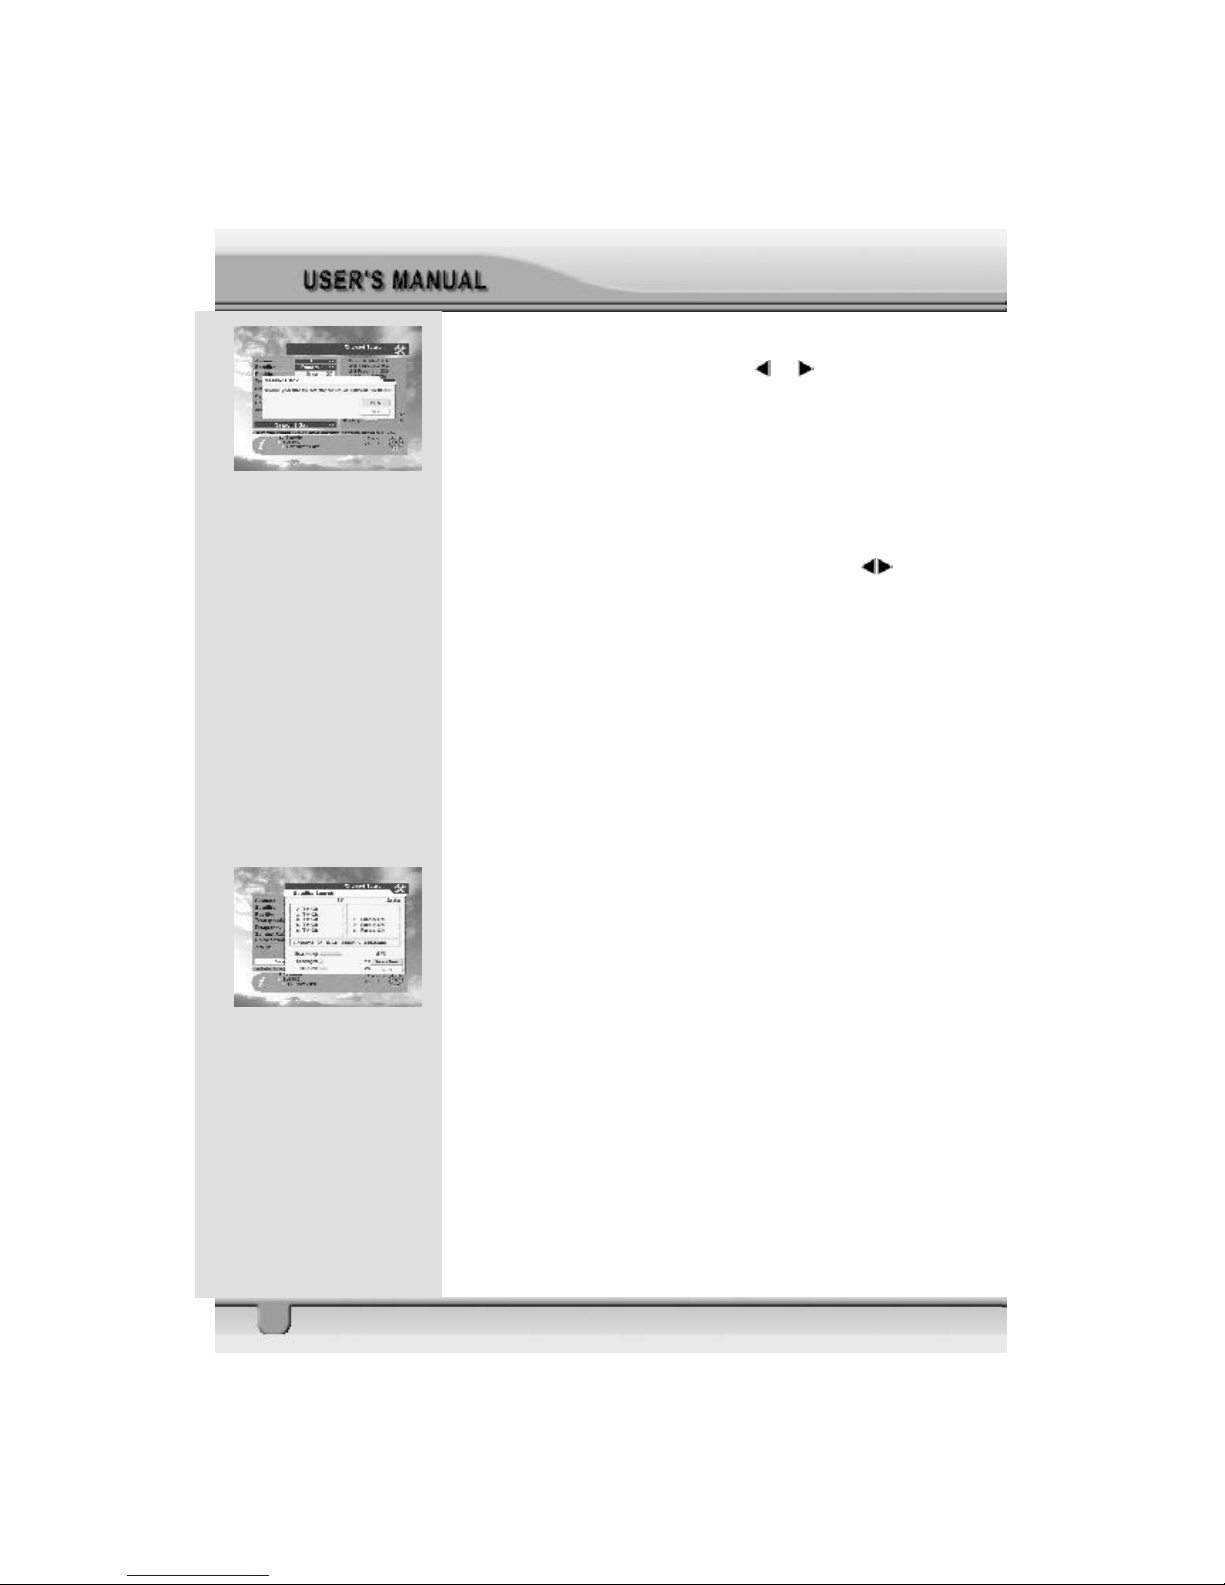
3. Pos ition : After selecting a satellite, please select Position button and then keep pressing or key on the RCU
until the selected satell ite is locked. If the satellite is locked
corre ctly, the color of the signal label bar will change to yellow.
When you press ok key on the RCU, the message “Wo uld
you like to set the value of current positioner?” will be
displayed.
4. Trans ponder : Select desired transponder using keys.
Pressing the ok key will display a Down List Box which also
lets you select the desired transponder.
5. Fr equency & Symbol Rate : Edit the Frequency and Symbol Rate.
6. Polarization : Select Hor or Ver .
7. 22KHz : Select ON or OFF.
8. Allows you to search channels by using the arrow keys.
· Search 1 Sat: Search channels for one satellite,
which has been selected from the Satellite column.
· Search TP: Search channels in one TP, which has
been selected from the TP column.
· Search Network: Search channels for the network
related to the TP.
The STB will automatically sea rch channels for TV and Radio.
During t his procedure you can see a list of the previously
searched channels in the Searched List Box on the screen.
The dive rgence of displayed satellite frequency ± 2MHz has
no effect for use, the receiver automatically tunes the best
signal . On completion of searching channels, the cursor will
be placed on View CH automatically. Now press ok button to
view the last searched channel.
Page 17
17
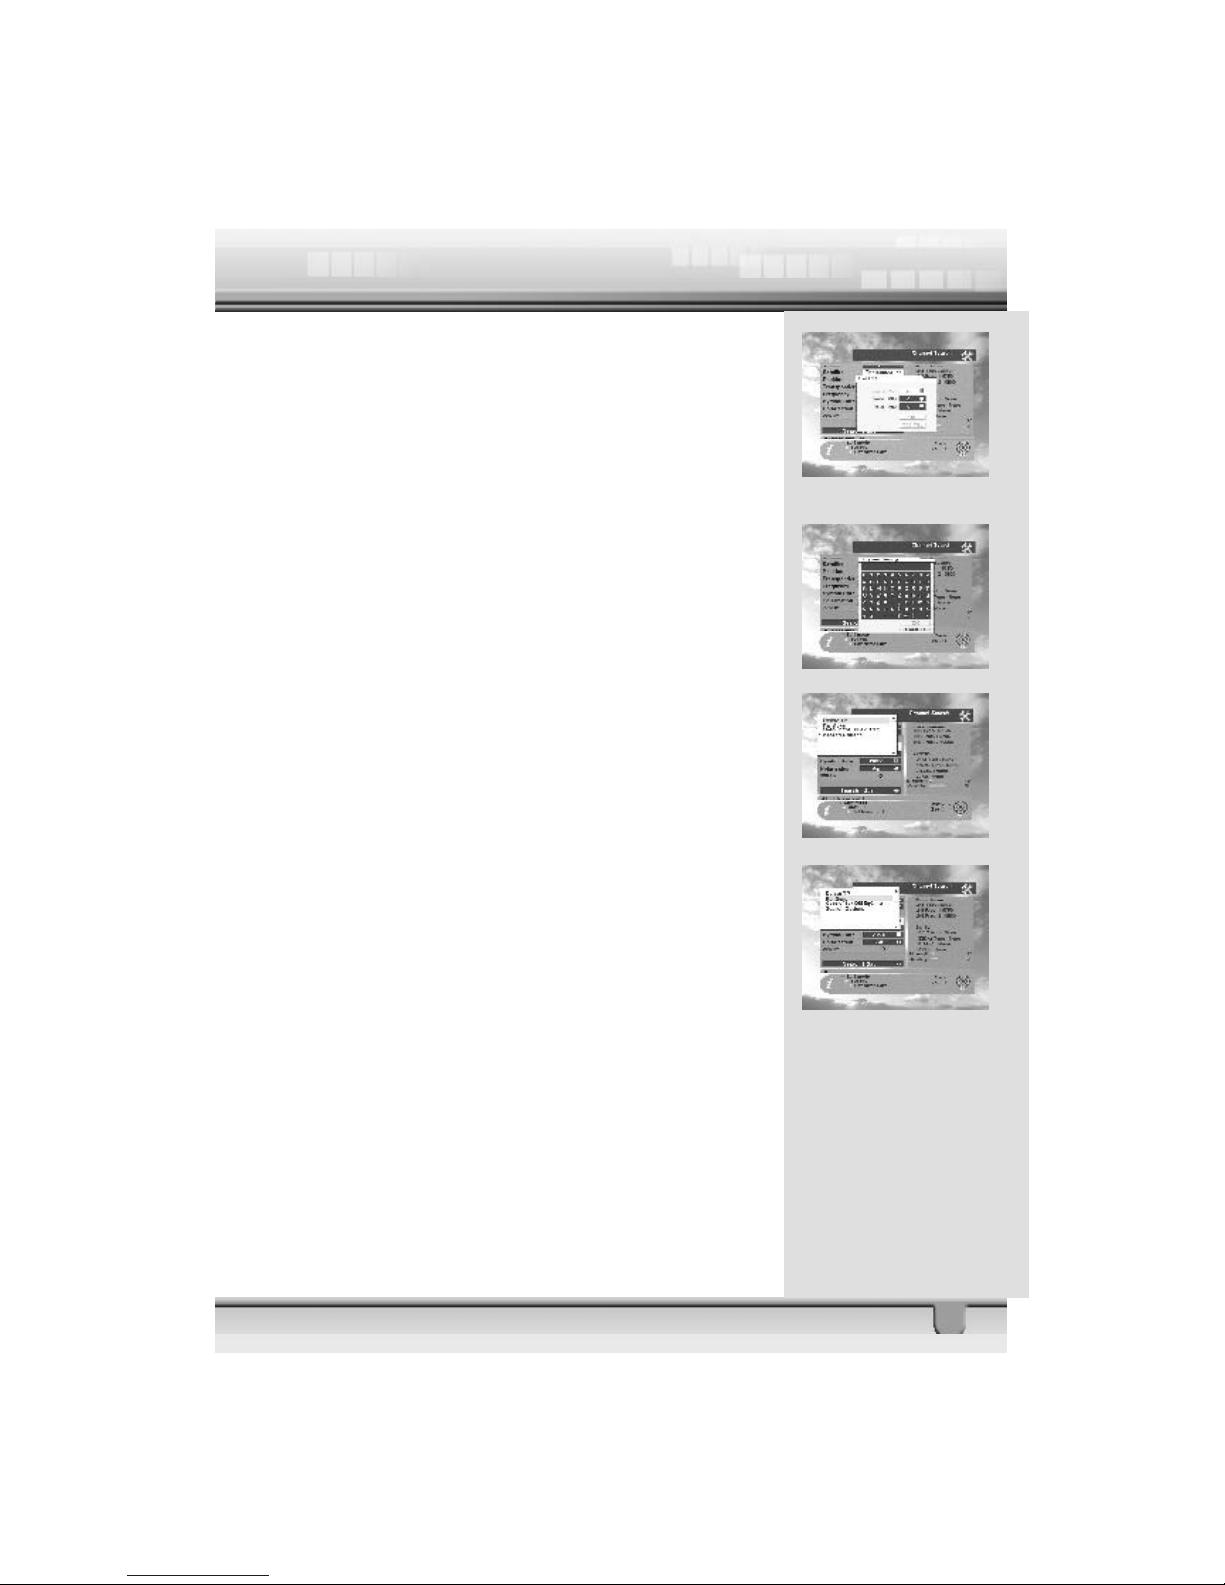
9. Set PID: If you want to set PID (Packet Identifier) manually,
select TP in the “Channel Search Page ” and press MENU key
on the RCU to display the command box.Then select SET
PID command and press ok. The set PID menu will be displayed.
Enter the correct value and select ok.
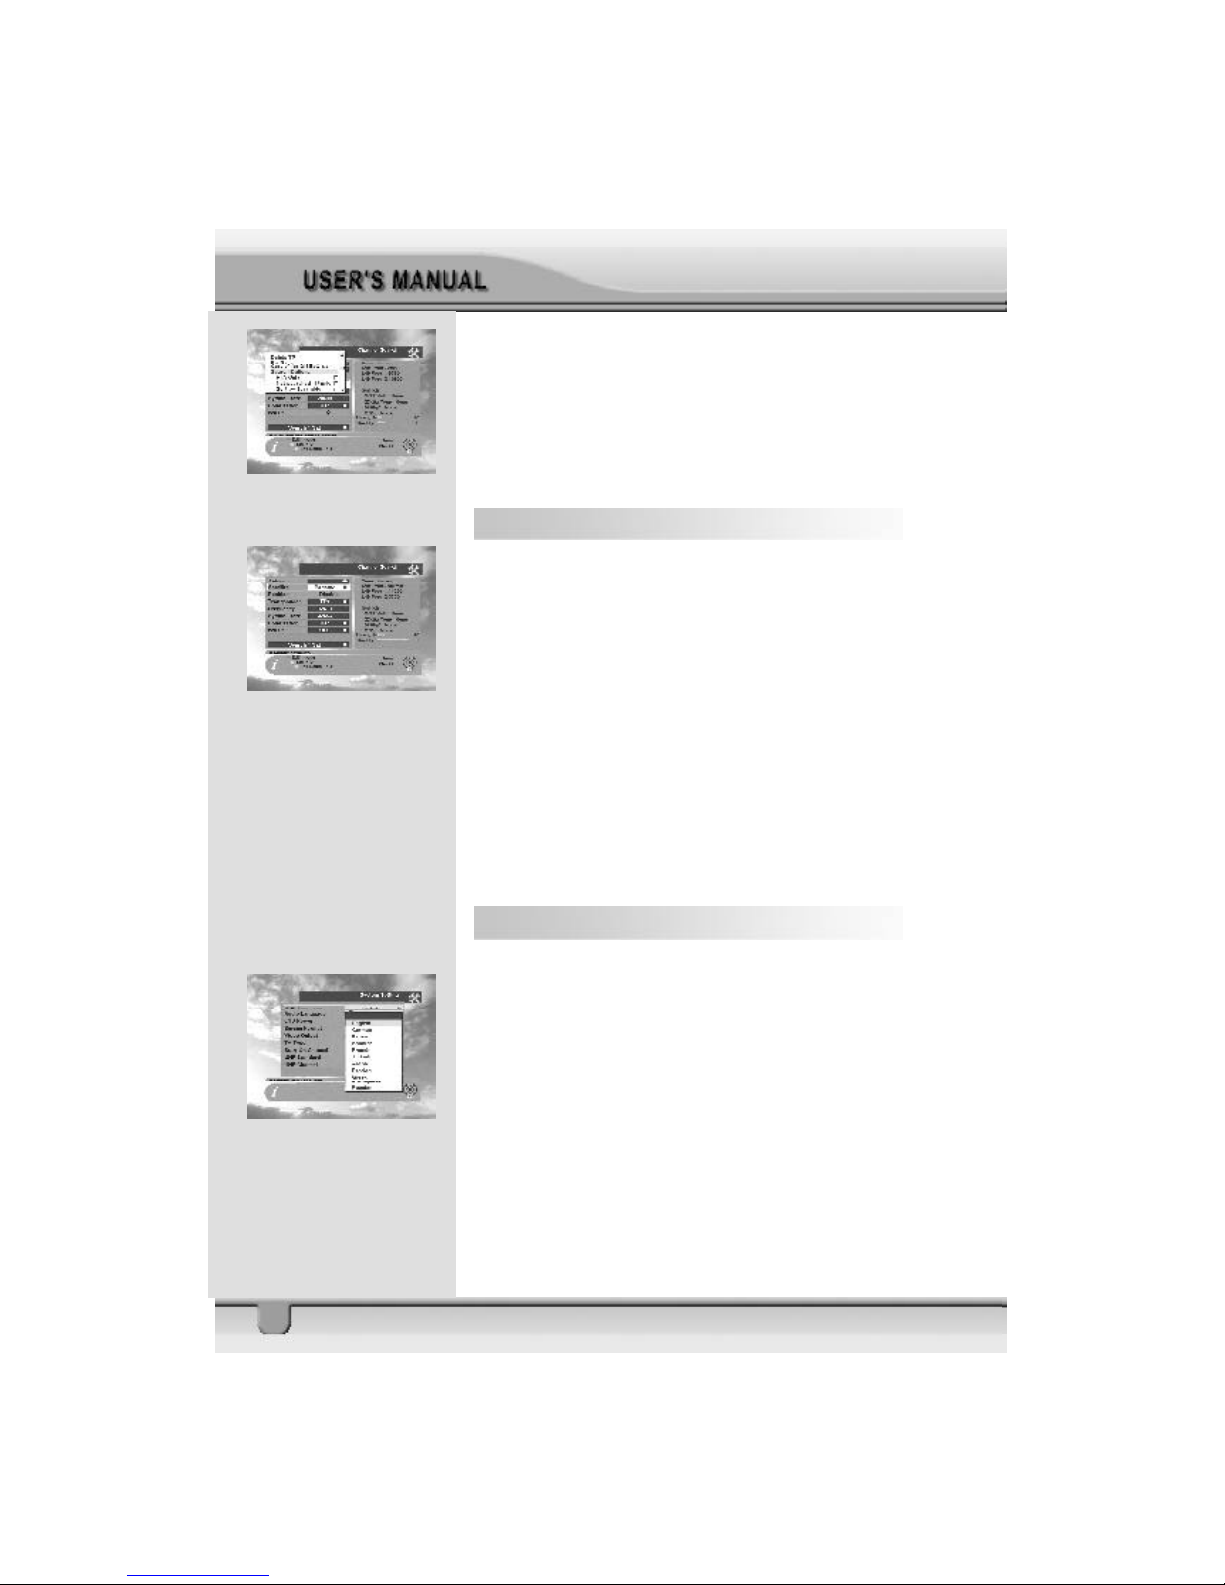
10. Sat name edit: If you want to change the satellite name,
sel ect the satellite and press Sat Name Edit key (Yellow
color key) on the RCU to display the comman d box. The keypad dialog will appear. Using the arrow keys on the RCU, you
can edit the satellite name.
1 1. Delete TP : If you want to delete a Transponder, please
sel ect the Transponder which you want to delete and then
press MENU key on the RCU to display the command box.
Then select Delete TP command. A co nfirm message box will
be displayed.
12. Re-Sync : When all the locations of searched satellites
are shifted for any reason, you can realign all of them once
you adjusted one satellite location.
13. Go to 0” for DiSEqC 1.2 : When you install the motor
of DiSEqC 1.2 antenna, you can select this function to move
the center of the antenna to 0℃.
14. Search Option : The STB allows you to search chan nels
with convenient options as shown below.
v FTA Only
v Not searched TP only
v Sort by Scramble
Page 18
18
If y ou select Sort by Scramble, The STB sorts the
scrambled channels automatically.
If you select Not sea rche d TP only, the STB searches
channels in the TP which were not searched.
If you s elect FTA Only, The STB only searches free to air
channels under this satellite.
4.4 Channel Search – 2) Fixed
1. Antenna : Select your antenna number.
2. Satellite : Select desired satellite using arrows keys.
Pressing the ok key will also display a list of satellites.
You can see the information of the selected satellite on the
right side.
Edit M ode: If you want to edit pr eprogrammed data such as
Transponder, Frequency, Symbol Rate, Polar ization and 22
KHz, please press EDIT mode key (Red color key) on the
RCU to display the command box. You can then move into
those columns to change the value.
3. Please refer to Section 20, List 4 to 14 for the remaining
options.
4.5 System Setting
The Sys tem Setting menu allows you to set items
depending on your environment.
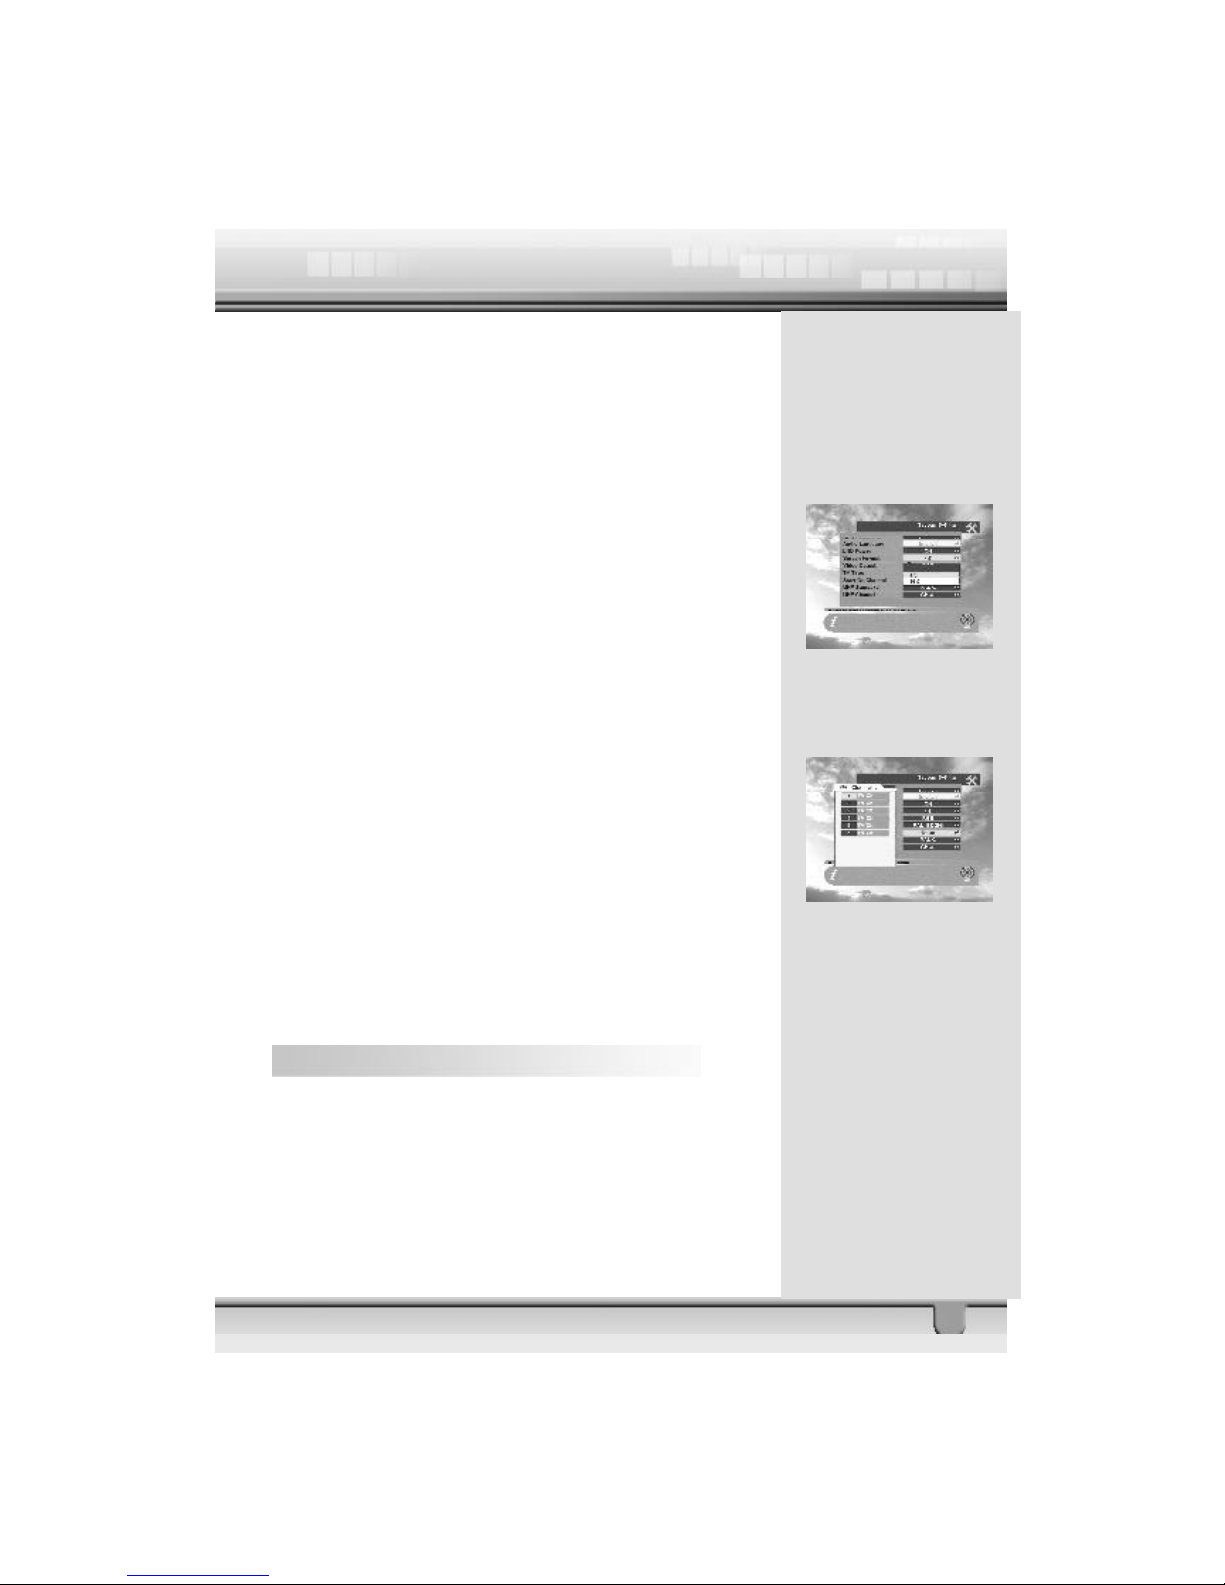
1. OSD Language : Lets you select the desired language.
2. Audio Language: Select the desired audio language to
be i n top priority under the condition that this language is
supported by the channel.
Page 19
19
3. LNB power: If your STB is connected to the LNB, select
YES. But if your STB is connected to a nother receiver through
Loop Through support, you should check which receiver is
connected directly to the LNB. In case the other receiver is
directly connected to the LNB, then select OFF.
4. Screen Format: If your TV supports 16:9 screen format
and selected channel provides 16:9 format program, select
16:9.
5. Video output: If your SCART supports RGB control,
select RGB. Otherwise select CVBS.
6. TV type: Select the type according to your TV type.
7. Start On Channel: If you press ok key, then the channel
list is displayed. You can select one channel from the list. The
selected channel starts whenever you turn on the receiver.
8. UHF Standard: Select UHF type.
9. UHF Channel: Select your desired UHF channel for satel-
lite mode.
Note: In c ountries where UHF is not used, options in List 8
and 9 will be deleted.
4.6 Parental Lock
This function allows you to lock the channel with a password
in order to prevent children from accessing the channel.
You can also protect your insta lled data and information using
the Install Lock.
Page 20
20
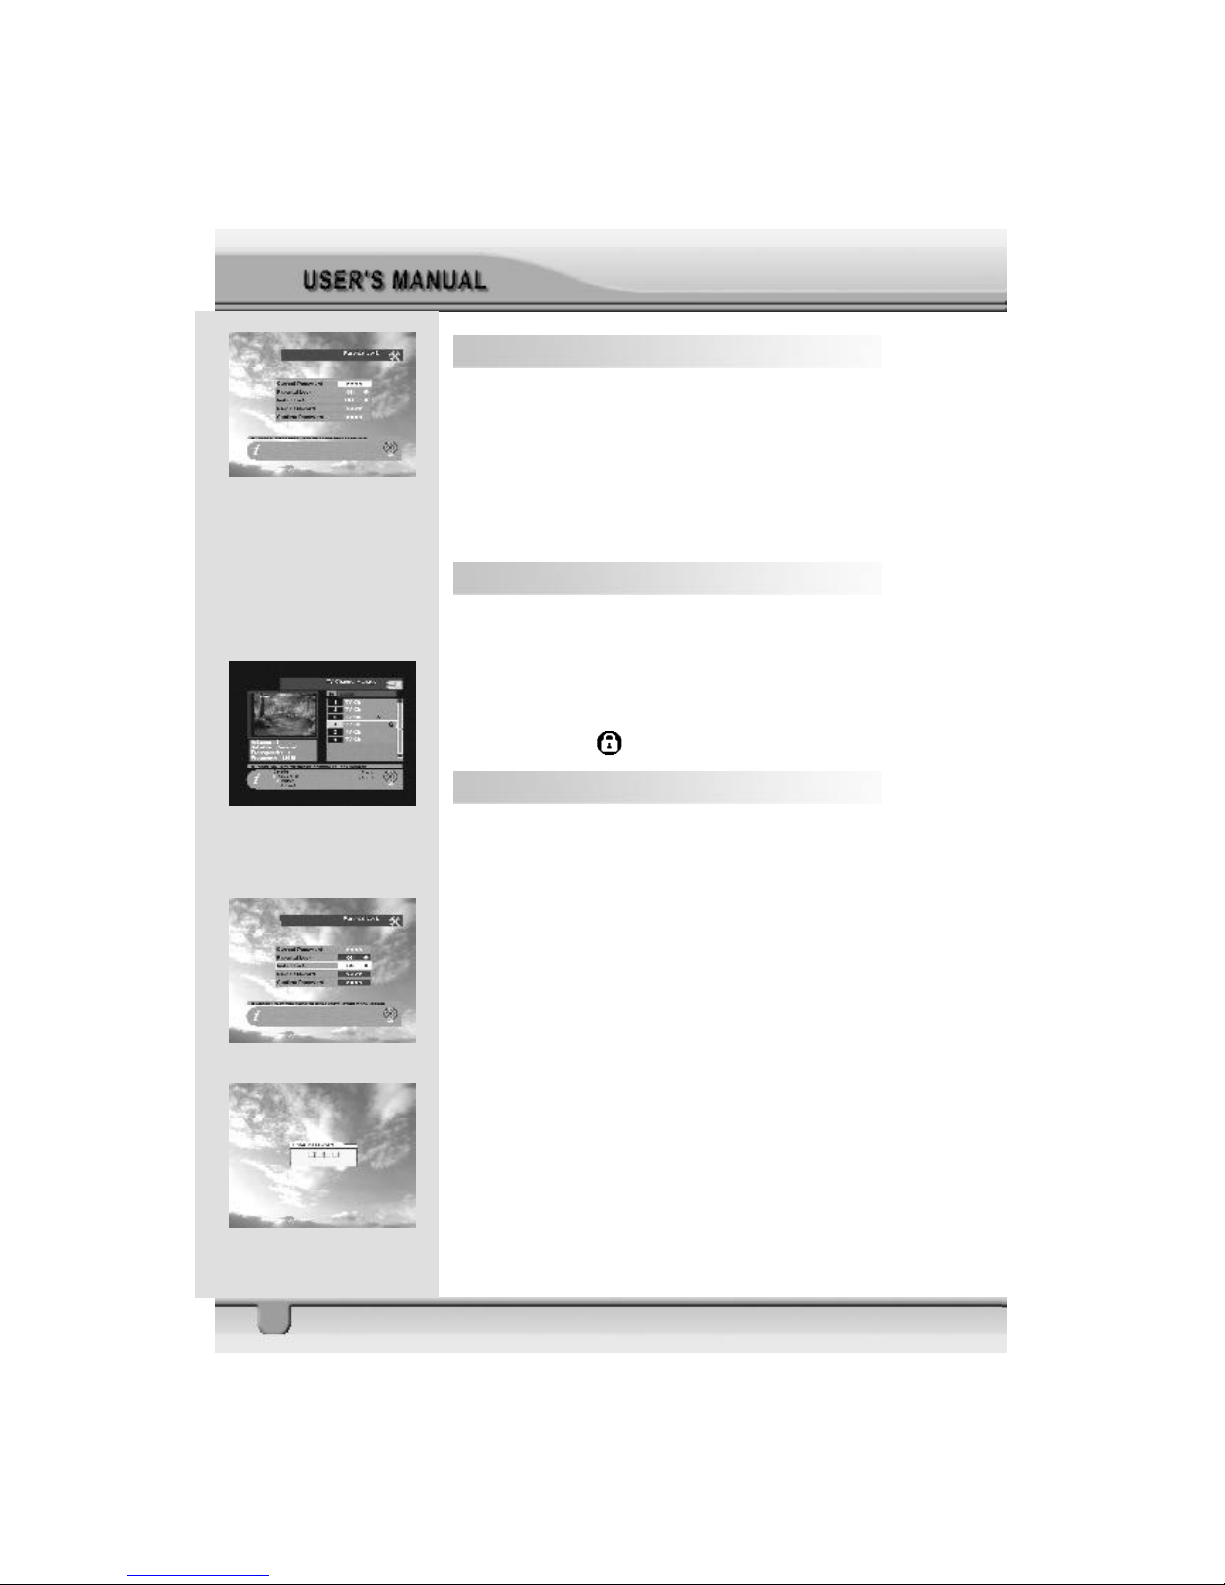
How to change the Password
1. Enter the current password.
2. Select ON of Parental Lock.
3. Enter new password.
4. Confirm your new password entering new password again.
Note: Default password is 0000.
Warning: O nce you change the password, please keep it safely.
How to use Parent Lock
1. To activate parent lock function, go to the TV channel Manager Page.
2. Press Lock key (Blue color key) on the RCU.
3. Select the channel which you want to Lock.
Press ok then symbol is displayed.
How to use Install Lock
1. Enter the current password.
2. Select ON of Install Lock
3. Enter new password
4. Confirm your new password entering new password again
5. Exit this menu.
6. Select any menu and press OK on the RCU .
7. Then the Enter Password box will be displayed.
8. Unless you enter the correct password, you can not run any
menu.
Note: Default password is 0000
Warning: Do not forget your password.
Page 21
21
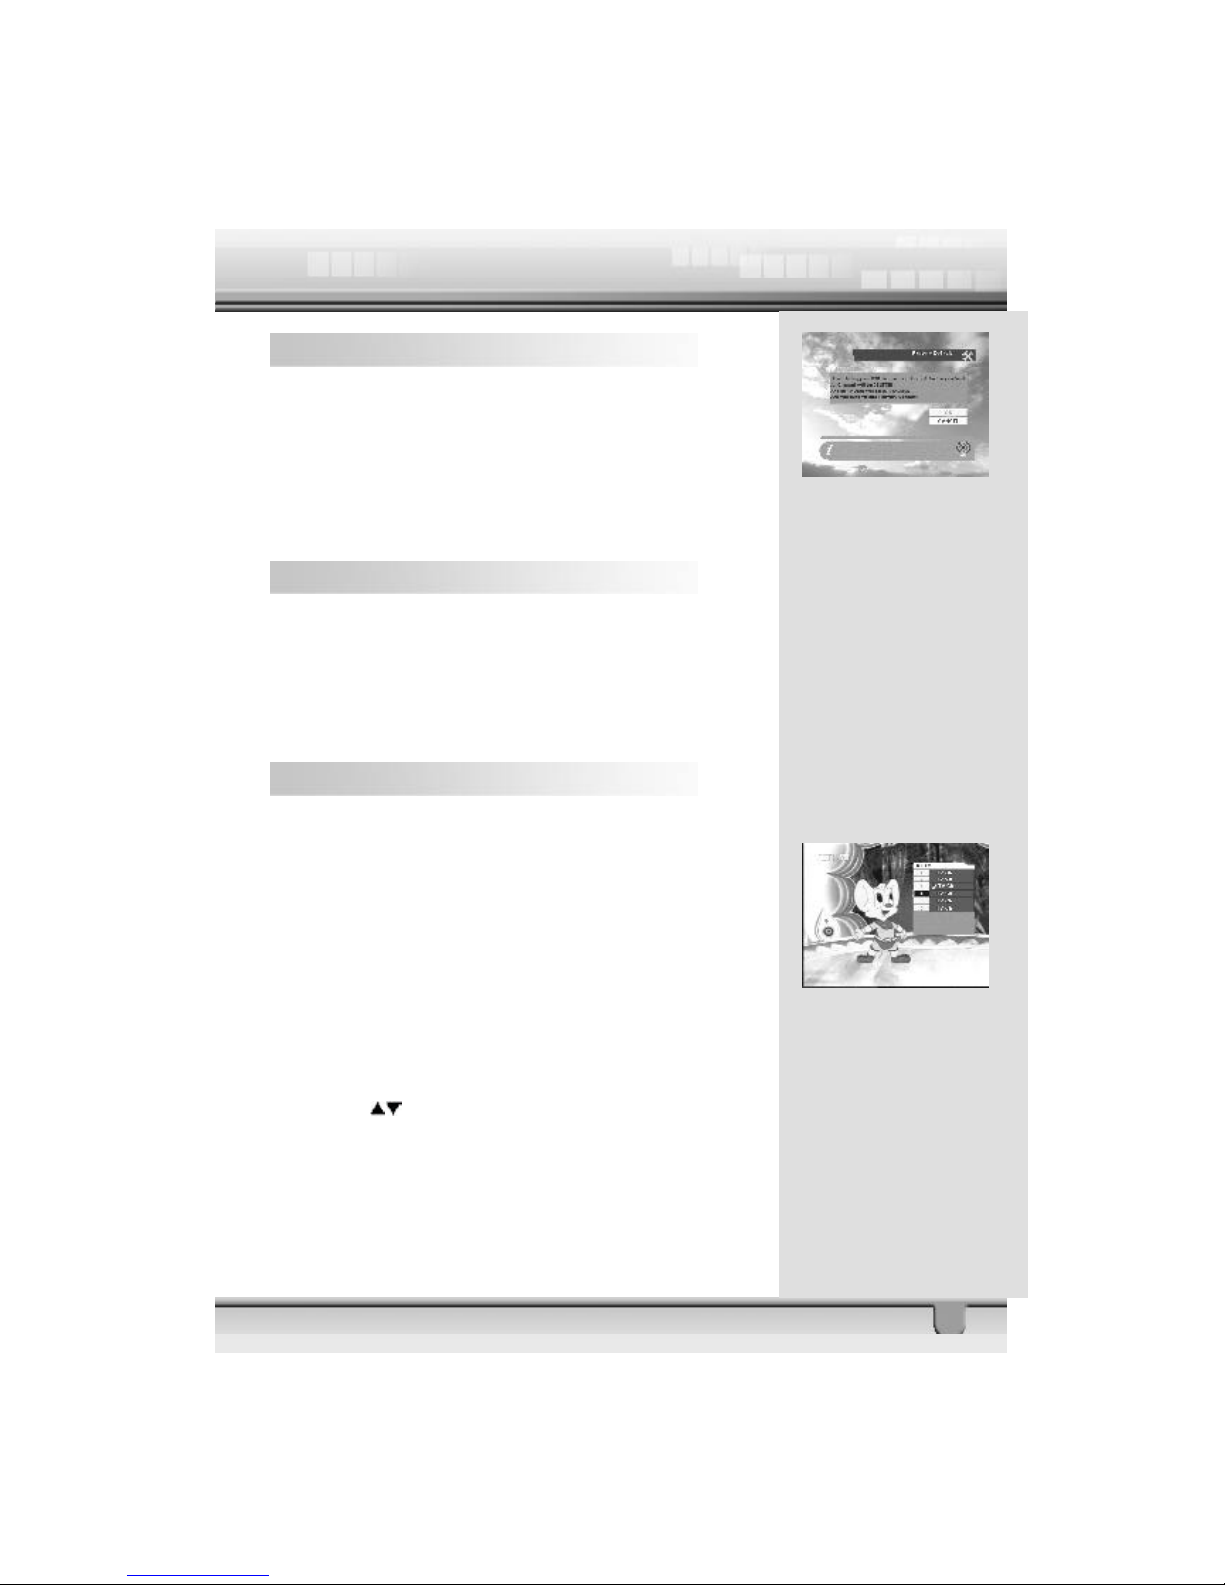
4.7 Factory Default
If you want to brin g the STB back to the factory default condition,
select Factory Default and press the ok key.
Then a warning message will be displayed. To confirm,
select ok .
Warning: On selecting factory default you will lose all of data
and information, which was previously installed.
5 General Viewing Function
The following d escribes the basic functions of your STB while
watching satellite TV or listening to satellite radio.
While watching, th e current channel information will be shown
on the bottom of the screen if you press the INFO butt on on
the RCU.
5.1 Select Channel
If you want to select channel, use CH key on the front panel or
CH+, CH- key on the RCU or numeric keys.
In addition to the above normal function, the STB provides
more convenient channel change function.
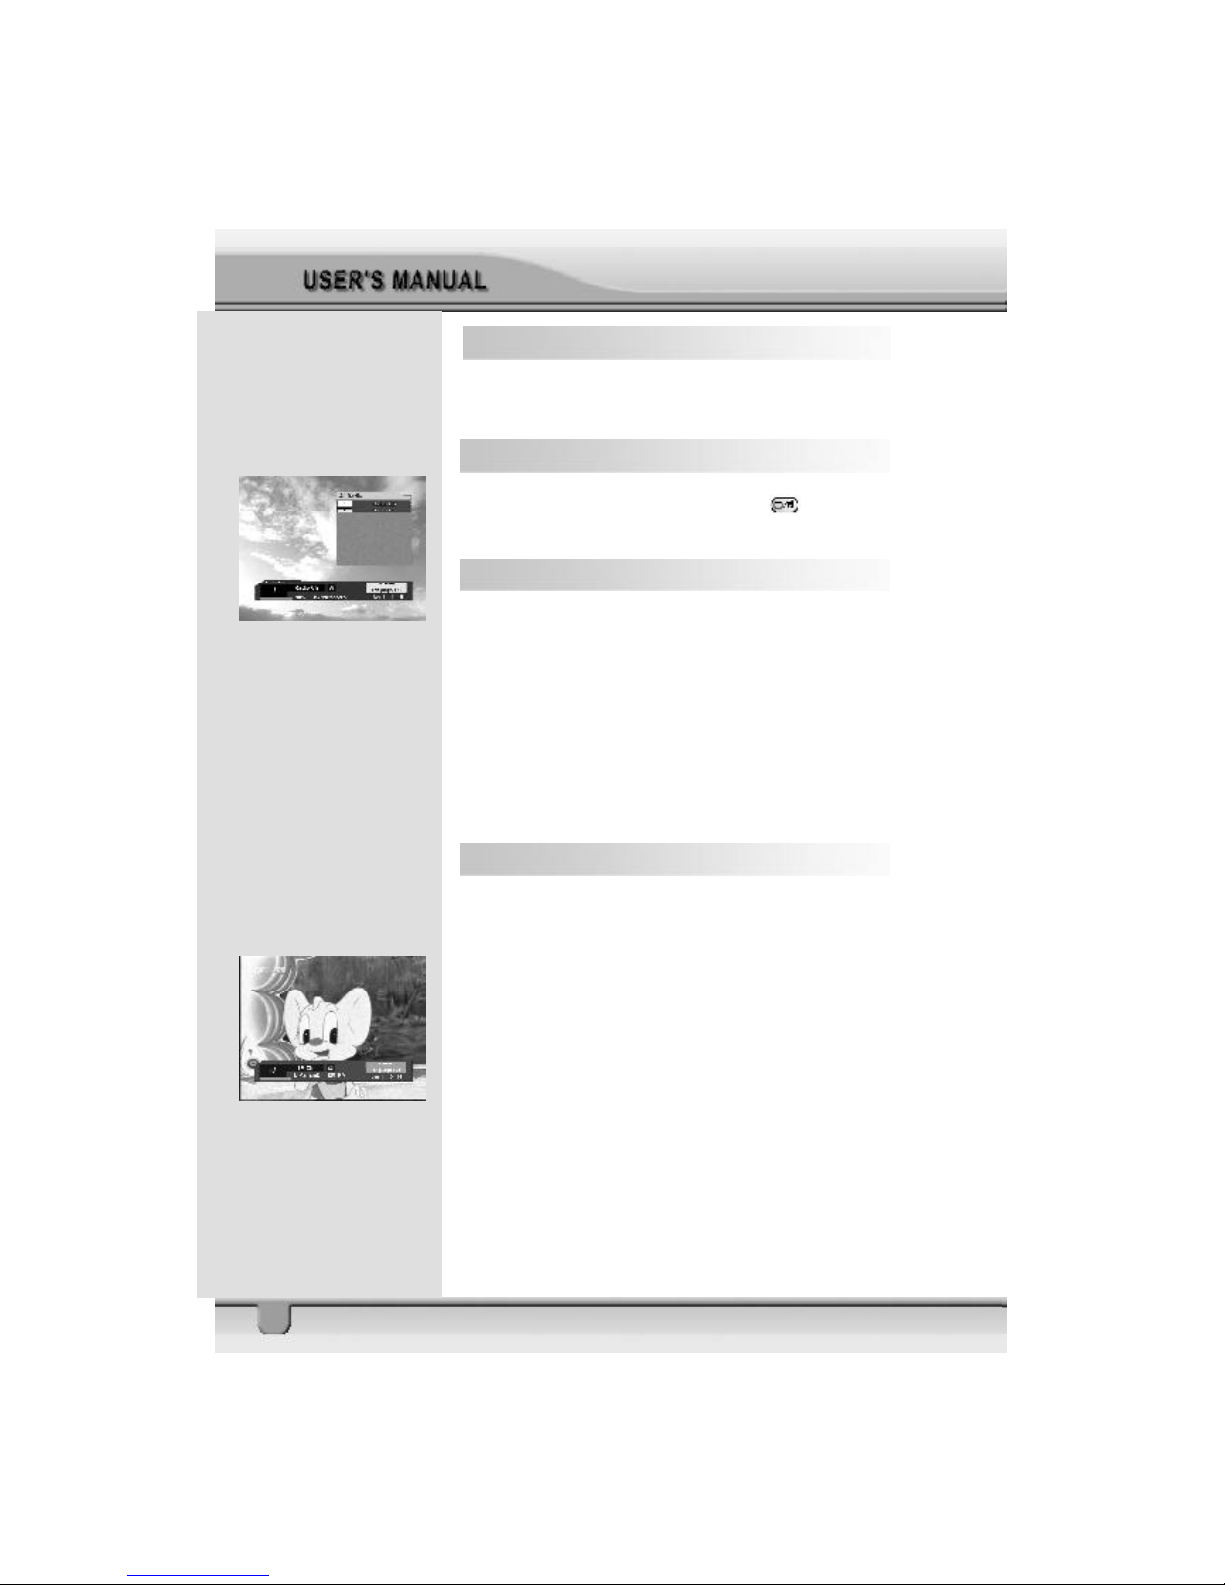
While watching, press ok key on the RCU. A channel list will
be displayed on the rig ht side of the screen. If you press EXIT
key, the channel list will disappear.
To sele ct a channel, go up or down this channel list and place
the cursor on a desired channel. Then, press ok key to watch
the selected channel.
If you press key on the RCU, the channel list will scroll
page by page.
Page 22
22
5.2 Previous Channel Recall
Press REC ALL key on the RCU to move to the previous chan-
nel you watched.
5.3 TV & Radio Mode
While viewing a TV channel, press the key on the R CU to
toggle between TV and Radio modes.
5.4 TV & VCR Mode
The TV /AV key on the RCU lets you change the mode from
satellite to TV or VCR.
Press once to move to the TV mode.
Press twice to move to VCR mode.
Press three times to move back to satellite mode.
Note: This function is only applicable when the receiver
has the scart socket.
5.5 Channel Information
Every ti me you change channels, you will receive program
information for a few seconds.
While watching the channel you can see the current channel
informatio n at anytime by pressing the INFO key on the RCU.
Page 23
23
5.6 Volume & Audio Control
1. Volume Control
To increase or decrease volume, use VOL+/- Key on the RCU
or on the front panel.
Note: The STB has 18 volume levels and this can be controlled from the volume level of your TV.
2. Mute
To mute the sound, press button on the RCU. To bring
back the normal sound, press this key once again.
3. Audio Control
Press the AUDIO R/L key repeatedly to select one of three
possible Audio settings (Left, Right and Stereo)
The cur rent audio setting will be displayed in the channel information
4. Language Selection
Press the AUDIO key on the RCU repeatedly to select audiolanguage. This is dependent on the transmission of audio
signal.
5.7 Position
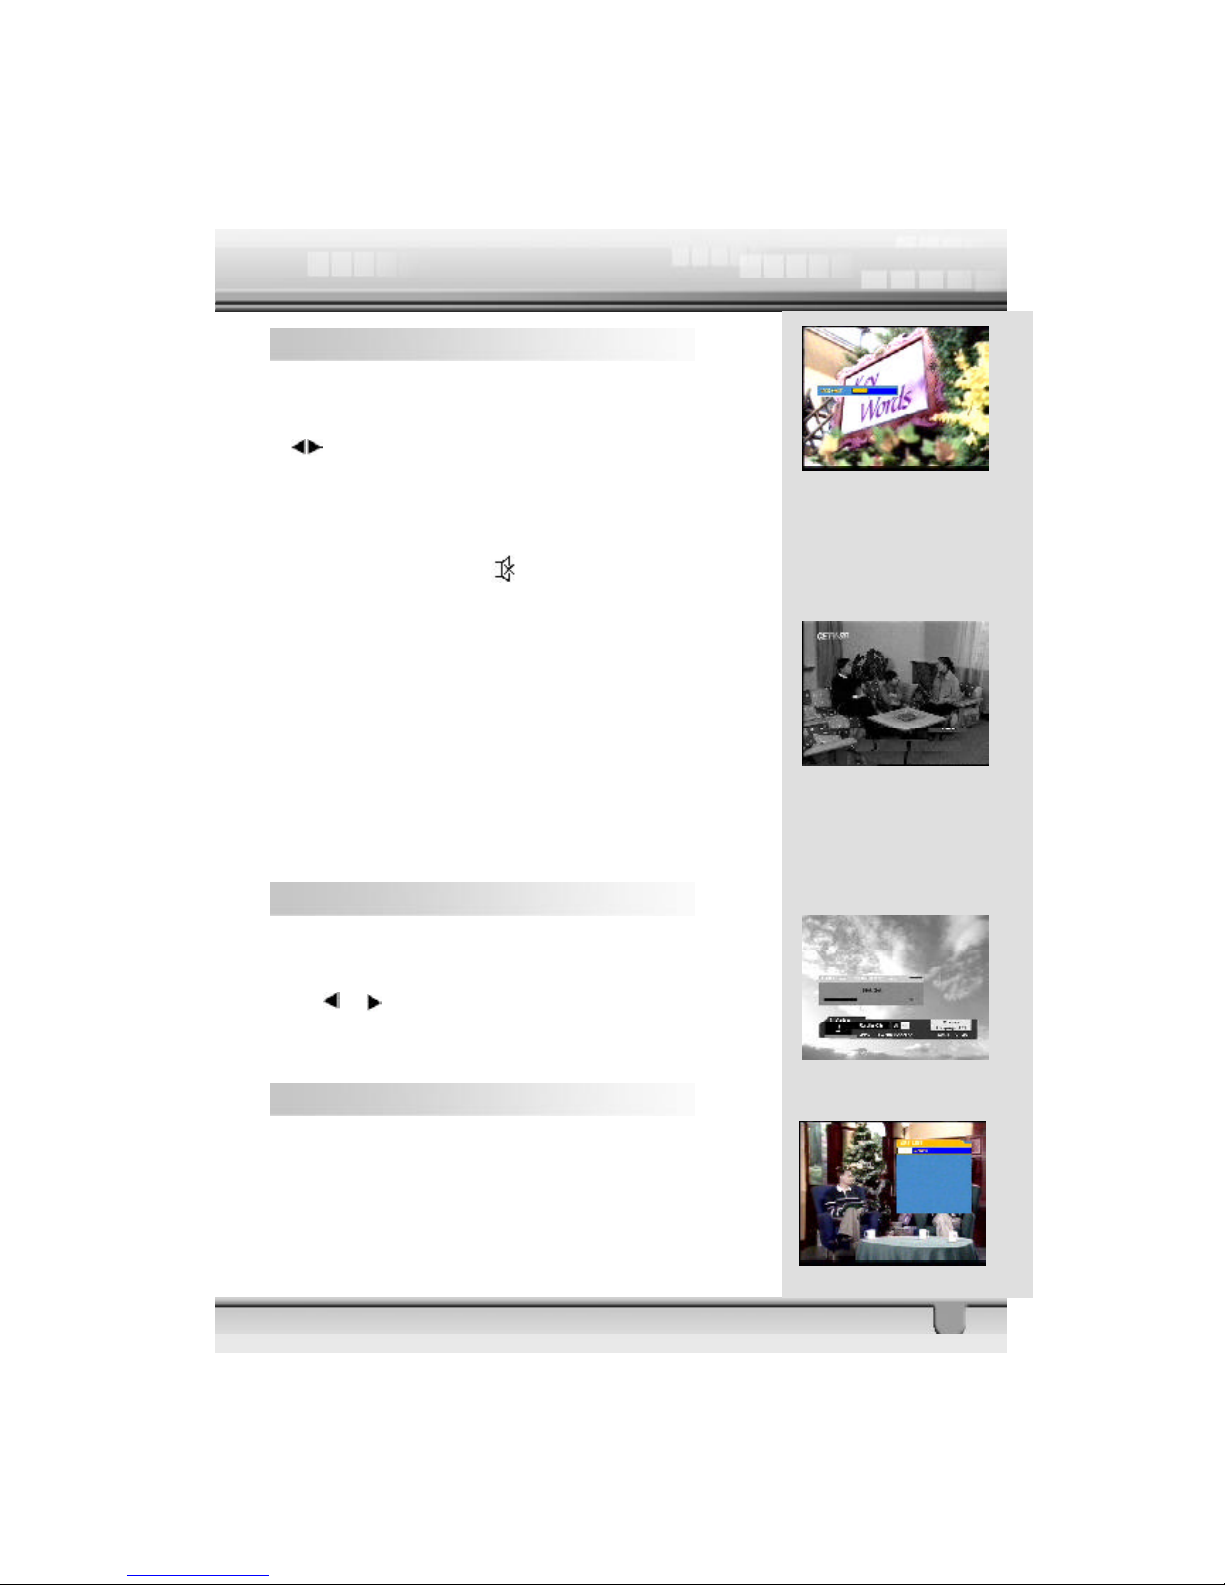
If you need to adjust the antenna more accurately, press POSITION key on the RC U and the position bar will be displayed.
Press or key on the RCU to adjust.
You c an also use this function for manual search instead of
Auto tracking.
5.8 Sat
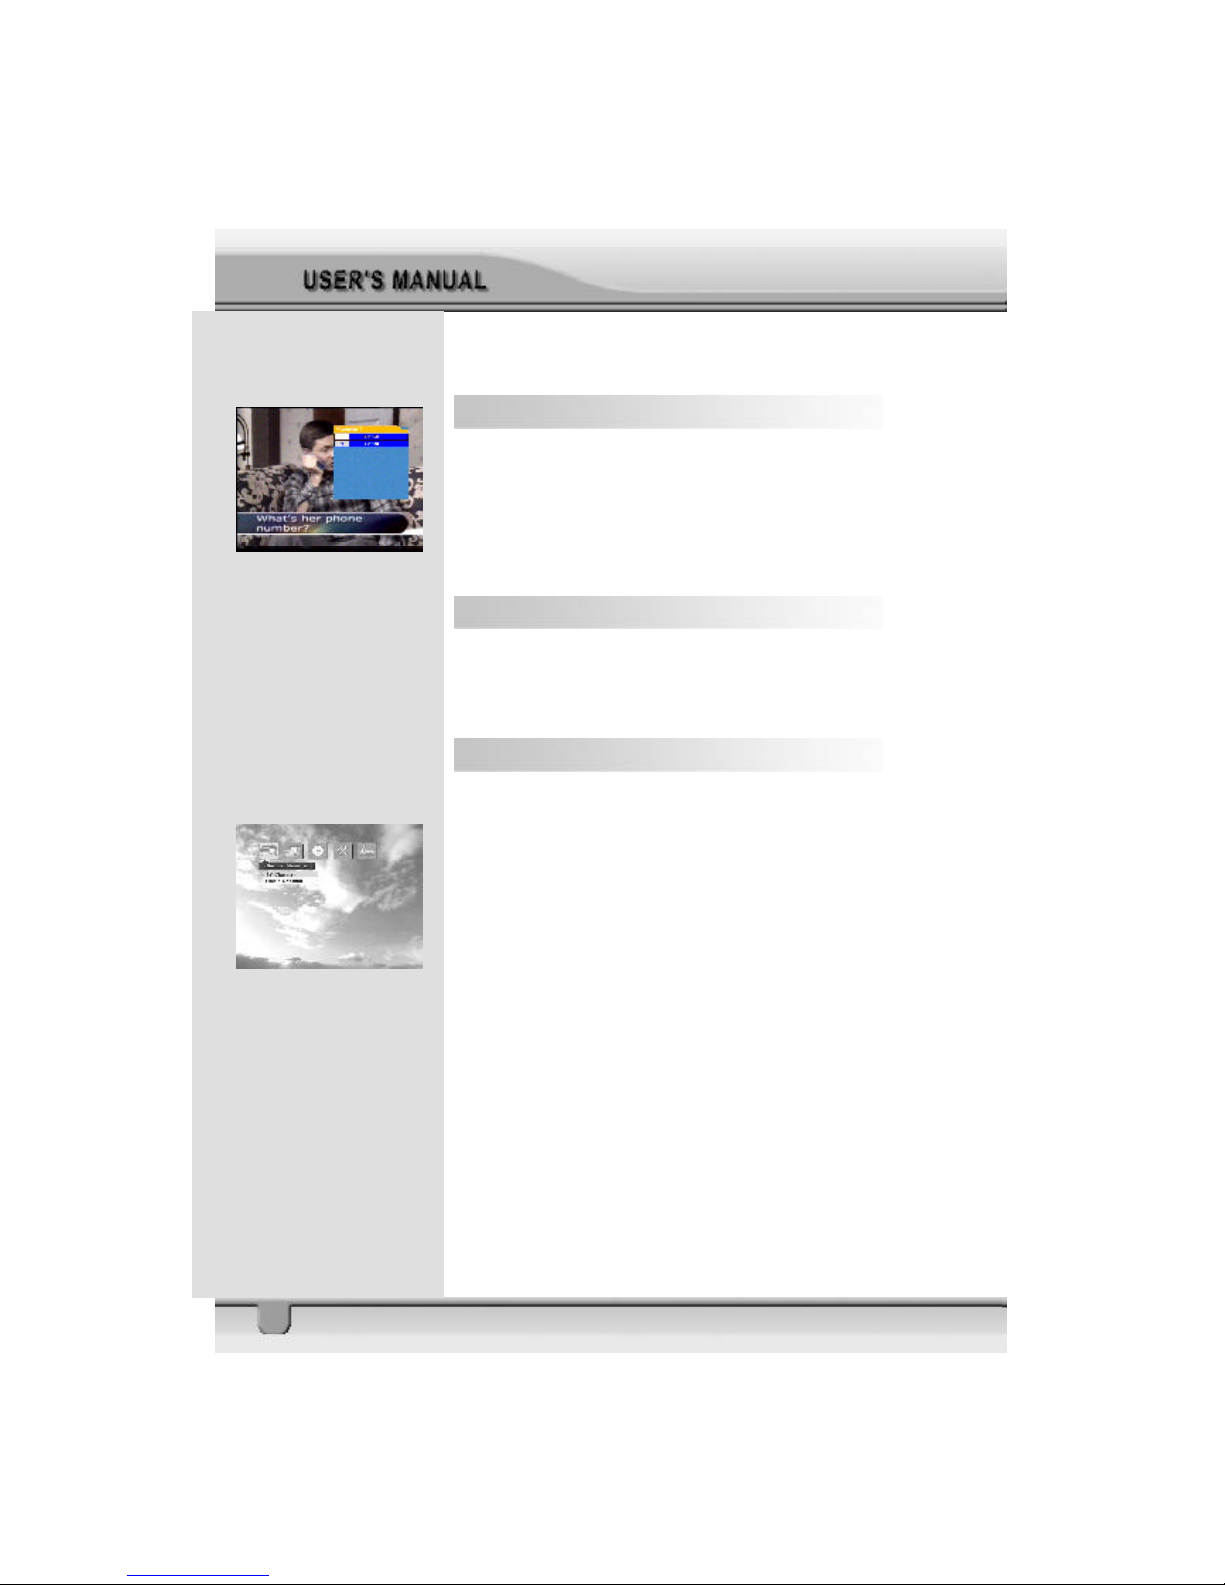
If you searched channels from more than one satellite and
want to have a channel list for each satellite, press SA T k ey
on the RCU, a satellite list will be displayed.
Page 24
24
Select one satellite you want, press OK key on th e RCU then
you will have a channel list of your choice.
5.9 Favourite List
To create a favorite group list press FA V key on the RCU.
You can ac cess the next favorite group when you press FAV
key again.
The method to group favorite channels is explained in the Favorite Channel (page 25).
6 Channel Manager
The STB provides one of the most powerful channel managing
functi ons in the world. This function not only allows you to
watch cha nnels but also do a lot of interesting and useful things.
6.1 Channel Manager
Channel manager consists of TV channel and Radio channel.
Note: Since the usage of R adio Channel is same as that of TV
chann el, in this manual only TV Channel manager is explained.
On the left side of the TV channel menu, you can see the
chann el list. On the right side, you can watch the current channel in small Picture in Graphic (PIG) mode (1/9 size of the
normal mode). You can also see channel
information under the PIG screen.
When y ou move the cursor from one channel to another, the
PIG will change accordingly.
You can use those color k eys on the RCU as below.
Page 25
25
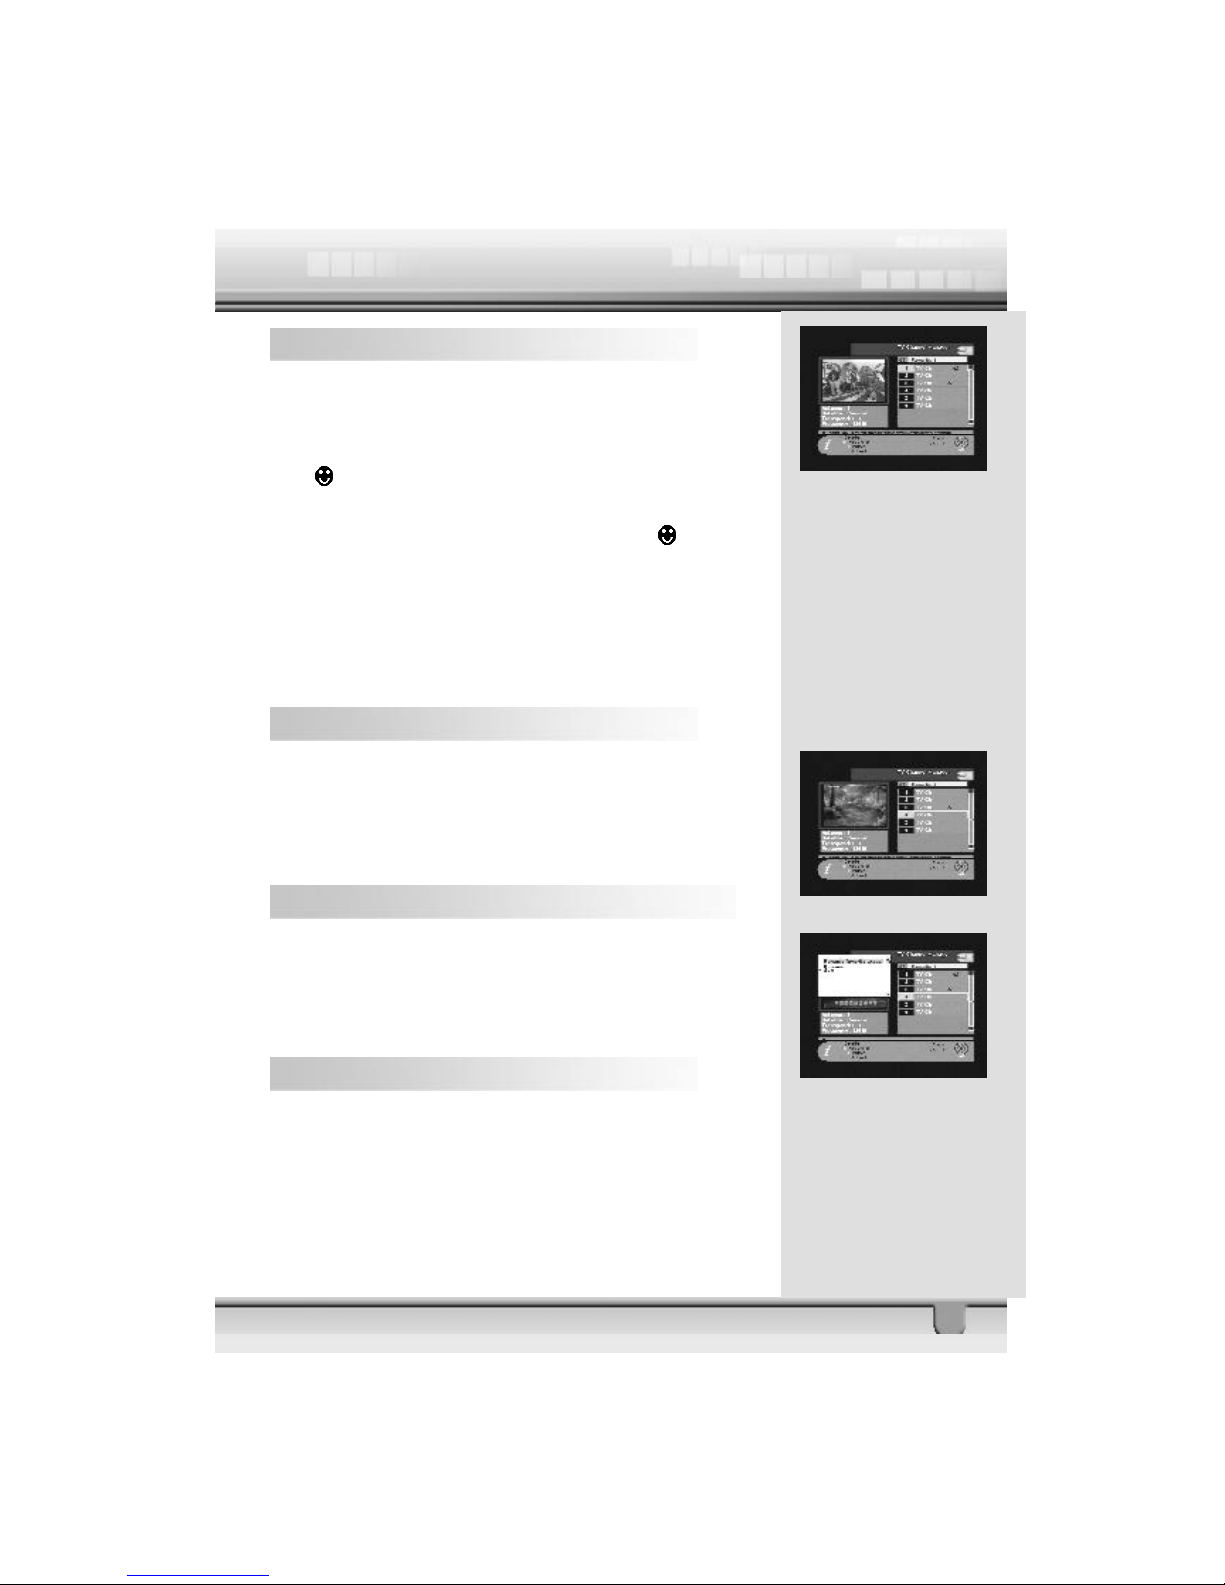
6.2 Favorite Channel
When you select channel manage r, default favorite list will be
shown on screen as Favorite 1.
Select your favorite channel and then press OK key.
Then
will be marked next to your selected channel name.
If you want to remove the channel name from the favorite channel l ist, press OK key once again, then the
mark will
disappear.
After the selection of favorite channels press EXIT key twice
to save data and press FA V key repeatedly to see if each of
the favorite groups are properly selected.
s represents scrambled channel.
How to make a favorite group
1.When you ente r channel manager, the default favorite group
will be shown once on the screen as Favorite 1.
2.If you press favorite key (Green color key) on the RCU, a
new favorite group will be created as Favorite 2.
How to edit the name of a Favorite group
1.In the favorite mode, press MENU key on the RCU then the
command box will be displayed on the screen.
2.Select “Rename Favorite group” in the command box.
3.You can edit the name by using the keypad.
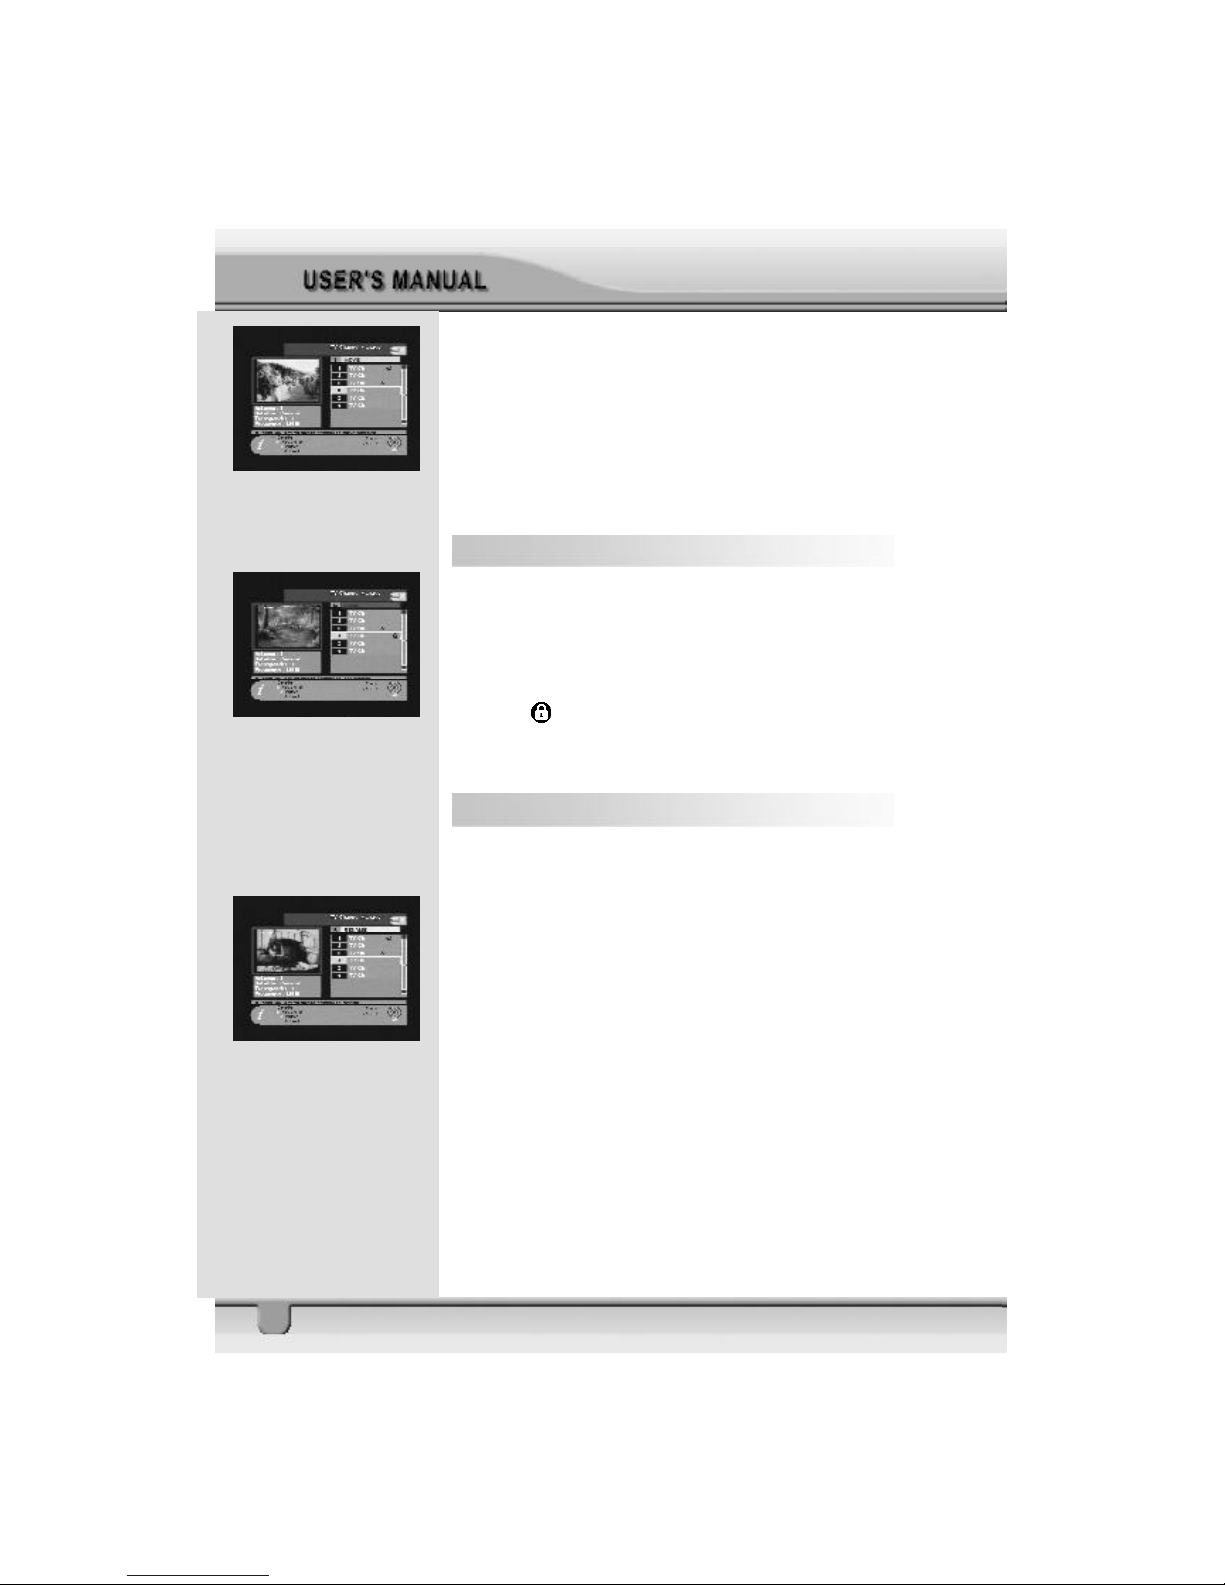
6.3 Move Channel
In t he TV channel manager page, press Move key (Yellow
color key) on the RCU.
Page 26
26
Select a channel by pressing OK key and move the cursor to
the location wh ere you want to move the selected channel and
pres s OK key. Then, you will find that the selected channel
has move d to the desired location and channel the number has
changed accordingly.
Check whether the channel number has chang ed on the channel list.
6.4 Lock Channel
In the TV channel manager page, press Lock key (blue color
key) on the RCU.
This Lock command allows you to lock the channel. First select the channel, which you want to lock, and press OK key.
Then this
will be marked beside the selected channel name.
Note: To perform this function, you should set up the Parental
Lock in advance.
6.5 Rename Channel
In the Main Page, press MENU key on the RCU, and then
select Rename on the command menu.
Thi s Rename command allows you to rename the channel.
First select the ch annel to be renamed and press OK key, then
a Keyp ad dialog box will be displayed. Enter the desired name.
Check whether the channel name is changed on the channel
list.
Page 27
27
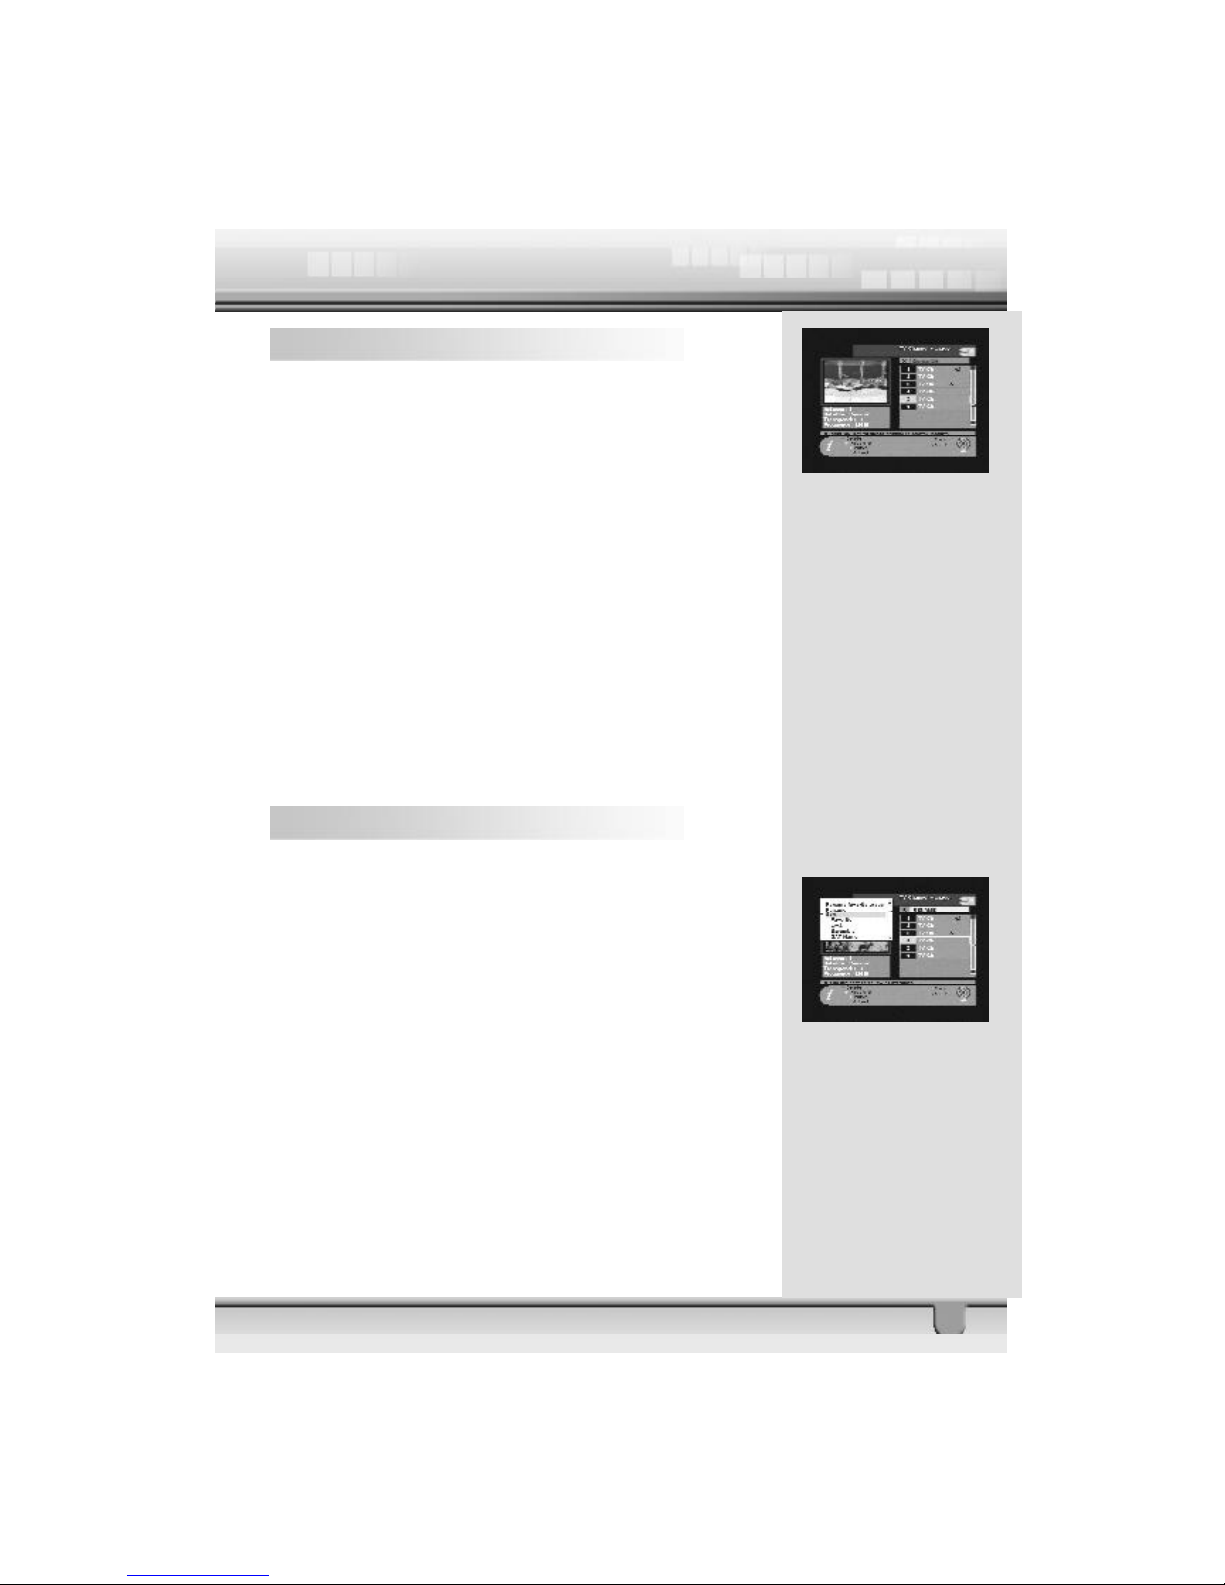
6.6 Delete Channel
In the Channel manager, you can enter Delete CH mode, if
you press Delete key (Red color key) on the RCU. Then, if
you press Del ete key (Red color key) repeatedly, the mode
will cycle throu gh Delete TP -> Delete Satellite -> Delete All ->
Delete CH.
Thi s Delete command allows you to delete the channel
permanently . First select the channels, which you want to
delete; the selected channel number will be marked to “X”. If
you cancel the selection, press OK key again, then the marked
number will be back.
If you decide to delete, press EXIT key and then press OK to
delete.
Check whether the channel numb er is deleted on channel list.
Warn ing: The deleted channel cannot be recovered unless
you search again.
6.7 Sort Channel
In the Main Page, press MENU key on the RCU, and select
Sort on the command menu.
This Sort menu has a sub command and it allows you to sort
the channels, as you like.
You can sort the channels by Favorite, Lock, Scramble, SAT
name and CH name. Place the cursor on the desired line, and
then press OK key.
Check whether the channels are sorted properly on the channel list.
Note: Radio Channel Manager has the same operation as TV
channel Manager.
Page 28
28
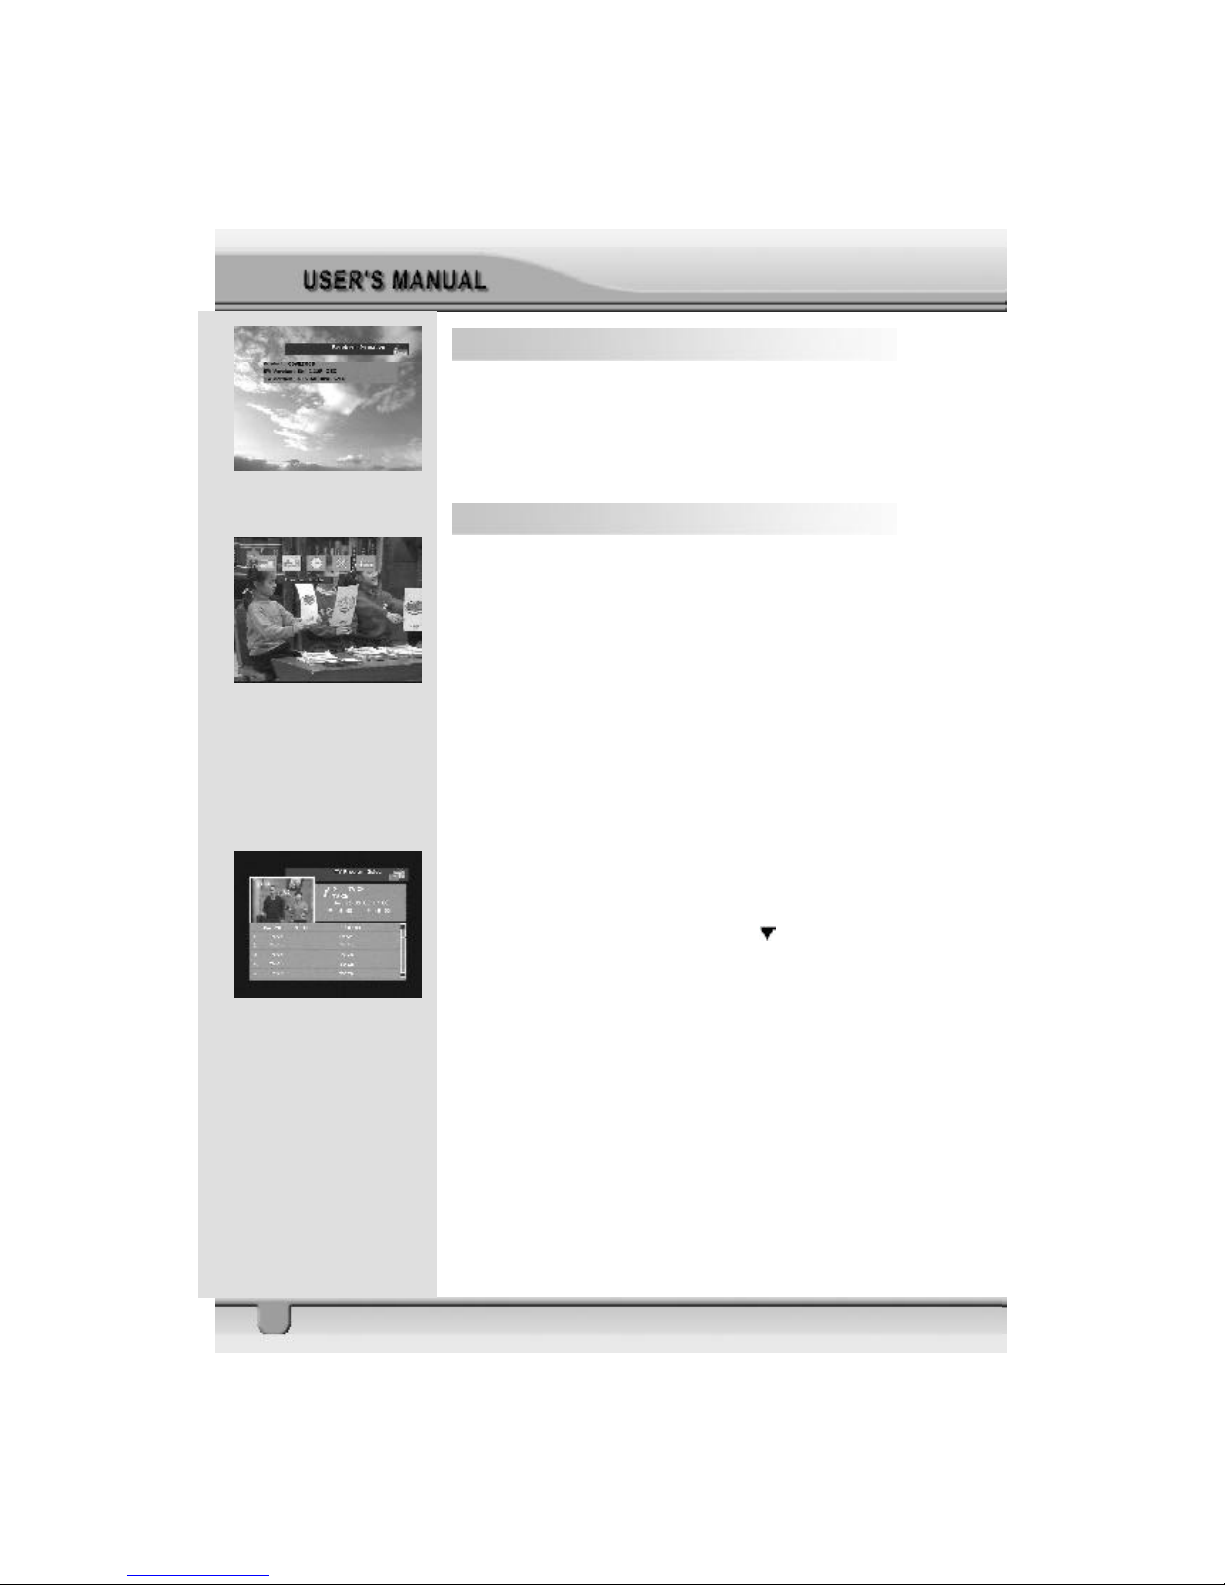
7 Receiver Information
In the Main Page, select Receiv er Information and press OK
key on the RCU to enter the sub menu, In this menu you can
view the following receiver information , including product , SW
vers ion, HW version.
8 EPG (Electronic Program Guide)
STB provides EPG function for you to get access to the TV
Guide (or Radio Guide if you are listening to radio channels)
that will show the titles and other infor mation of the current and
next programs on different channels. The information is only
avai lable from the network to which the channel you are
watching.
To se e the EPG data, press EPG key on your RCU when watch-
ing a channel or select Program Guide in the Main Page.
The EPG box will be displayed.
You can see the channel in the screen; channel list on the left
side and P rogram schedule for selected channel will be displayed on th e right side. The time related to the program schedule is also displayed.
Select one channel and placing the mark on the time of
Progr am name which detail information you want to know. Then
you can see blue button, if there is detail information of the
channel. Press Detail (Blue col or key) key on the RCU, for
the detail information box to be displayed.
If you want to check the previous or next information of the
channel, please press +6:00 key (Yellow color key) or –6:00
key (Green color key) on the RCU.
Note: A ” No data available” message will be shown if the
selected channel does not provide EPG data.
Page 29
29
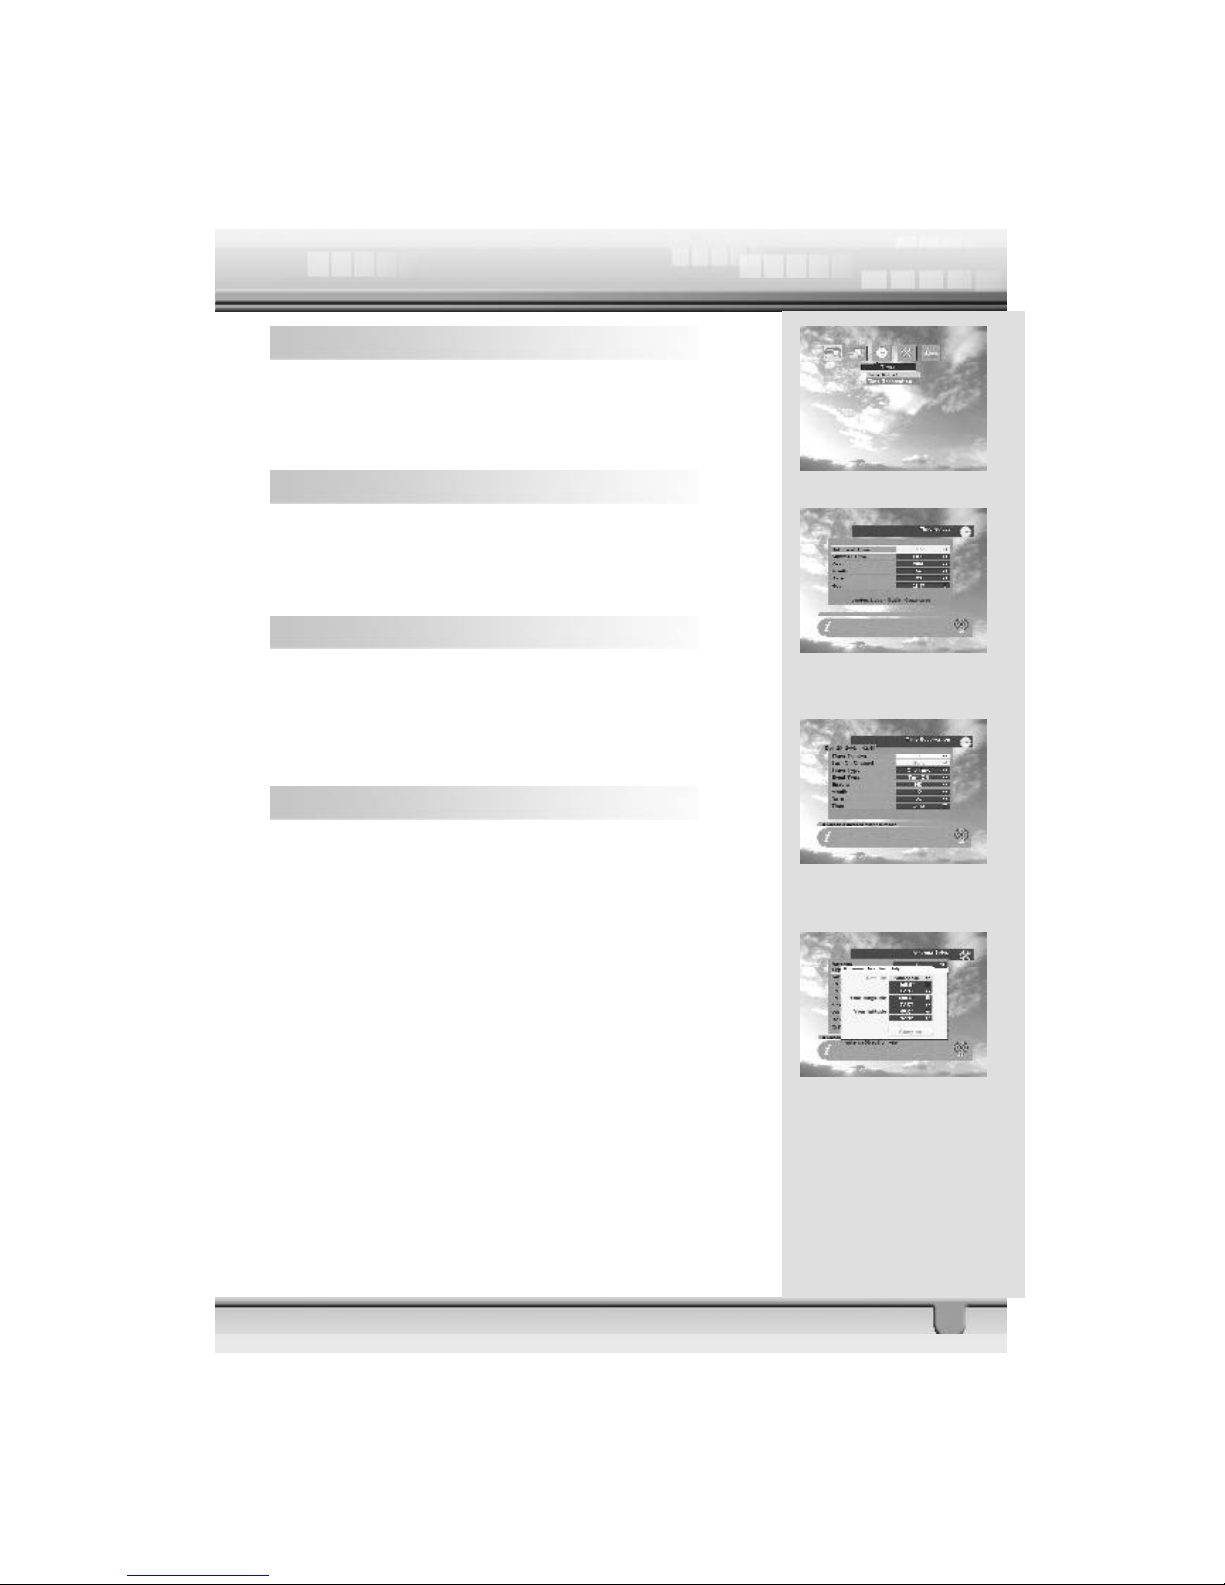
9 Timer
You can adjust the real time as well as you can program the
timer in va rious ways. This function is one of the strong points
of the unit.
9.1 Time Adjust
Usually you get the information real time from the satellite
automatica lly but sometimes they transmit wrong information.
In that case, you can adjust the real time using this function.
9.2 Time Reservation
Timer can be activat ed by the “Turn On” and/or “Turn Off”
option.
Timer allows you to program the various timer functions.
You can set the timer daily, weekly, monthly or once.
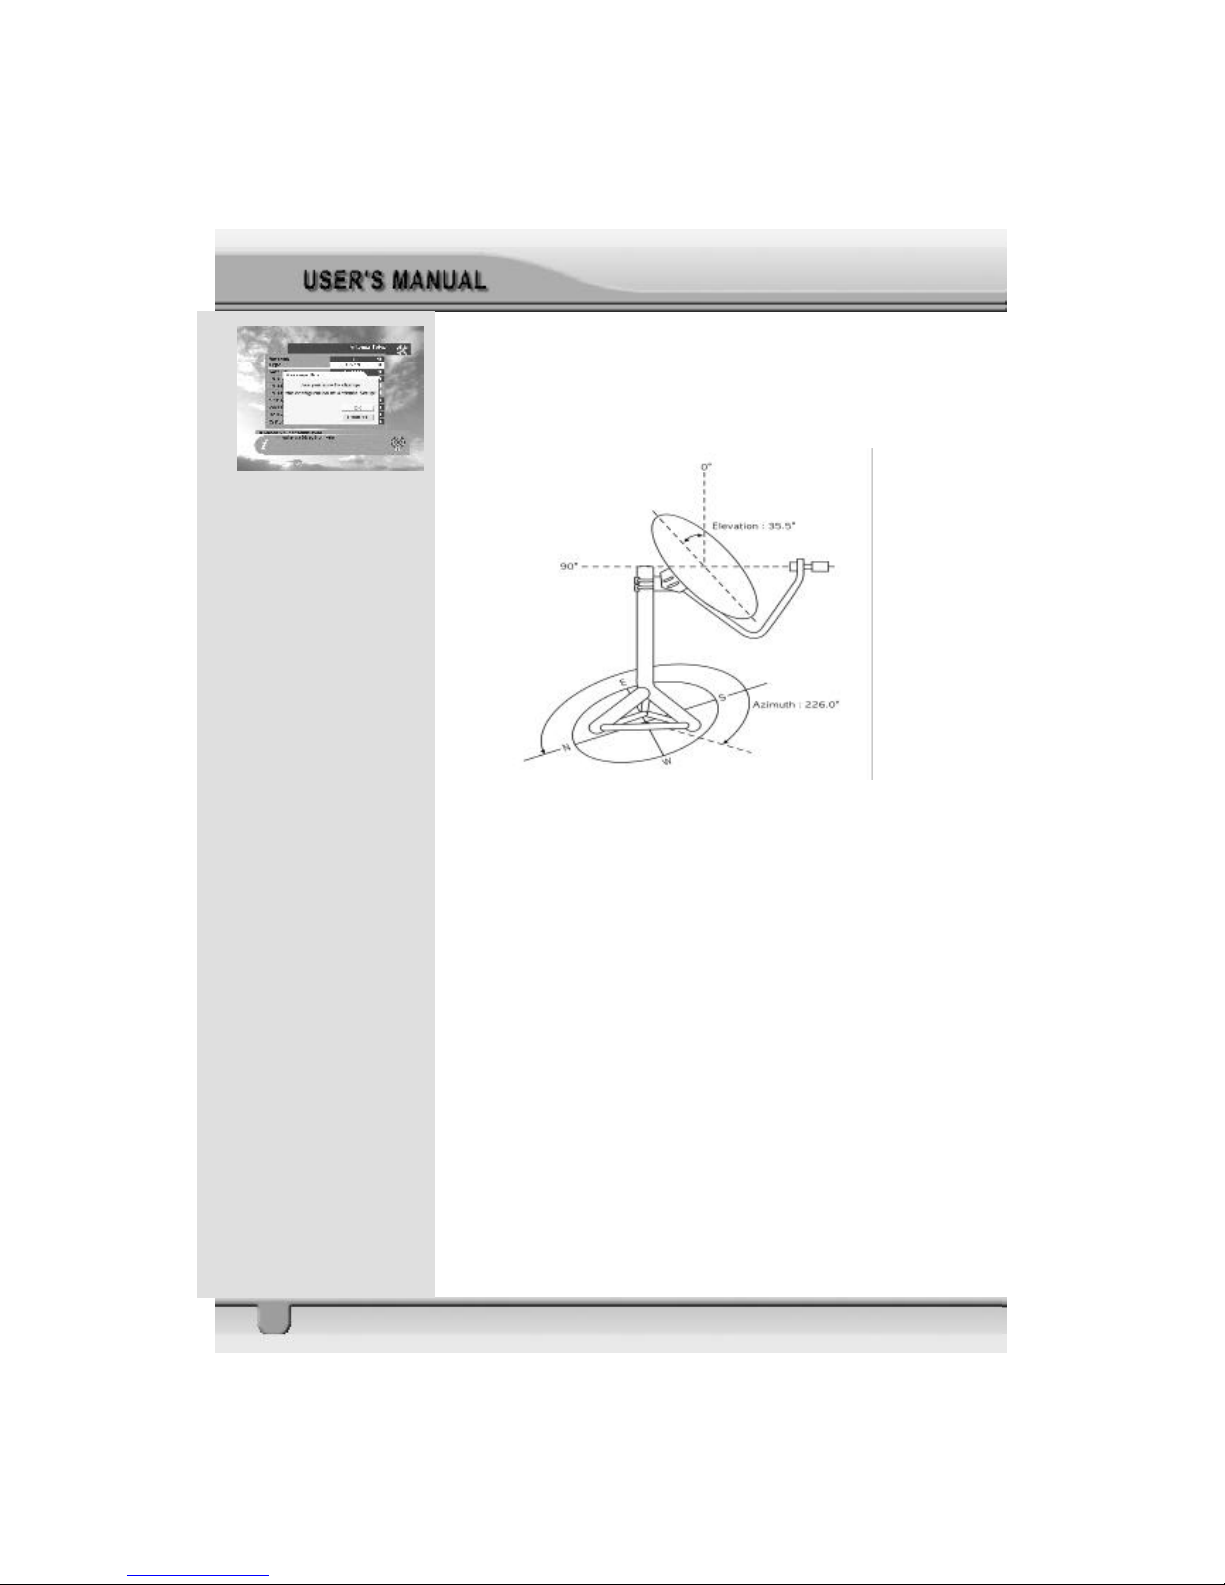
10 Antenna Direction Help
Although you have entered correct values in Antenna Set up
menu, if your antenna is positioned incorrectly, you will not
receive signal from the Satellite.
So the STB provides Antenna Dir ection Help in order to let you
have exact information to direct your antenna toward a satellite.
First select your desired Satellite name and then the location
of selected satellite will be di splayed. In case the location of
the satellite is changed, you can re-set to the new location.
Second, enter the value of Longitude and Latitude.
Page 30
30
Aft er entering the correct value of your position, place your
curs or on Compute and press the OK key. The STB shows
the ex act information of antenna.
Page 31
31
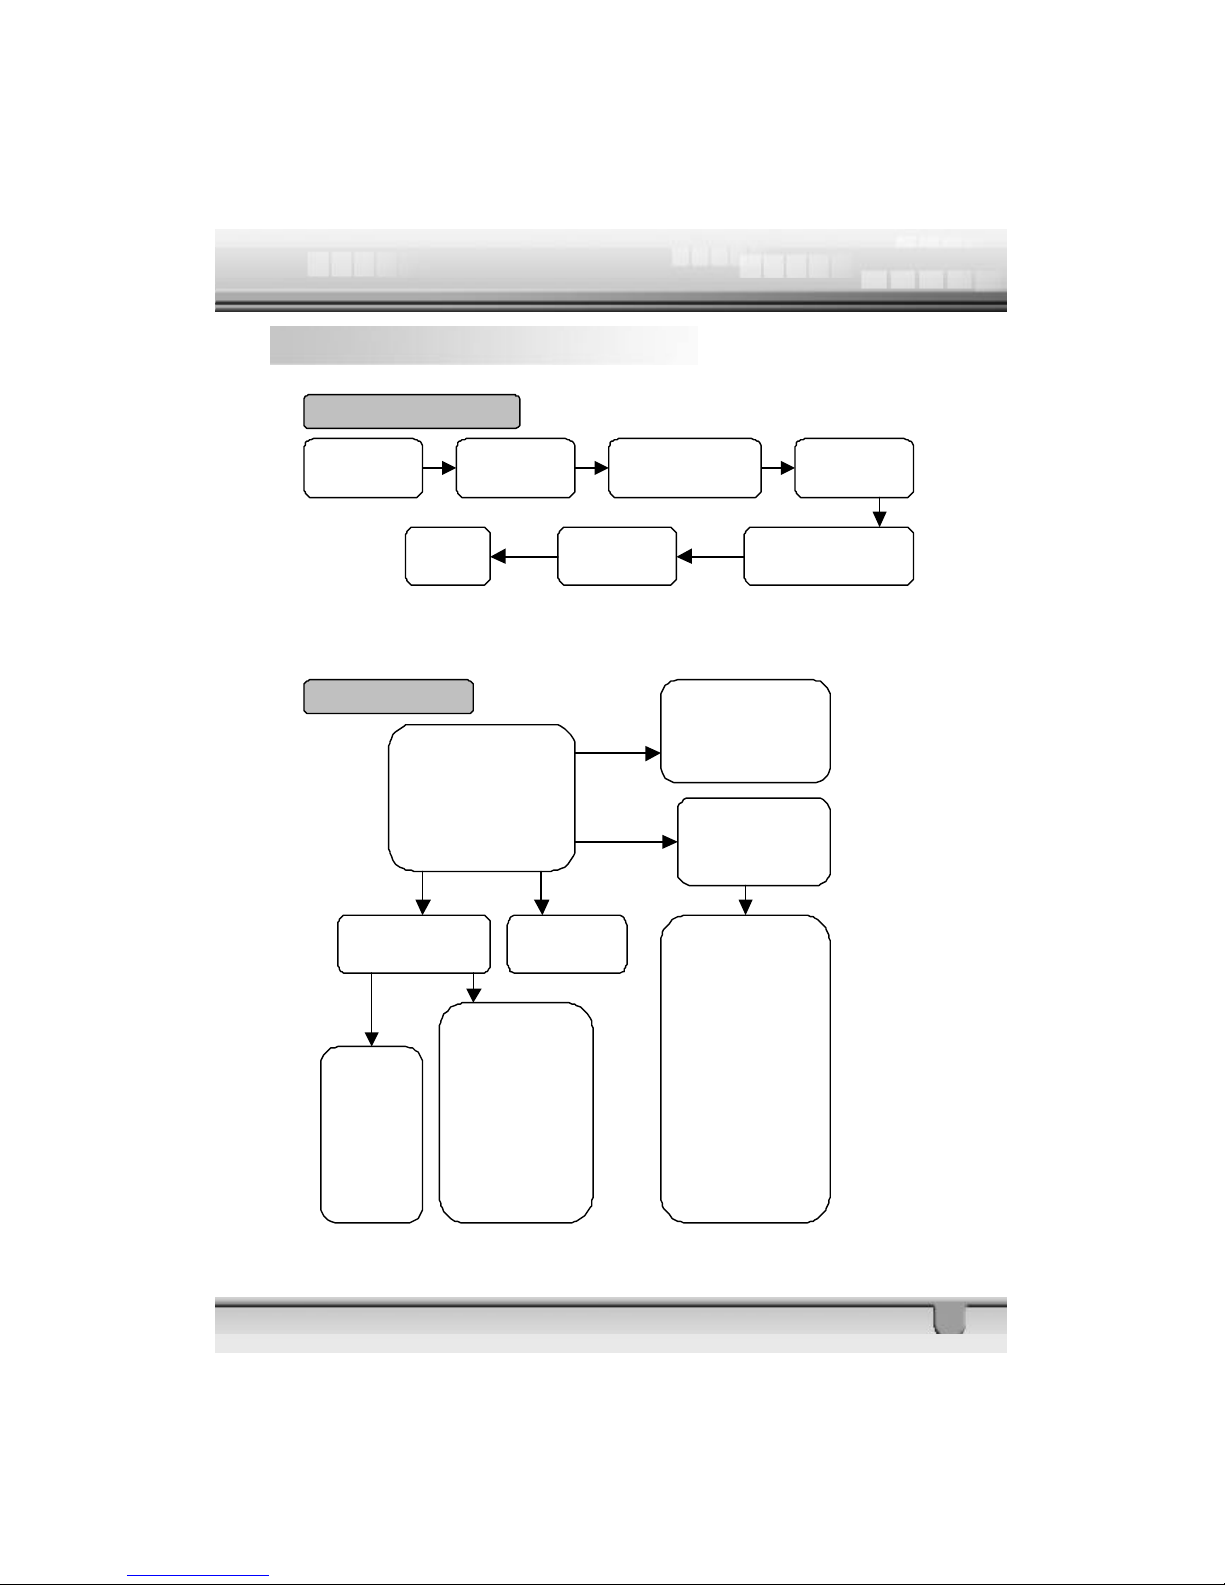
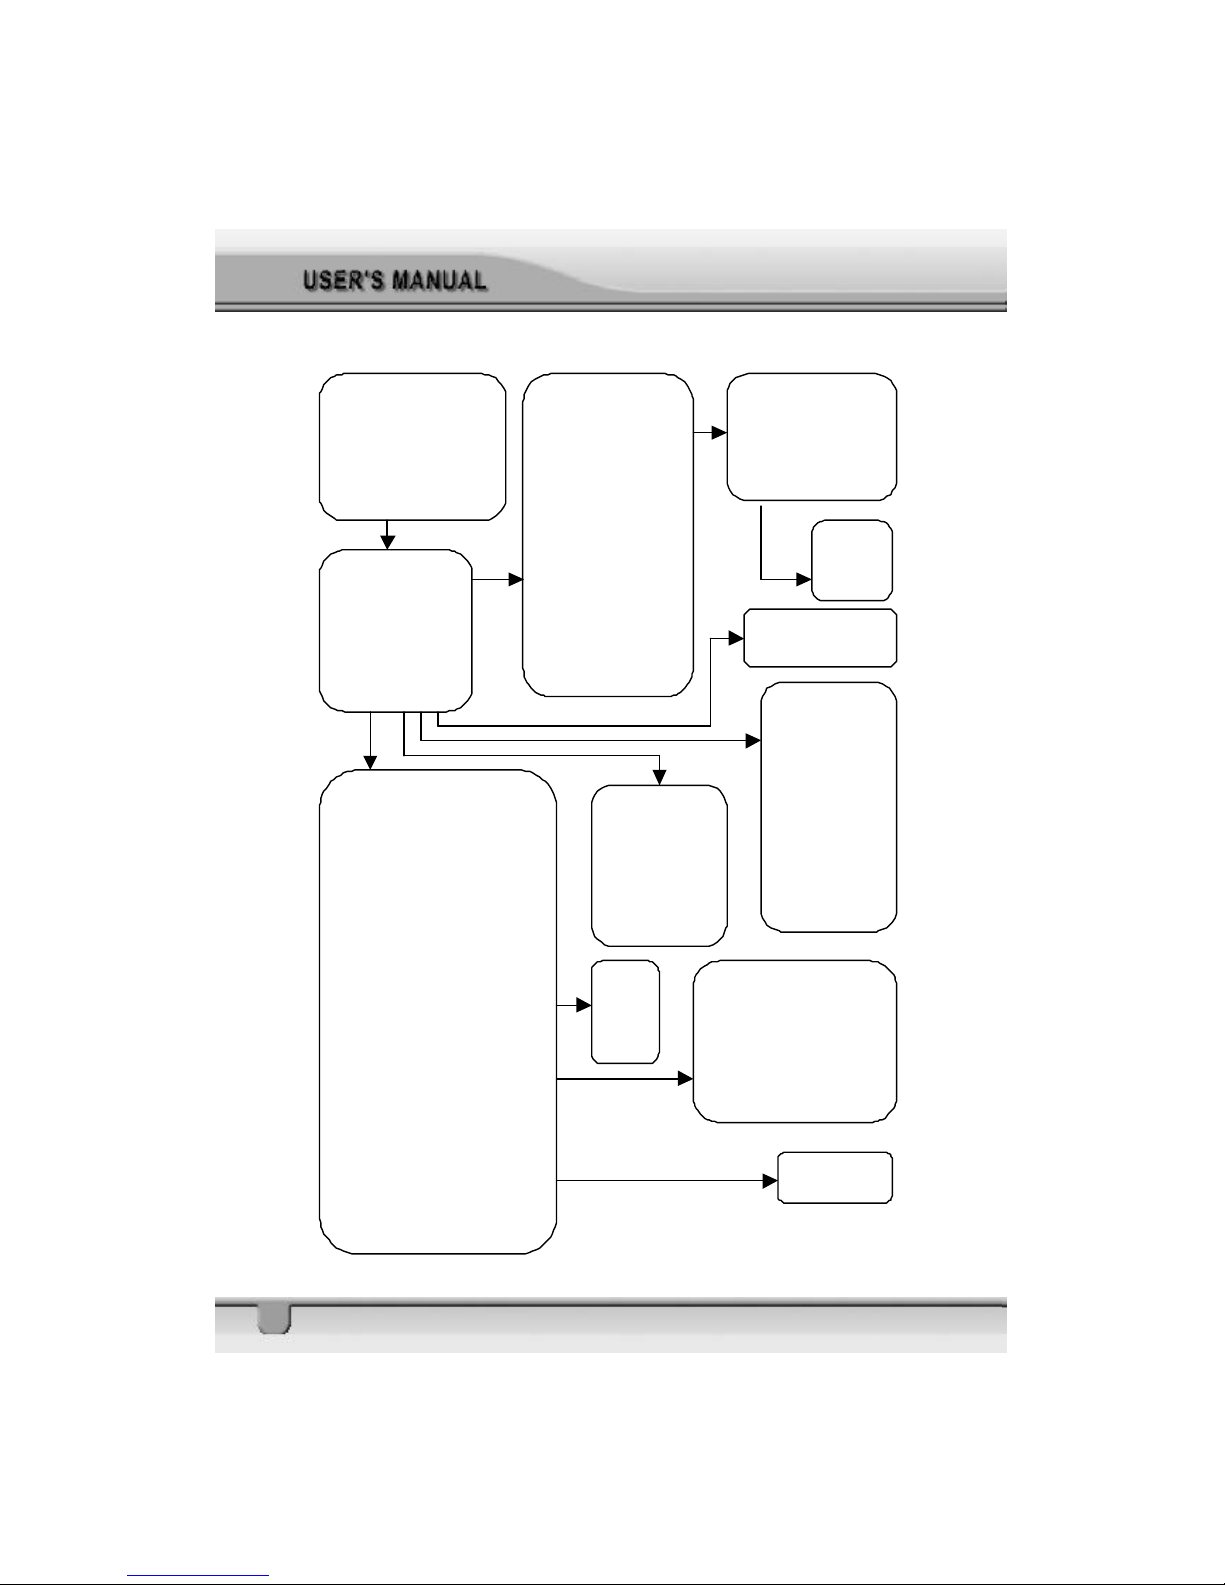
11 Menu Tree of STB
First Time Installation
Welcome Menu
System Setting
Language
User Installation
Antenna Setup
User Installation
Channel Search
Channel Search
Search 1
Sat/TP/Net
work
Timer
Time Adjustment
PICTURE
TV Channel
Delete
Favorite
Move
Lock
Rename Favorite Group
Rename
Sort by
Favorite
Lock
Scrambled
Satellite Name
Channel Name
Channel Manager
1. TV Channel
2. Radio Channel
Main Menu
1. Channel Manager
2. Program Guide
3. Timer
4. User Installation
5.
Receiver Information
Receiver Information
Product
Sw Version
Hw Version
Program Guide
+6:00(Yellow key)
-6:00(Green key)
Timer
1. Time Adjust
2.
Time Reservation
Time Adjust
Set Local Time
Summer Time
Year
Month
Date
Hour
Time Reservation
Timer Number
Turn On Channel
Timer Typ e
Event Type
Enable
month
Date
Time
Menu Navigation
Page 32
32
Main Menu
1. Channel Manager
2. Program Guide
3. Timer
4. User Installation
5.
Receiver Information
User Installation
1. Antenna Setup
2. Channel Search
3. System Setting
4. Parental Lock
5. Factory Default
Antenna Setup
Antenna
Type
Satellite
LNB Type
LNB Freq.1
LNB Freq.2
0/12V Volt
22 KHz Tone
DiSEqC
C/Ku band control
1.
Antenna Setup Help
2. Limit Setup
Channel Search
Antenna
Satellite
Position
Transponder
Frequency
Symbol Rate
Polarization
22KHz
Search 1 Sat
Search 1 SAT/TP/Network/all SAT
Set PID
Sat Name Edit
Delete TP
Re-Sync
Go to 0° for DiSEqC 1.2
Search Option:
FTA Only
Not Searched TP Only
Sort by Scramble
System Setting
OSD Language
Audio Language
LNB Power
Screen Format
Video Format
TV Type
Start On Channel
UHF Standard
UHF Channel
Parental Lock
Current Password
Parental Lock
Install Lock
New Password
Confirm Password
Factory Default
Y/N
Antenna Setup Help
Satellite
Latitude
Longitude
1. Compute
Compute
Azimuth
Elevation
Search 1 Sat/TP/Network
Radio Channel
TV Channel
Transponder Number
Signal Strength
Signal Quality
Set PID
Video PID
Audio PID
PCR PID
Sat Name Edit
KeyPad Entry
Page 33
33
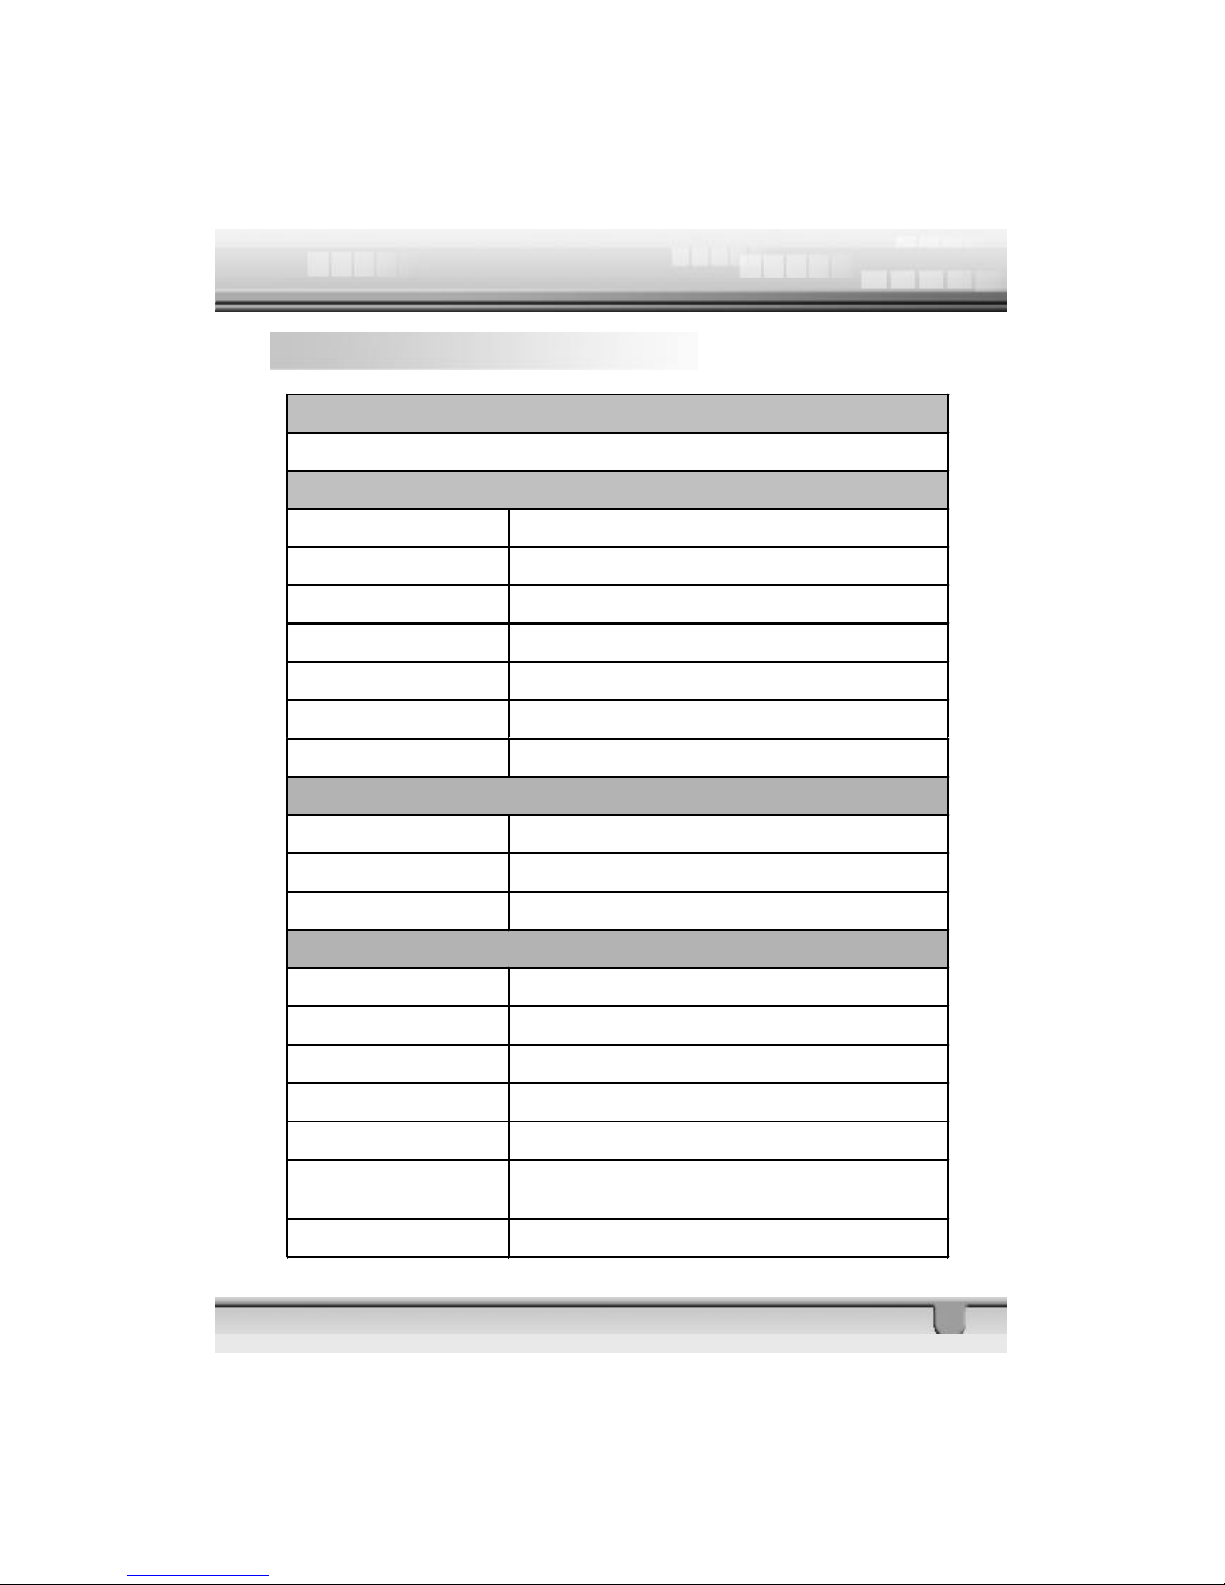
12 Technical Specification
TRANSMISSION STANDARDS
DVB, MPEG-2
INPUT/ DEMODULATION
Connector Type 2X F Type, 3/8-32UNEF-2A (1 input/1 loop through)
Input Frequency 950 to 2150 MHz
Signal Input level -65 to – 25 dBm
Band Switch control 22 KHz
LNB Supply 13.0 + 0.5 V / 18V + 0.7 V, max 400 mA
Demodulation Type QPSK / FEC Coding (DVB prETS 300 421)
Symbol Rate 2 < Rs < 45 Mbaud (SCPC/MCPC)
DIGITAL AUDIO
(
reserved
)
Connector Type 1 X RCA
Output S/PDIF encoded with AC-3 (Optional)
Sampling Frequency 32, 44.1 or 48 KHz
AUDIO/ VIDEO PROCESSING
Audio Decompression MPEG-1 layer I and II / Musicam
Audio Outputs Stereo Channel/Dual Mono/Joint Stereo/ Mono
Video Decompression MPEG-2 Main Profile @ Main Levels With Letter
Video buffer 64 Mbits of SDRAM is provided
Data rate up to 15Mbits/s (Max. burst rate: 228 Mbits/s)
Video output PAL-25 frame @720 x 576 NTSC-30 frame
@720 x 480
Video format 4:3, 16:9
Page 34
34
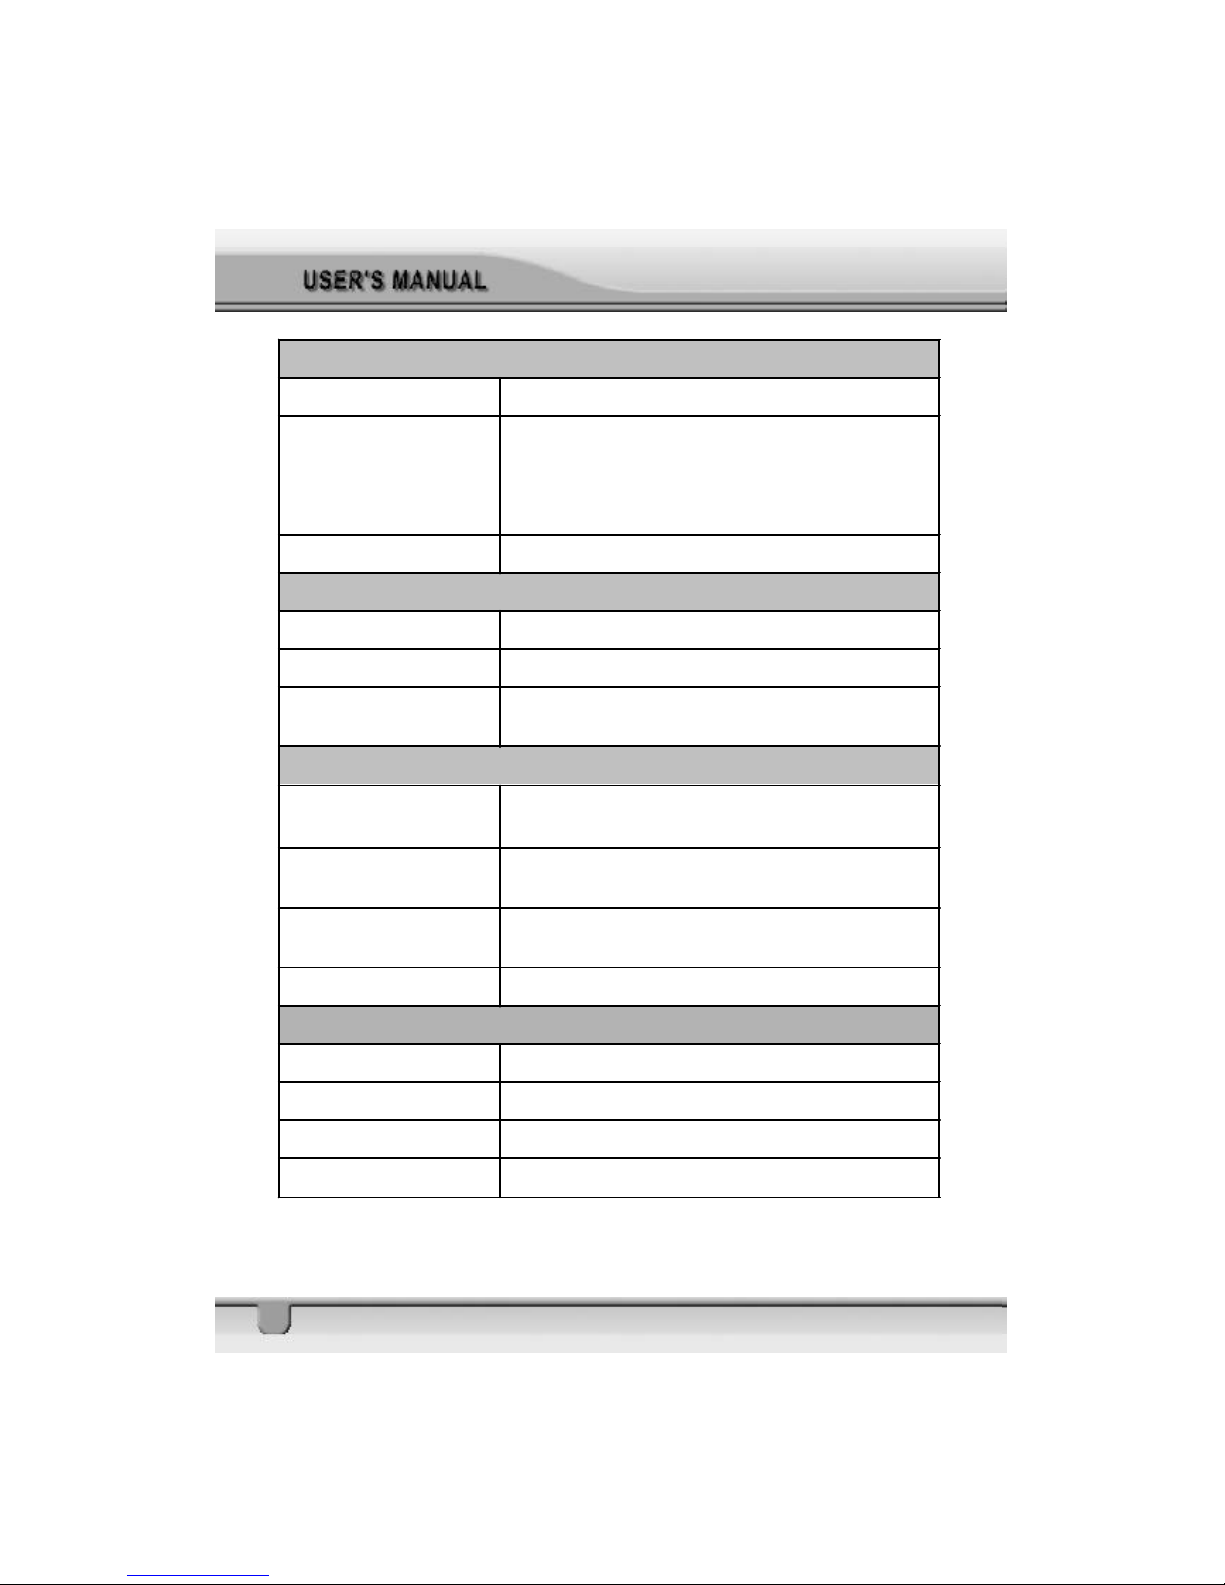
DATA SERVICE PORT
Connector 9-pin D-sub female
Data protocol
RS232C interface. The DVB-DSR is seen as the
Data Communication Equipment (DCE) and the
PC (or other terminal) is seen as the Data
Terminal Equipment (DTE).
Data rate Maximum of 625K bits/s
POWER SUPPLY
Type Switching mode
Main input voltage 100 - 240V AC @ 50Hz/60Hz±5%
Nominal power
consumption
30W
SAFETY
Insulation resistance
more than 10MΩ at 500Vdc
Ambient conditions of 28±2% & 70%RH
Withstand Voltage
(Hi-Pot)
I/p to O/p:3kV(1 min)
Temperature Rise
<
75 on winding & core; <50 on casting
At 264Vac @ 50Hz
Safety Standard Designed to meet IEC 9
MICROPROCESSOR
Microprocessor STMicroelectronics STi5518
Clock frequency 81MHz
SDRAM Memory 8Mbyte
Flash memory 2Mbyte
Page 35
35
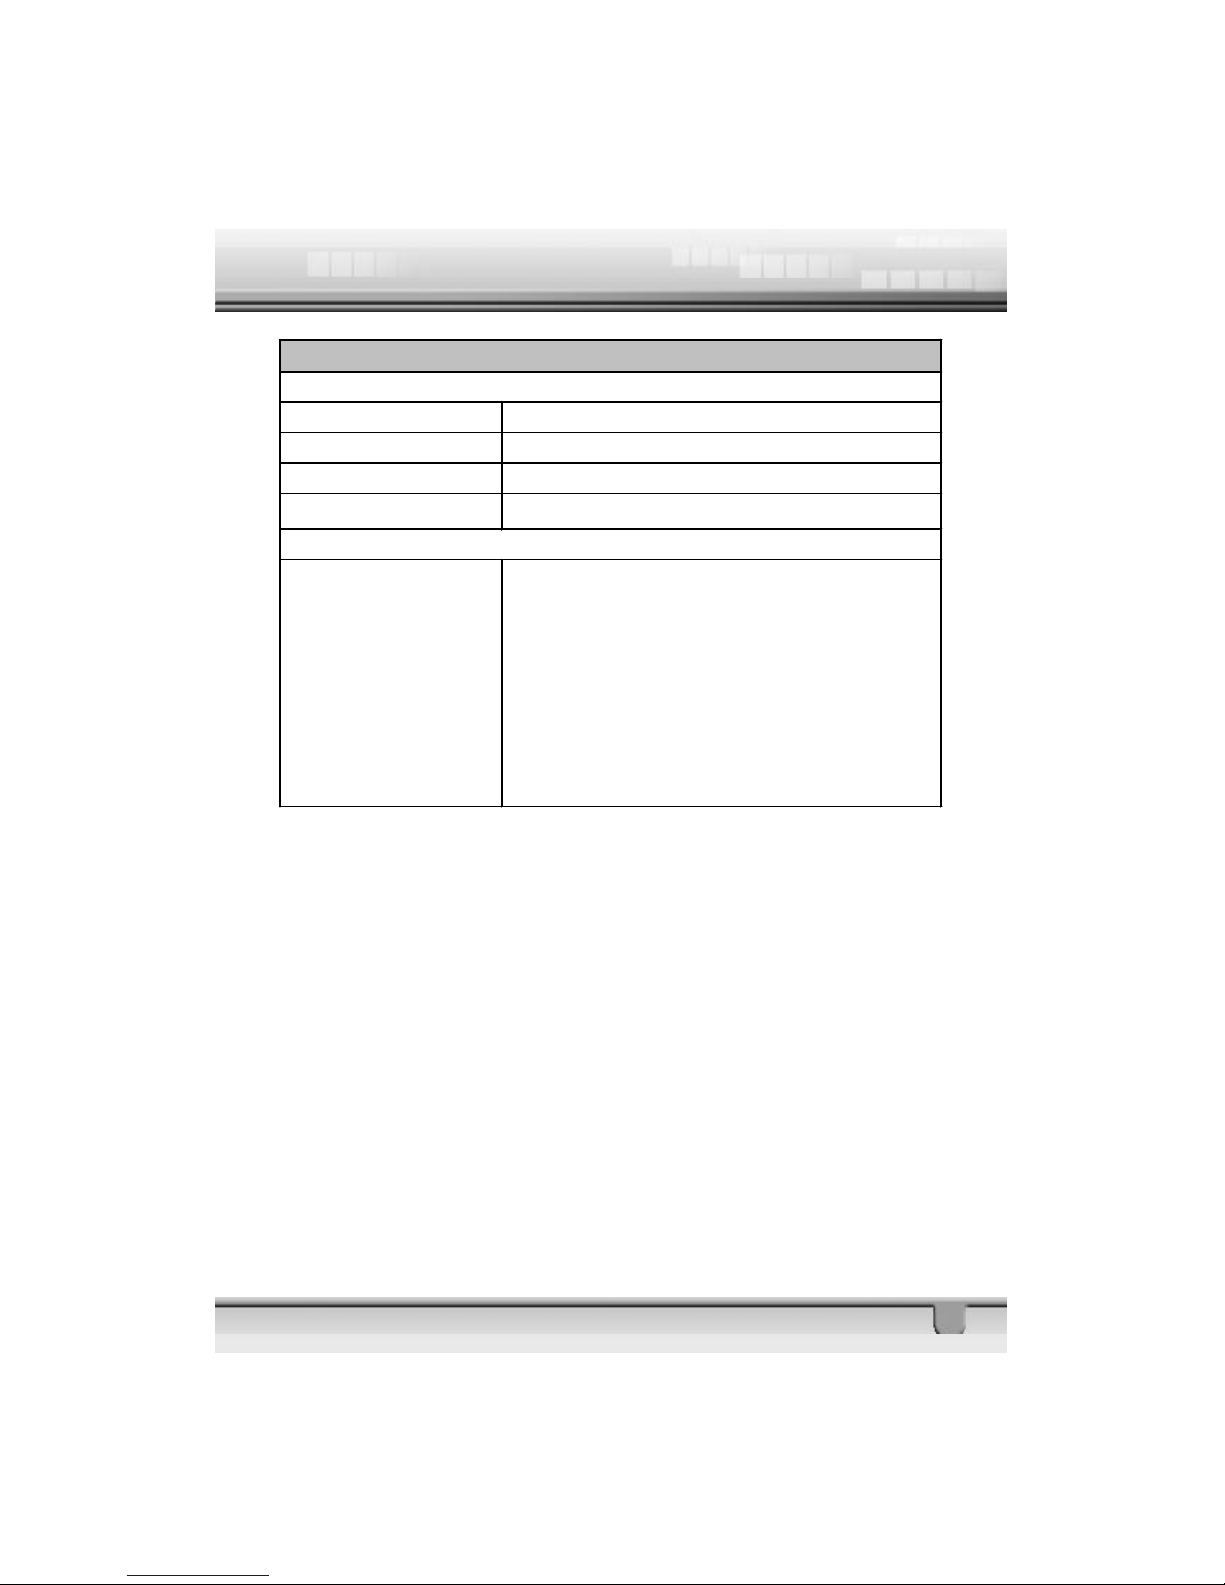
PHYSICAL CHARACTERSTICS
Front Panel
Keys 6 Keys
Indicators Power on/off
Remote control input Infra-red receiver
Display 4Digit (7Segment)
Rear Panel
Connectors
1 LNB Input / 1 Loop through output (2F-type)
1 x S/P DIF
1 x 0/12 Volt (RCA)
2 x Audio L/R (RCA)
1 x Video SIGNAL (RCA)
1 x RS-232 (9 -pin D-sub female)
1 x RF Modulator (IEC169 -2)
1 x S-VHS (4 -pin Mini-Din)
Page 36
36
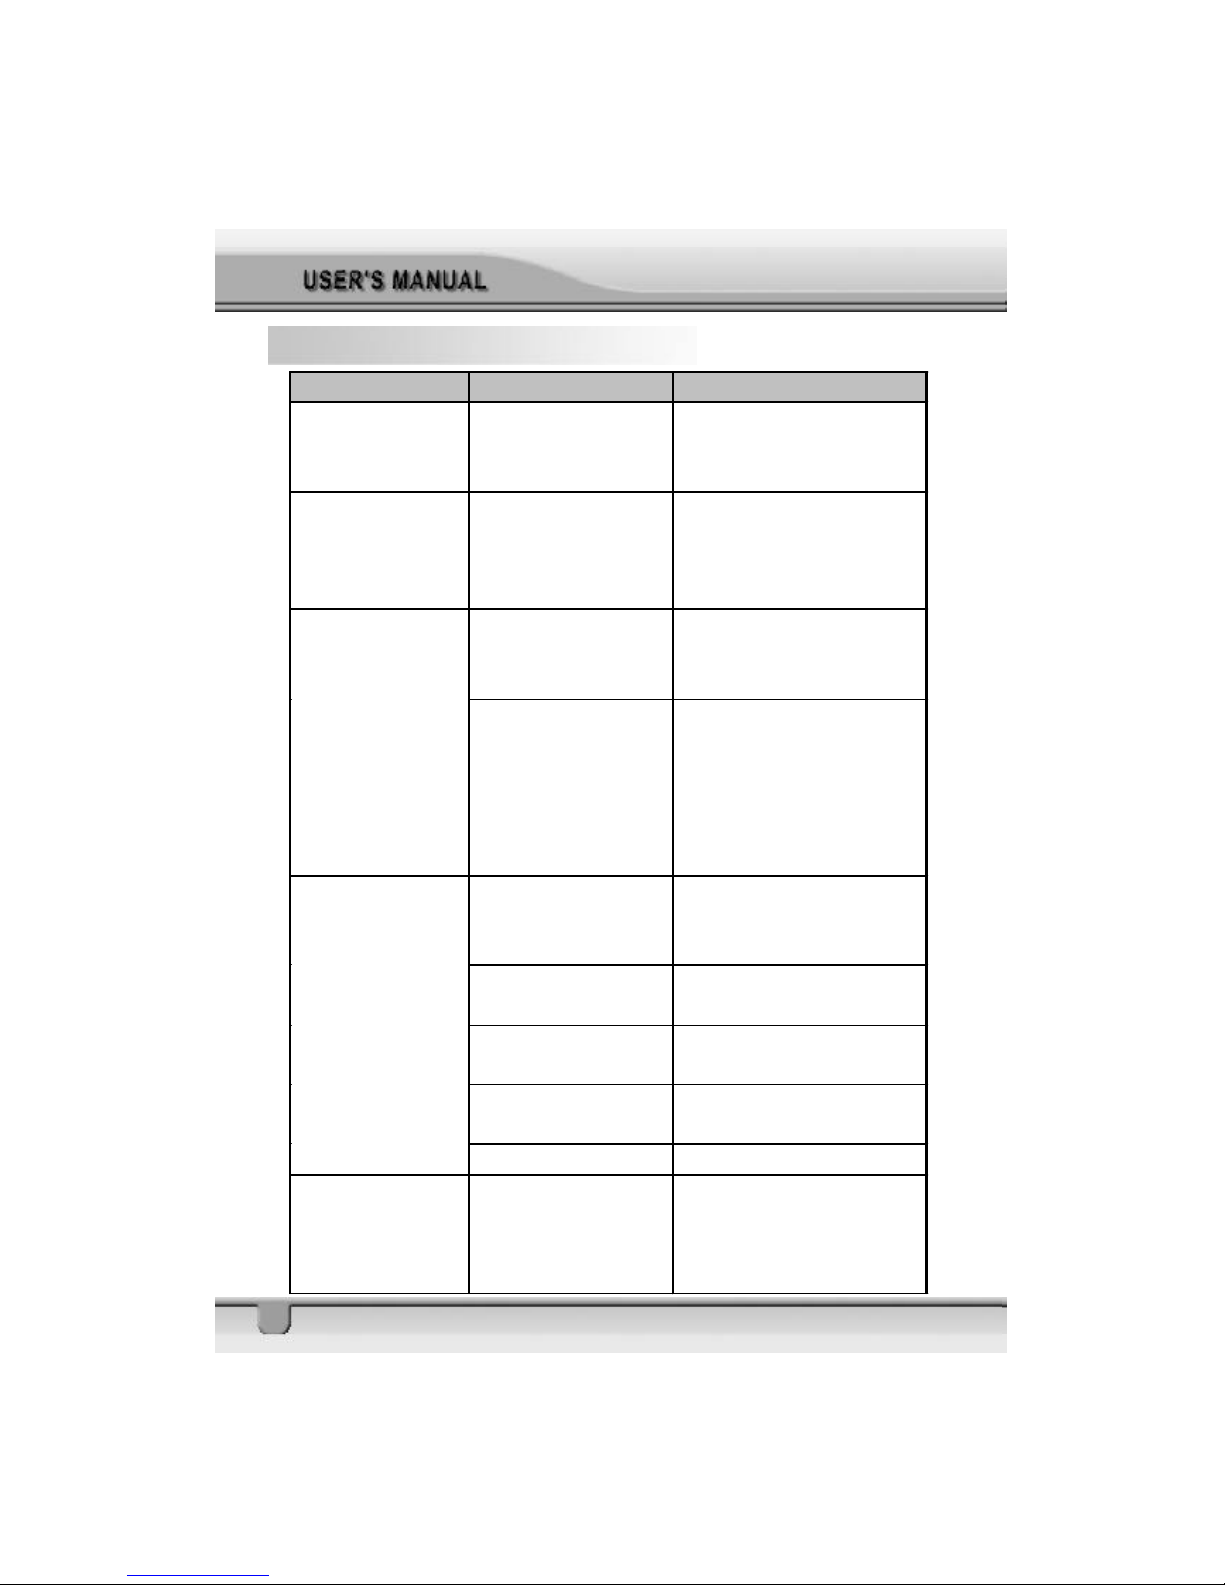
13 Trouble Shooting
Problem Possible Causes
What To Do
The display on the
front panel does
not light up.
Main cable is not
connected.
Check that the main cable
is plugged into power
socket.
No sound
or picture, but the
front panel red
light is ON.
The unit is in standby
mode.
Press the standby button.
The satellite dish is
not pointing at the
satellite.
Adjust the dish.
Check the Signal Level in
the Antenna Setup menu.
No sound or
picture.
No signal or weak
signal.
Check the cable
connections, LNB and other
equipment connected
between the LNB and the
receiver, and/or adjust the
dish.
The satellite dish is
not pointing at the
satellite
Adjust the dish.
Signal is too strong. Connect a signal attenuator
to the LNB input.
Satellite dish is too
small.
Change to a larger dish.
LNB noise factor too
high.
Change to an LNB with
lower noise factor.
Bad picture/
Blocking error.
The LNB is faulty. Change the LNB.
No picture appears
on the TV screen.
The system is
connected by SCART
leads and TV is not in
AV/EXT mode.
Check the UHF channel
fixed in your system and
tune the UHF channel
properly.
Page 37
37
Problem Possible Causes What to do
There is
interference on
your digital
satellite channel.
The system is connected
using RF leads and the
output channel of the
receiver interferes with an
existing terrestrial
channel or Video signal.
Change the receiver output
channel to a more suitable
channel, or connect the
system using SCART leads.
Battery exhausted. Change the battery. The RCU is not
working. RCU is incorrectly aimed. Aim the RCU at the unit, or
check that nothing blocks
the front panel.
 Loading...