

Page 1
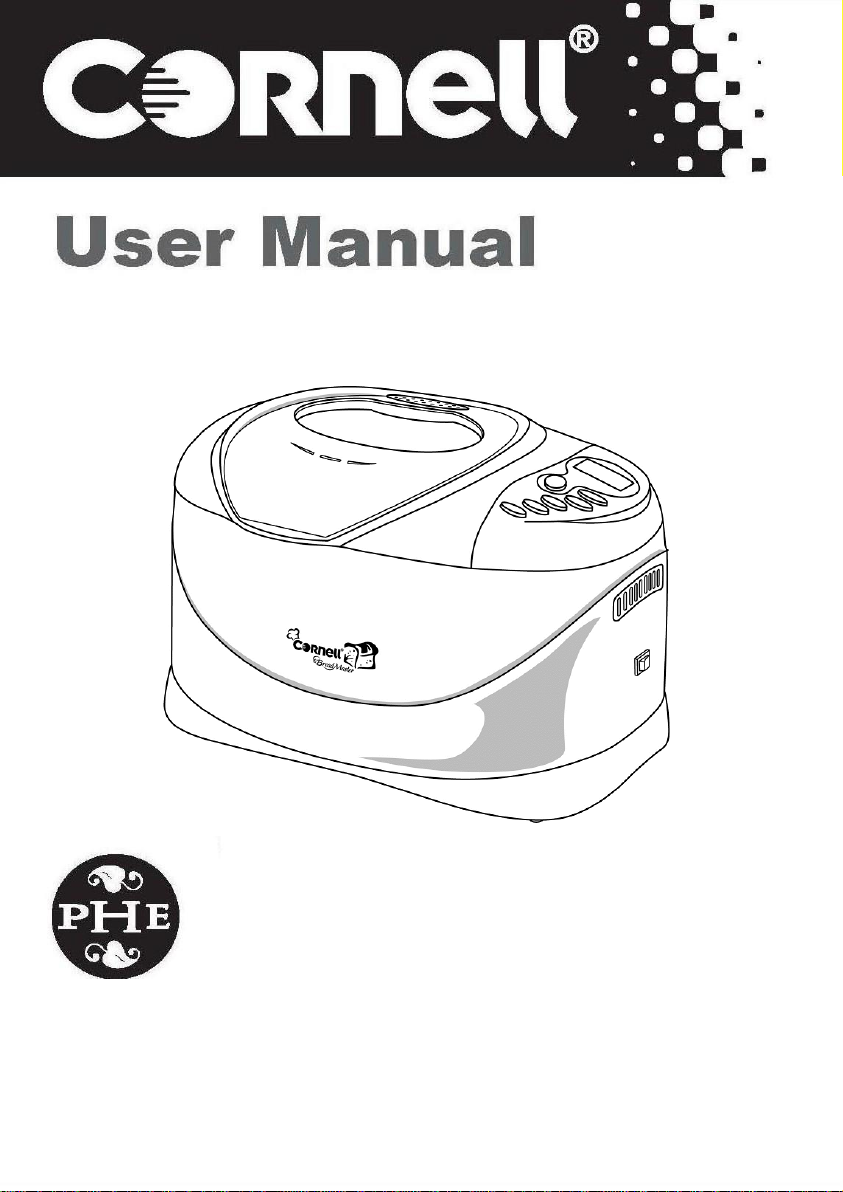
Bread
Maker CBM-PH30LB
Page 2

General Safety Precautions
1. Thank you for your purchase of this appliance. Read all
instructions carefully. Keep this User Manual for future reference.
2. Always switch off and unplug the appliance from the electrical
outlet BEFORE cleaning and also when not in use.
3. Never immerse the appliance, power cord or plug into water or
other liquids. Please refer to the section on “Cleaning and
Maintenance”.
4. If it is a detachable power cord, always connect the power cord to
the appliance first BEFORE plugging it into the electrical outlet.
To disconnect the appliance, switch off the power on the electrical
outlet before removing the power plug.
5. Close supervision is necessary when operating the appliance
near children. Ensure that the power cord does not hang over the
work surface.
6. Do not operate the appliance with a damaged power cord set or
plug. Any repairs should always be carried out by an authorized
service centre.
7. Do not use the appliance for any purposes other than its intended
use. This appliance is intended for household use only.
8. Do not use the appliance in the outdoors or in a damp area.
9. Do not place the appliance on or near a hot gas or electric burner,
or near easily flammable materials.
10. This appliance should not be used by people who are physically
or mentally impaired (including children) unless proper guidance
is provided during operation.
Page 3
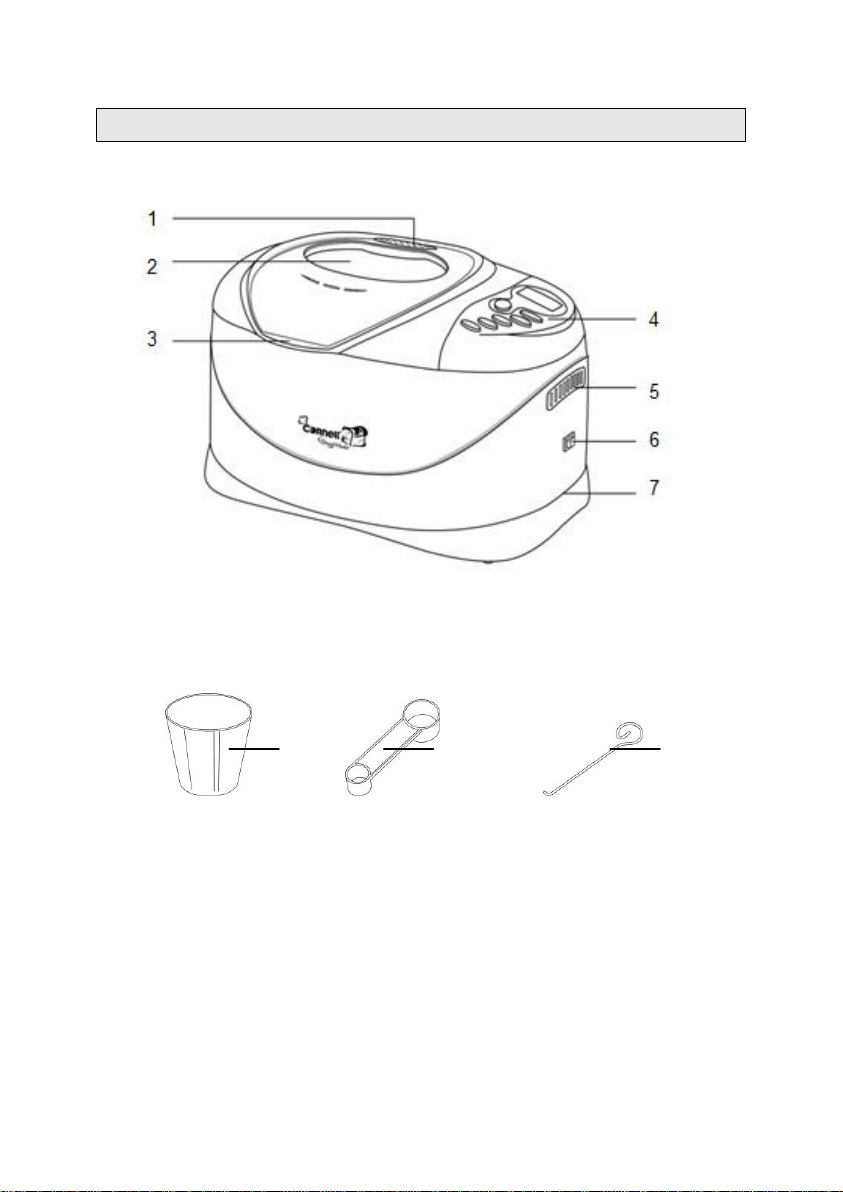
1. Steam Vent
7. Outer Body
2. Window
8. Measuring Cup
3. Lid
9. Measuring Spoon
4. Control Panel
10. Hook
5. Steam Vent
6. Power Switch
8 9 10
Parts Identification
Accessories
Page 4
Model No.
CBM-PH30LB
Rated Voltage
220-240V~
Rated Power
850W
Frequency
50Hz
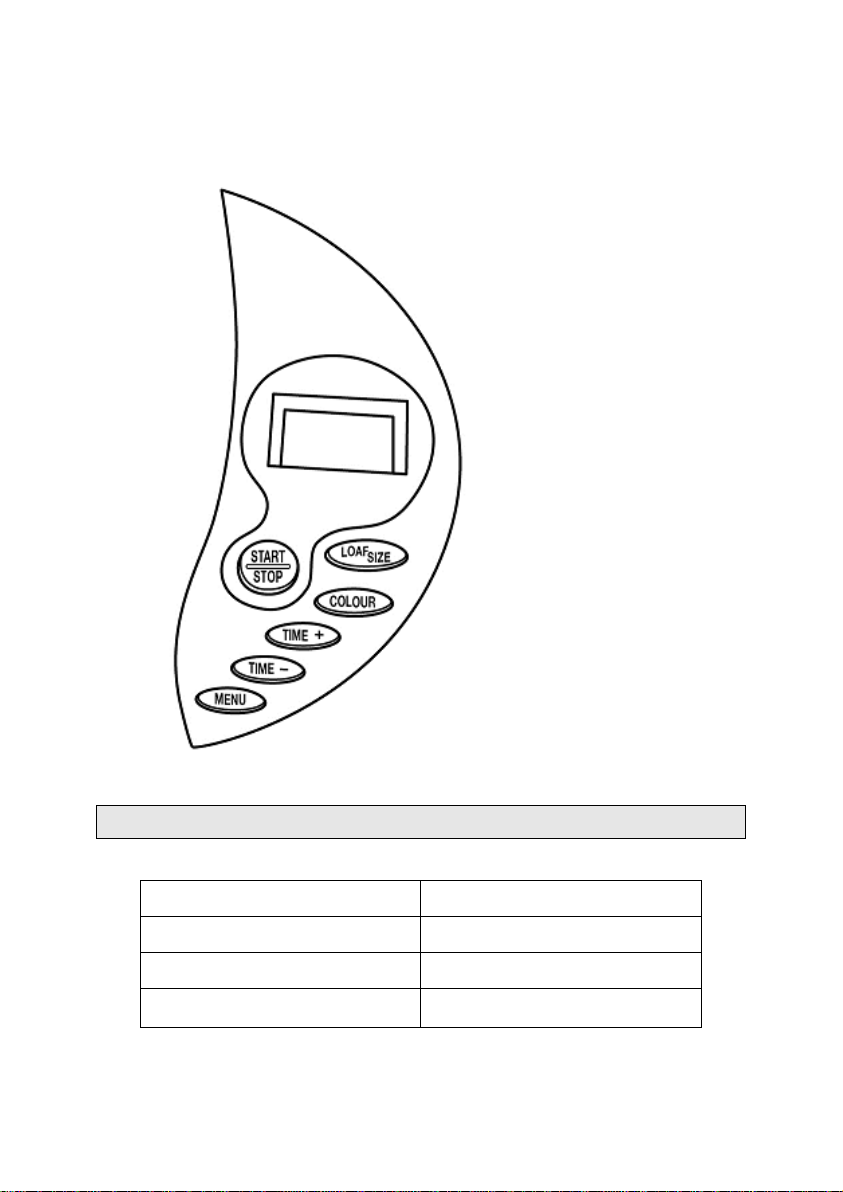
Control Panel Display
Specifications
Page 5
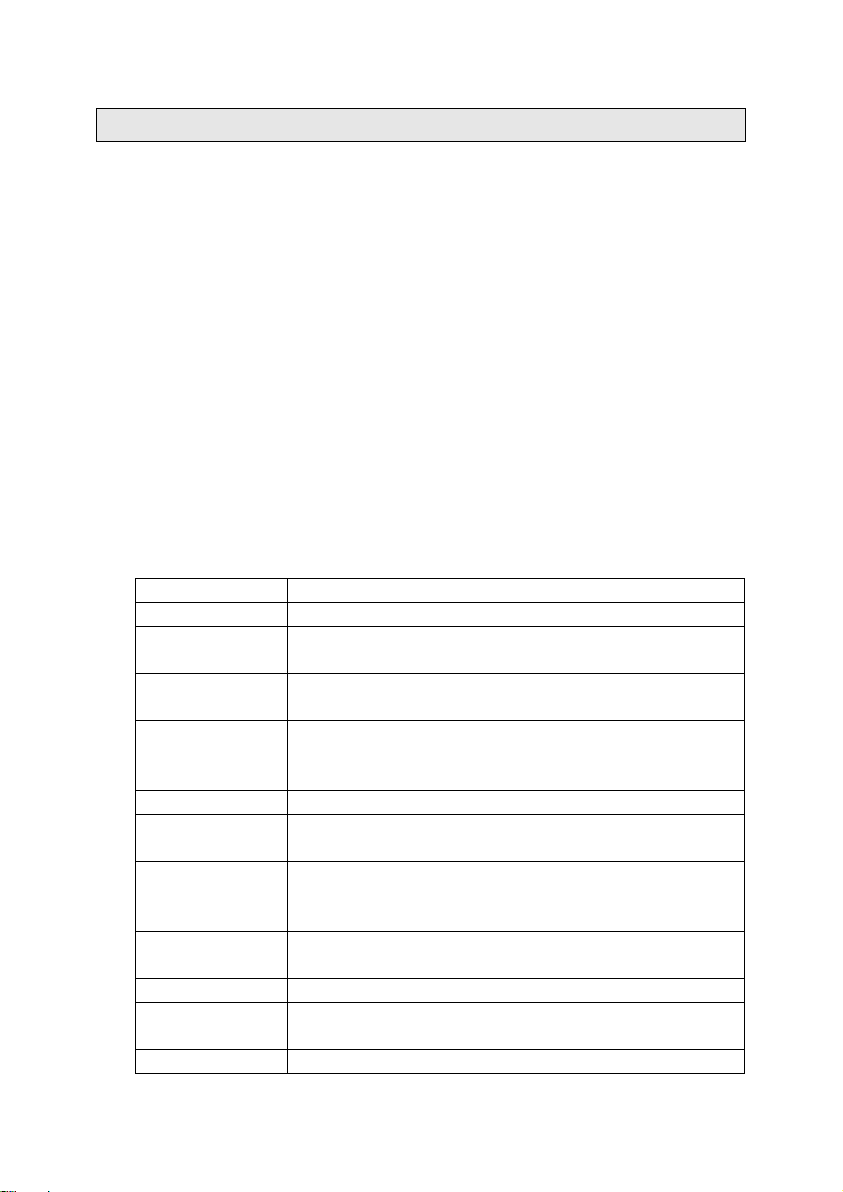
Operating Instructions
Program(s)
Function(s)
Basic
Kneading, rise and baking normal bread.
Quick
Kneading, rise and baking with a shorter time. The
bread baked is smaller and dense texture.
French
Kneading, rise and baking with a longer time. The
bread baked is crisper crust and light texture.
Whole Wheat
Kneading, rise and baking of whole wheat bread.
This setting has longer pre-heat time to allow the
grain to soak into water and expand accordingly.
Rapid
Kneading, rise and baking in a few steps.
Sweet
Kneading, rise and baking the sweet bread. This
program set for baking crisp and sweet bread.
Sandwich
Kneading, rise and baking for making sandwich
slice. The bread baked is thin crust and with loose
texture.
Dough
Kneading and rise. For making bread rolls, pizza,
steamed bread, etc.
Jam
Boiling jams and marmalades.
Bake
Only baking. Also used to increase the baking time
on selected setting.
Gluten Free
Kneading, rise and baking. Use only rice flour.
How to Use Bread Maker
Plug in the power and you will hear a beep sound. The LCD screen
displayed as “1 3:30” while the arrow pointing to 3.0LB and MEDIUM,
respectively. This is a default setting whenever you turn on the unit.
Operation Button
START/STOP
Press the “START/STOP” button once to start the program. The unit
will sound once and colons symbol will start blinking. The entire
function buttons will be deactivated once the program has begun.
Press the “START/STOP” button again and hold for approximately 3
seconds until a beep sound is heard to stop the program.
MENU
Press the MENU button to select your desired operating functions
which will be displayed in the LCD screen as follows:
Page 6

2
COLOR
Press the “COLOR” button once to manually select your desired crust
color as LIGHT, MEDIUM or DARK.
LOAF SIZE
Press this button to select loaf size of bread from 900g, 1125g and
1350g. Please note that the total operation time may vary depend on
the each loaf size of bread.
PRESET TIME (+/-)
This unit may be set to commence baking at any pre-selected time of
the day. The delay time can be set up to 13 hours.
The preset time can be set after the function selection. Then press the
“+/-” button to set the desired delay time and followed by pressing the
“START/STOP” button.
For example, you may want to set the baking time to be completed in
another 8 hours and 30 minutes from now. Press “+” or “-” to increase
or decrease the time setting by 10 minutes interval and up to 13 hours.
Then, press the “START/STOP” button once to activate the program. If
the time set is not “0”, the LCD screen will display the delay time
(08:30) that has been set and start to count down accordingly. Once
the preset delay time is reach, the preset program will be turn off and
switch to keep warm mode for about 1 hour. (Note: It is advisable not to
set delay baking time for any easily perishable ingredients such as
eggs, fresh milk, fruits, onions, etc.)
KEEP WARM
The unit will automatically switch to keep warm mode for 60 minutes
after any baking program.
Always turn off the unit by pressing the “START/STOP” button should
you want to serve immediately after the completion of each baking.
Otherwise, the unit will switch to keep warm automatically.
MEMORY
This unit is equipped with memory function. If there is a power failure
for not more than 15 minutes during the baking process, the selected
program will be resumed again thereafter.
Page 7

If the power failure is extended more than 15 minutes during the baking
process, the baking memory will not be kept and the baking program
has to be restarted again.
ERROR CODE
Please check the following before contacting your local distributor
or service centre. Explain the fault clearly so that repairs may be
completed quickly for you.
- is shown on the LCD screen display – If the temperature
remain too high after any usage. Turn off the unit and let it cool
down for about 10-20 minutes.
- is shown on the LCD screen display – If the main sensor
detects any disconnection or short circuit. Send to authorized
service center for repair.
How to Make Bread
Place the pan into the unit and softly press down until you hear a “click”
sound to secure it into position.
Fix the kneading blade onto the drive shaft and turn it clockwise to lock
it into position. (Note: It is advisable to place some margarine on the
kneading blade as to avoid the dough being stick on the kneading
blade.
Place the ingredients into the pan accordingly. Always add yeast or
baking powder as the last ingredients and vice-versa for making the
heavy dough.
Gently close the lid and turn on the power.
Press the “MENU” button until the arrow points to your desired
program. Then select your desired crust color and loaf size by pressing
the “COLOR” button and “LOAF SIZE” button, respectively.
Press “START/STOP” button to start operation.
You will hear 10 beeps sound once the baking process is completed.
Press and hold the “START/STOP” button for approximately 3-5
seconds to turn off the unit and the bread is ready to be served. (Note:
Always turn off the unit once the baking is completed, otherwise it will
switch to keep warm mode automatically)
Page 8

Open the lid and firmly grasp the bread pan handle with oven mitts.
Problem
Cause
Solution
Smoke from
steam vent when
baking
Some residue may
stick to the heater
surface
Unplug the bread
maker and clean the
heater
Bread’s bottom
crust is too thick
Bread has been
kept warm and left
in the pan for too
long which result in
loss of too much
water
Take out the bread
without keeping it warm
Difficult to
remove kneading
blade
Kneading blade
adheres tightly to
the drive shaft
Pour hot water into the
bread pan and immerse
the kneading blade for
10 minutes. Take it out
and clean.
Ingredients not
stirred evenly
and badly baked
1. Unsuitable
program is
selected
Select a suitable
program
2. Open the lid
several times
after operation
which result in
dry bread and no
brown crust
Do not open lid at the
last rise
3
Turn the pan anti-clockwise and gently pull the pan up-straight and out.
Remove the bread from the pan and let the bread cool for about 20
minutes before slicing. (Caution: Always handle with care as the pan
and bread is extremely hot once baking is completed)
Unplug the power from mains electricity supply.
Note: Before slicing the bread, use the hook to remove the kneading
blade which is hidden on the bottom of the bread. Never use hands to
remove the kneading blade as the bread is hot.
Troubleshooting
Page 9

3. Large stir
resistance
causing
inadequate
rotation and
stirring from
kneading blade
Check kneader hole.
Take out the pan and
operate without any load.
If operation is still
abnormal, contact an
authorized service
centre.
Display “H:HH”
after pressing
“START/STOP”
button
The temperature in
bread maker is too
high
Press “START/STOP”
button and unplug
bread maker, then take
out the pan and open
lid until the bread
maker has cooled down
Sound of motor is
heard but dough
is not stirred
Bread pan is fixed
improperly or dough
is too large to be
stirred
Check whether bread
pan is fixed properly
and dough is made
according to recipe and
the ingredients is
weighed accurately
Bread size is too
large
Yeast is too much or
flour is excessive or
water is too much or
environment
temperature is too
high (>28ºC)
Check the factors and
reduce the amount
accordingly
Bread size is too
small or bread
has no rise
No yeast or the
amount of yeast is
not enough.
Moreover, yeast
may have a poor
activity as water
temperature is too
high (>30ºC) or
yeast is mixed
together with salt, or
the environment
temperature is too
low (<15ºC)
Check the amount and
performance of yeast,
increase the
environment
temperature properly.
Dough is too
large and
overflows
The amount of
liquids is too much
as to make dough
soft and yeast is
Reduce the amount of
liquids and improve
dough rigidity
also excessive.
Page 10

Bread collapses
in the middle
parts when
baking dough
1. Used flour is not
of good quality
baking powder
and the dough
cannot rise
Use bread flour or good
quality baking powder.
2. Yeast expand
too rapid or
environment
temperature is
too high (>28ºC)
Yeast should be used
under room
temperature
3. Excessive water
makes dough too
wet and soft.
According to the ability
of absorbing water,
adjust water on recipe
Bread’s weight is
very large and
organization
construct is too
dense
1. Too much flour
or short of water
Reduce flour or
increase water
2. Too many fruit
ingredients or
too much whole
wheat flour
Reduce the amount of
corresponding
ingredients and
increase yeast
Middle parts are
hollow after
cutting bread
1. Excessive water
or yeast or no
salt
Reduce properly water
or yeast and check salt
2. Water
temperature is
too high (>30ºC)
Check water
temperature
Bread surface is
adhered to dry
powder
1. There is strong
glutinosity
ingredients in
bread such as
butter and
bananas etc.
Do not add strong
glutinosity ingredients
into bread.
2. Stir is not
adequate due to
short of water
Check the amount of
water used and the
setting of bread maker
Crust is too thick
and baking color
is too dark when
making cakes or
food with
excessive sugar
Different recipes or
ingredients have
great effect on
making cakes,
baking color will
become very dark
If baking color is too
dark for the recipe with
excessive sugar, press
“START/STOP” button
to interrupt the program
5-10min ahead of
Page 11

because of much
sugar
intended finishing time.
Before removing out
the bread you should
keep the bread or cake
in bread pan for about
20 minutes with cover
closed
Care and Cleaning
Always disconnect the appliance from the electrical outlet before
cleaning.
Always allow your appliance to cool completely before cleaning.
Clean the exterior of the appliance using a damp cloth.
Never immerse the appliance completely in water or any other
liquids.
Attachments may be washed in lukewarm water and mild
detergent.
Page 12

Bread Maker Recipes
Whole Wheat Bread
LOAF SIZE 900G 1125G 1350G
Water 350ml 440ml 530ml
Salt 1 tsp 1.5 tsp 2tsp
Honey 1 tbsp 2 tbsp 3 tbsp
Wheat whole
meal flour 520g 640g 760g
Dry yeast 2tsp 3tsp 3tsp
Program : Whole Wheat
Basic Bread
LOAF SIZE 900G 1125G 1350G
Water 350ml 430ml 520ml
Oil 2 tbsp 2.5 tbsp 3 tbsp
Salt 1.25 tsp 1.5 tsp 2tsp
Sugar 2 tbsp 2.5 tbsp 3 tbsp
Bread flour 520g 630g 750g
Dry yeast 1tsp 1.5tsp 2tsp
Program : Basic
Buttermilk Bread
LOAF SIZE 900G 1125G 1350G
Buttermilk 360ml 440ml 530ml
Salt 1.0tsp 1.5 tsp 2tsp
Sugar 3tbsp 4tbsp 5tbsp
Bread flour 520g 650g 780g
Dry yeast 1tsp 1.5tsp 1.5tsp
Program : FRENCH
Sweet Bread
LOAF SIZE 900G 1125G 1350G
Buttermilk 210ml 300ml 400ml
Egg 3 4 4
Oil 3tbsp 4tbsp 5tbsp
Salt 1.0tsp 1.5 tsp 2tsp
Sugar 3tbsp 4tbsp 5tbsp
Bread flour 460g 580g 720g
Raisins 75g 100g 125g
Dry yeast 2tsp 2.5tsp 3tsp
Program : SWEET
Page 13

Berry Jam
Thawed deep-frozen berries 950g
Lemon juice 1tbsp
2:1 jellifying sugar 500g
Program : JAM
Orange Jam
Peeled and thinly diced oranges 900g
Peeled and thinly diced lemons 100g
2:1 jellifying sugar 500g
Program : JAM
Page 14
 Loading...