

Cornelius TS-009AS User Instruction Manual
HOME
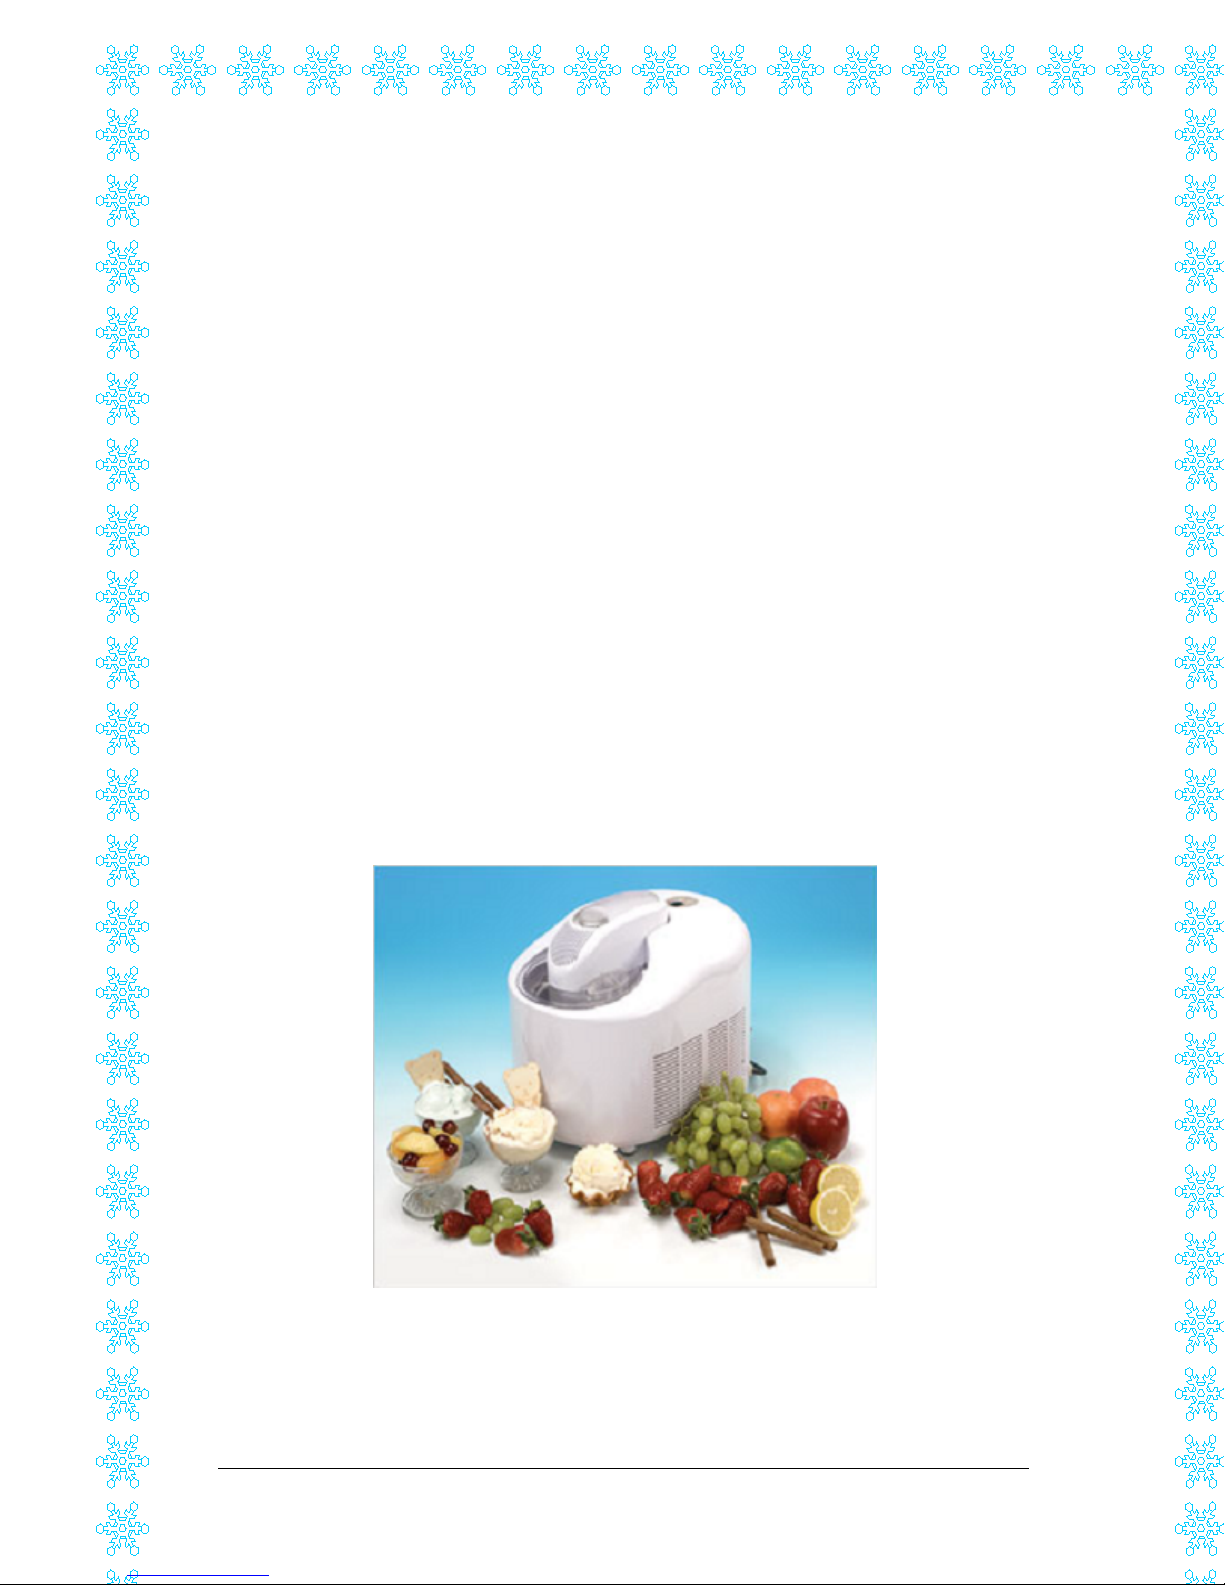
ICE CREAM
MAKER USER
INSTRUCTION
MANUAL
MODEL TS-009AS
© The images and text within this document are the copyright of Refrigeration
Installations Limited. No part of this document may be reproduced in any form or by
any means without the prior written consent of the copyright owners.
TS-009AS Version 05/05 Page 1 of 1

Introduction
This instruction manual covers the operation of the Home Ice Cream Maker
Model TS-009AS. All versions of body colour and finish are covered by these
instructions.
Please read these instructions carefully prior to using the appliance for the
first time, especially the ‘Hints, Tips and Important Safeguards’ section later in
this manual. It is recommended that these instructions be retained for future
reference.
The appliance must be connected to a (nominally) 240V AC 50Hz. earthed
electrical supply and be protected with a 13 Ampere fuse. The Ice Cream
Maker has a mains electricity On/Off switch which is situated on the right
lower rear of the appliance, and a START/STOP button on the Control Panel.
The Home Ice Cream Maker can produce up to 1 litre, 35 fluid ounces, of ice
cream at a time. Ingredients used should be foodstuff grade edible
ingredients, and it is recommended that tried and tested recipes are used until
familiarity with appliance operation is gained. A list of typical ingredients is
given in the Hints, Tips and Important Safeguards section.
Parts Overview
Appliance Body Control Panel/Display Refrigeration Barrel
Ice Cream Container Paddle Top Assembly
D
E
TS-009AS Version 05/05 Page 2 of 2

Preparing the Appliance for Use
Unpack the appliance and place it on a sturdy level surface. It is
recommended that the packaging be retained for secure movement/transport.
The appliance operates at its optimum performance in a normal room
temperature of 20º C.
The refrigerant inside the appliance must have time to settle following
transportation and a minimum stabilisation period of three hours is
recommended prior to switching on the appliance.
There are ventilation grilles in the appliance cover in the lower left hand and
right hand sides. To ensure correct appliance operation these grilles must not
be obstructed. A gap of at least 20 cm. (8 inches) must be maintained
between the appliance sides, rear and top and other appliances or walls.
As with all appliances used for the production of foodstuffs good basic
hygiene and cleanliness practices are essential. Before use the appliance
must be thoroughly cleaned in the following manner (items in BOLD are
shown in Parts Overview):
A. Carefully lift off the
Top Assembly
, remove the plastic
Paddle
by
gently but firmly pulling on the Paddle. Lay the Top Assembly where it
cannot be damaged or get wet.
B. Remove the
Ice Cream Container
from the
Refrigeration Barrel
using the wire handle, the Container is a tight fit into the Barrel.
Immerse the Container and the Paddle in clean warm soapy water.
Wash both parts by hand and dry them. Appliance parts must not be
washed with scourers in a dishwasher.
C. Carefully wipe down the Top Assembly and the
Appliance Body
with
a damp cloth. Dry both assemblies. Do not immerse the Top Assembly
or the Appliance Body in water.
D. Wipe the inside of the Refrigeration Barrel with a damp cloth and dry.
E. Replace the Ice Cream Container in the Refrigeration Barrel. It is
important to replace the Ice Cream Container in the correct position.
The two lugs on the Container top rim to which the wire handle is fixed
must align with the two cut-outs in the clear seal around the edge of
the Refrigeration Barrel. The wire handle must also be folded towards
the front of the appliance otherwise the Top Assembly may not seat
correctly and the appliance may not work. (The two cut-outs in the seal
are at approximately ’ten minutes past the hour’ and ‘twenty minutes to
the hour’ when viewed from the front of the appliance.)
F. Attach the Paddle to the Top Assembly and replace the Top Assembly
onto the appliance.
The appliance is now ready for use.
TS-009AS Version 05/05 Page 3 of 3
 Loading...