

Cornelius Pressurized Liquid Base Beverage Dispense none, 629088658, 629088659, 629088660, 629088661 Installation Instructions Manual
...Page 1
FlavorFusion Icemaker Adaptor Kit Installation Instructions
!
WARNING:
!
WARNING:
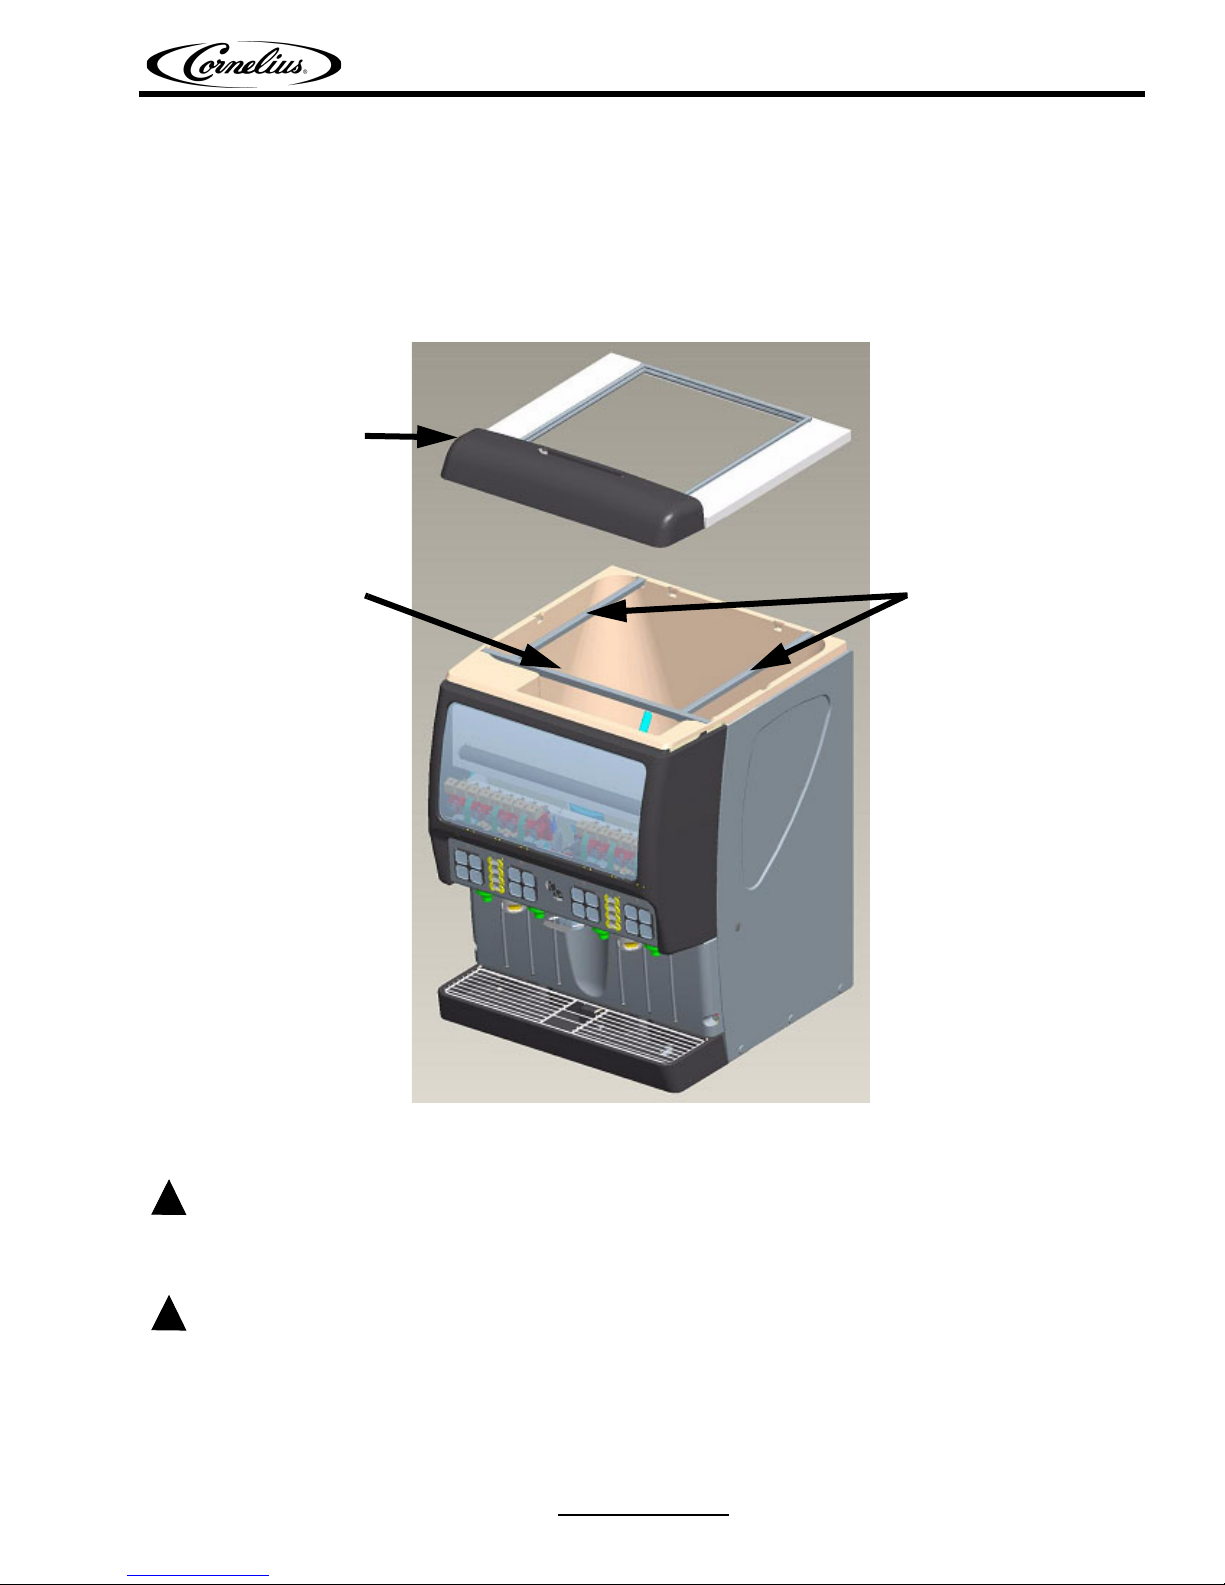
Icemaker Adaptor Kit
Bar
Cross Braces
INSTALLATION INSTRUCTIONS
FLAVORFUSION ICEMAKER ADAPTOR KIT
FOR P/N 629088658, 629088659, 629088660, 629088661,
629088692, 629088693, 629088694,
AND 629088695
FIGURE 1
Disconnect power to the unit before installing adaptor following all lock out / tag out procedures established by the
user. Verify all of the power is off to the unit before performing any work. Failure to comply could result in serious
injury, death or damage to the equipment.
All of the attachment screws and plates must be installed as directed in this manual. Failure to comply could result
in serious Injury, Death or Damage to the equipment.
Revision Date: August 3,2010 www.cornelius.com Revision: D
© 2005-2010, IMI Cornelius Inc. - 1 - Publication Number: 629088658INS
Page 2
FlavorFusion Icemaker Adaptor Kit Installation Instructions
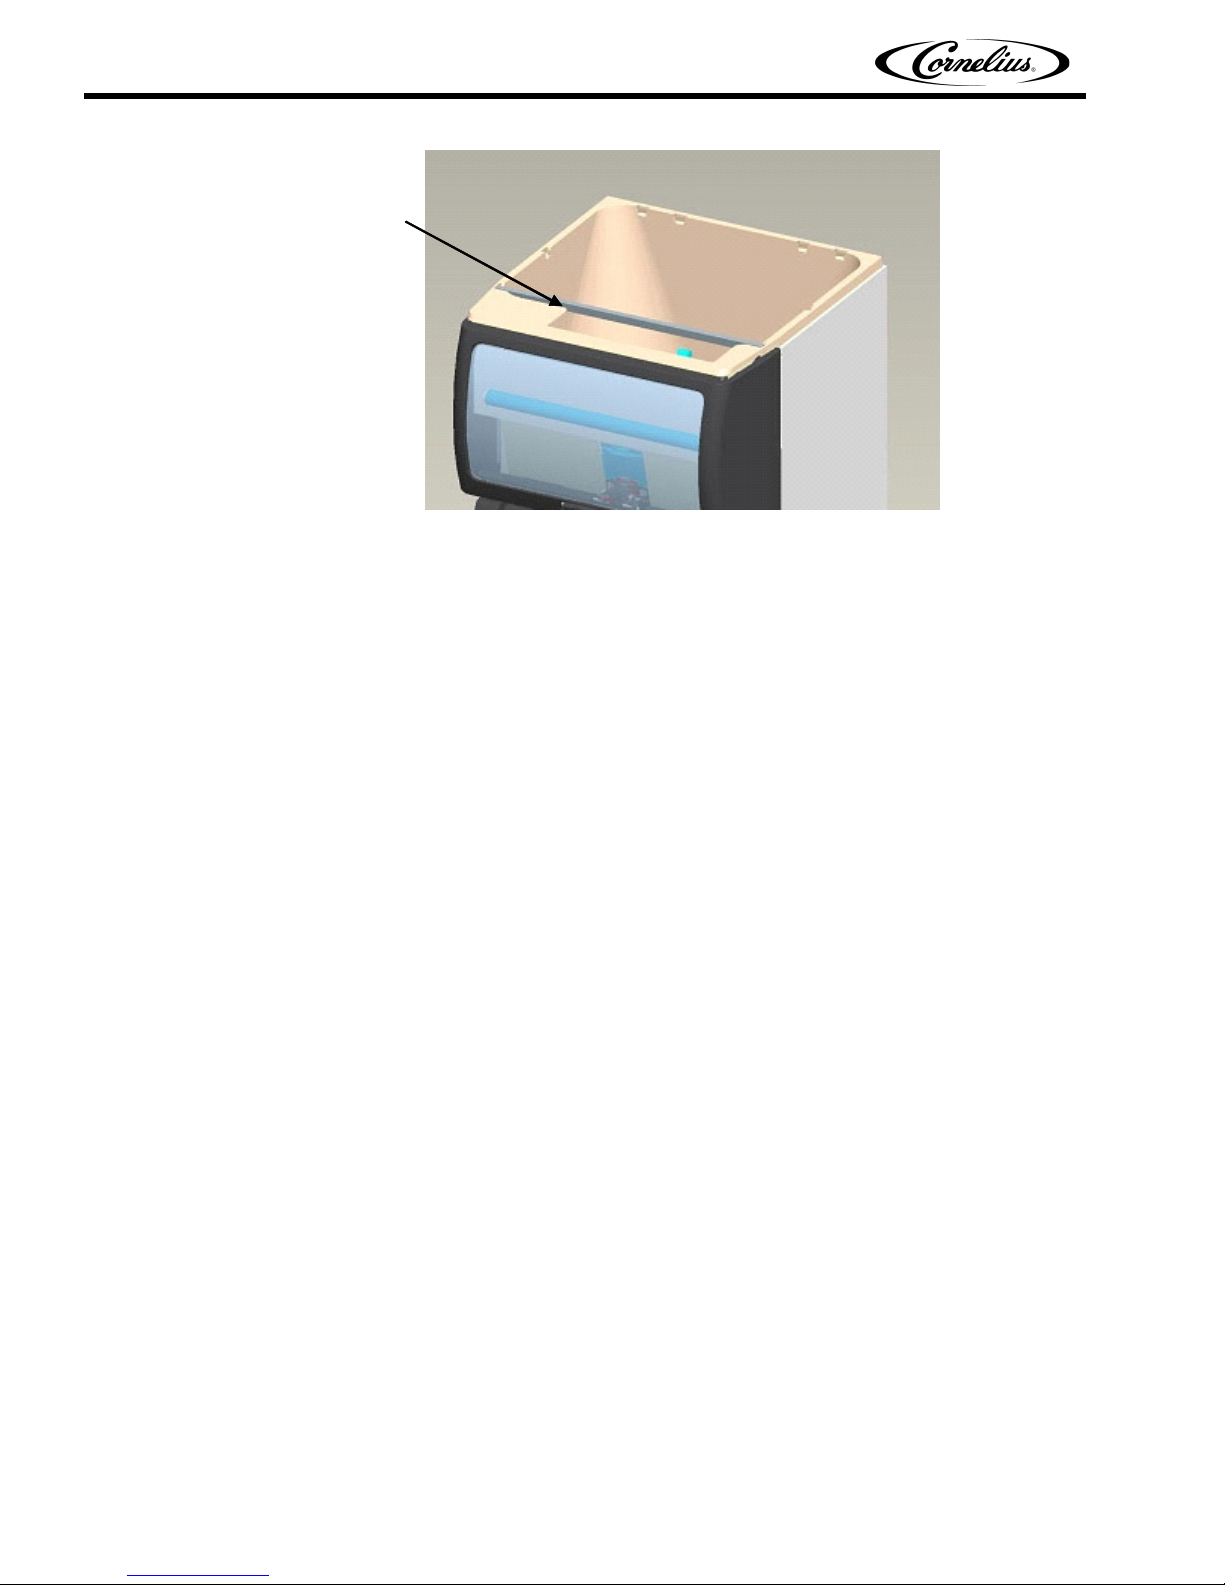
ICE MAKER
SUPPORT RAIL
1. Place bar into first set of pockets inside the ice bin
FIGURE 2
2. Place ice maker rail supports into the pockets in the ice bin as shown in Figure 2.
3. Hook cross braces over top of bar and place into outer pockets inside the ice bin (at back end).
4. Place Icemaker Adaptor Kit on top of unit.
5. Place icemaker on top of kit. DO NOT slide icemaker into position on the lid.
6. Apply a continuous bead of NSF International (NSF) listed silastic sealant (Dow 732 or equivalent),
supplied in kit to seal the icemaker to the top of the adapter kit. All excess sealant must be wiped
away immediately.
7. Secure the icemaker to the adapter by drilling 9/64” diameter holes, using one of the two brackets
supplied in the kit, into both the rear of the icemaker and rear of the icemaker adapter kit. Use
extreme care not to drill into any icemaker components!!! Secure the brackets using the screws
provided.
Publication Number: 629088658INS - 2 - © 2005-2010, IMI Cornelius Inc.
Page 3

FlavorFusion Icemaker Adaptor Kit Installation Instructions
MOUNTING OPTION 1
(FLAT BRACKETS)
MOUNTING OPTION 2
(ANGLE BRACKETS)
8. The next steps discuss loading and securing the icemaker onto the kit. Please read all the
followingsteps to determine which mounting method should be utilized. Equally important is to
determine if there is sufficient access in the area of the mounting brackets after the dispenser is
lifted onto the counter. Access should be carefully considered before installation continues because
sufficient room is required for drilling holes, installing screws, etc.
Two options are supplied with this kit for securing the icemaker to the kit. (See Figure 3)
Option 1: Includes two flat brackets. This method may be used if there is sufficient access to the
back of the dispenser in the areas of the mounting brackets.
Option 2: Includes two angle brackets. This method may be used if there is not sufficient access to
the back of the dispenser in the areas of the mounting brackets. Pre-drilling holes should be
considered when using this option.
© 2005-2010, IMI Cornelius Inc. - 3 - Publication Number: 629088658INS
Figure 3
Page 4

FlavorFusion Icemaker Adaptor Kit Installation Instructions
9. Assemble bin stat to icemaker as shown. The bin stat must not interfere with the agitator rotation
and not be in the path of ice falling from the icemaker.
FIGURE 4. BIN STAT ASSEMBLY
Installation is completed. For optimal performance, do not fill ice bin more than 2/3 capacity (maximum fill
is 4” below top of bin).
Publication Number: 629088658INS - 4 - © 2005-2010, IMI Cornelius Inc.
 Loading...