

Page 1
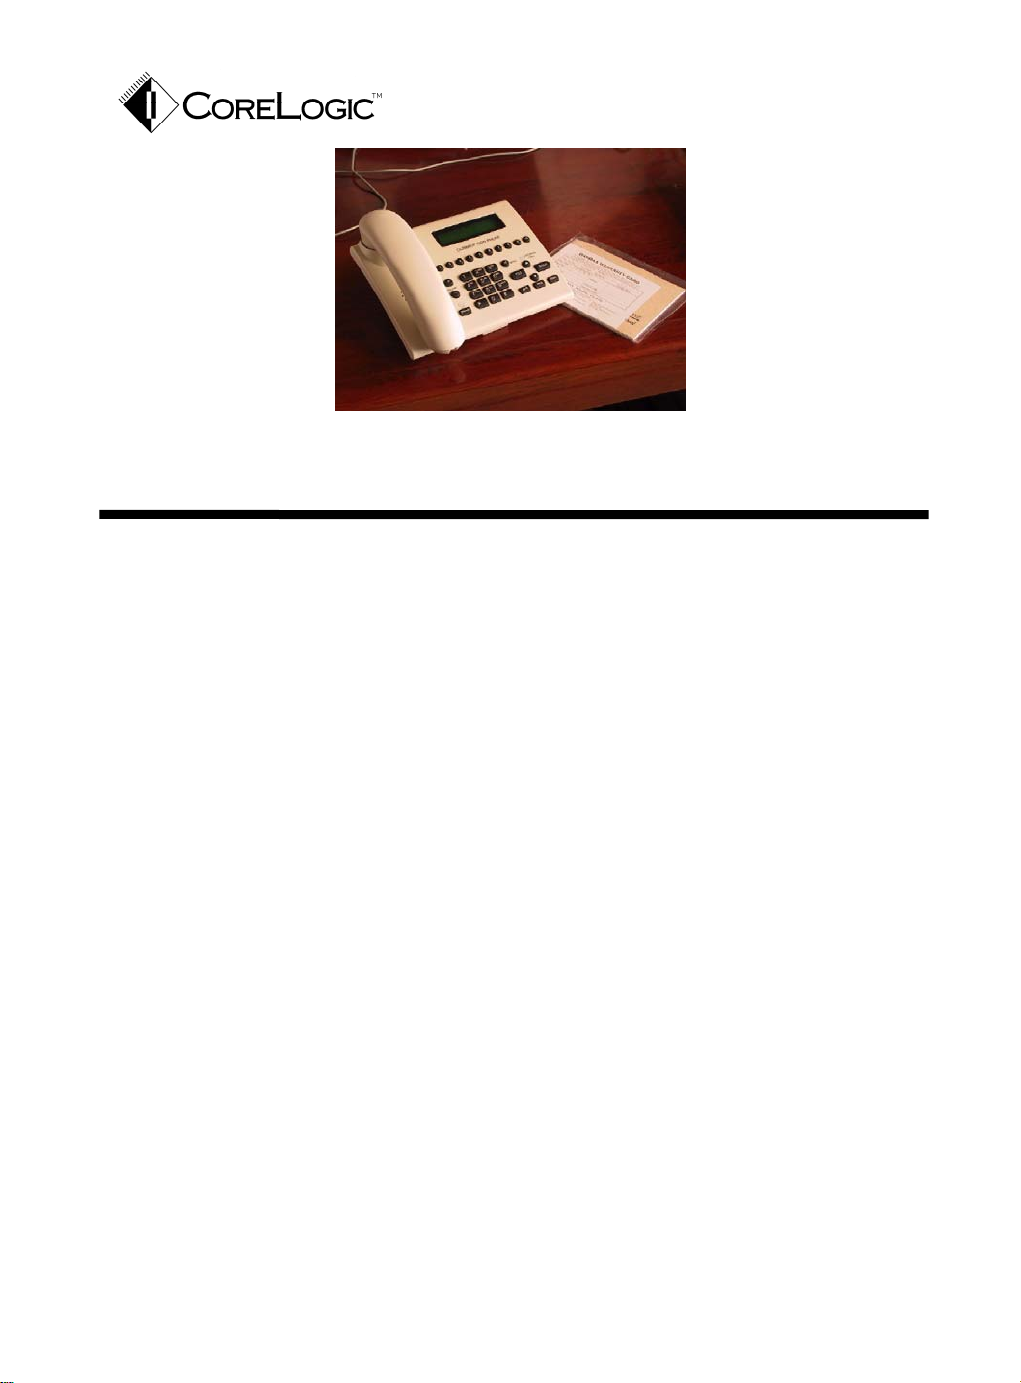
CL2998
DP ISDN PHONE
User’s Manual
CL2998DP ISDN PHONE
User’s Manual
Beijing CoreLogic Communication Co., LTD
2001
Page 2

Content
Ⅰ. INTRODUCTION...................................................................................................................... 1
Ⅱ. FRONT PANELⅢ. FLOW CHART OF MAIN MENU ........................................................... 2
Ⅲ. FLOW CHART OF MAIN MENU............................................................................................ 3
Ⅳ. INSTALLING & WIRING ........................................................................................................ 4
1. Package Content .......................................................................................................................... 4
2. Wiring ........................................................................................................................................ 4
3. Working environment................................................................................................................... 5
Ⅴ. FEATURES................................................................................................................................ 5
1. ISDN Independent features ........................................................................................................... 5
2. ISDN features.............................................................................................................................. 6
3. Keys ........................................................................................................................................... 7
Ⅵ. PHONE STATE & OPERATIONS .......................................................................................... 9
1. Main Menu of IDLE STATE....................................................................................................... 10
2. Main Menu of INCOMING CALL STATE .................................................................................. 35
3. Main Menu of One ACTIVE CALL STATE................................................................................. 36
4. Main Menu of ONE ACTIVE CALL and ONE HELD CALL STATE ............................................ 37
5. Main Menu of 3-PARTY CONFERENCE STATE........................................................................ 38
VII. SPECIFICATIONS................................................................................................................ 40
Ⅰ. Introduction
Thanks for choosing CoreLogic CL2998DP ISDN Phone.
With CL2998DP ISDN phone, you can set for it a
ringing tone that is different from others.
Baby-sitting feature let you to monitor the room
while you are out of the room.
You can hold a phone meeting with CL2998DP for
it’s 3-party conference function.
For more features of CL2998DP, please read this
manual.
Beijing CoreLogic Communication Corp. LTD
May 2001.
1
Page 3
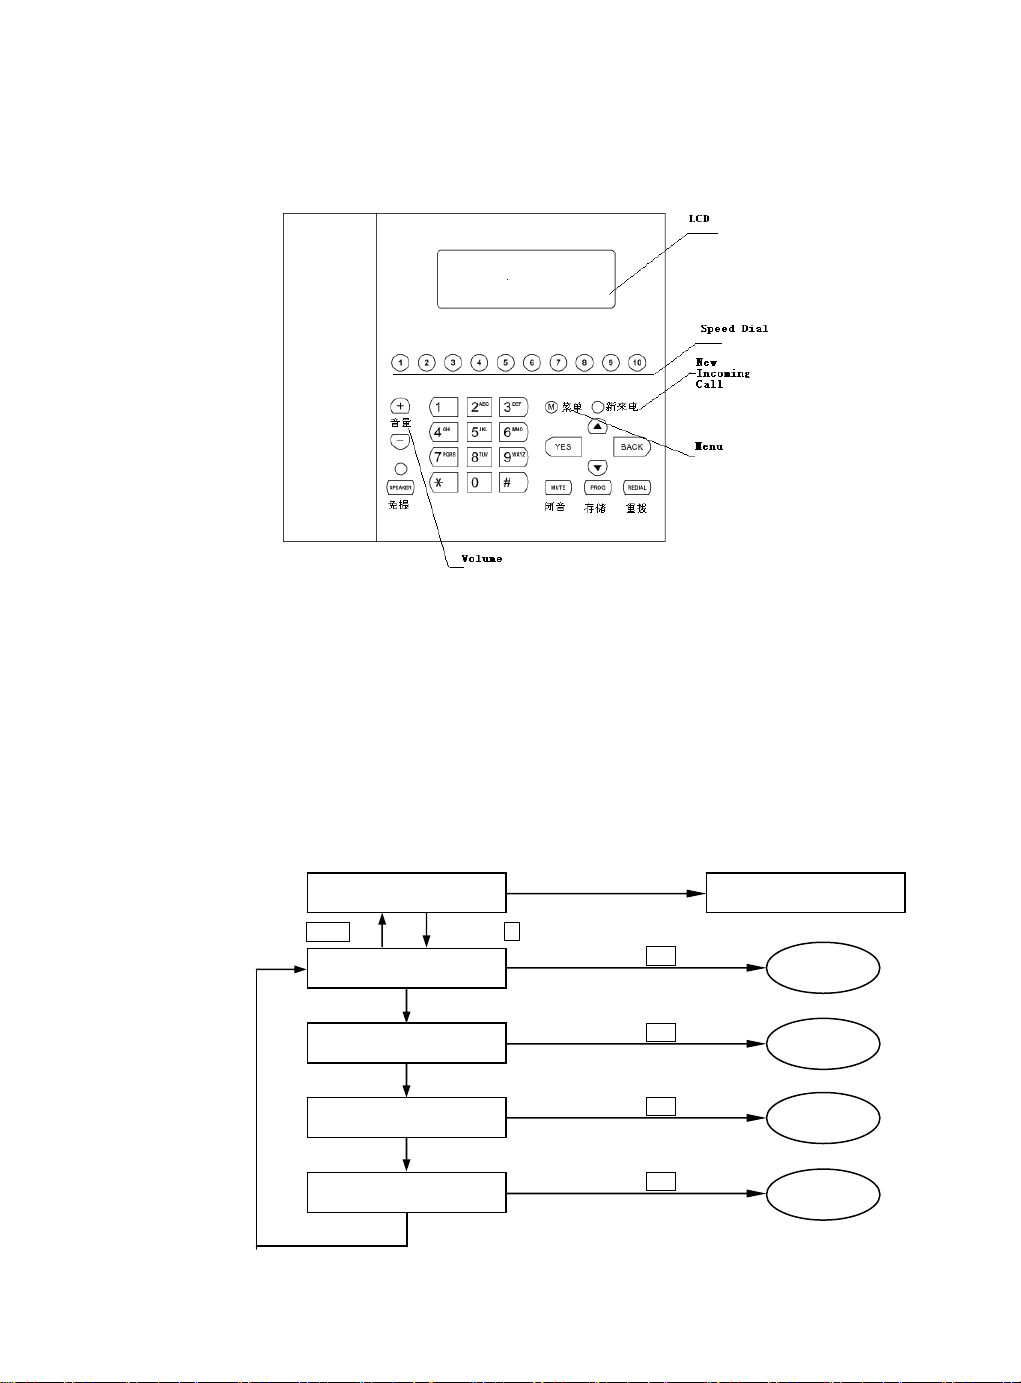
Ⅱ. Front Panel
2
Ⅲ. Flow Chart of Main Menu
LCD display:
Press
Time clock/Date Caller ID
BACK
Press M
Caller/Message list
▲/▼
Press
Phone book?
Press▲/▼
Function
Press▲/▼
Phone setting
Press▲/▼
New Call in
Press YES
Press YES
Press YES
Press YES
See P.12
See P.14
See P.18
See P.23
Fig2. Main Menu Flow Chart of CL2998DP ISDN Phone
3
Page 4

Ⅳ. Installing & Wiring
1. Package Content
CL2998DP phone body 1
Handset 1
Cable for handset (RJ-8) 1
Cable for S/T port (RJ-45) 1
User’s manual 1
Warranty card 1
2. Wiring
Please connect the handset and RJ-8 socket on the
bottom of phone set with RJ-8 cable, connect phone
set and S/T socket on NT1 (or NT1 Plus) with RJ-45
cable.
3. Working environment
Using and storing this device on a plain, dry and
clean place. Keep away from humid, high
temperature and strong radio source.
Ⅴ. Features
1. ISDN Independent features
♦ Speakerphone operation
♦ Volume adjustment of loudspeaker
♦ Adjustable ring pitch and volume
♦ Phone silent (Do not Disturb)
♦ Muting
♦ Date/time display
♦ 10 Direct memory key dialing
♦ Partial call block
4
5
Page 5

♦ Global call block
♦ Baby Sitting (room monitoring)
♦ Call duration display
♦ 5-digit PIN code
♦ Phone book
♦ Redial
♦ 50 indirect memory dial numbers (including 10
direct keys)
♦ Caller list with 50 entries
♦ DTMF-dialing
2. ISDN features
♦ Euro-ISDN protocol DSS1
♦ 3 multiple subscriber numbers (MSN)
♦ Caller-ID presentation (CLIP)
♦ Caller-ID suppression (CLIR)
♦ Call Waiting
♦ 3-party conference
♦ Call forwarding unconditionally
♦ Call forwarding if busy
♦ Call forwarding if no reply
♦ Call on hold
♦ Go into inquiry
♦ Two-way-splitting
♦ On-hook dialing
3. Keys
♦ 10 direct memory-dialing keys from 1-10, the
♦ Redial key with history function (3 number).
Press the key until you locate your desired
6
corresponding location in PHONE BOOK are 01-10.
REDIAL
number on the LCD display, then the phone will
finish the dialing for you with the speakerphone
ON.
7
Page 6

MUTE
♦ Press to mute the microphone when there is a
line connected to the phone. The Led will be ON
when the phone is in MUTE state.
Speaker
♦ Press the key to turn ON/OFF the speakerphone.
If numbers are pressed before the SPEAKER key is
pressed, then the phone will dial the numbers
for you (block dialing).
+
VOL(ume)
-
8
♦ Press the keys for volume +/- of the
speakerphone while your are talking in the
speakerphone mode.
Ⅵ. Phone State & Operations
The ISDN phone has 6 main states based on the number
connected lines, incoming call and function activated
on the phone.
● IDLE STATE - No connected line, no incoming
call.
● INCOMING CALL STATE - No connected line, one
incoming call.
● ONE ACTIVE CALL STATE - One connected line, no
incoming call.
● CALL WAITING STATE - One connected line, one
incoming call.
9
Page 7
● ONE HELD CALL and ONE ACTIVE CALL STATE - One
T
connected line, one held line.
● 3-PARTY STATE - One connected line, one held
line, 3-PARTY function activated.
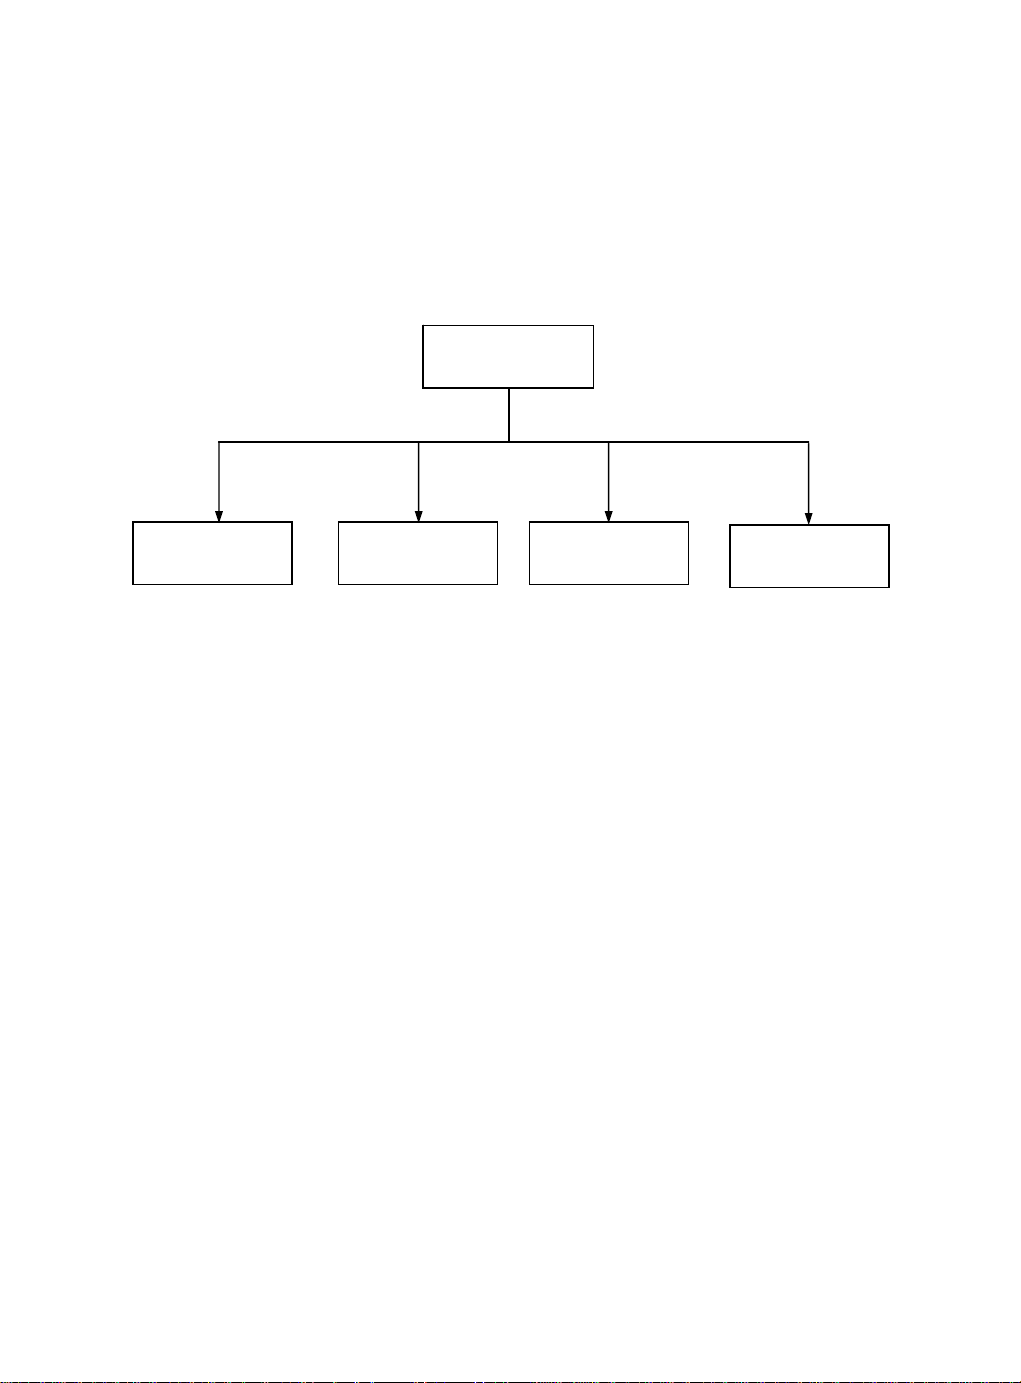
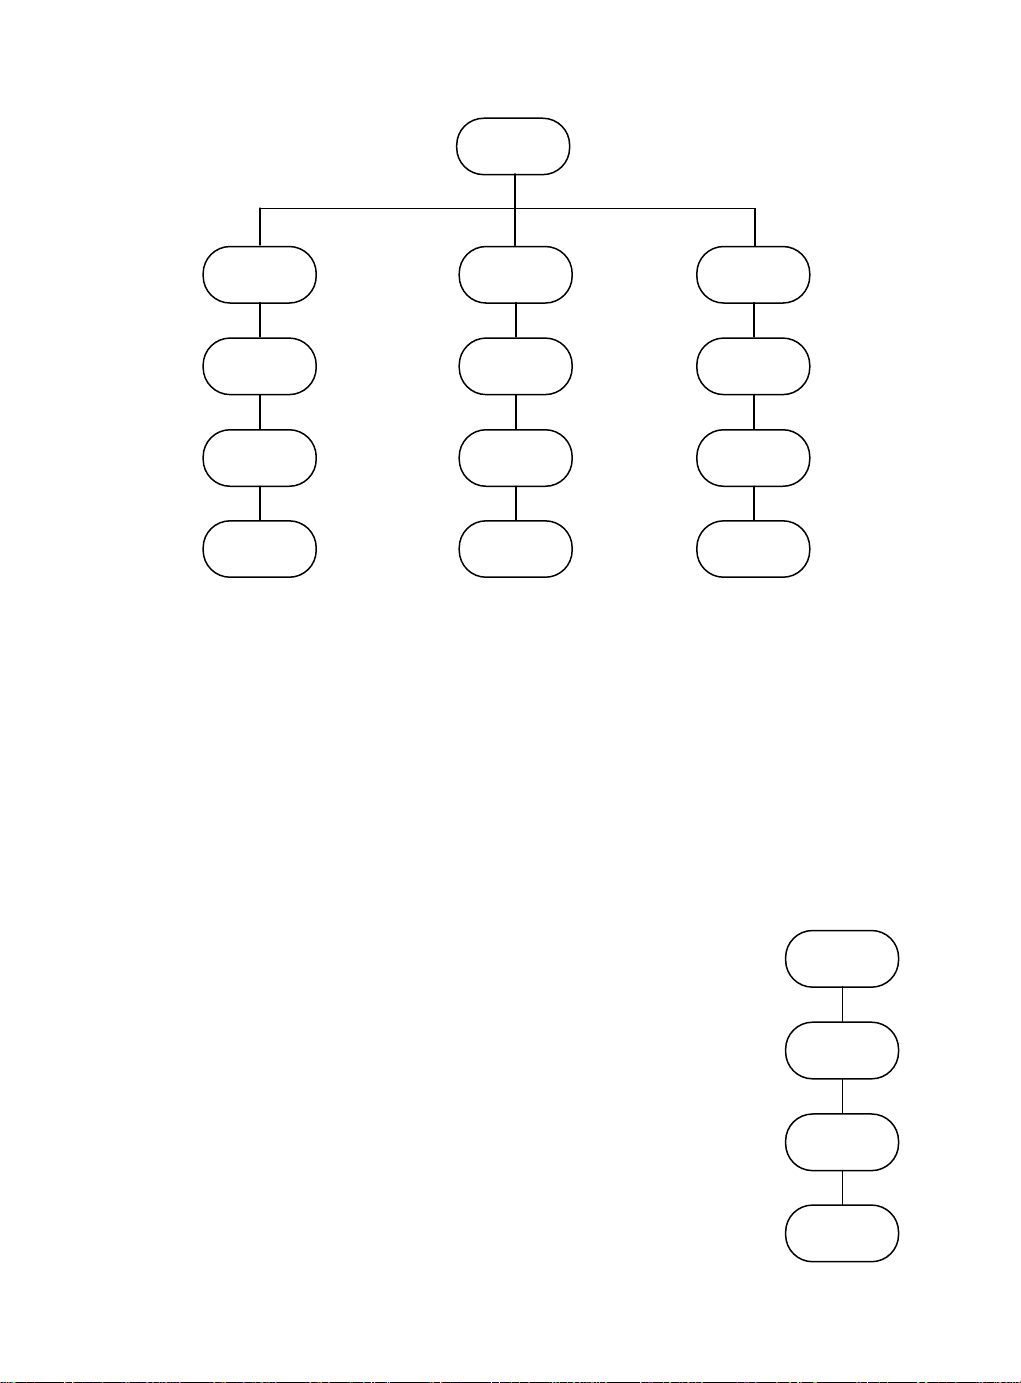
1. Main Menu of IDLE STATE
Press “M”
Caller/Message
List
Press ▲/▼ and “Yes” or “Back”
Phone Book
Main Menu
(Idle)
Function
Phone Setting
10
(1) Press “M” key to enter the main menu of the
ISDN phone when off-hook.
(2) The main menu contains 4 sub-menus for selection.
(3) Press the ▲/▼ key to browse the desired sub-
menu and press the YES to select the sub-menu.
(4) Or to press the BACK to quit the main menu.
Idle state
Caller/Message
List
Phone Book
Function
Phone Setting
The ISDN phone has no connected line.
Enter this menu for check Missed
incoming call, answered incoming call
and user-user message.
To enter the sub-menu of the phone
book, SEARCH and PROGRAM it.
o set for Call Forward, Call Waiting,
Phone Silent and UUS (Send message to
others)
Enter this sub-menu to set for ringing
tone, date/clock, MSN etc.
11
Page 8
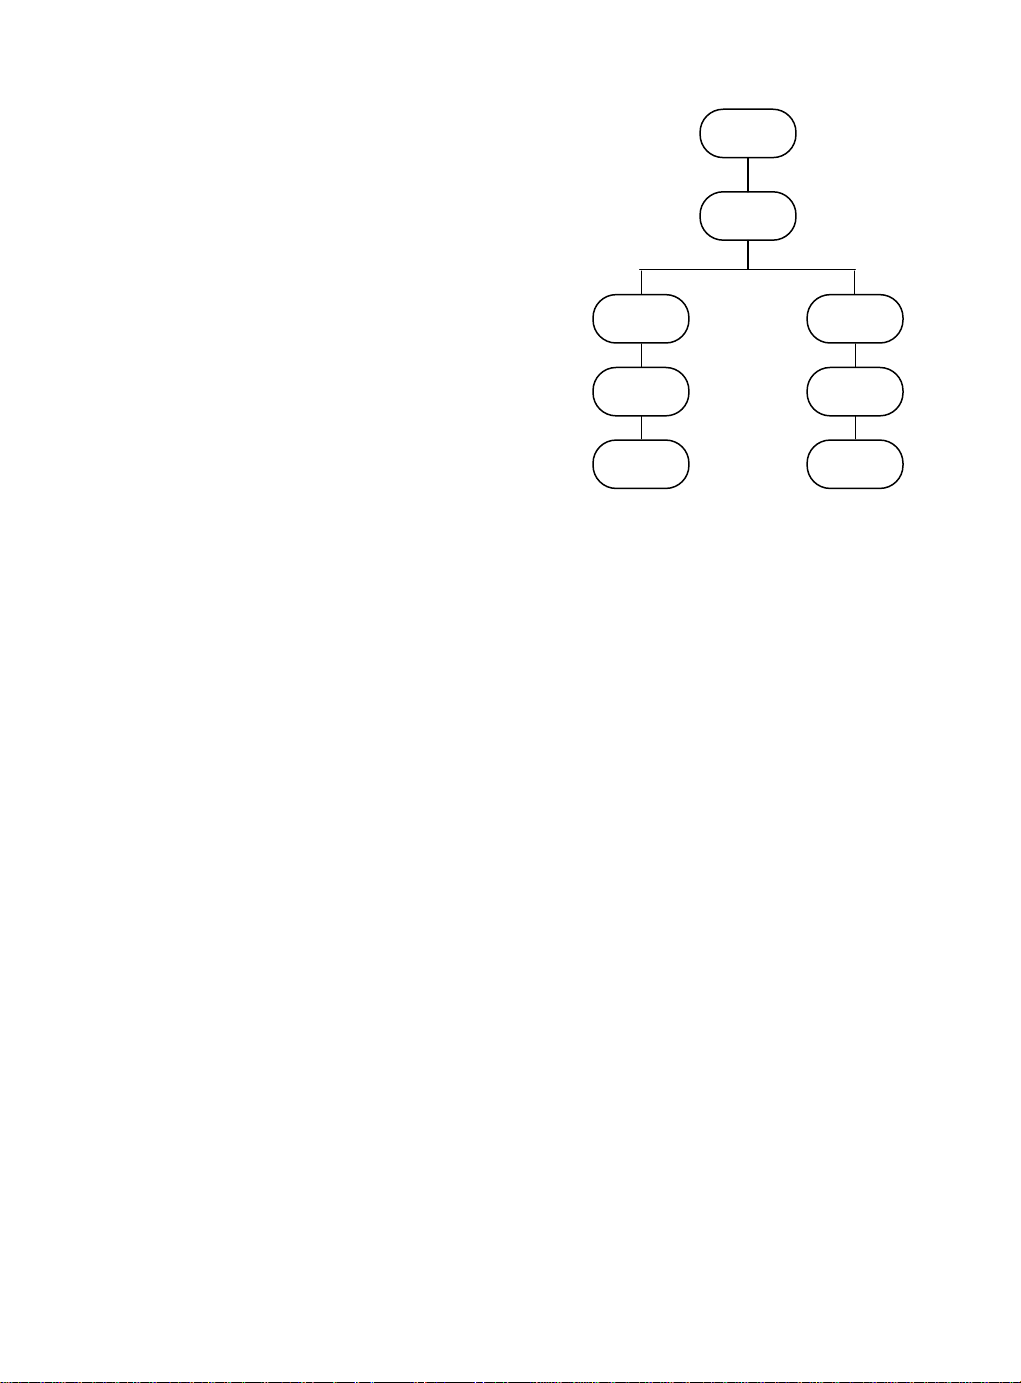
CALLER / MESSAGE LIST
CID
In this mode, you can reach 3 sub-menus:
(1) Missed
CID Entry
Display
[Missed: XX NEW: XX]
(2) Answered
[Answered Call List?]
CID Entry
Delete
CID Delete
Confirm
(3) View message
[View Message?]
CID Entry
Display
Press YES/BACK and ▲/▼ key to browse the desired
sub-menu and view the information you need.
Press the YES to select the sub-menu, enter a menu
12
CID Entry
Store
Name Input
Location
Input
for checking Missed incoming call, answered
incoming call and user-user message.
In above 2 Caller lists, you can call back, delete
each item or store them to phonebook as follow
steps:
(1) Call back the incoming calls
Browse to a desired item with ▲/▼ keys, Press
“REDIAL” key, or press “SPEAKER” key or pick up
the handset to redial this caller.
(2) Store the number of the caller list item
Browse to a desired item with ▲/▼ keys, press
“PROG” and “YES” key, then input the name for
this Caller. There the key “1” is for space, key
“-” is for backspace. Note: Maximum series
number is 50.
(3) Delete new caller list item.
Browse to a desired item with ▲/▼ keys, Press
13
Page 9

“-” and “YES” keys to delete this item.
Phone Book
CL2998DP ISDN Phone provides a phone book with a
50- enter capacity. Phonebook provides functions
as follows:
♦ Display the caller’s name
CL2998DP can display caller’s name and phone
number if you have already entered them to the
phonebook.
♦ Speed dial
♦ Search Phone Book: To search the phone book
records for dialing by character input on
keypad.
♦ Programming the phonebook
(1) Phone Book of CL2998 can store up to 50
records from location 01-50,and each record is
divided into two fields:
14
a. 20-character name field
b. 20-digit number field
(2) The first 10 items in phonebook are
corresponding to the 10 speed-dial keys on
front panel of ISDN phone 1~10. Please try to
enter most often used caller’s ID into first
10 items of the phonebook.
(3) In Program Phone Book, press any keys on the
keypad to input the name, phone number and the
location of the record, and press YES to
confirm the input.
(4) If you want to edit or delete Phone Book,
please input the new message within the
desired record in the phone book.
15
Page 10
m
t
Phone Book
Program
Phone Book
Edit Phone
Book
Delete Phone
Book
Phone Book
Location Input
Name Input
Phone Number
Input
Phone Book
Entry Display
Phone Book
Entry field
Search Phone Book
In Search Phone Book mode, the phone will asks for the first character of
your desired record.
(1) Input the first character of the
name
(2) The LCD will show the first record
found for the character input
[02:PETER WONG]
[23197612 ]
(3) Press ▲/▼ to browse for the other
records under this character.
(4) After the desired record is found,
press “SPEAKER” or pickup the
handset to dial the current item.
(5) Or press BACK to quit to the upper
layer of the menu.
Name
Character
Input
Edi
16
Name
Character
Input
Phone Book
Entry Display
Phone Book
Entry Delete
Confir
Search Phone
Book
Name
Character
Input
Phone Book
Entry Display
Phone Book
Entry Dial
Confirm
17
Page 11

FUNCTION
Setting for Call Forwarding, Call Waiting, Phone
Silent and Send Message, please go into FUNCTION
sub-menu from IDLE STATE. Please start the settings
by pressing “M” key.
♦ Forwarding: When needing switch incoming call to
a specified phone number, please set the phone as
described in following section.
♦ Call Waiting: By Call Waiting feature, while you
are conducting a telephone conversation and a
third party makes connection to you, a special
call-waiting tone can be heard; the calling party
will not hear busy tone.
♦ Phone Silent (Don’t Disturb): If you temporarily
want to avoid any incoming call, you can set
CL2998DP to Phone Silent state.
♦ Send Message: This feature makes it possible for
you to send a message to a phone number by typing
18
on the dial pad. Of course, the phone of called
side must support UUS service.
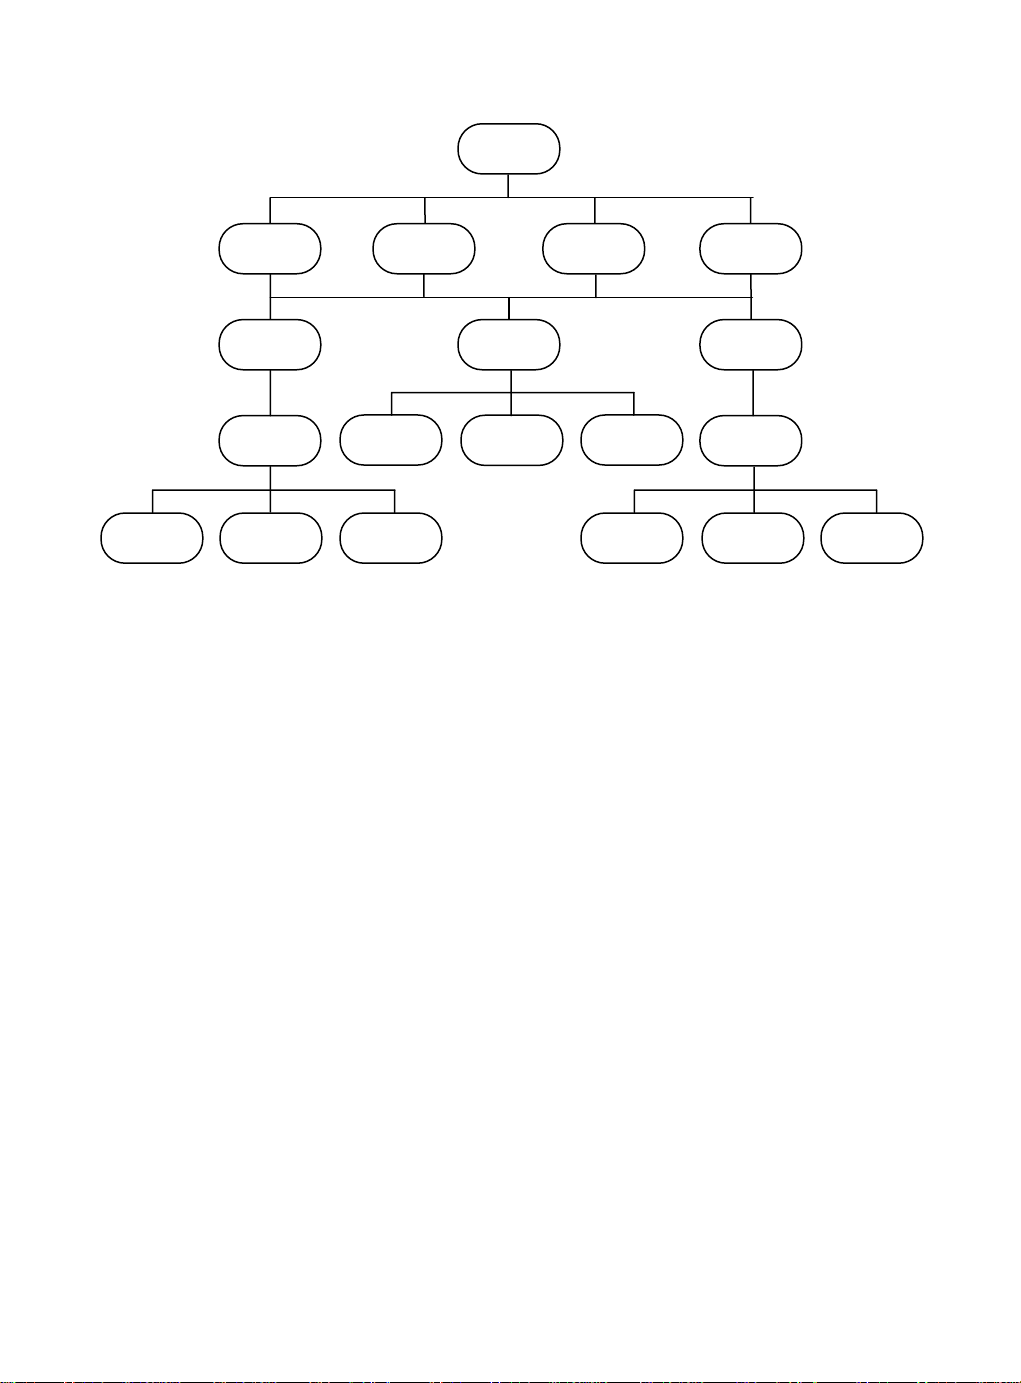
Call Forwarding
Go into the Call Forwarding sub-menu and do as
follow.
(1) Press ▲/▼ to select the number you want to
forward,
MSN A: the preset MSN A of the phone,
MSN B: the preset MSN B of the phone,
MSN C: the preset MSN C of the phone,
Other no.: to input a new number.
(2) Press ▲/▼ to select the desired function
a. Call Forwarding Activate,
b. Call Forwarding Deactivate,
c. Call Forwarding Status Check.
(3) Forwarding Target Number: input the phone
number you want to forward to.
19
Page 12
Activate
CFU
MSN A
Call
Forwarding
Activate
Forwarding
Target
Number Input
Activate
CFB
MSN B
Check CFU
Status
Activate
CFNR
Call
Forwarding
Call
Forwarding
Status
Check CFB
Status
MSN C
Check CFNR
Status
Deactivate
CFU
Other Number
Call
Forwarding
Deactivate
Forwarding
Target
Number Input
Deactivate
CFB
Deactivate
CFNR
20
(4) After input the target number, press ▲/▼ to
browse for the type of forwarding function,
a. Call Forwarding unconditionally (CFU),
b. Call Forwarding Busy (CFB),
c. Call Forwarding No Reply (CFNR).
(5) Press YES to confirm the selection.
(6) For the Status Checking, no need to input the
target number.
CALL WAITING STATE
1. When the phone has one active call and one
incoming call, then the phone will show:
[XXXXXX (CID) 4’35]
[Accept ? ]
2. Press YES to accept the incoming call, and the
phone will go to One Active Call & One Held
Call State. Then the active call will be the
new incoming call now.
21
Page 13

3. Or press ▲/▼ to browse for the Reject call
function, the display shows:
[XXXXXX (CID) ]
[Reject ? ]
4. Press YES to reject the incoming call, and
continue to talk to the active call.
Menu
(Call waiting State)
Phone Silent (Don’t Disturb):
If you temporarily want to avoid any incoming
call, you can set CL2998DP to Phone Silent state
as follow:
Reject Accept
22
Browse for Phone Silent sub-menu by pressing ▲/▼
key under FUNCTION menu. Press “YES” key for
Ringer Off item to enable Phone Silent; or if you
want disable this setting, browse to Ringer On item
and press “YES” key.
Send Message:
Get into the “Send Message” sub menu under
“FUNCTION”, choose Enable “UUS Msg” and “Program
Msg”,type with dial pad, then input the number you
send to, press “SPEAKER” or pick up the handset to
send.
PHONE SETTING
(1) In Phone Setting mode, input 5-digit PIN code
(Default value is‘00000’) to enter the browse
mode of the sub-menu.
23
Page 14
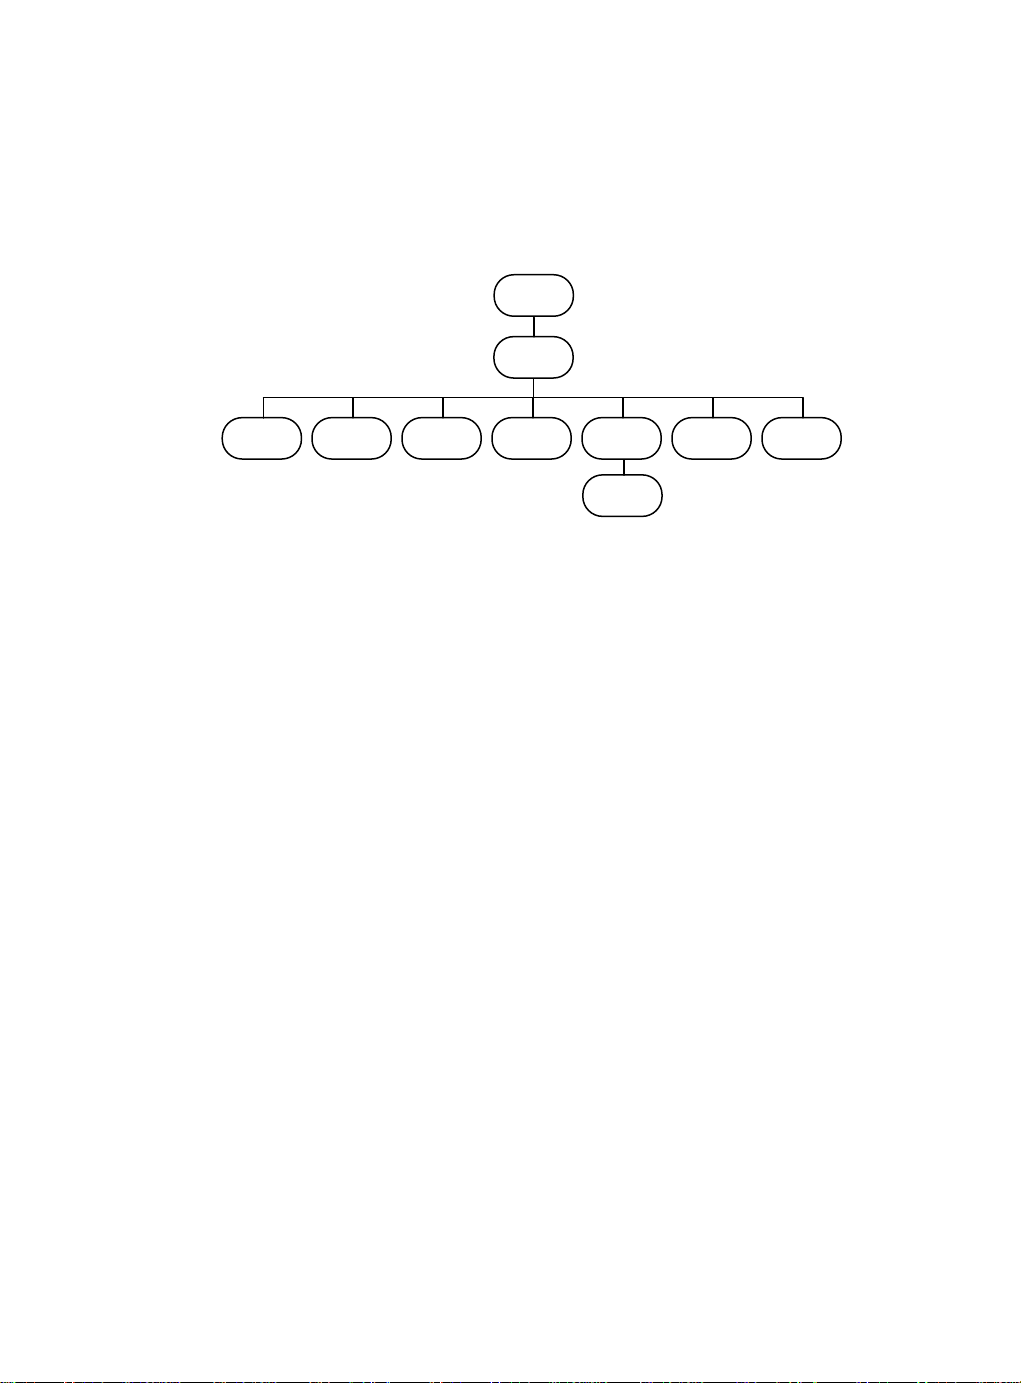
(2) Press ▲/▼ to browse for the desired function
and press YES to confirm the selection of the
sub menu. The available functions are listed
below.
Phone
Setting
Pin Entry
MSN
Language Date/Clock Payment
Call
Blocking
Audio Pin Modify
Baby
Sitting
24
♦ Retrieve the default setting
♦ Enable/Disable
Setting the back light for LCD
Backlight
♦ MSN
♦ PIN Modify
♦ INT/NAT.
Prefix
♦ Date/Clock
♦ Call Blocking
♦ Ringing Tone
♦ Baby Sitting
♦ Language
Presetting the 3-MSN number (MSN C
is also the Baby Sitting MSN).
Pin code modify.
Set International area code and
your national code for your phone
Setting the DATE/CLOCK.
Setting for Phone Silent, Global/
Partial Call Block function.
Volume and Pitch adjustment of MSN.
Selection of Enable/Disable Room
monitoring function.
Selection of language used in the
phone.
25
Page 15
Retrieve the default setting
Under phone setting mode, enter “*9990” and press
“YES” key when the phone asking for Pin Code, you
can load default setting to CL2998DP. Press “Back”
to return.
Enable/Disable Backlight
Under phone setting mode, enter “*9996” and press
“YES” key when the phone asking for Pin Code, you
can toggle between screen backlight on and off.
Press “BACK” to return.
26
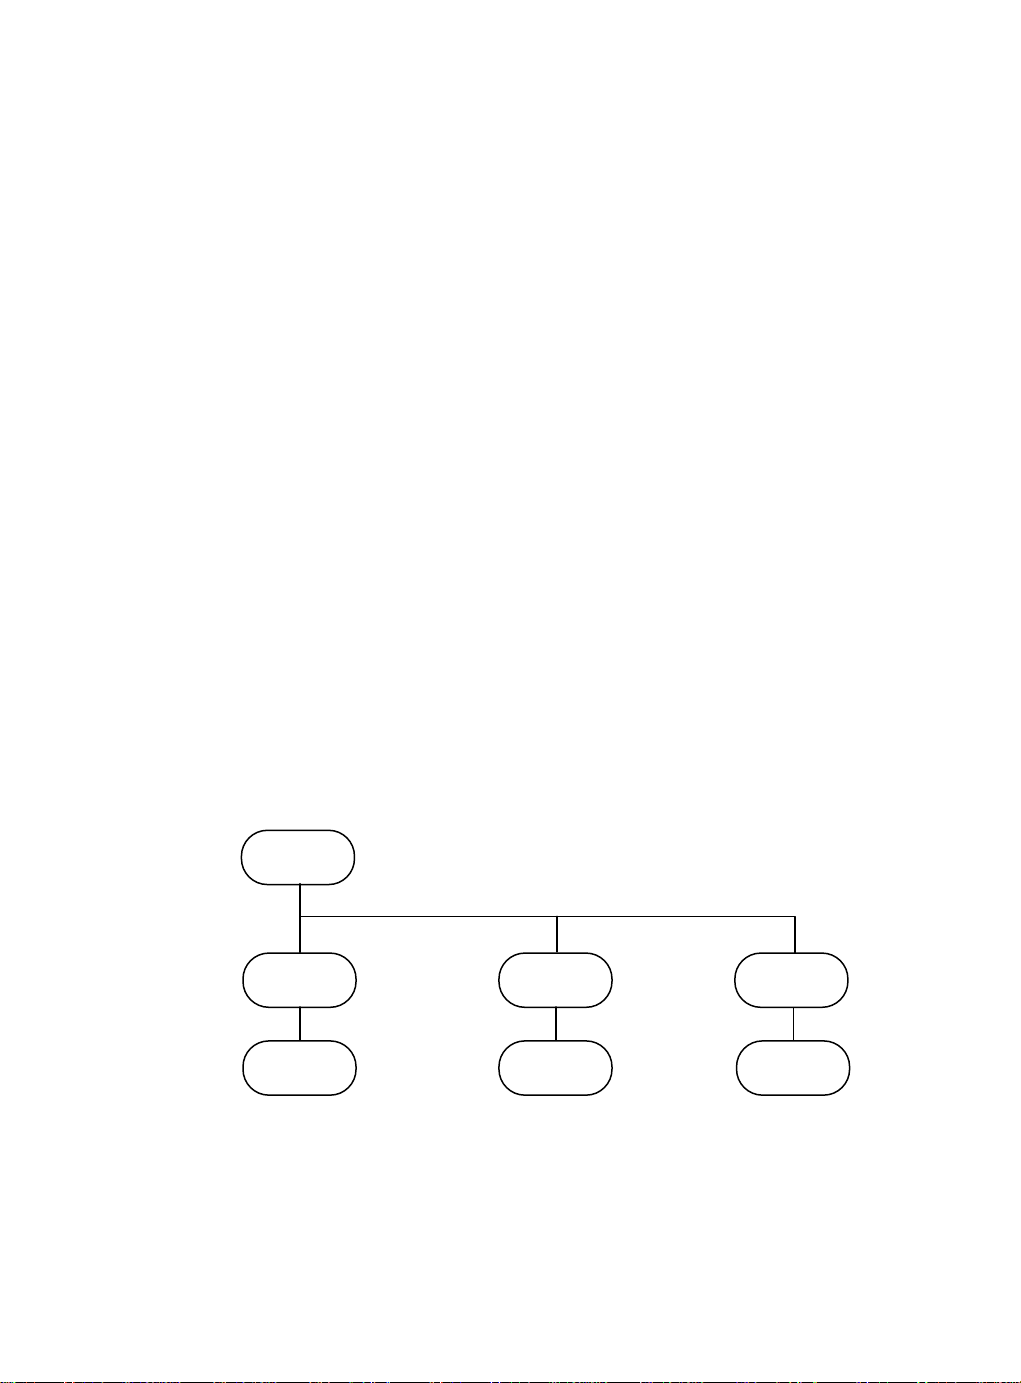
MSN
MSN
MSN A
MSN B
MSN A
Number Input
MSN B
Number Input
Browse under Phone Setting menu for MSN, press “YES” to confirm.
(1) Press ▲/▼ to browse for setting MSN 1,2 or 3.
(2) Press YES to confirm the selection.
(3) Input the number of the MSN by pressing keys
on keypad.
(4) Press YES to confirm the input of MSN number.
MSN C
MSN C
Number Input
27
Page 16
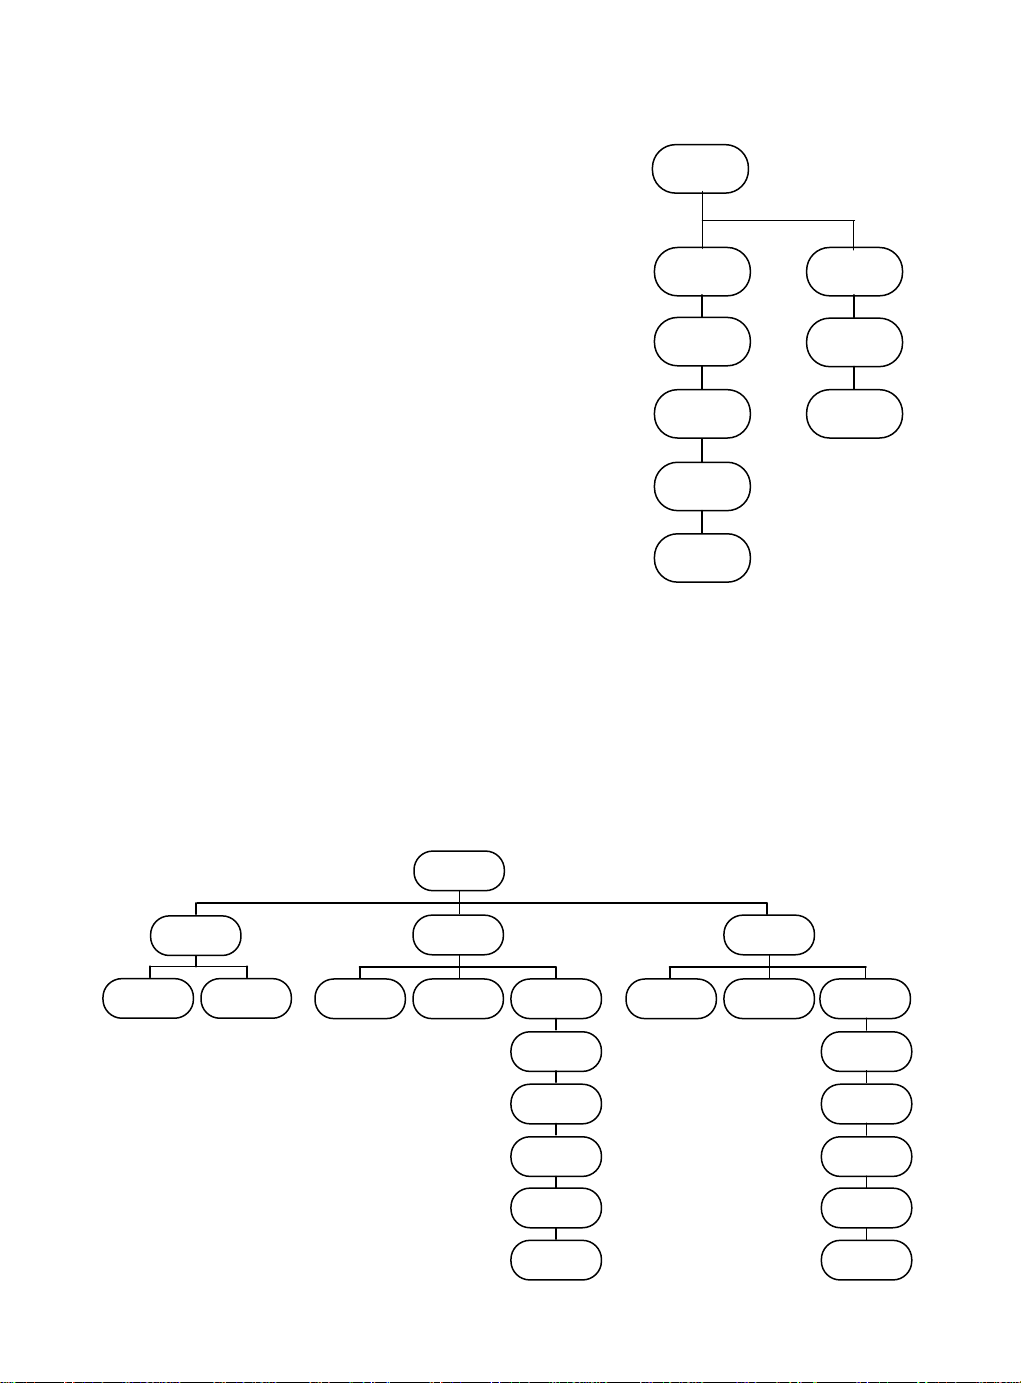
Date/Clock
(1) Under Phone Setting menu,
Press ▲/▼ to browse for
Date or Clock Set.
(2) Press YES to confirm the
selection.
(3) Input all the values for
Date Set or Clock Set by
pressing the keys on
keypad.
(4) Press YES to confirm the
input.
Date/Clock
Date set Clock set
Year Input
Month Input
Date Input
Weekday
Input
Hour Input
Minute Input
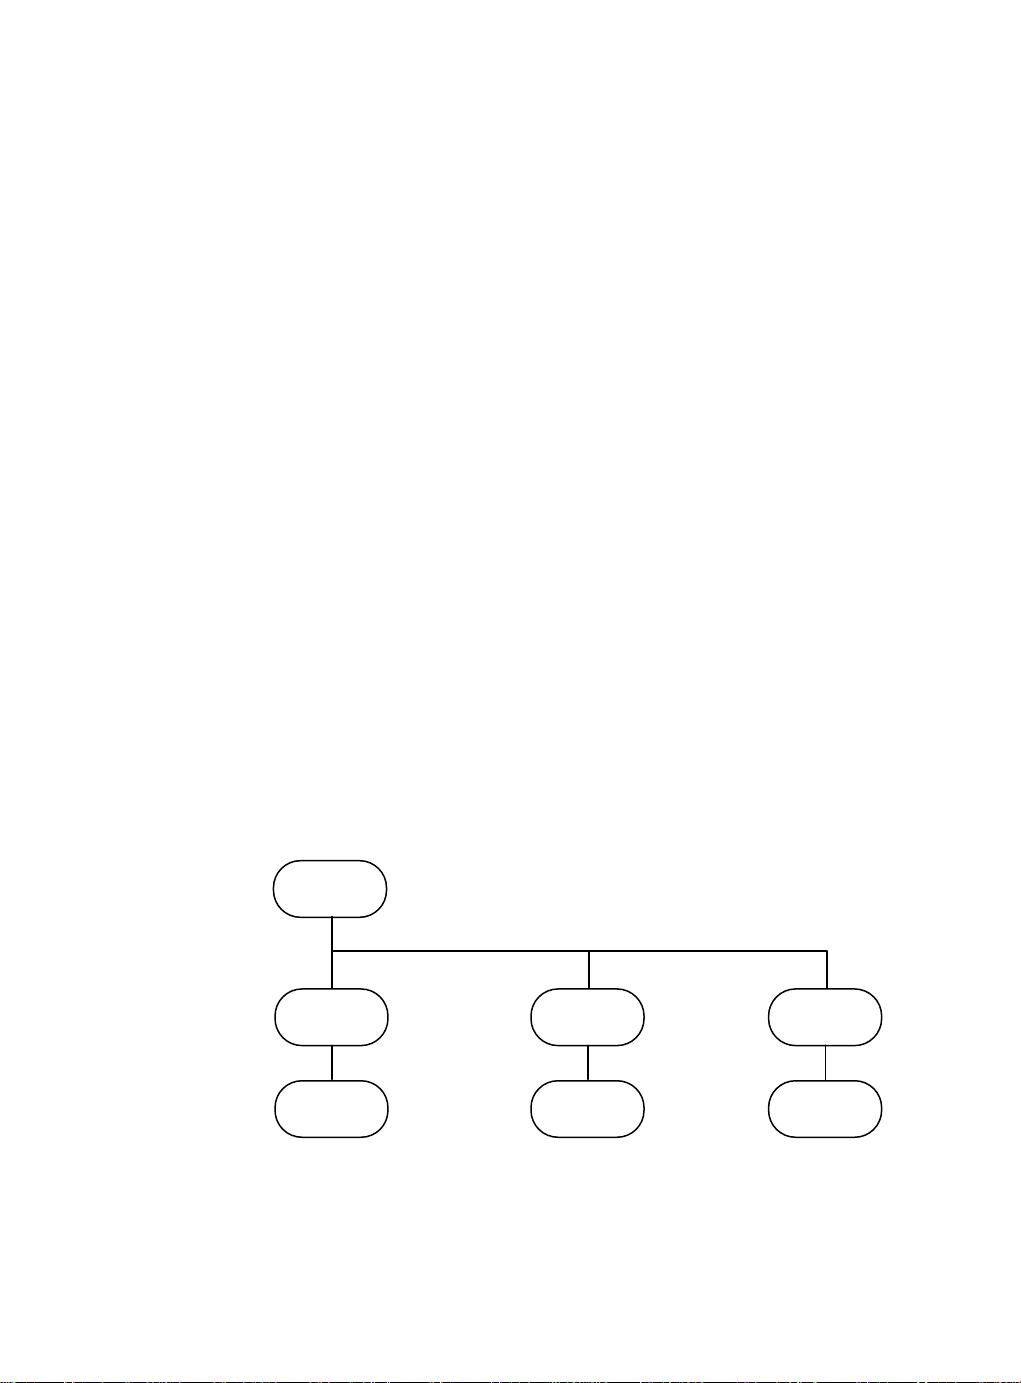
Call Blocking
Baby Sitting
Baby Sitting
Enable
Baby Sitting
Disable
Global block
Enable
28
Call Blocking
Global block Partial Block
Global block
Disable
Global block
Setting
Global Block
Number 1
Global Block
Number 2
Global Block
Number 3
Global Block
Number 4
Global Block
Number 5
Partial Block
Enable
Partial Block
Disable
Partial Block
Setting
Partial Block
Number 1
Partial Block
Number 2
Partial Block
Number 3
Partial Block
Number 4
Partial Block
Number 5
29
Page 17

Get to “Call Blocking?” sub-menu from “Phone
Setting” entry and press YES.
(1) Baby sitting
● Press YES to enter Baby
Sitting
Baby sitting
● Press YES when ask “Baby
Sitting Enable?” to turn
on this function,
● Or press YES for Baby
Baby Sitting
Enable
Sitting Disable sub menu
to turn this function
off.
Note: Presetting the 3
rd
MSN number as blank before
using baby-sitting function, other wise the
function cannot work normally.
Baby sitting
Disable
(2) Partial Call Block
Under Partial Call Block On mode, you can
preset up to 5 phone numbers as blocked number,
so those number will not be dialed out from
your CL2998DP until you remove them from
blocking list or you disable Partial Call
Blocking mode.
● Press ▲/▼ to browse for Partial Call Block,
Press YES.
● Get to “P-Block Enable” or “P-Block Disable”,
press YES to turn on/off “Partial Call Block”.
● Go into P-Block Setting from Partial Block sub
menu, then input the telephone numbers those
you hope prevent to be dialed out from your
ISDN phone. You can input up to 5 numbers for
partial call block function.
30
31
Page 18
(3) Global Call Block
Under Global Call Block On mode, you can preset
up to 5 phone numbers as permitted number, so
that only these number could be dialed out from
your CL2998DP until you remove them from
blocking list or you disable Partial Call
Blocking mode.
● Browse for “Global Call Block”, press YES key.
● Press YES for G-Block Enable to turn on global
call blocking or press YES for G-Block Disable
to turn it off.
● Go into G-Block Setting from Global Block sub
menu, then input the telephone numbers those
you permit to be dialed out from your ISDN
phone. You can input up to 5 numbers for global
call block.
RING TONE
1. Go to Audio sub-menu from Phone Setting item.
2. Press ▲/▼ to browse for Ring of MSN A, Ring of
3. Press YES to confirm the selection.
32
Audio
Ring of MSN A
Vol./Pitch
Modify of
MSN A
Ring of MSN B
MSN B or Ring of MSN C.
Vol./Pitch
Modify of
MSN B
Ring of MSN C
Vol./Pitch
Modify of
MSN C
33
Page 19
3. In Vol./Pitch Adjustment Mode,
For Pitch adjustment:
PIN Modify
1. Input the New PIN code (5-digit).
2. Press YES to confirm the input.
3. Input the New PIN code again to
4. Press YES to confirm the input.
a. Press for lower pitch value.
b. Press for higher pitch value.
*
#
For Volume adjustment:
a. Press ▼ for lower volume.
b. Press ▲ for higher volume.
reconfirm the code.
34
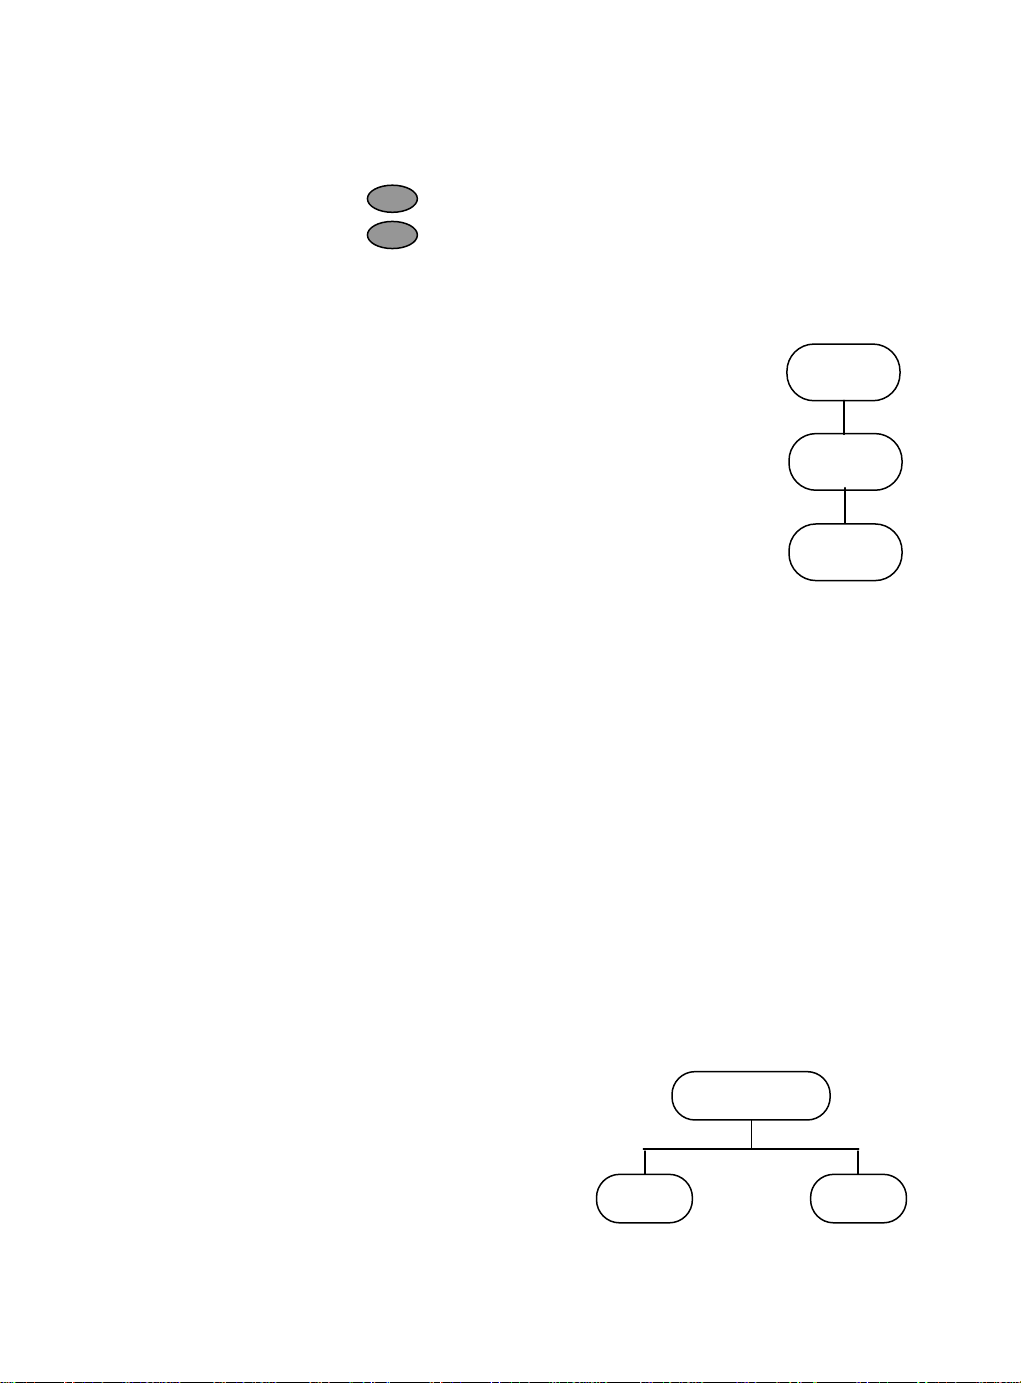
PIN Modify
New PIN Input
New PIN
Confirm
2. Main Menu of INCOMING CALL STATE
(1) When the phone has one incoming call only,
then the phone will show:
[XXXXXX (CID) ]
[Accept? ]
(2) Press SPEAKER to accept the incoming call on
speakerphone,
(3) Or pick up the handset to accept the incoming
call.
(4) or Press ▲/▼ to browse
for the Reject Call
function, the display
show :
[XXXXXX (CID) ]
[Reject? ]
(5) Press YES to reject the
incoming call.
35
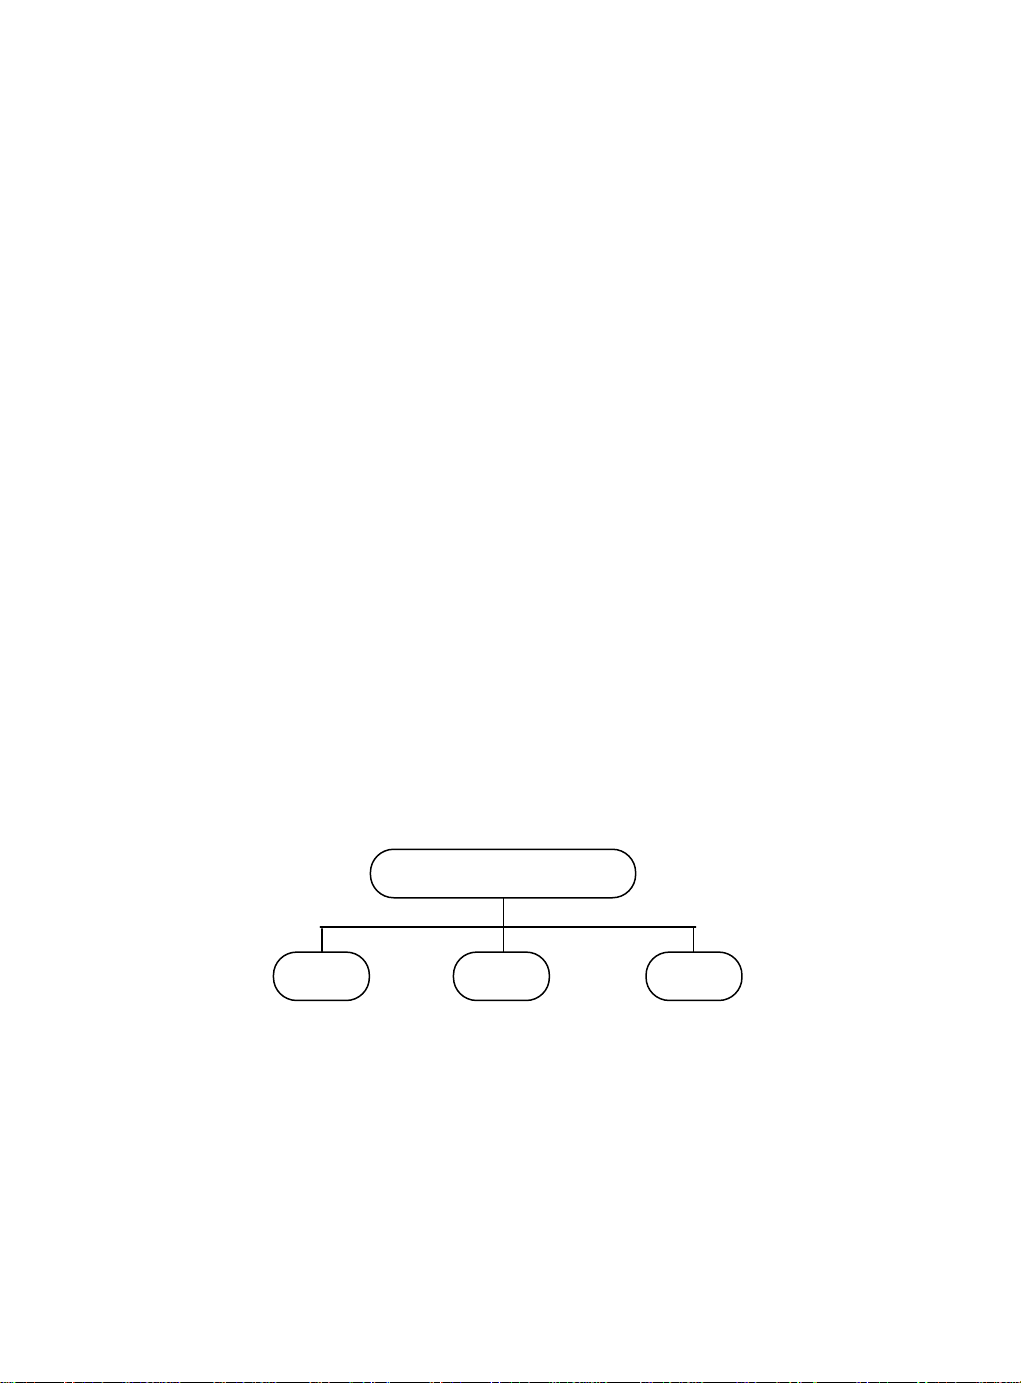
Menu
(Incoming Call State)
Reject Accept
Page 20
3. Main Menu of One ACTIVE CALL STATE
(1) When the phone has one active call only, the
phone will show:
[XXXXXX (CID) 04’35 ]
[2nd Call? ]
(2) Press YES to have an inquiry call, the display
will show:
[01/01/98 Thu 12:38]
[Disconnect? ]
(3) Dial the numbers of the inquiry call,
(4) If the inquiry call is successfully connected,
the phone will go to the One Active Call & One
Held Call State.
(5) Or press YES to go back to the original call
before the inquiry call is connected.
36
4. Main Menu of ONE ACTIVE CALL and ONE HELD CALL STATE
(One Active Call & One Held Call)
Menu
DisconnectToggle
3-Party
Conference
(1) The Display shows:
[XXXXXX (CID) 4’35]
[Toggle? ]
(2) Press YES to toggle between the Active Call
and the Held Call.
(3) Or press ▲/▼ to browse for the Disconnect
current Call function or 3-Party function.
[XXXXXX (CID) 4’35]
[Disconnect? ]
or
37
Page 21
[XXXXXX (CID) 6’45]
[3-Party? ]
(4) Press YES to select the desired function.
(5) If the Disconnect function is selected, then
the current active call will be disconnected
and the held call will be retrieved.
The phone will go to the One Active Call
State.
(6) If the 3-Party Conference function is
selected, then the phone will go to the 3-
Party Conference State.
5. Main Menu of 3-PARTY CONFERENCE STATE
Menu
(3-Party Conference)
Disconnect
Call-1
Disconnect
Call-2
Private
Call-1
Private
Call-2
38
(1) The Display will show:
[XXXXXX (CID) 4’35]
[Disconnect Call-1? ]
or
[XXXXXX (CID) 6’45]
[Disconnect Call-2? ]
or
[XXXXXX (CID) 4’35]
[Private Call-1? ]
or
[XXXXXX (CID) 6’45]
[Private Call-2? ]
(2) Press YES to select the desired function.
(3) Then the phone will go to the One Active Call
State or One Active Call & One Held Call
State.
39
Page 22

VII. Specifications
ISDN protocol: Euro-ISDN (DSS1)
Interface: S/T
Power supply: Remote and local power supply
Size: 210×200×100mm
Temp: 0~60
Humidity: 20%~90% Non-condensing
℃ for storage, 0~50℃ for
operation
40
 Loading...