

Page 1
Job: ELAN Manual
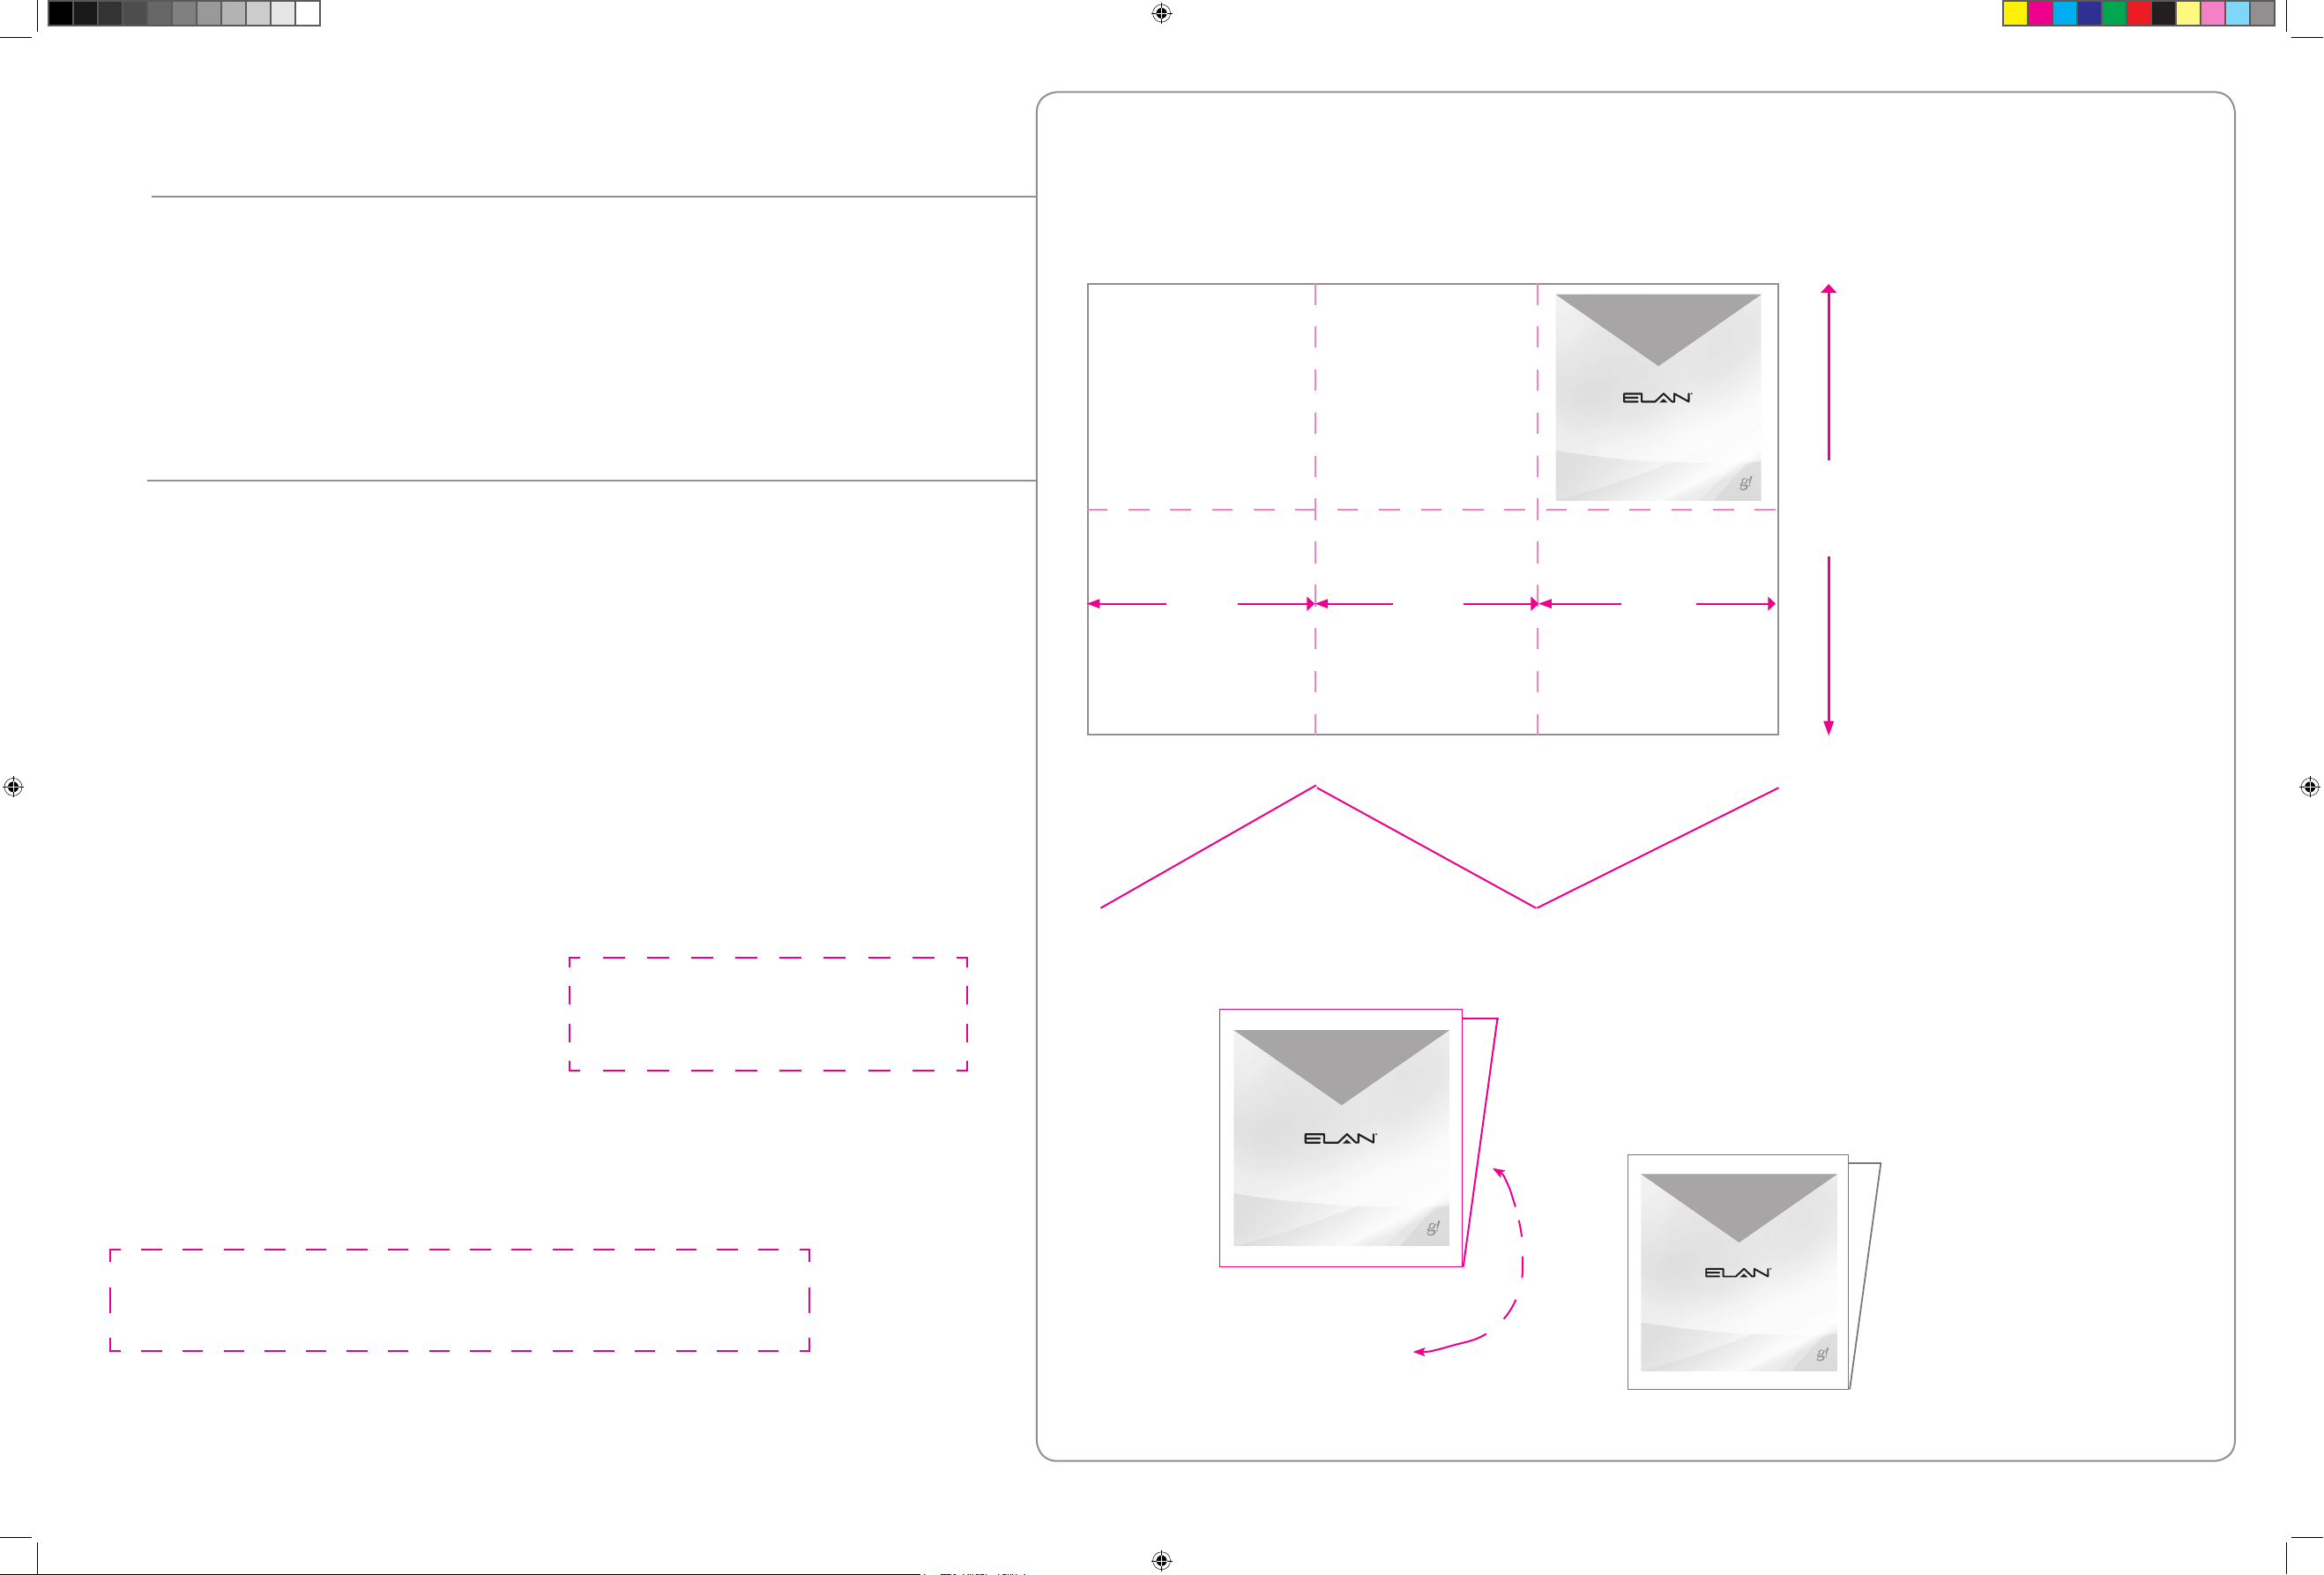
Size: 150 x 150 mm folded
05/20/2014 -> final print pdf
ELAN
Quick Install Guide – g1
Folding-Method:
6 pages each - Format: 150 x 300 mm ( Metric !! )
Final Version
English
ONLY ONE MANUAL !
g1
Quick Install Guide
English
150 150 150
®
Folded size:
300
150 x 150 mm
Open:
450 mm wide x 300 mm high
No bleed
05/20/2014 – FR -> 2nd update
_9 Up
Questions?
Juergen 707 - 778- 5826
P/N 9901340 Rev. B 05/2014
+
g1
Quick Install Guide
®
English
g1
Quick Install Guide
®
English
9901340_ELAN_QuickGuide_g1_ENG_0523_PRINT.indd 2 5/23/14 5:36 PM
Page 2
g1
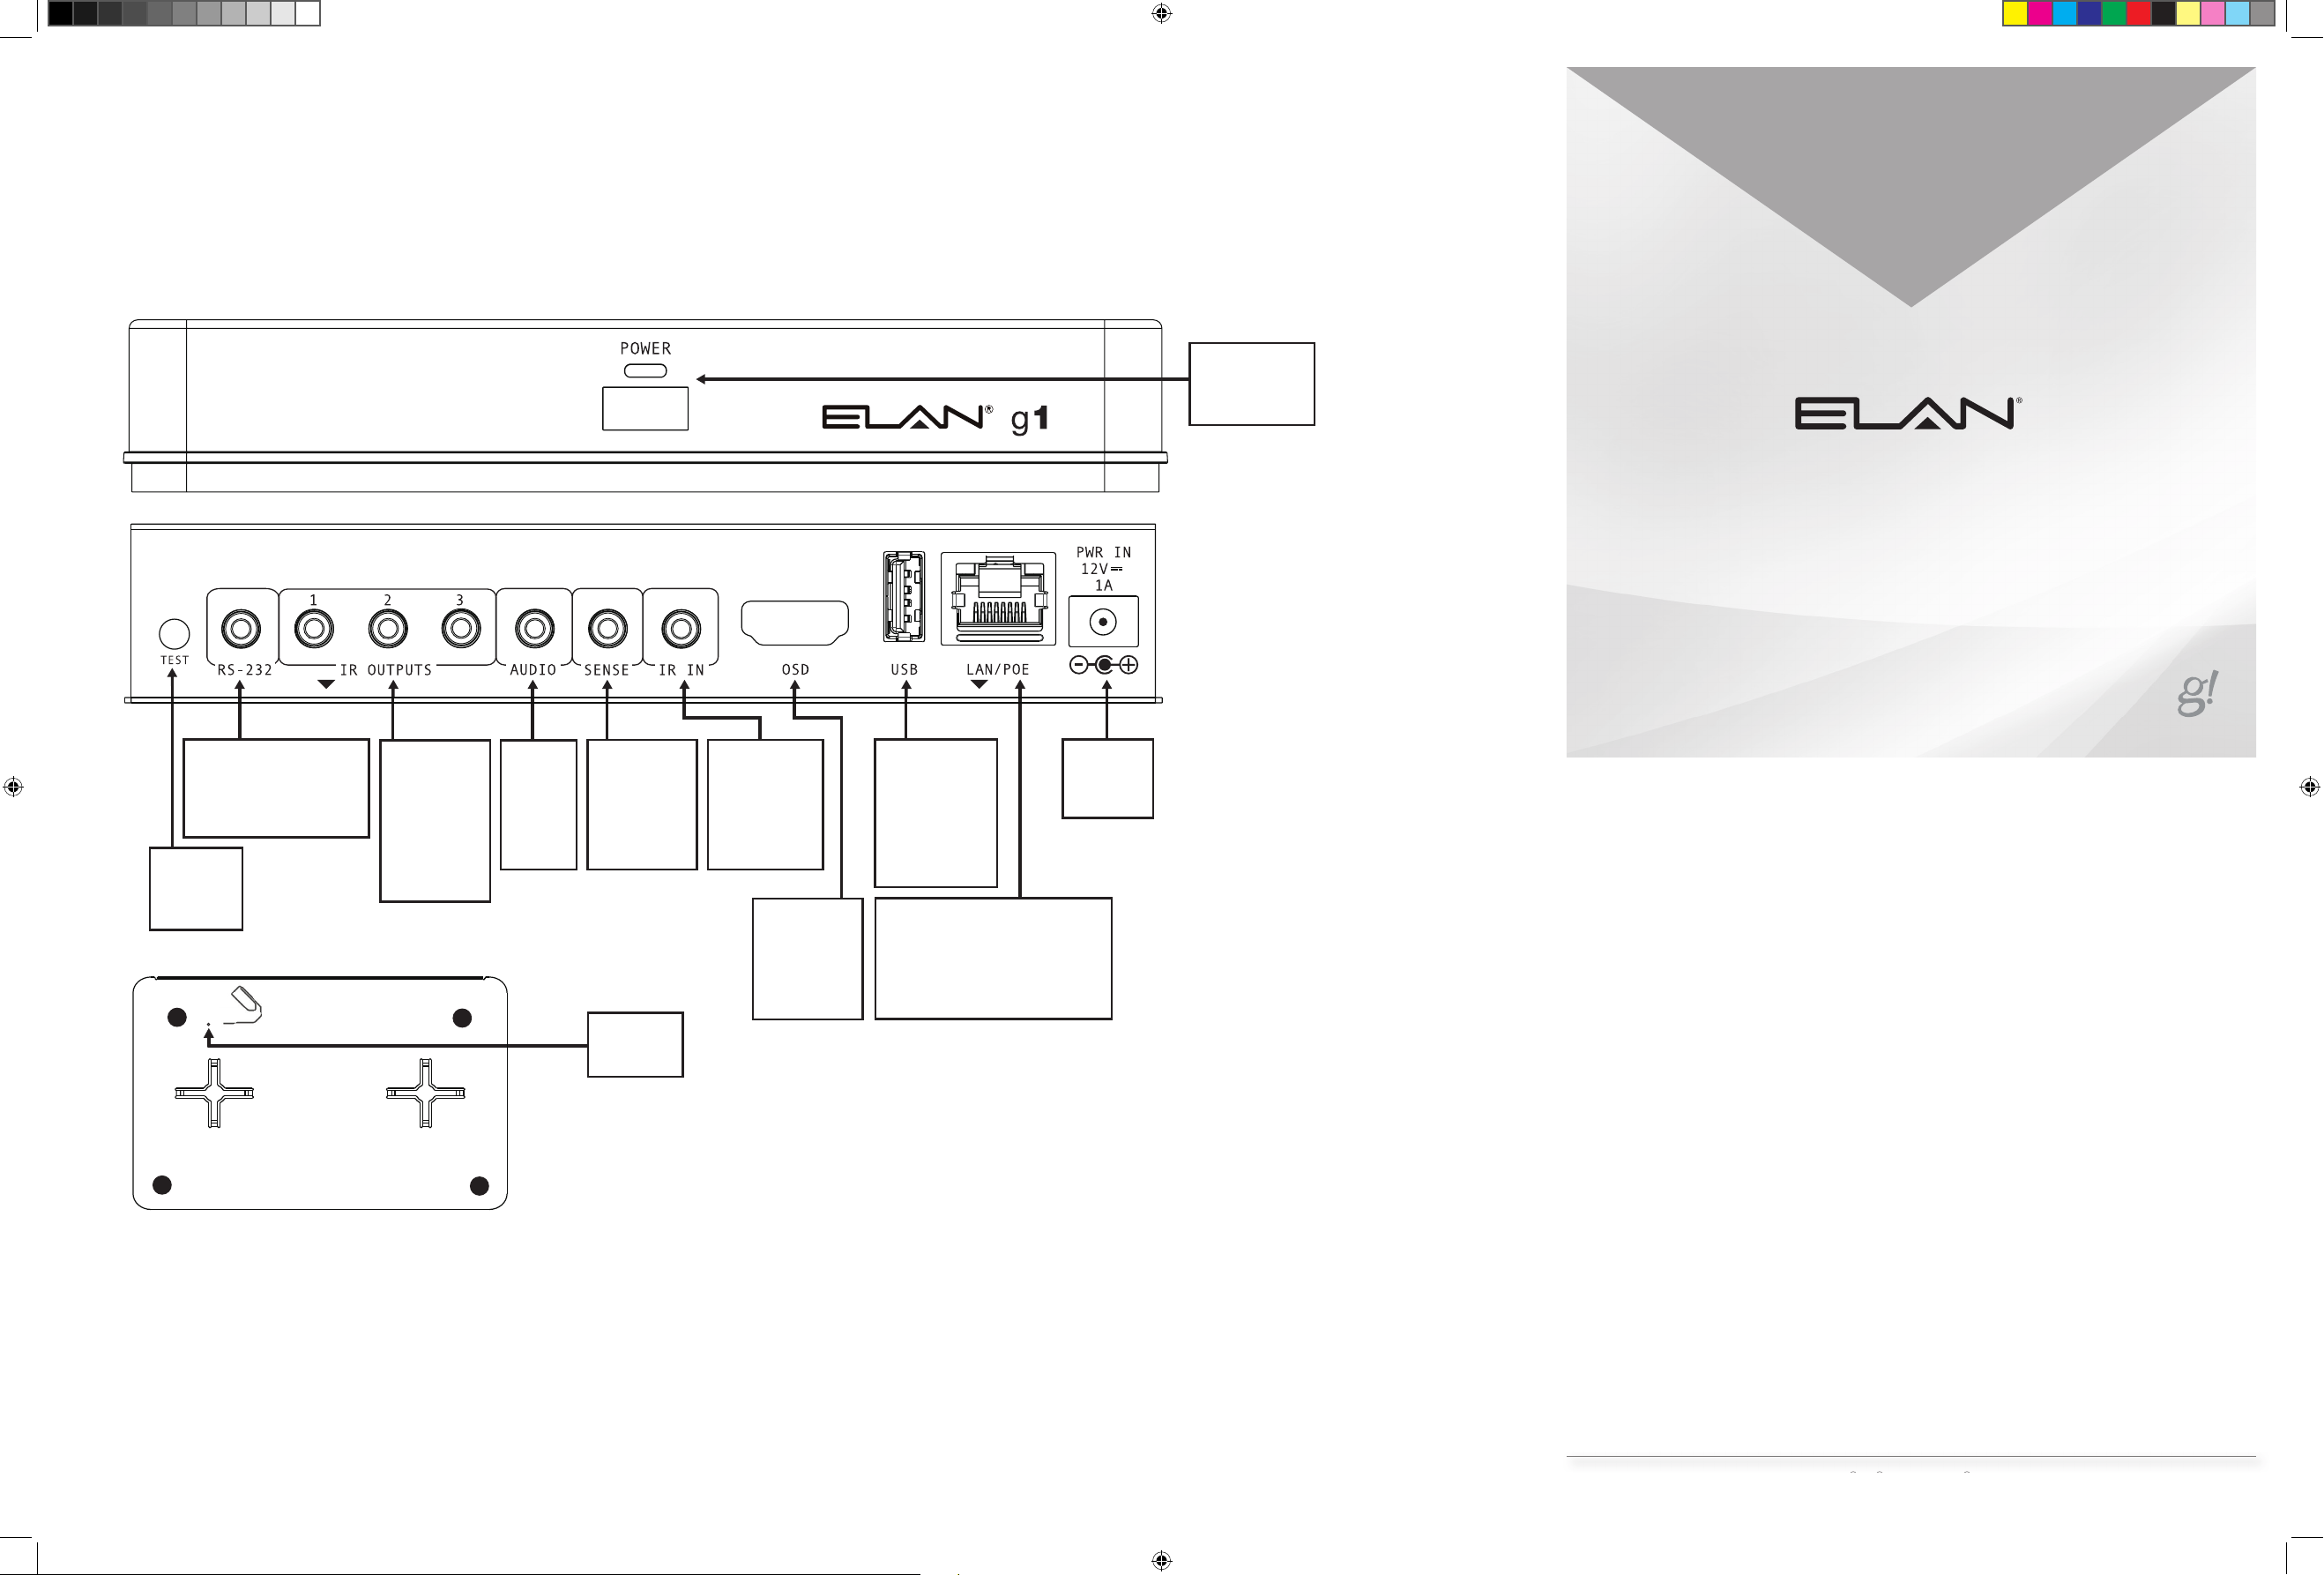
Rear Panel Connections
Dimension: 7-3/16” W x 1-1/4” H x 5-1/8” D (half rack) (182mm W x 30mm H x 130mm D)
POWER
Powerbutton
and power light
g1
Quick Install Guide
SERIAL CONNECTIONS
1 bi-directional
RS-232
TEST PORT
For factory
use ONLY
IR OUTPUTS
3 discrete
IR channels.
Compatible
with Xantech
single and
dual emitters
AUDIO
For future
use ONLY
SENSE INPUT
CONNECTION
1 ELAN Sensor
Input
IR INPUT
1 powered
Xantech Sensor
compatible
OSD
HDMI on
screen display
USB
CONNECTION
see integration
notes for
compatible
applications
ETHERNET
CONNECTION
Ethernet - 10/100/1000 Mbps
PoE IEEE 802.3at, Type I
48 VDC, 350 mA
RESET
FEDERAL COMMUNICATIONS COMMISSION INTERFERENCE STATEMENT:
This equipment has been tested and found to comply with the limits for a Class B digital device, pursuant to part 15 of the FCC Rules.
These limits are designed to provide reasonable protection against harmful interference in a residential installation. This equipment generates, uses and can radiate radio
frequency energy and, if not installed and used in accordance with the instructions, may cause harmful interference to radio communications.
However, there is no guarantee that interference will not occur in a particular installation. If this equipment does cause harmful interference to radio or television reception,
which can be determined by turning the equipment off and on, the user is encouraged to try to correct the interference by one or more of the following measures:
- Reorient or relocate the receiving antenna.
- Increase the separation between the equipment and receiver.
- Connect the equipment into an outlet on a circuit different
from that to which the receiver is connected.
- Consult the dealer or an experienced radio/ TV technician for help.
RESET
DC Power
Connection
12v 1A
Informations concernant l’exposition aux fréquences radio (RF):
La puissance de sortie émise par l’appareil de sans fi l est inférieure à la limite
‘exposition aux fréquences radio d’Industry Canada (IC). Utilisez l’appareil de sans
fi l de façon à minimiser les contacts humains lors du fonctionnement normal.
Ce périphérique a également été évalué et démontré conforme aux limites
d’exposition aux RF d’IC dans des conditions d’exposition à des appareils mobiles
(antennes sont supérieures à 20 cm à partir du corps d’une personne).
English
Important Safety Instructions
1. Read, understand and follow ALL safety and installation
instructions included in this manual. Failure to follow the
included documentation may damage the product and will
void manufacturer’s warranty.
2. Follow ALL installation guidelines included with the product.
Installation of the product in high humidity environments,
in close proximity to heat sources and /or non-recommended
locations WILL impede, interfere and/or damage the
intended operation of the product
3. Only use attachments and accessories which have been
specifi ed for use by the manufacturer.
4. The use of abrasive, liquid or solvent based cleaning fl uids
WILL damage the product. Please refer and follow all
Product Care instructions included with the product.
5. Product Servicing may ONLY be completed by authorized
or certifi ed service centers & personnel. For a complete
list of product servicing options, please follow instructions
included in the product documentation and /or contact
original manufacturer for details.
FCC and IC Information:
This Class B digital apparatus complies with Part 15 of the
FCC rules and with Canadian ICES-003 and RSS-210.
Operation is subject to the following two conditions:
1. This device may not cause interference and
2. This device must accept any interference, including
interference that may cause undesired operation
of the device.
© 2014 Core Brands, LLC. All rights reserved.ELAN®, g!® and Panamax®
are registered trademarks ofCore Brands,LLC,aNortek company.
Cet appareil numérique de classe B est conforme aux normes
canadiennes ICES-003 et RSS-210. Son fonctionnement est
soumis aux deux conditions suivantes : (1) cet appareil ne doit
pas causer d’interférence et (2) cet appareil doit accepter toute
interférence, notamment les interférences qui peuvent affecter
son fonctionnement.
Warning:
Changes or modifi cations to this unit not expressly
approved by the party responsible for compliance could
void the user’s authority to operate the equipment.
FCC and IC Radiation Exposure Statement:
This equipment complies with FCC radiation exposure limits set
forth for an uncontrolled environment and meets the exemption
from the routine evaluation limits in section 2.5 of RSS 102.
1. This Transmitter must not be co-located or operating
in conjunction with any other antenna or transmitter.
2. This equipment complies with FCC RF radiation exposure
limits set forth for an uncontrolled environment.
This equipment should be installed and operated
with a minimum distance of 20 centimeters from user
and bystanders.
Warning:
The device meets the exemption from the routine evaluation
limits in section 2.5 of RSS 102, and users can obtain Canadian
information on RF exposure and compliance from the Canadian
Representative Product Solutions Group at Tel: (519) 763-4538.
®
P/N 9901340 Rev. B 05 /2014
9901340_ELAN_QuickGuide_g1_ENG_0523_PRINT.indd 3 5/23/14 5:36 PM
Page 3

To protect your equipment from power surges and momentary power interruptions we strongly
gramming” can
t Map conditional. If
GND (RING)
+12VDC (SLEEVE)
IR SIGNAL
(TIP)
suggest you utilize a battery-backed power supply (UPS) with this equipment.
ELAN recommends Panamax UPS and power conditioning products for use with your new g1.
Unpack the g1. Verify that you have all packaging contents.
You should have received:
a. g1 f. 1ea 1/8” stereo mini to serial DB-9
b. 12vDC Power Supply adaptor (P/N 7600219)
c. Hand held g1 remote (P/N g1REM)) g. 1ea HDMI Retention Bracket
d. IR sensor (Xantech P/N DL95) h. Quick Install Guide (this document)
e. 3ea IR emitter (Xantech P/N 282D)
The g1 may be used as a standalone system controller with or as an Extender to any gSC controller or
a HC controller running g!6.6 or greater. Please check the ELAN Training Guide for g1 control capabilities.
The ELAN g! Training Guide contains valuable hardware and software reference documentation and is
considered an important supplement to this document. You would have received the training guide while
attending g!School, however the ELAN g! Training Guide is updated regularly. Make sure you have the latest
version by visiting the ELAN Dealer website at www.elanhomesystems.com and following the “dealer” link.
Note: The g1 does not have a ViaNET connection. If your installation has devices that require
ViaNET communication you will need to connect an ELAN SC1 to the serial RS-232 port.
www.elanhomesystems.com
RS-232 wiring pin-outs are as follows:
2
NC
TX
A
RX
B
NC
GND
C
KEY :
A. Tip
B. Sleeve
C. Ring
Sense Input Connection
3
ELAN sensors can be used to input a status from 3rd party devices. The status is binary,
NC
NC
NC
NC
1
2
3
4
5
6
7
8
9
5 4 3 2 1
9 8 7 6
either ON or OFF. This can be used to trigger an event map or as a condition of an event map.
Connect ONLY an ELAN sensor to this port.
ELAN Sensor
AUD Sensor P/N: AUDSENSOR
VID Sensor P/N: VIDSENSOR
CT Sensor P/N: CTSENSOR
CR Sensor P/N: CRSENSOR
LT Sensor P/N: LTSENSOR
VT Sensor P/N: VTSENSOR
7
8
9
10
OSD
The g1 supplies an On Screen Display (OSD) interface via HDMI.
Connect the OSD output to an available input on either your
monitor or your AVR. Note which monitor/AVR input is used. It will be
needed when confi guring the OSD.
Installing the HDMI Retention Bracket
A bracket is included to assist in keeping the HDMI cable plugged
into the g1. After inserting the HDMI cable, remove the screw above
the HDMI connector and use the screw to secure the HDMI Retention
Zip tie
Cable
bracket
Bracket to the g1. Depending on the size of your HDMI cable you may
need to use a small wire tie to hold the cable to the bracket.
USB connection
Some accessories may be connected to the g1’s USB connector. Refer to the ELAN Integration Note
for the device prior to connection.
LAN/POE Connection
Connect the Ethernet connection to an available 10/100 Mbps port on the network. This is the
preferred connection. The g1 may be powered over Ethernet (PoE). PoE connection must meet
the minimum requirements of IEEE 802.3at, Type I (48 VDC, 350 mA).
RESET Switch
Located on the underside of the unit is the recessed RESET
switch. When pressed momentarily the RESET switch will clear
RESET
the static IP setup and return the g1 to DHCP as well as reset
the WiFi confi guration to factory default. When pressed and held
for more than 15 seconds the programming of the current g!
software version will be reset to default. Pressing RESET while
applying power will reset the software to the factory version.
Mount the g1 in the desired location
1
The g1 is designed to mount on a shelf, hang in a cabinet or rack, or mount in a structured wiring enclosure.
Shelf Mounting: The g1 has rubber feet to protect fi nished surfaces. Set the g1 in a location that
will allow you to properly manage connected wiring so that tension is not placed on the connections.
The g1 is relatively small and wire tension will cause the unit to move and may cause wires to become
disconnected.
Wall Mounting: The g1 chassis has been designed to allow convenient wall mounting in any orientation.
The g1 wall mounts using standard “sheetrock” type screws (not included). It is recommended that the
g1 be mounted to wood. When mounting the g1 to sheetrock, appropriate anchors are recommended.
Arrows on the rear panel may be used to mark the location for the screws. Mark the screw locations,
mount the screws leaving approx. 3/16” (5mm) of screw exposed and slide the g1 over the screws.
Use arrows to mark
screw holes.
Leave a
3/16 “ gap
between screw
heads and wall.
Serial Connections
2
Connect an RS-232 serial controlled device using the included 1/8” mini to DB9 adaptor. The
Use ‘guides’ and
mark it with a pen
WALL
g1 serial output is not compatible with RS-485 serial devices. If your project requires RS-485
connections you will need to use a gSC10 controller.
ELAN RS-232 Adapter:
P/N: 7600219
3/16”
5 mm
WARNING! THIS CANNOT BE UNDONE!!!
IR Outputs
4
Three discrete IR outputs are supplied to control third party
devices. The outputs may be confi gured in g! programming to
11
TEST
The TEST connection is for factory and repair access only. Do not plug anything into the TEST port.
Plugging anything into the TEST port will void the warranty and release the magic smoke.
utilize a carrier or not. Each output is compatible with Xantech
single and dual emitters.
12
DVD
Power Connection
Once all other connections have been completed connect the 12VDC power supply or PoE Ethernet
input and engage the power switch on the front of the g1.
Media Player
Audio Connection
5
The AUDIO out connection on the g1 is for future use.
TV
13
PoE Connection
12V Power Connection
Connecting to the g1 on your wired network
The g1 is set from the factory for DHCP networking, which means it receives its IP address from the
network router. Use g!Tools to fi nd the address and connect to the g1.
Connecting to the g1 on your wireless network
IR Input Connection
6
Plug the included Xantech DL95 IR sensor into IR IN. The g1 supplies power to the IR receiver.
Other Xantech IR sensors are compatible with the g1 should your application require it.
The g1 is fully compatible with ELAN’s Wi-Fi hand held remote controls and smart device interfaces.
If using one of these devices as the primary control interface for the g1 it is not necessary to install the
IR sensor. NOTE: If you do not install the IR senor the included IR remote will not work.
The g1’s wireless radio may be confi gured by fi rst connecting the unit to a wired network connection
and following the wireless confi guration instructions found in the ELAN g! Training Manual or using the
OSD. To confi gure via OSD turn on the TV, select the g1 HDMI input, then point the g1 remote at the IR
sensor and press then MUTE then ENTER in quick succession. Follow the on-screen instructions
and using the g1 remote enter the appropriate network information. Once completed you will be able
to access the g1 from your laptop and g!Tools using only the WiFi network.
Software upgrade
14
Prior to confi guring the product, upgrade the g1 software to the latest version of g! Core Module.
Core Module can be found on the ELAN dealer website. The g1 is not compatible with g! Core Module
releases prior to g!7.0.
9901340_ELAN_QuickGuide_g1_ENG_0523_PRINT.indd 4 5/23/14 5:36 PM
 Loading...