

Page 1
The Corbin
R Corbin type -S Bullet Swage Dies (1-inch body, 5/8-24 shank). Die
fits the ram, punch used in floating punch holder. Self-ejection.
R Corbin type -M Bullet Swage Dies (7/8-inch body, 5/8-24 shank).
Die fits the ram, punch used in floating punch holder. Self-ejection.
R Corbin type -R Bullet Swage Dies (7/8-14 threads, button/T-slot
punch). Die fits press head, punch fits reloading adapter.
R Corbin type -R Draw Dies (7/8-14 threads, botton/T-slot punch).
Die fits press head directly, punch fits reloading adapter.
R Corbin type -S or -M Draw Dies (7/8-14 threads, 5/8-24 tpi punch).
Die fits press head directly, punch screws into ram.
R RCBS-type reloading dies (7/8-14 threads, button/T-slot shell
holder). Dies fit press head directly, punch fits reloading adapter in
the ram
R All other Corbin dies whose catalog number ends in -S will work in
the
ejection pin for all other punches)
Bullet swage dies have both an internal and an external punch. The internal
punch stays inside the swage die during operation. The external punch is used
to push components into the die and apply pressure to them. The FPH-1-S
floating punch holder is used to position the external punch for different weights
and lengths of bullets with the same set of dies.
S-P
S-PRESS
RESS
(use the short stop pin with slotted punches, long
works with these dies:
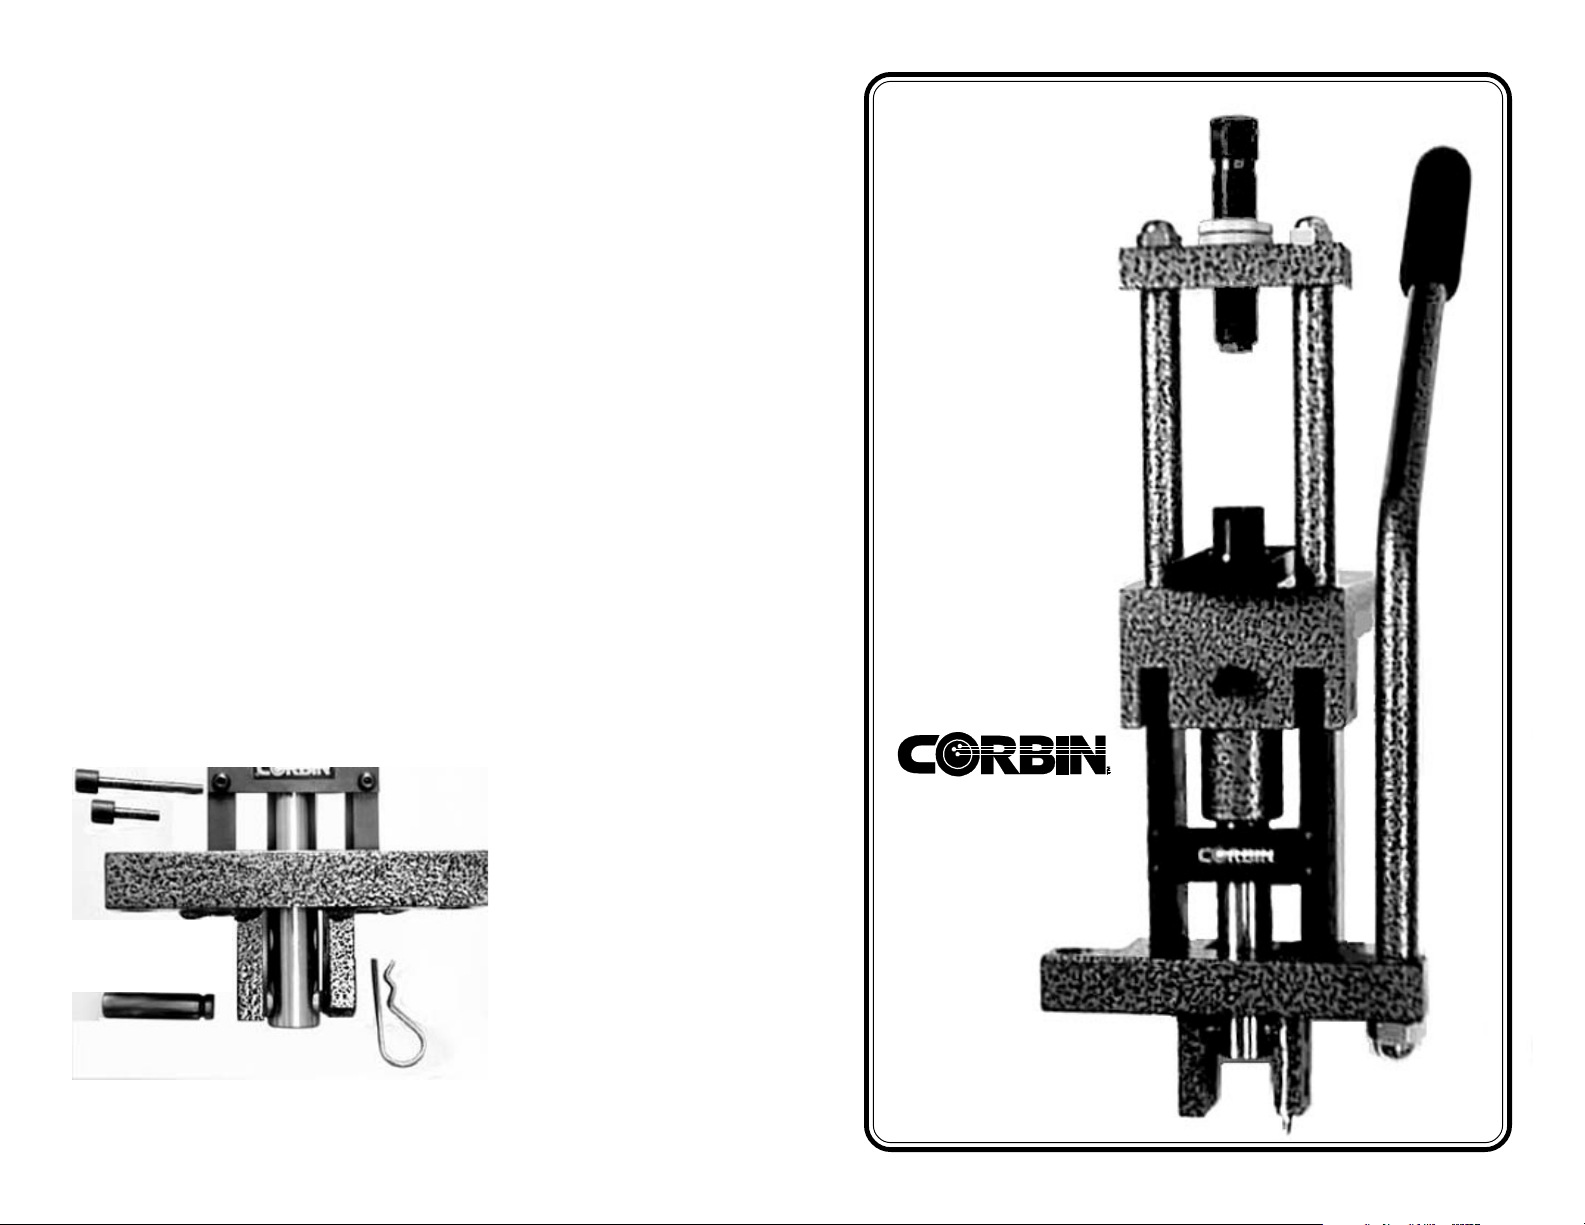
The NEW
S-P
RESS
All-Steel
High pressure
Roller bearing
Bullet
Swaging
and
Reloading
Press
The stop pin, in the front of the press, passes through the ram and stops the
downward movement of the internal punch causing automatic ejection. Point
forming dies have a long internal punch head pinned through a hole, so that the
punch does not move with the ram.
Most other swage dies use a punch that
travels with the ram, and simply rests on
Stop pins
Ram pin
CORBIN PO Box 2659, White City, OR 97503 USA
www.Corbins.com sales@corbins.com 541-826-5211 9am-5pm Mon-Thur.
the stop pin during the last part of the
down stroke (to eject). The
internal point form punch
was previously made with
a slot in the head. The new
stronger style uses a hole through the
punch head. When using the older
style punches (with a slot), use the
short stop pin. All other times, use
the long stop pin.
from
Hand built
by
American
Machinists
in the
USA
Catalog No. CSP-1
Page 2
Specifications
R Swages from .123 to .458-inch diameter bullets (-S dies)
R Swages up to 1.3-inch long bullets
R Dual stroke design: switch from 2-inch to 4-inch with one pin
R Provides over 200% more leverage than a reloading press
R Hardened, ground alloy steel ram, steel frame
R Up to 500% stronger than cast frame reloading presses
R Standard 7/8-14 thread accepts all conventional reloading dies
R Corbin -S dies screw directly into the ram (5/8-24 thread)
R Approximately 22 pounds (48.4kg) shipping weight
Features
R Four sets of precision roller bearings in the steel link arms
R Half the effort, 300% faster compared to reloading press
R Ram travels within two solid bearings in precision honed bore
R Silky smooth operation: all moving joints use bearings
R No pot metal, grey iron, aluminum or zinc castings are used
R Hand-assembled for benchrest precision reloading and swaging
R Free reloading adapter to accept button-type shell holders
R Spring-loaded ball-bearing detent in the shell holder adapter
R Primer and lead extrusion catcher tray travels with the ram
R Comfortable neoprene foam grip, left or right side handle mount
Options
R CSP-A Arbor-press type screw-in anvil set (top and bottom), use
your press with arbor-press type dies, or as a bearing or sight press
R CSP-B Steel bench stand with storage shelf (12-inch height), puts
the die mouth at eye level where you can see the alignment
R CSP-C Handle retainer clip (kit), holds the handle securely in the
up position so that bumping the press or bench won't cause it to fall
R CSP-S Self-supporting floor stand with comfortable deck, for easy
operation without a bench: in an apartment, den or trade-show.
R FPH-1-QC Quick-change T-slotted punch holder, lets you slip the
external punch out to load longer than usual parts quickly
R FPH-1-S Spare floating punch holder for pre-set repeatable
adjustments to weight, style, or tip opening of the bullet
Dual Stroke Operation
Reloading and jacket drawing often require a longer stroke, with less power
then bullet swaging. The
can have either more stroke, or more power, whichever is required for the job.
If you don't use the right position of the toggle-to-ram pin, the position of the ram will
be wrong for the operation, and the operation may not work.
Moving the toggle-to-ram pin:
Short
stroke
position
Long stroke
position
S-PRESS
features a dual-stroke operation, so you
R Short Stroke: In all swaging operations, the ram should be in the
short stroke mode (ram pin should be in the set of holes which
travels in the smaller arc). If the ram does not go high enough (in
drawing or reloading), check the pin that joins the ram with the
toggle arms...it is probably in the wrong set of holes! Move it to the
long stroke set.
R Long Stroke: In nearly all reloading and drawing operations
(unless otherwise instructed) the ram must be in the long stroke
mode (ram pin should be in the set of toggle holes that travels in
the wider arc). If the ram won't go all the way to the top, or the
handle travel seems to be blocked before it reaches either end of
the stroke (during swaging), you probably have the pin that joins
the ram to the toggle arms in the wrong set of holes! Move it to the
short stroke set.
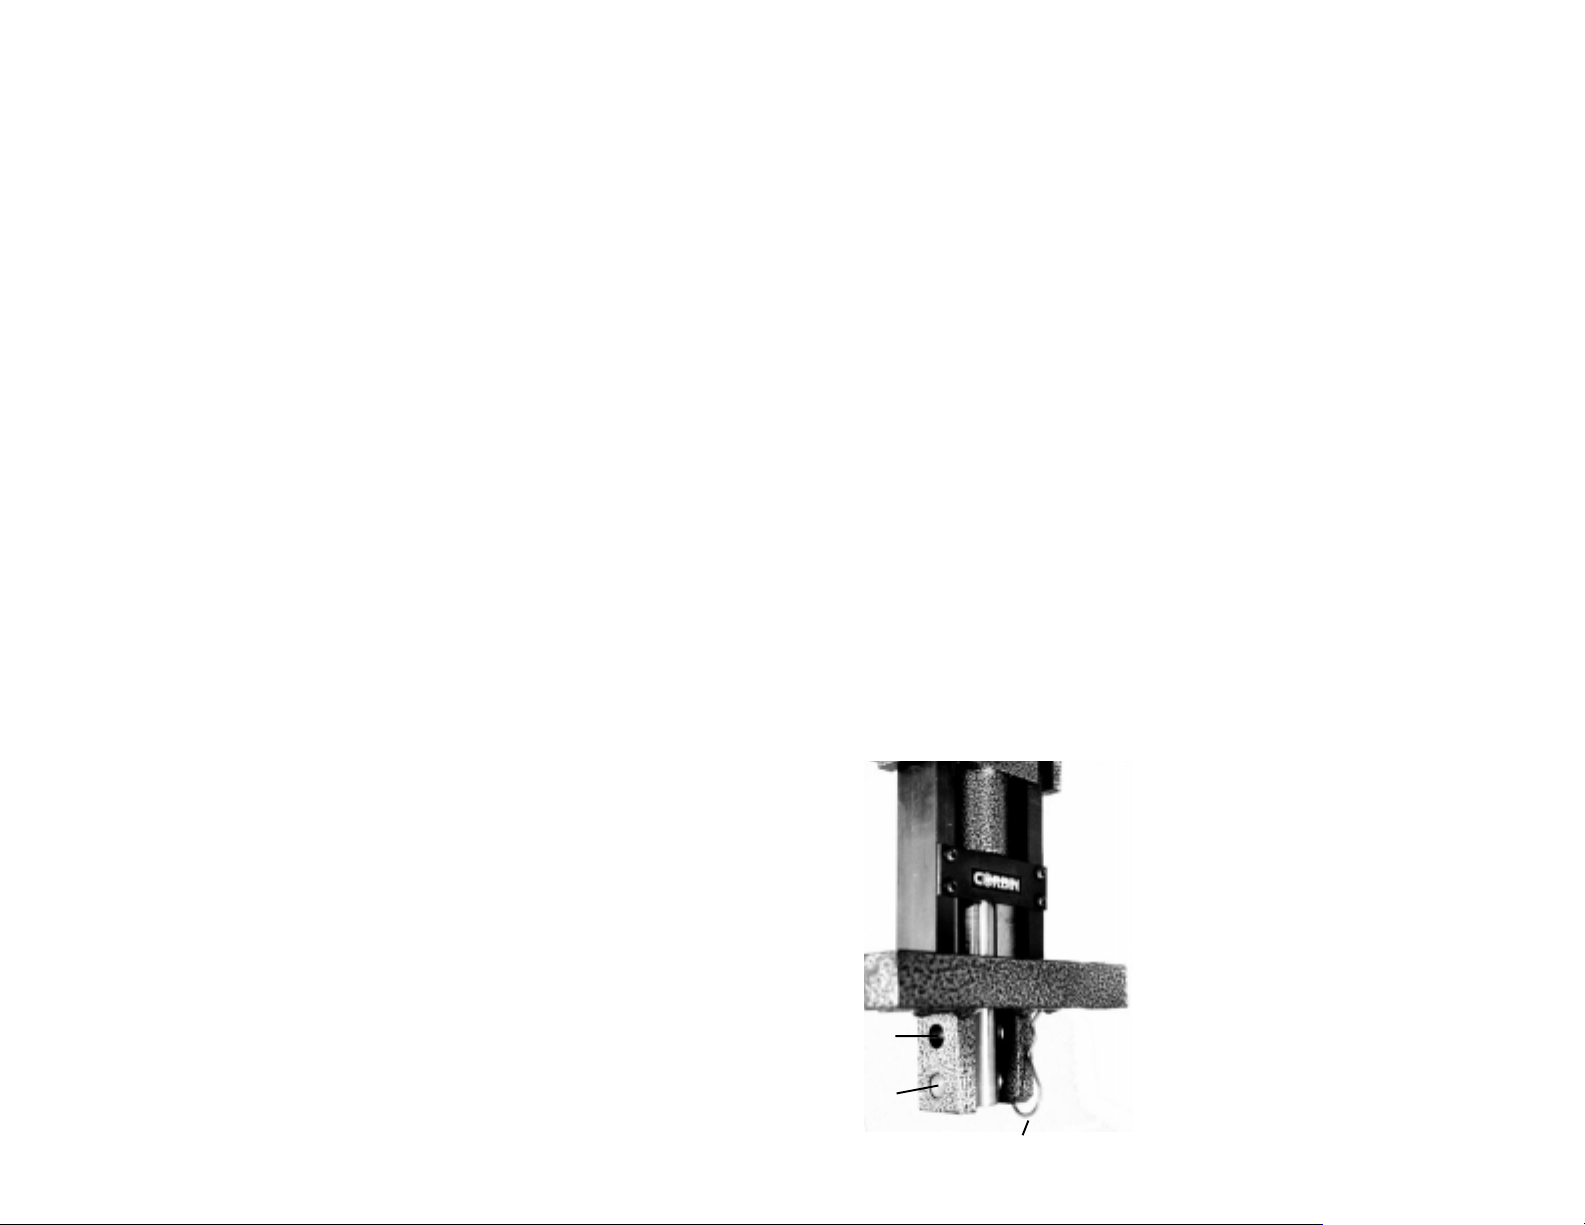
Look at the lower part of the press ram and find the single steel pin that
connects it to the two toggle arms on either side of it. Notice that
the toggle arm on the right side has a heavy "grenade pin" retainer
projecting from the end. This link retainer pin passes close by a
groove in the ram pin, and keeps it from sliding out
sideways.
èGrasp and pull the "grenade pin" out of the
press entirely.
èMove the ram so you can access the ends of the
ram pin, and gently push the ram pin to the left,
until the ram is free (the stop pin will keep the ram
from falling completely out of the press).
èMove the ram and the toggle until you
can easily push the pin, by hand, back into
the other set of holes in the toggle arms.
èReplace the "grenade pin" retainer to
keep the ram pin in position (failure to do so
may result in the pin working out and
damaging the press links)
"Grenade" pin
 Loading...