

Corberó LV6042 User Manual

MANUAL DE INSTRUCCIONES
INSTRUCTION BOOKLET
LAVAVAJILLAS
DISHWASHER
LV 6042
23
The appliance which you have just bought is supplied not only with this instruction manual, but also with a
Warranty Card Certificate, on the back of which are written the relative conditions.
Please fill in the necessary details on the Card Certificate and send it to the Corberó Centre relative to the
area in which the appliance is to be installed, within twenty days of the date of purchase. (See list of Corberó
network centres).
We congratulate you on your choice. Carefully read this instruction manual and follow attentively the
recommendations it provides, and thus benefit from years of excellent service.
The appliance which you have just purchased has been very accurately controlled throughout the entire
manufacturing process. Nevertheless, should any problem arise during usage, whether it be during the
warranty period, or when such period has expired, please directly contact your nearest Corberó Service
Centre.
The address and telephone number of said Centre can be easily found in the enclosed List or by looking in the
telephone directory, under Corberó.
Our Corberó Service Network is at your complete disposal, to serve you with maximum speed and efficiency,
all you have to do is call.
GAR01en
Attention
The products
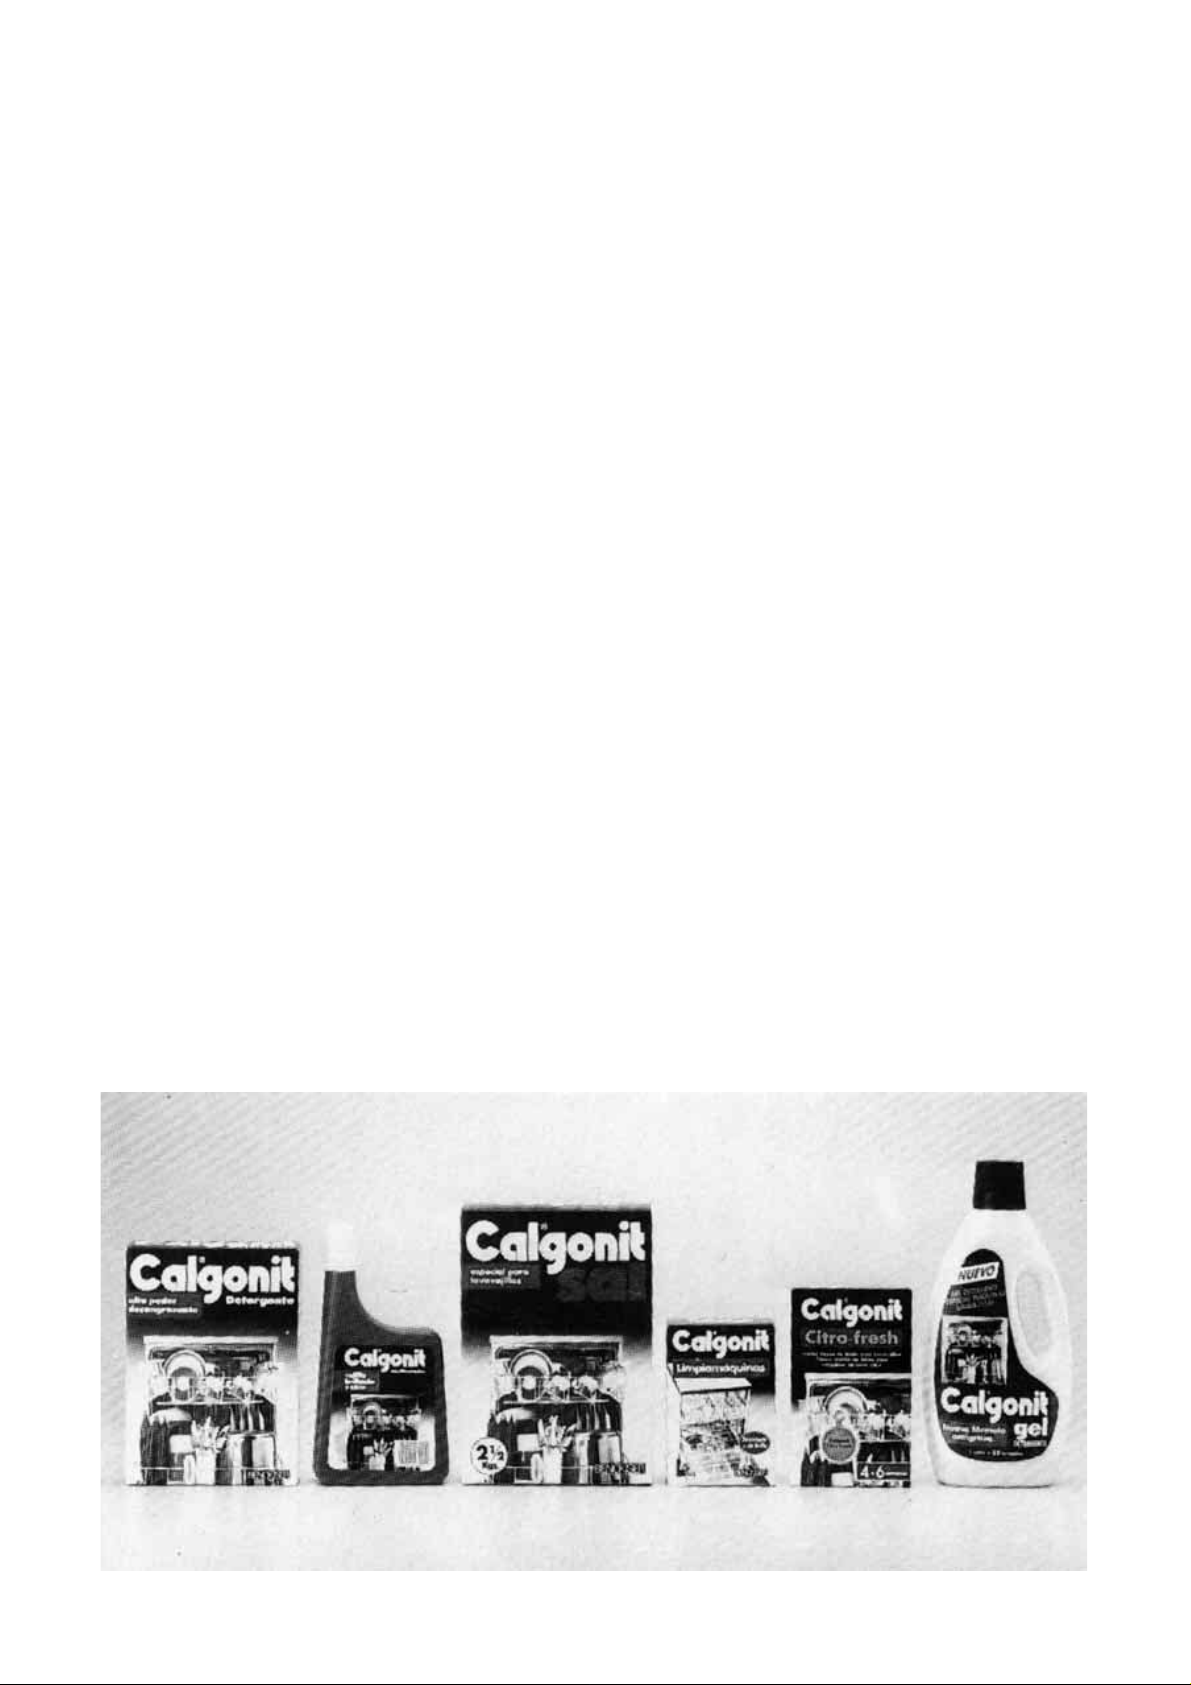
In order to obtain a good wash, it is necessary to use detergents specially designed for dishwashers.
To ensure that your dishwasher functions perfectly, Corberó recommends using Calgonit System, a unique and
complete product, tested by millions of householders.
Calgonit System includes Calgonit detergent, rinse aid, salt, machine detergent and Citro-Fresh.
It is able to fulfil the main requirements for clearing both the crockery and the machine itself.

24
For the user
Important safety information 25
Description of the appliance 26
The control panel 26
Before use 27
Setting the water softener 27
Rinse aid 29
Using your appliance 30
Loading your appliance 30
Adjusting the height of the upper basket 31
Use of detergent 32
Hints and tips 33
Washing programmes 34
Operating sequence 35
Maintenance and cleaning 36
Internal cleaning 36
Cleaning the central filter 36
Cleaning the large filter 36
External cleaning 37
Prolonged periods of non-operation 37
Frost precautions 37
Moving the machine 37
Something not working 38
Service and spare parts 39
Hints for test centres 40
Technical specifications 40
For the installer
Installation instructions 41
Water supply connections 41
Water outlet connection 42
Electrical connection 42
Adjusting the worktop 43
Fitting under a counter 43
Levelling 43
Fitting a decor panel on the door 43
IND12en
Contents
Guide to use the instruction book
The following symbols will be found in the text to guide you throughout the instructions:
Safety instructions
1. 2. 3. Step by step
Hints and tips
Environmental information

25
Installation
● This appliance is heavy. Care should be taken when
moving it.
● It is dangerous to alter the specifications or attempt
to modify this product in any way.
● Care must be taken to ensure that the appliance
does not stand on the electrical supply cable.
● Any electrical work required to install this appliance
should be carried out by a qualified electrician or
competent person.
● Any plumbing work required to install this appliance
should be carried out by a qualified plumber or
competent person.
Child Safety
● This appliance is designed to be operated by adults.
Children should not be allowed to tamper with the
controls or play with the product.
● Keep all packaging well away from children.
● Keep all detergents in a safe place out of children's
reach.
During Use
● Items that are contaminated by petrol, paint, steel
or iron debris, corrosive, acidic or alkaline
chemicals must not be washed in this dishwasher.
● Under no circumstances should you open the door
whilst the appliance is in operation. Always turn off
the appliance before opening the door.
● Only use detergent specifically designed for use in
dishwashers.
● Long blades knives stored in an upright position are
a potential hazard.
● Long and/or sharp items of cutlery such as carving
knives must be positioned horizontally in the upper
basket.
● When finishing loading or unloading close the
door, as an open door can be a hazard.
● Do not sit or stand on the open door.
● Isolate the appliance from the power supply and
turn off the water supply after use.
● Care should be taken when cleaning the bottom
door seal and hinge area as any exposed metal
edges may cut if care is not taken.
● This product should be serviced by an
authorised Service engineer, and only genuine
spare parts should be used.
● Under no circumstances should you attempt to
repair the machine yourself. Repairs carried out
by inexperienced persons may cause injury or
serious malfunctioning. Contact your local
Service Force Centre. Always insist on genuine
spare parts.
Conservation
In the interest of the environment:
● Materials marked with the symbol are
recyclable.
● Check with your local Council or Environmental
Health Office to see if there are facilities in your
area for re-cycling this appliance.
● When the appliance is to be scrapped, cut off
the power supply cable and make the door
closing device unusable to prevent young
children from being trapped inside.
● Help to keep your country tidy - use authorised
disposal sites for your old appliance.
AVV01en
Important safety information
It is most important that this instruction book should be retained with the appliance for future
reference. Should the appliance be sold or transferred to another owner, or should you move house
and leave the appliance, always ensure that the book is left with the appliance in order that the new
owner can get to know the functioning of the appliance and the relevant safety information.
This information has been provided in the interest of your safety. You MUST read it carefully before
installing or using the appliance.
26
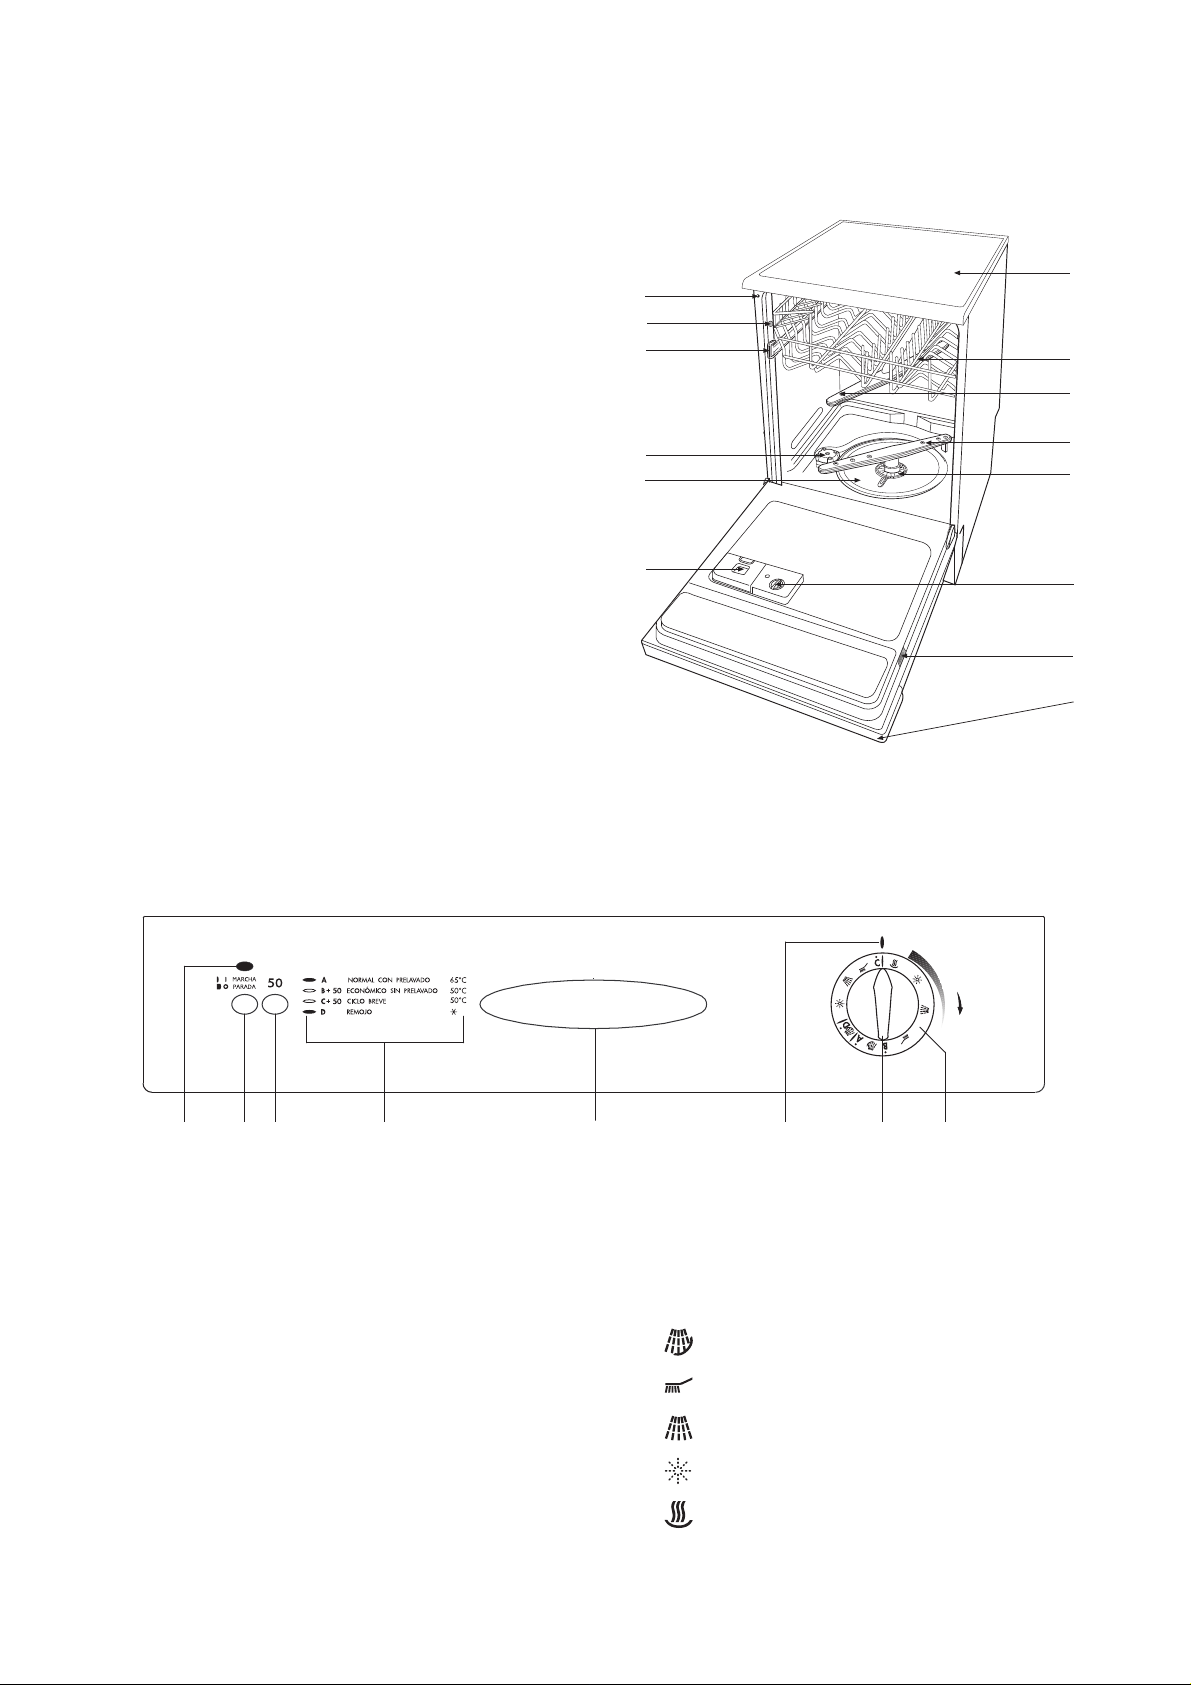
1. Water hardness adjustment
2. Levelling spacers
3. Upper basket stop
4. Salt container
5. Large filter
6. Detergent dispenser
7. Control panel
8. Rating plate
9. Rinse aid dispenser
10. Central filter
11. Lower spray arm
12. Upper spray arm
13. Upper basket
14. Worktop
1. On/Off indicator light
2. On/Off pushbutton
3. Pushbutton "50"
4. Programme guide
5. Door handle
6. Programme marker
7. Programme selector dial
8. Programme sequence indicator
As the programme progresses, the programme
selector dial turns, to show the phase in the
wash programme the appliance has reached.
Prewash /Rinse and hold
Wash
Cold rinse
Hot rinse
Drying
APP16en
Description of the appliance
The control panel
1
2
3
4
5
6
7
8
9
10
11
12
13
14
IN68
1 2 3 4 5 6 7 8

27
Before using your dishwasher for the first time:
1. ensure that the electrical and water connections
comply with the installation instructions
2. remove all packaging from inside the appliance
3. set the water softener
4. pour 1 litre of water inside the salt container and
then fill with salt
5. fill the rinse aid dispenser.
Setting the water softener
The dishwasher is equipped with a water softener
designed to remove minerals and salts from the water
supply, which would have a detrimental or adverse
effect on the operation of the appliance.
The higher the content of these salts, the harder your
water is.
Water hardness is measured in equivalent scales,
German, French degrees and PPM (parts per Million).
The softener should be adjusted according to the
hardness of the water in your area. Your local Water
Authority can advise you on the hardness of the water
in your area.
The dishwasher is factory set at level 2.
If this level is not suitable for your area the softener
should be adjusted.
To adjust the water softener
With a screwdriver turn the selector on the upper front
corner of the machine until the level required
corresponds with the marker.
PDU06en
Before use
Level
Use of
salt
French
degrees
(°TH)
PPM
(Parts per
Million)
German
degrees
(°dH)
0
1
2
3
4
5
NO
YES
YES
YES
YES
YES
0 - 4
5 - 11
12 - 22
23 - 34
35 - 50
51 - 67
0 - 7
8 - 25
26 - 40
41 - 60
61 - 90
91 - 120
0 - 80
81 - 200
201 - 400
401 - 600
601 - 900
901 - 1200
Water hardness
If your water is level 0 it is already soft
and therefore there is no need to use salt.
In this case adjust the water softener on
level 1 without using salt.
2
AA05
1
3
5
4
2
28
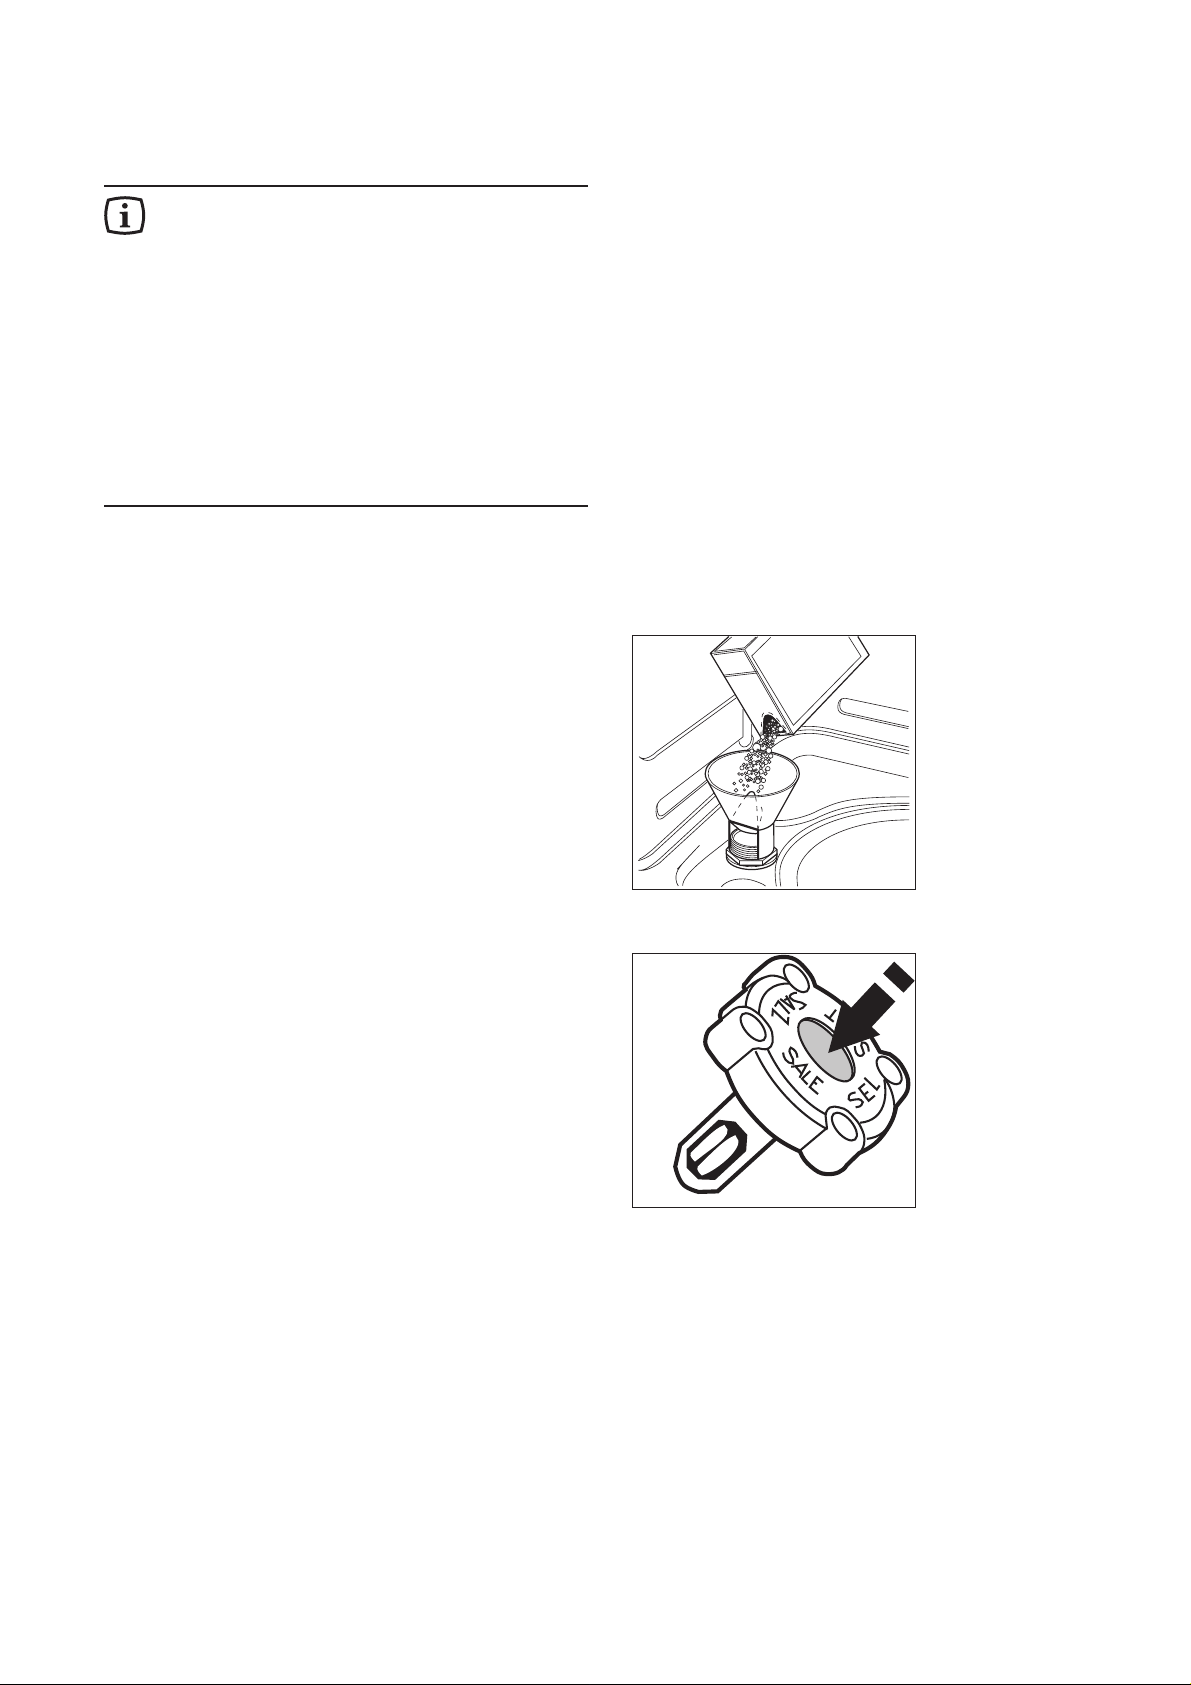
Filling with salt
Only use salt specifically designed for use
in dishwashers.
All other types of salt not specifically
designed for use in dishwasher, especially
table salt, will damage the water softener.
Only fill with salt just before starting one of
the complete washing programmes (not the
Rinse and Hold programme). This will
prevent any grains of salt or salty water,
which may have been spilled, remaining on
the bottom of the machine for any period of
time, which may cause corrosion.
To fill:
1. To fill with salt, unscrew the cap of the salt
container.
2. Pour 1 litre of water inside the container (this is
necessary only before filling with salt for the
first time).
3. Then using the funnel provided, pour in the salt
until the container is full.
Do not worry if water over flows from the unit when
filling with salt, this is quite normal.
4. Replace the cap making sure that there is no trace
of salt on the screw thread or on the gasket.
5. Screw on the cap tightly.
The salt container will require topping up periodically.
The salt cap has a refill indicator window in the centre.
A green float is clearly visible when there is salt inside
the container, and almost disappears when the salt
has finished reminding you to add salt.
SAL02en
SALE
SALT
SALZ
SEL
SR06
SR11
 Loading...