

Copernicus PDR11 User Manual
PDR11
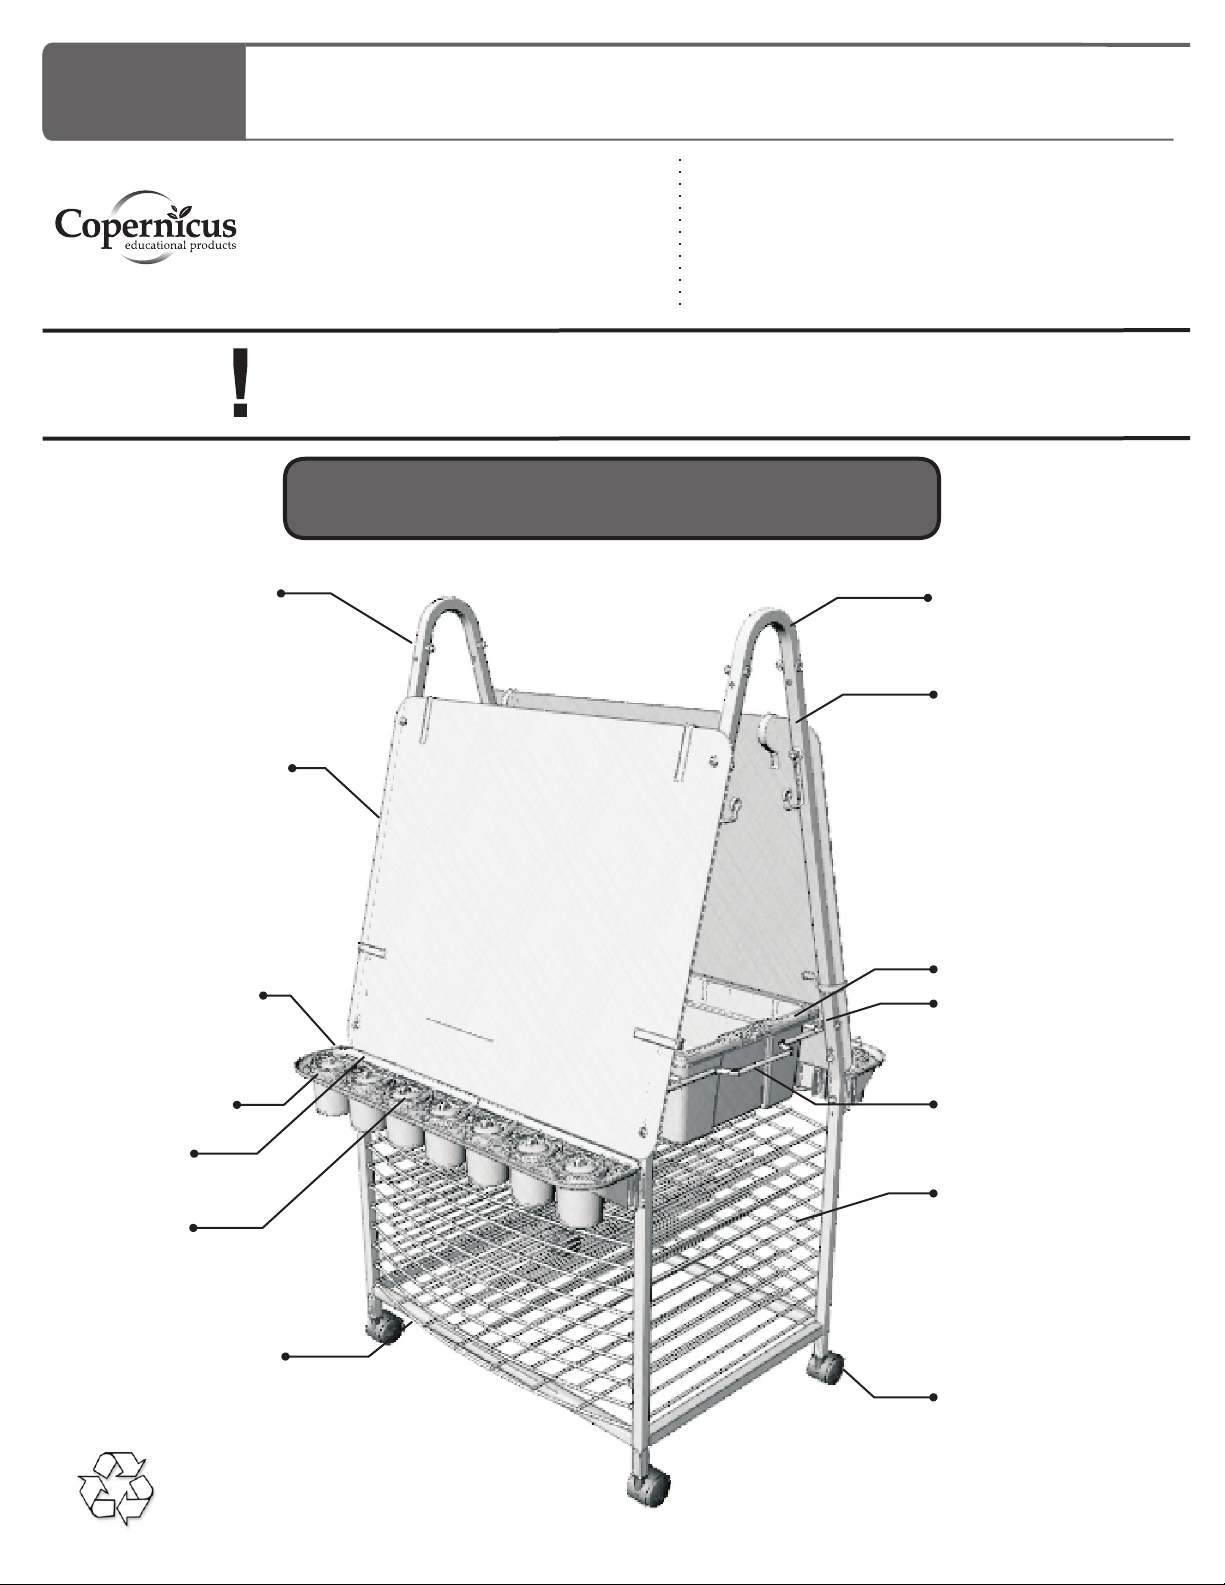
Double Sided Art Easel
WARNING
Art Clip (8)
Assembly Guide
For assistance, please contact us:
PDR11_2012_A
1-800-267-8494
Check out our other products online at
www.copernicused.com
?This product is meant to be assembled by an adult.
?In its unassembled state, small parts present a hazard.
?To be used under direct supervision of an adult.
Don’t forget to check out our tips for your whiteboard at:
Email info@copernicused.com
Have your packing slip ready for reference
www.copernicused.com
Side Frame (2)
Apron Hook (2)
White Board (2)
Paint Tray (2)
Paint Pots (14)
Spill Proof
Caps (14)
Lids (14)
Really Big Tub (1)
Tub Channel Stretcher (2)
Tub Sliding Rack (1)
Drying Rack (10)
Bottom Stretcher (2)
Please Recycle
Caster (4)
PDR11 - Version A - 2 November 2012 - Copernicus Educational Products Inc.

PDR11
Double Sided Art Easel - Parts
Before beginning, you should have:
Additional tools required:
Adjustable wrench
Contents - Box 1
Side Frame
x 2
White Board
x 2
Rubber Mallet
Bottom Stretcher
x 2
Tub Channel Stretcher
x 2
Drying Rack
x 10
Tub Sliding Rack
x 1
In Box 1
A
10x
B
6x
C
2x
D
22x
G
4x
E
8x
Hardware
Actual Size
F
14x
Caster
x 4
Art Clip
x 8
Apron Hook
x 2
Allen Key
(Not to Scale)
1x
Paint Tray (each includes seven pots,
seven spill-proof caps and seven lids)
x 2
Really Big Tub
1x
(CC4073)
15 lbs Weight Limit
Contents - Box 2
Holder for Low Position
Packed inside one pot
x 4
e
d
i
s
n
i
i
n
s
Holder for High Position
i
d
e
Packed inside one pot
x 4
PDR11 - Version A - 2 November 2012 - Copernicus Educational Products Inc.
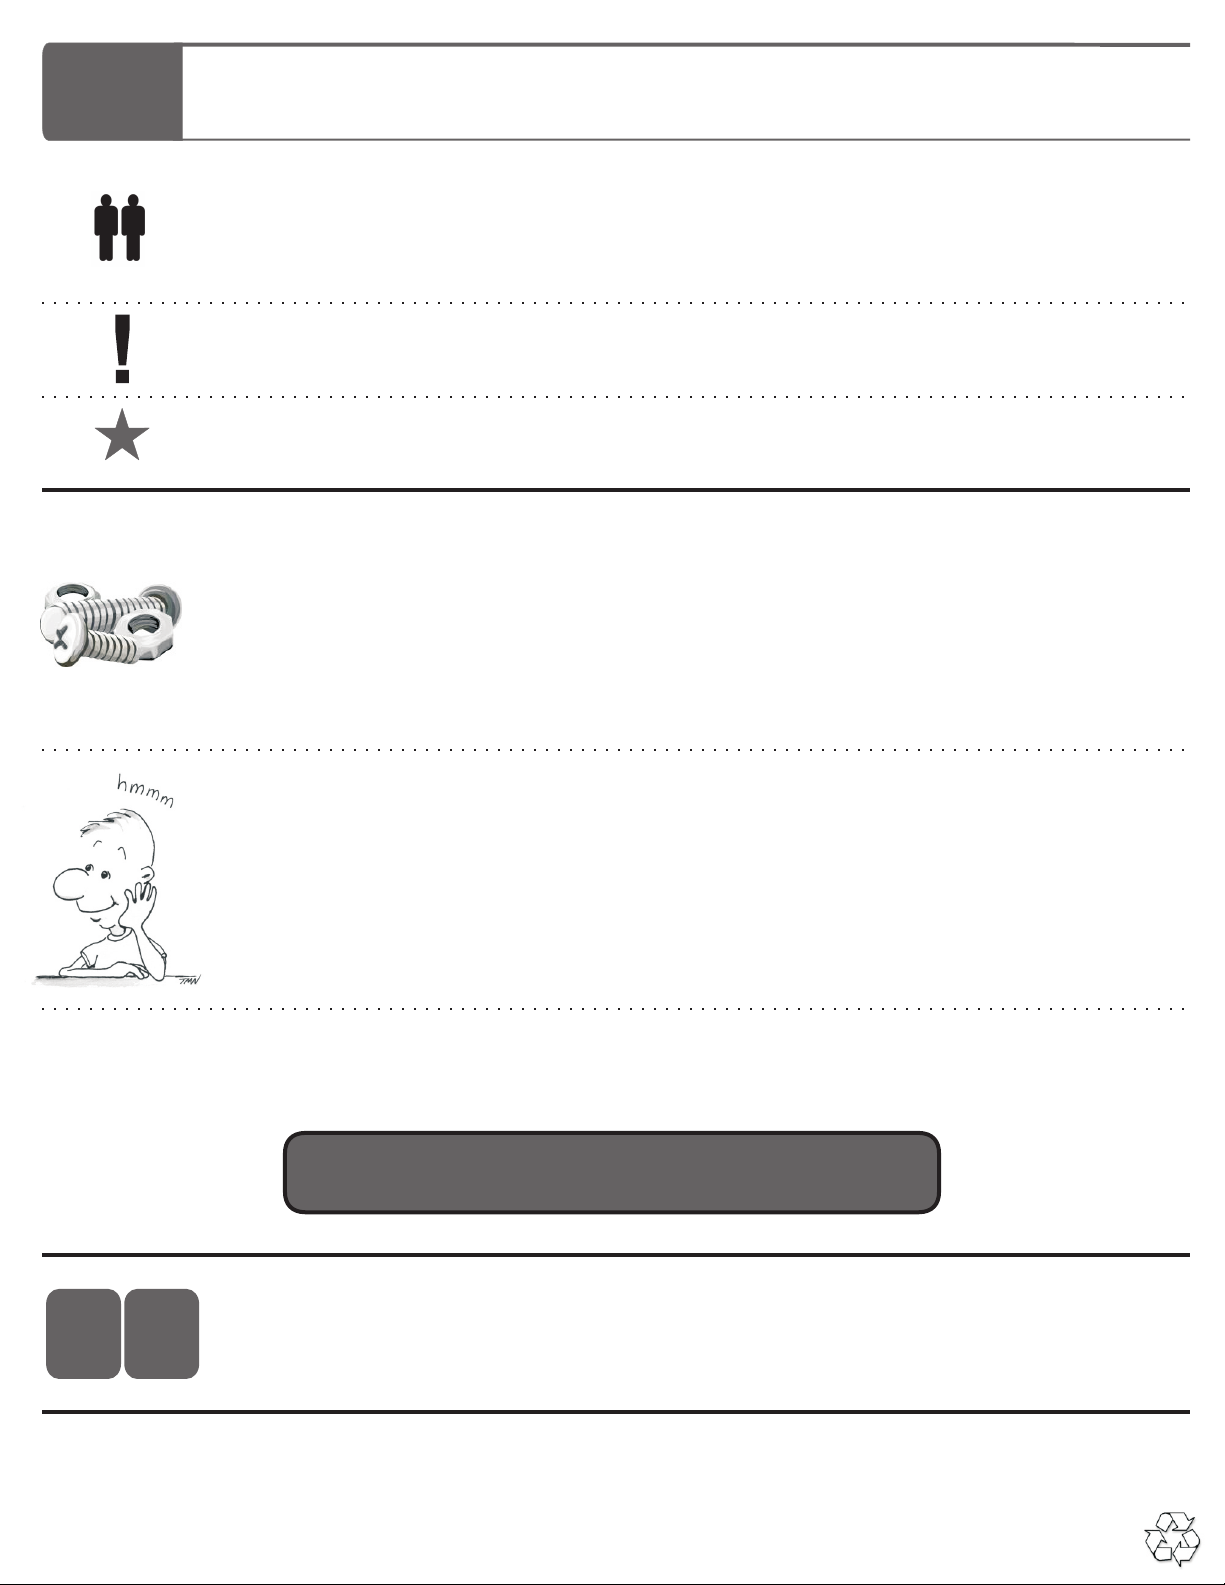
2 Person
Tips for Assembly - Using this Manual
Watch for These Helpful Symbols
lThis symbol denotes a 2 Person Task. For safety, please ensure that there are two people
working on steps displaying this symbol
lWatch for this symbol throughout the Assembly Instructions. Wherever you see it, pay close
attention. The symbol denotes a step needing extra attention to ensure it is done correctly.
lThe Star symbol highlights an advisory note
Before You Begin
Layout and identify all of the included parts
l
The hardware has been packed according to step
l
Read the assembly instructions over once to familiarize yourself with them
l
Please note that in its unassembled state, this product contains parts that can be a hazard
l
to small children; it should be assembled by an adult.
As You Assemble the Unit
lFollow the steps in sequence
lBefore beginning each step, find the part(s) that you need for that step
lPay attention to the labeling on the parts, they are there to help direct you at certain stages
lThe title of each step states what you will be doing. Review the text and the pictures as you
build the unit.
After Assembly; Before Use
lRemove the plastic film from the Whiteboard before writing on it
Don’t forget to check out our tips for your whiteboard at:
www.copernicused.com
5
Year
Frame
Warranty
Life
Validate Your Warranty On-Line
Time
Tub
Warranty
To validate your warranty submit the ON-LINE form at www.copernicused.com
“The beautiful thing about learning is that no one can take it away from you.” - B. B. King
PDR11 - Version A - 2 November 2012 - Copernicus Educational Products Inc.

Actual Size:
1
You will need: (Not to Scale)
A
x 8
D
x 8
Side Frame
x 2
Attach Stretchers to Side Frames
Bottom Stretcher
x 2
Tub Channel Stretcher
x 2
Keep Tub Channel Stretcher assembly loose.
Install short side facing upward.
!
D
D
A
A
Assemble fully but
do not tighten.
!
PDR11 - Version A - 2 November 2012 - Copernicus Educational Products Inc.
 Loading...