

The design and specifications are subject to change without prior notice
for pro duct i mpro vement. Consu lt wit h the sa les agency or man ufac ture r
for details.
AIR CONDITIONER
REMOTE CONTROL ILLUSTRATION
ON/OFF
MODE
FAN
SLEEP
TURBO
TEMP
SHORT
CUT
TIMER
ON
TIMER
OFF
SWING DIRECT
LED
Thank y ou ver y much f or purchasing o ur air c ondi tioner.
Pleas e read t his ow ner's manual ca refu lly be fore u sing
your air conditioner.
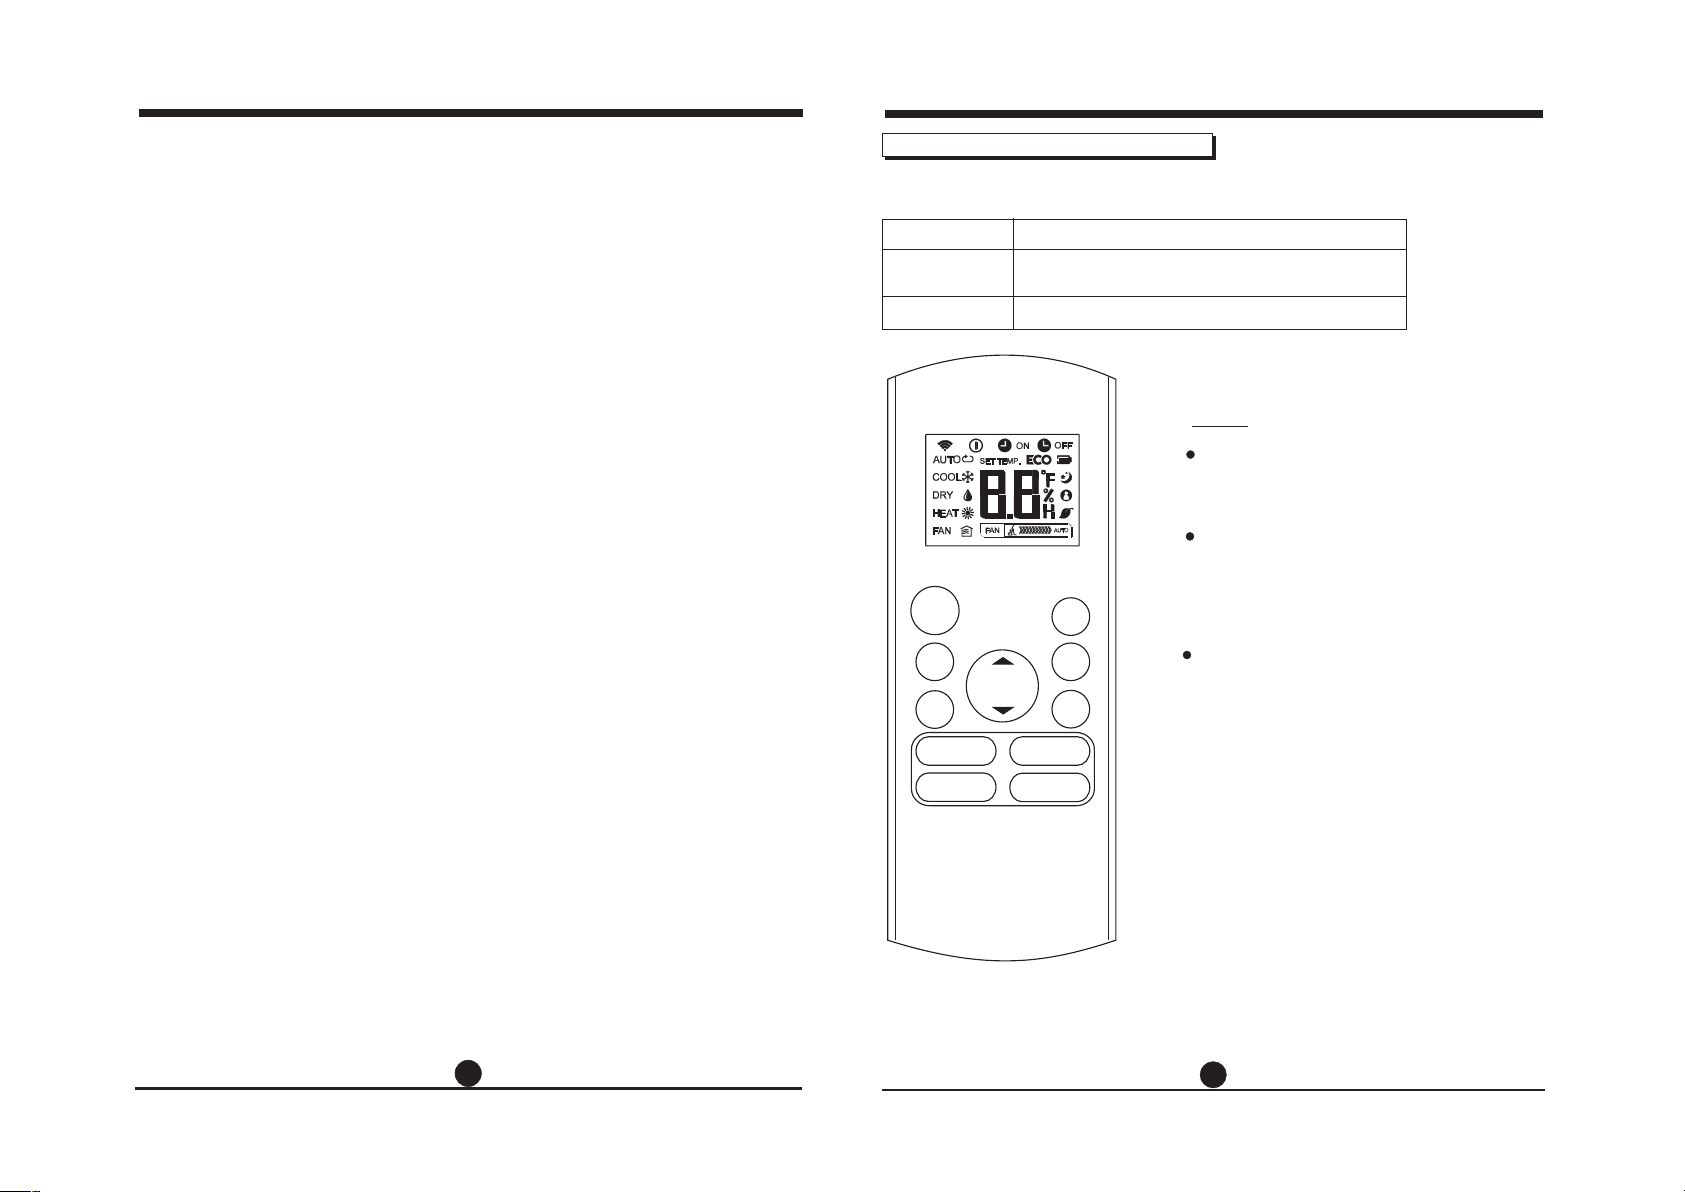
Remote Control Specifications
CONTENTS
Remote control Specifications. ...................................................2
Operation buttons .................. . ..................................................3
Indicators on LCD ........................................................................6
How to use the buttons . ........... .................................................7
Auto operation. .......................... ...................................................7
Cooling/Heating/Fan operation. ..................................................7
Dehumidifying operation . ...........................................................8
Timer peration...............................................................................9
Handling the remote control .... .................................................12
Rated Voltage
Signal Receiving
Range
Environment
ON/OFF
MODE
FAN
SLEEP
TURBO
3.0V(Dry batteries R03/LR03×2)
315”/
8m
O O
23 F~140 F
SHORT
CUT
TIMER
TEMP
ON
TIMER
OFF
SWING DIRECT
LED
NOTE:
Buttons design is based on typical
model a nd mig ht be sl ightly diffe rent
from th e actu al one y ou purchased,
the act ual sh ape sh all prevail.
All the f unct ions d escribed are
accom plis hed by t he unit. If the uni t
has no th is fea ture , there is no
corresponding operation happened
when pr ess th e rela tive button on
the rem ote control.
When th ere ar e wide d ifferences
betwe en Rem ote control
Illus trat ion an d USER'S MANUAL
on function description, the description
of USER 'S MAN UAL shall prevail .
,,
,,
,,
,,
,,
,,
1
2
Operation of buttons
ON/OFF
1
MODE
2
3
4
5
TEMP
FAN
SLEEP
TURBO
SHORT
CUT
SWING DIRECT
LED
TIMER
ON
TIMER
OFF
Operation of buttons
6
UP Button( )
ON/OFF Button
1
This button turns the air conditioner ON
and OFF.
MODE Button
2
Press this button to modify the air conditioner
mode in a sequence of following:
AUTO COOL
NOTE:Please do not select HEAT mode if the
machine you purchased is cooling only type.
Heat mode is not supported by the cooling only
6
7
8
9
10
11
12
appliance.
3
FAN Button
Used to select the fan speed in four steps:
AUTO LOW MED HIGH
NOTE: You can not switch the fan speed in
AUTO or DRY mode.
4
SLEEP Button
Active/Disable sleep function. It can
maintain the most comfortable temperature
and save energy. This function is available
on COOL, HEAT or AUTO mode only .
For the detail, see sleep operation in
,
,,
USER S MANUAL.
NOTE: While the unit is running under SLEEP
mode, it would be cancelled if MODE, FAN
SPEED or ON/OFF button is pressed.
,,
,,
DRY
HEAT
FAN
6
ON/OFF
1
MODE
2
3
4
5
TEMP
FAN
SLEEP
TURBO
SHORT
CUT
TIMER
ON
TIMER
OFF
SWING DIRECT
LED
7
8
9
10
11
12
,,
Push this button to increase the indoor
temperature setting in 1 F increments to 86 F.
DOWN Button( )
Push this button to decrease the indoor
temperature setting in 1 F increments to 62 F.
NOTE:Temperature contol is not available
in Fan mode.
NOTE: Press and hold UP and DOWN buttons
together for 3 seconds will alternate the temperature display between the C & F scale.
7
SHORTCUT Button
o o
o o
O O
Used to restore the current settings or
resume previous settings.
On the first time connecting to the power,
if push the SHORTCUT button, the unit
will operate on AUTO mode, 78 F, and fan
O
speed is Auto.
Push this button when remote control is
on, the system will automatically revert
back to the previous settings including
operating mode, setting temperature, fan
speed level and sleep feature(if activated).
If pushing more than 2 seconds, the system
will automatically restore the current
operation settings including operating mode,
setting temperature, fan speed level and
sleep feature(if activated ).
8
TIMER ON Button
Press this button to initiate the auto-on
5
TURBO Button
Active/Disable Turbo function. Turbo function
enables the unit to reach the preset temperature at cooling or heating operation in the
shortest time(if the indoor unit does not
support this function, there is no
time sequence. Each press will increase
the auto-timed setting in 30 minutes
increments. When the setting time displays
10.0, each press will increase the autotimed setting 60 minutes increments.
To cancel the auto-timed program, simply
adjust the auto-on time to 0.0.
corresponding operation happened when
pressing this button.)
3
4
Opera tion of buttons
Indica tors on L CD
9
TIMER OFF Button
Press this button to initiate the auto-of f time
the remote control is powered
up.
sequence. Each press will increase the auto
-timed setting in 30 minutes increments.
When the setting time displays 10.0, each
press will increase the auto-timed setting
60 minutes increments. T o cancel the autotimed program, simply adjust the auto-of f
time to 0.0
Information are displayed when
10
SWING Button
6
ON/OFF
1
MODE
2
3
4
5
TEMP
FAN
SLEEP
TURBO
SHORT
CUT
TIMER
ON
TIMER
OFF
SWING DIRECT
LED
7
8
9
10
1 1
12
Used to stop or start horizontal louver auto
swing feature.
DIRECT Button
1 1
Used to change the louver movement and set
the desired up/down air flow direction.
The louver changes 6 in angle for each press.
12
LED Button
O
Disable/Active indoor screen Display . When
pushing the button, the indoor screen display
is cleared, press it again to light the display .
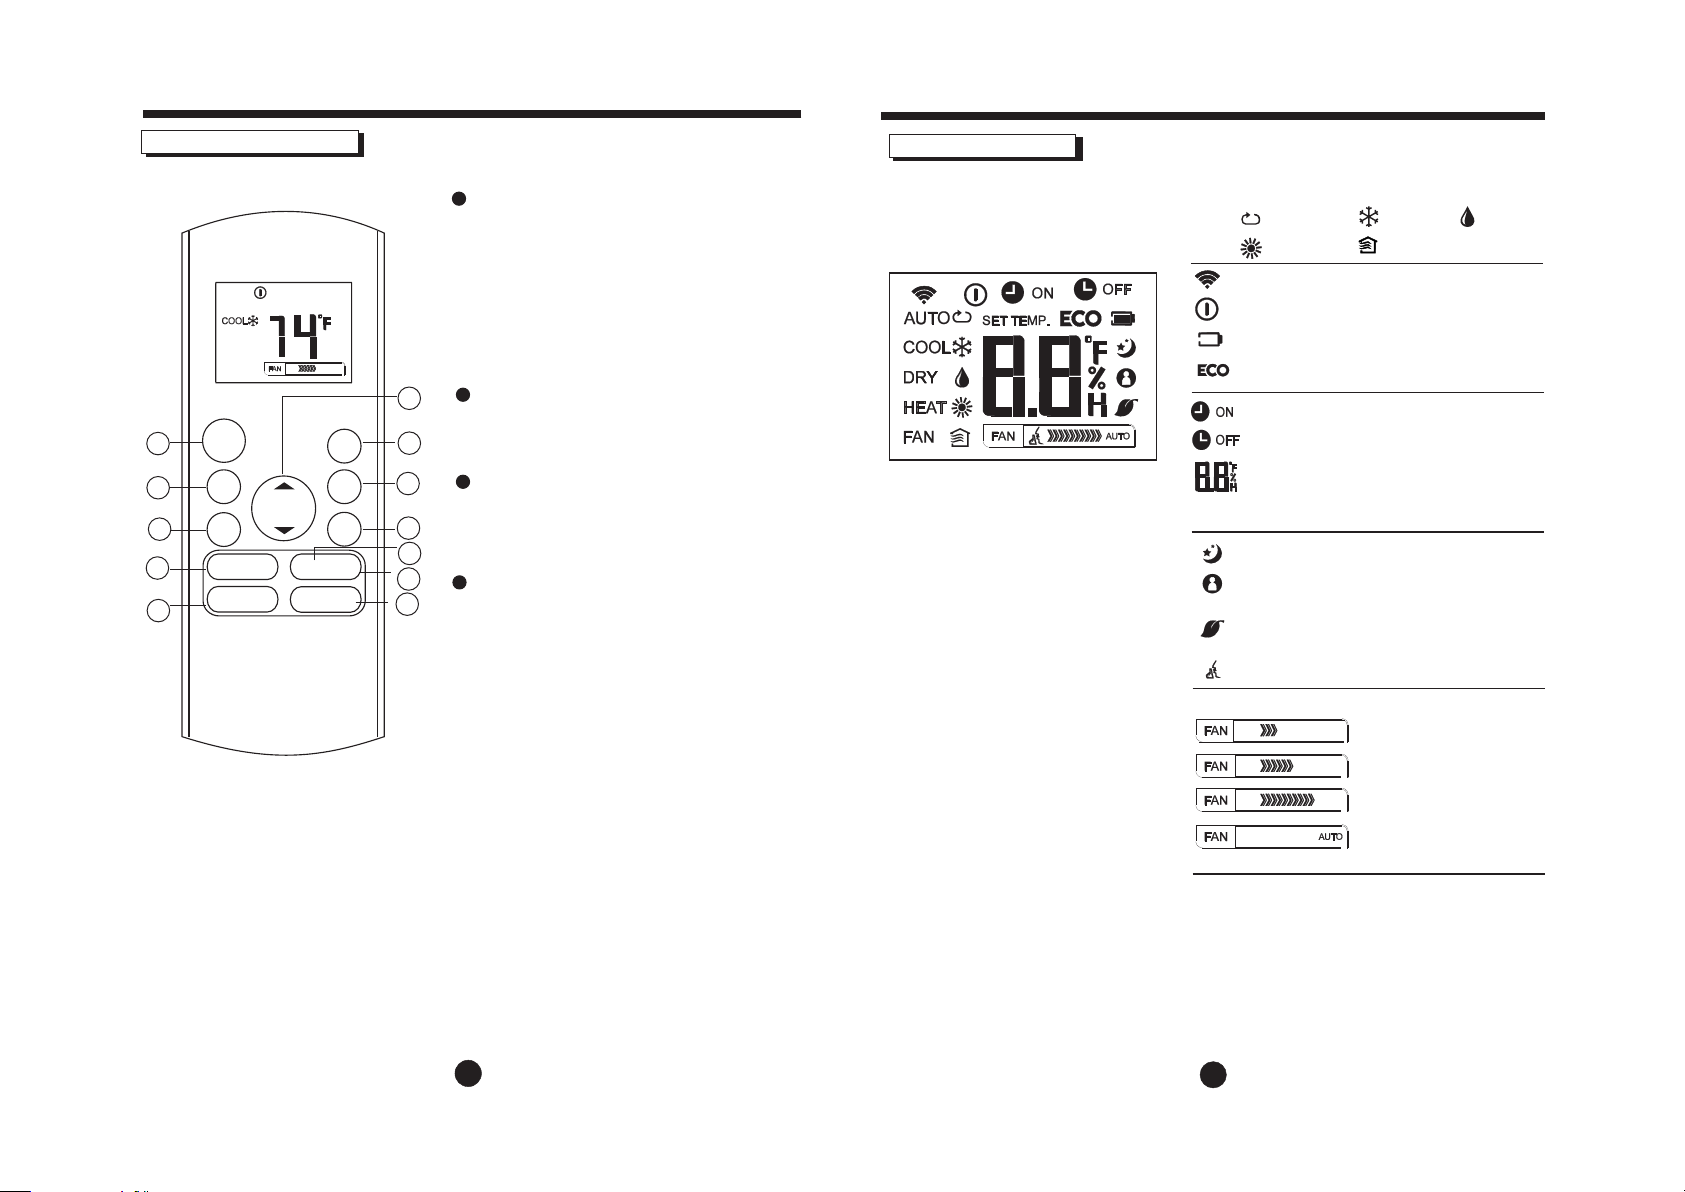
Mode display
AUTO
HEA T FAN
COOL DRY
Displayed when data transmitted.
Displayed when remote control is ON.
Battery display(low battery detection)
Not available for this unit
Displayed when TIMER ON time is set.
Displayed when TIMER OFF time is set.
Show set temperature or room
temperature, or time under TIMER
setting.
Displayed in Sleep Mode operation.
Not available for this unit
Not available for this unit
Not available for this unit
F an speed indica tion
Low speed
Medium speed
High speed
Auto fan speed
Note:
All indicators shown in the figure are for the purpose
of clear presentation. But during the actual operation
only the relative functional signs are shown on the
display window .
5
6
How to use the buttons
ON/OFF
3
MODE
1
ON/OFF
4
MODE
1
3
FAN
FAN
TEMP
SLEEP
TURBO
TEMP
SLEEP
TURBO
SHORT
CUT
TIMER
ON
T IMER
OFF
SWING DIRECT
LED
SHORT
CUT
TIMER
ON
T IMER
OFF
SWING DIRECT
LED
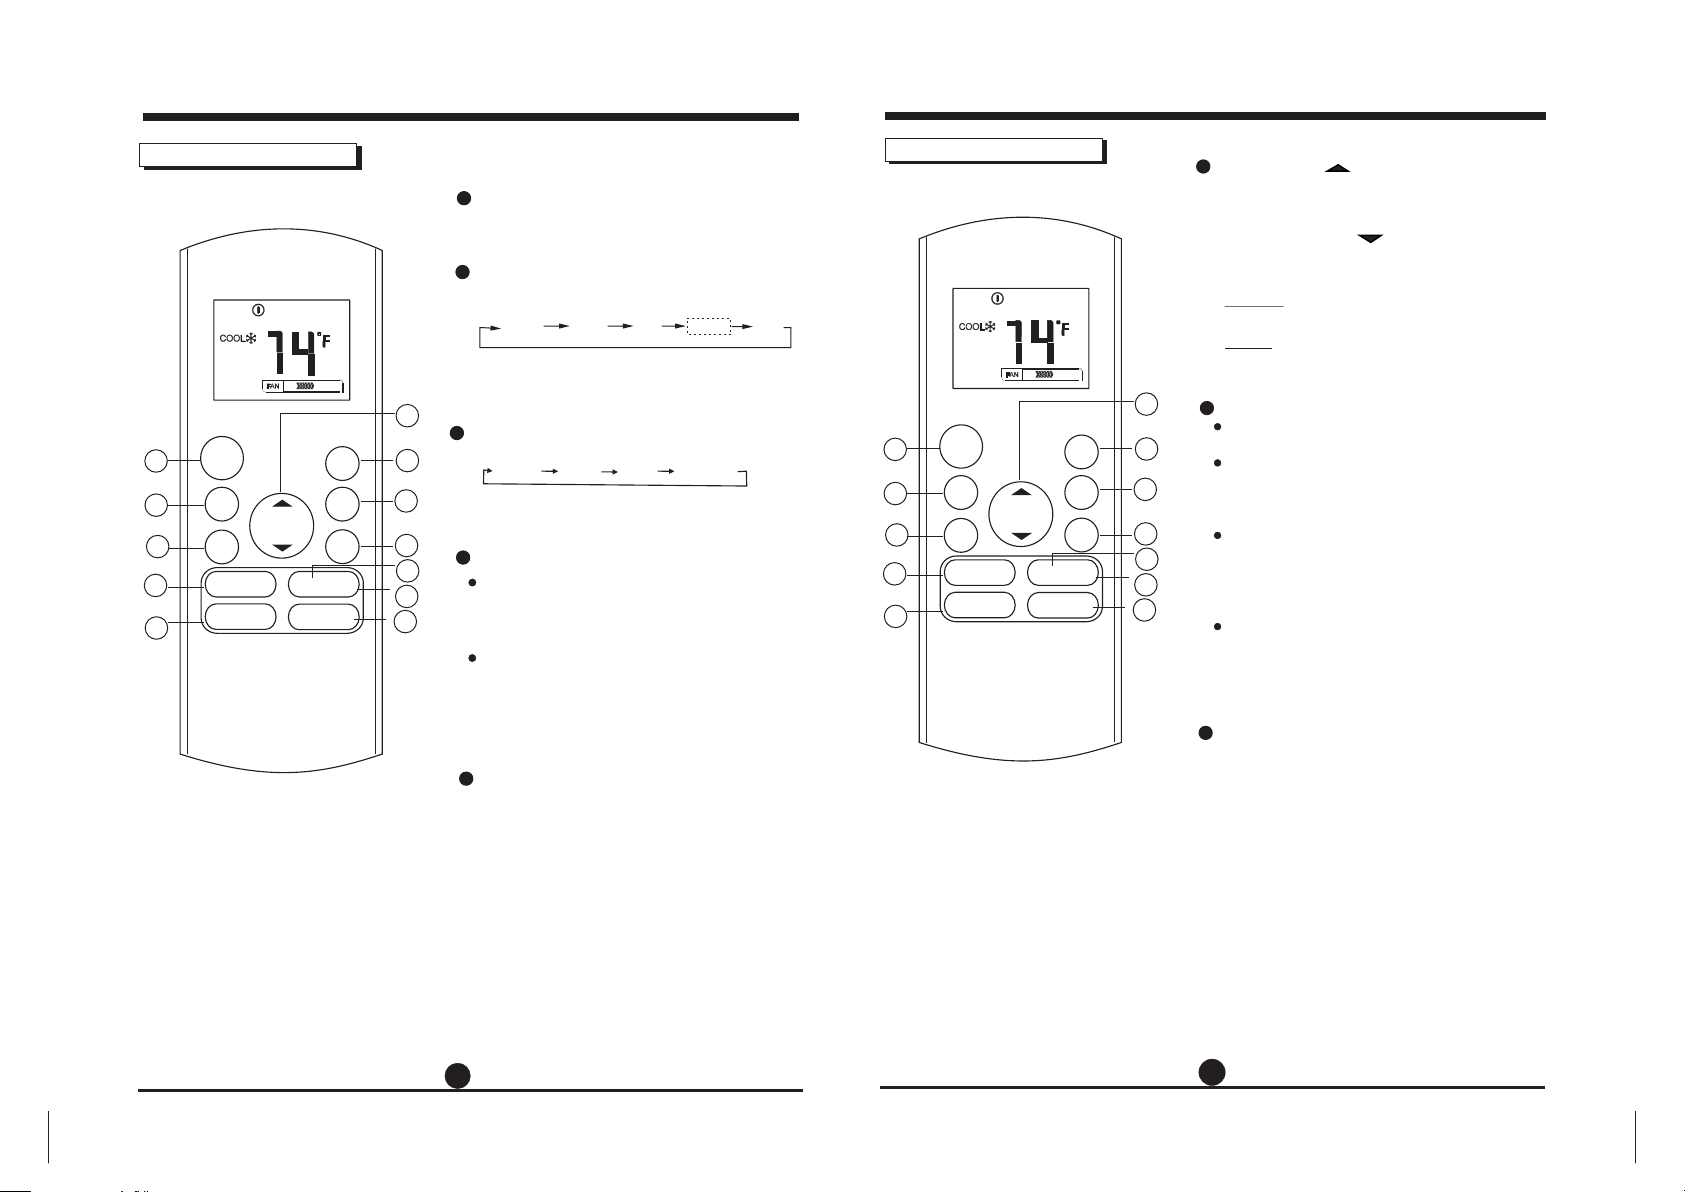
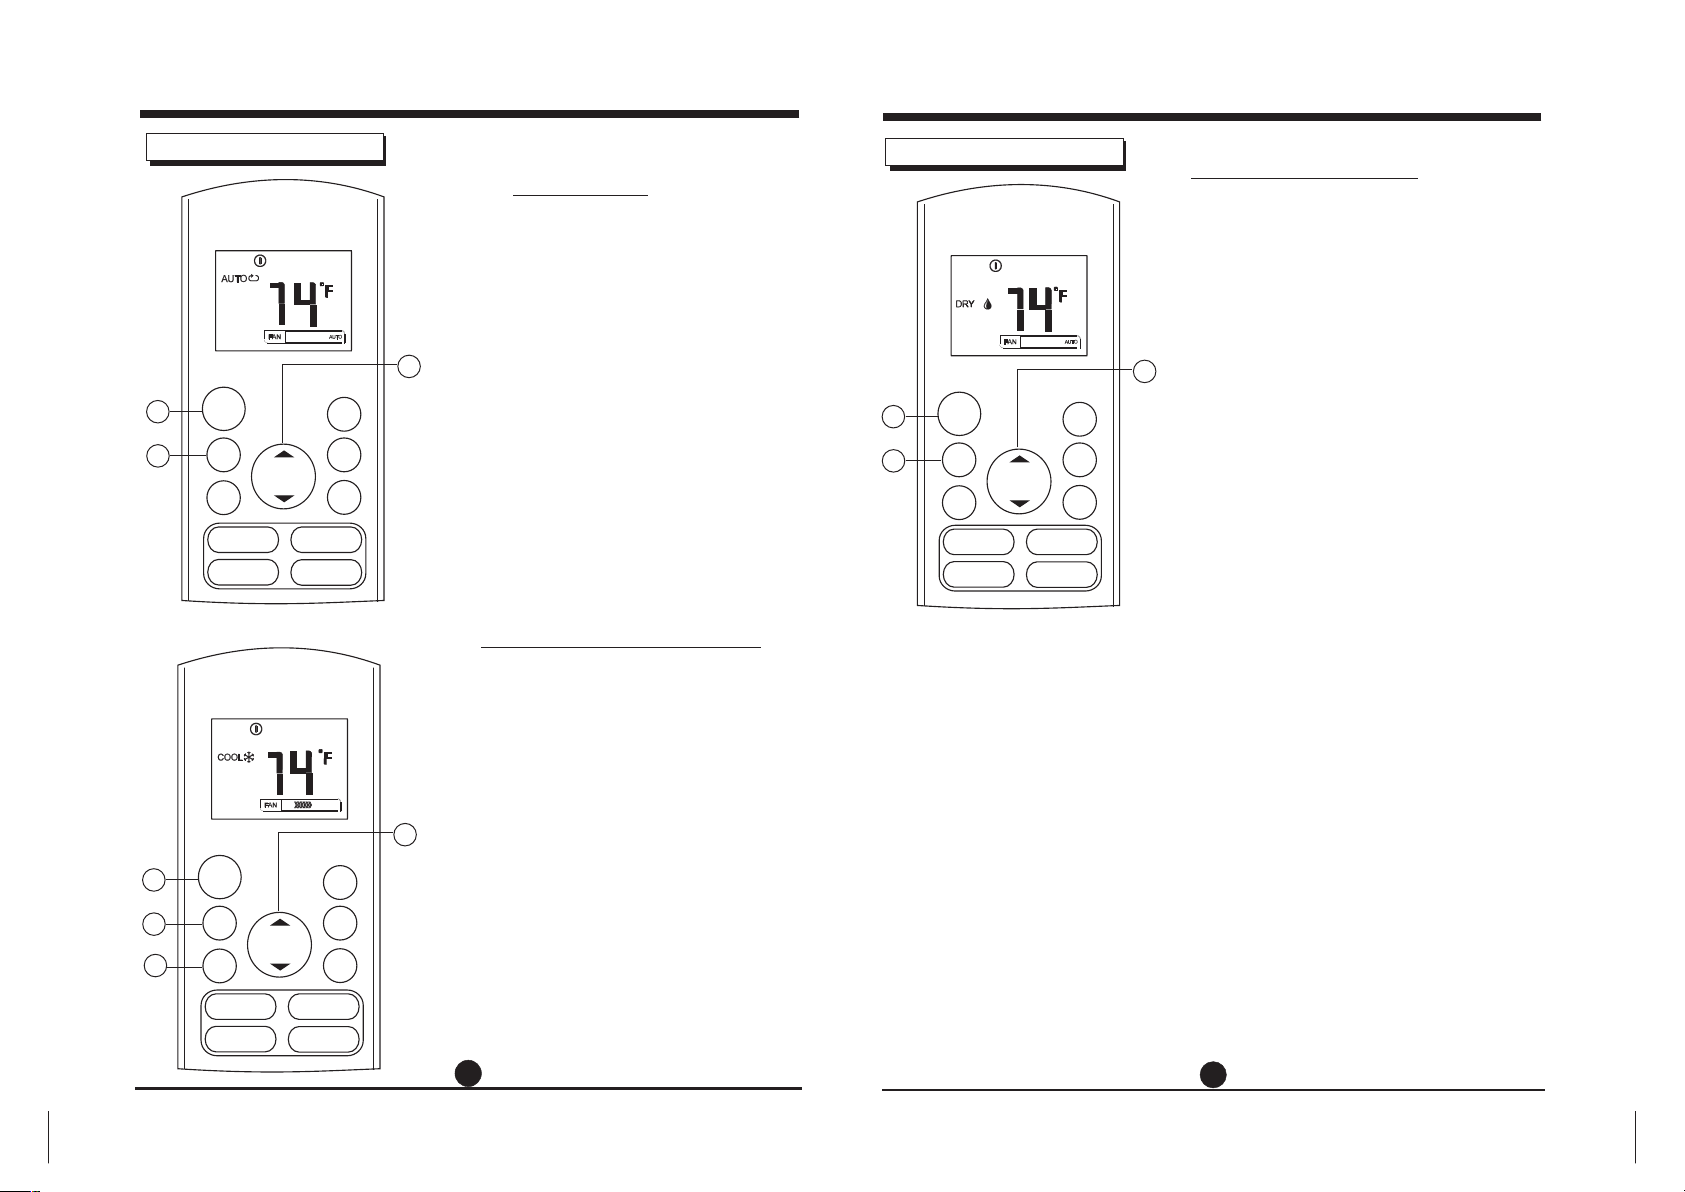
Auto operation
Ensu re th e uni t is pl ugg ed in a nd po wer is
available. The OPERATION indicator on the
display panel of the indoor unit starts flashing.
1. Pre ss th e MODE butt on to s ele ct Aut o.
2. Pre ss th e UP/DOWN butt on to s et th e
desi red t emp era tur e. The te mpe rat ure c an
be set w ith in a ra nge o f 62 F~ 86 F in 1 F
O O O
increments.
3. Pre ss th e ON/OFFbut ton t o sta rt th e air
2
cond iti one r.
NOTE
1. In the Auto mode, the air conditioner can logically
choose the mode of Cooling, Fan, and Heating
by sensing the difference between the actual
ambient room temperature and the setting
temperature on the remote control.
2. In the Auto mode, you can not switch the fan speed.
It has already been automatically controlled.
3. If the Auto mode is not comfortable for you , the
desired mode can be selected manually.
Cooling /Heating/Fan operation
Ensu re th e uni t is pl ugg ed in a nd po wer is
available.
1. Pre ss th e MODE butto n to se lec t COO L,
HEAT( cooling & he ati ng mo del s onl y) or
FAN mod e.
2. Pre ss th e UP/DOWN butt ons t o set t he
desi red t emp era tur e. The te mpe rat ure c an
be set w ith in a ra nge o f 62 F~ 86 F in 1 F
O O O
increments.
3. Pre ss th e FAN bu tto n to se lec t the f an speed
2
in fou r ste ps- Au to, L ow, Me d, or H igh .
4. Pre ss th e ON/OFF butto n to st art t he ai r
cond iti one r.
NOTE
In the FAN mode, the setting temperature is not
displayed in the remote control and you are not
able to control the room temperature either. In this
case, only step 1, 3 and 4 may be performed.
7
7
How to use the buttons
ON/OFF
3
MODE
1
FAN
TEMP
SLEEP
TURBO
SHORT
CUT
TIMER
ON
T IMER
OFF
SWING DIRECT
LED
Dehumidifying operation
Ensu re th e uni t is pl ugg ed in a nd po wer is
available. The OPERATION indicator on the
display panel of the indoor unit starts flashing.
1. Pre ss th e MODE butt on to s ele ct DRY mode .
2. Pre ss th e UP/DOWN butt ons t o set t he
desired temperature. The temperature
can be s et wi thi n a ran ge of 6 2 F ~ 86 F in
O
1 F increments.
O O
3. Pre ss th e ON/OFF butto n to st art t he ai r
cond iti one r.
2
NOTE
In the Dehumidifying mode, you can not switch the
fan speed. It has already been automatically controlled.
8
ON/OFF
MODE
FAN
SLEEP
TURBO
TEMP
SWING DIRECT
LED
SHORT
CUT
TIMER
ON
TIMER
OFF
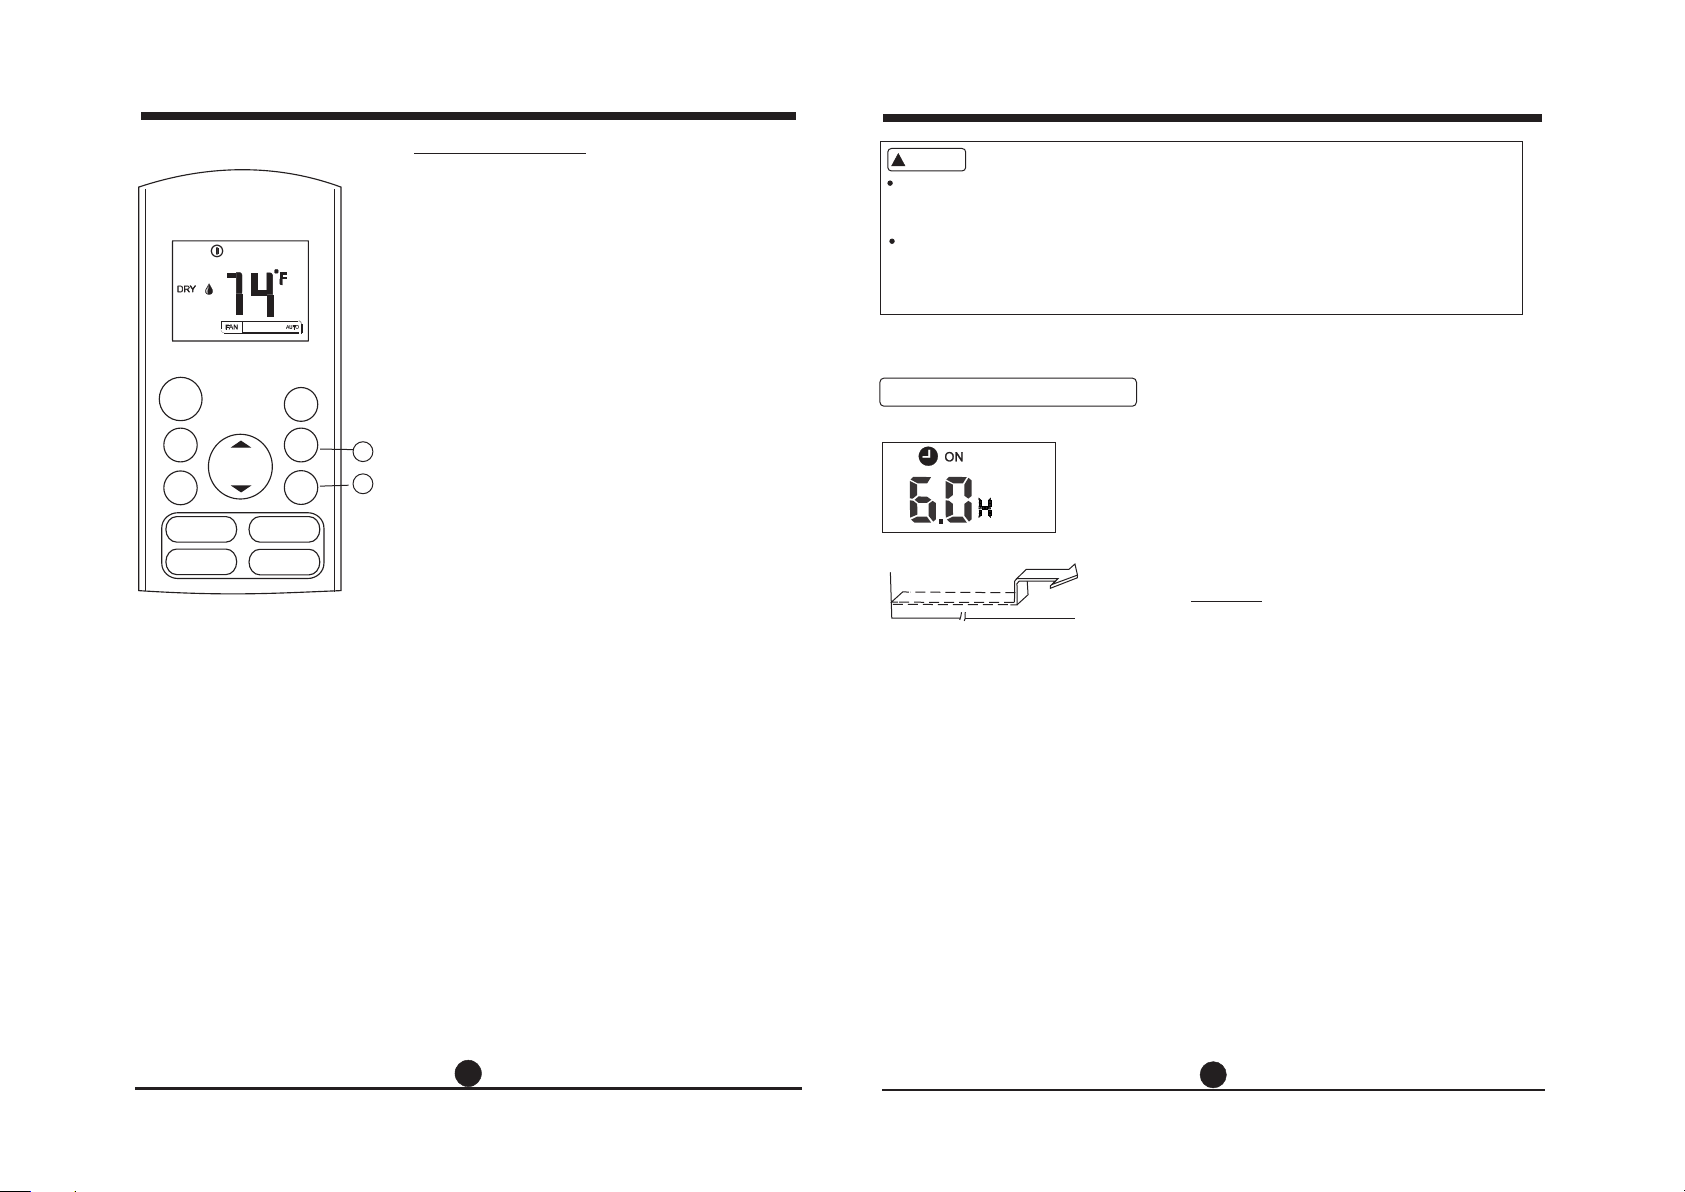
Timer operation
Press the TIMER ON button can set the auto-on
time of the unit. Press the TIMER OFF button
can set the auto-of f time of the unit.
T o set the Auto-on time.
1. Press the TIMER ON button. The remote
control shows TIMER ON, the last Auto-on
setting time and the signal "H" will be shown on
the LCD display area. Now it is ready to reset
the Auto-on time to ST AR T the operation.
2. Push the TIMER ON button again to set desired
Auto-on time. Each time you press the button,
the time increases by half an hour between 0
and 10 hours and by one hour between 10 and
1
2
24 hours.
3. After setting the TIMER ON ,there will be a one
second delay before the remote control
transmits the signal to the air conditioner . Then,
after approximately another 2 seconds, the
signal "h" will disappear and the set temperature
will re-appear on the LCD display window .
T o set the Auto-off time.
1. Press the TIMER OFF button. The remote
control shows TIMER OFF , the last Auto-of f
setting time and the signal "H" will be shown on
the LCD display area. Now it is ready to reset
the Auto-off time to stop the operation.
2. Push the TIMER OFF button again to set
desired Auto-off time. Each time you press the
button, the time increases by half an hour
between 0 and 10 hours and by one hour
between 10 and 24 hours.
3. After setting the TIMER OFF ,there will be a
one second delay before the remote control
transmits the signal to the air conditioner . Then,
after approximately another 2 seconds, the
signal "H " will disappear and the set temperature
will re-appear on the LCD display window .
!
CAUTION
When you select the timer operation, the remote control automatically transmits the
timer signal to the indoor unit for the specified time. Therefore, keep the remote
control in a location where it can transmit the signal to the indoor unit properly .
The ef fective operation time set by the remote control for the timer function
is limited to the following settings: 0.5, 1.0, 1.5, 2.0, 2.5, 3.0, 3.5, 4.0, 4.5, 5.0,
5.5, 6.0, 6.5, 7.0, 7.5, 8.0, 8.5, 9.0, 9.5, 10, 1 1, 12, 13, 14, 15,16,17, 18, 19, 20,
21, 22, 23 and 24.
Example of timer setting
TIMER ON
(Auto-on Operation)
The TIMER ON feature is useful when you want
the unit to turn on automatically before you return
home. The air conditioner will automatically start
operating at the set time.
Start
Off
S
e
t
6 hours later
Example:
T o start the air conditioner in 6 hours.
1. Press the TIMER ON button, the last setting
of starting operation time and the signal "H"
will show on the display area.
2. Press the TIMER ON button to display "6.0H "
on the TIMER ON display of the remote
con tr ol .
3. W ait for 3 seconds and the digital display
area will show the temperature again. The
"TIMER ON" indicator remains on and this
function is activated.
9
10
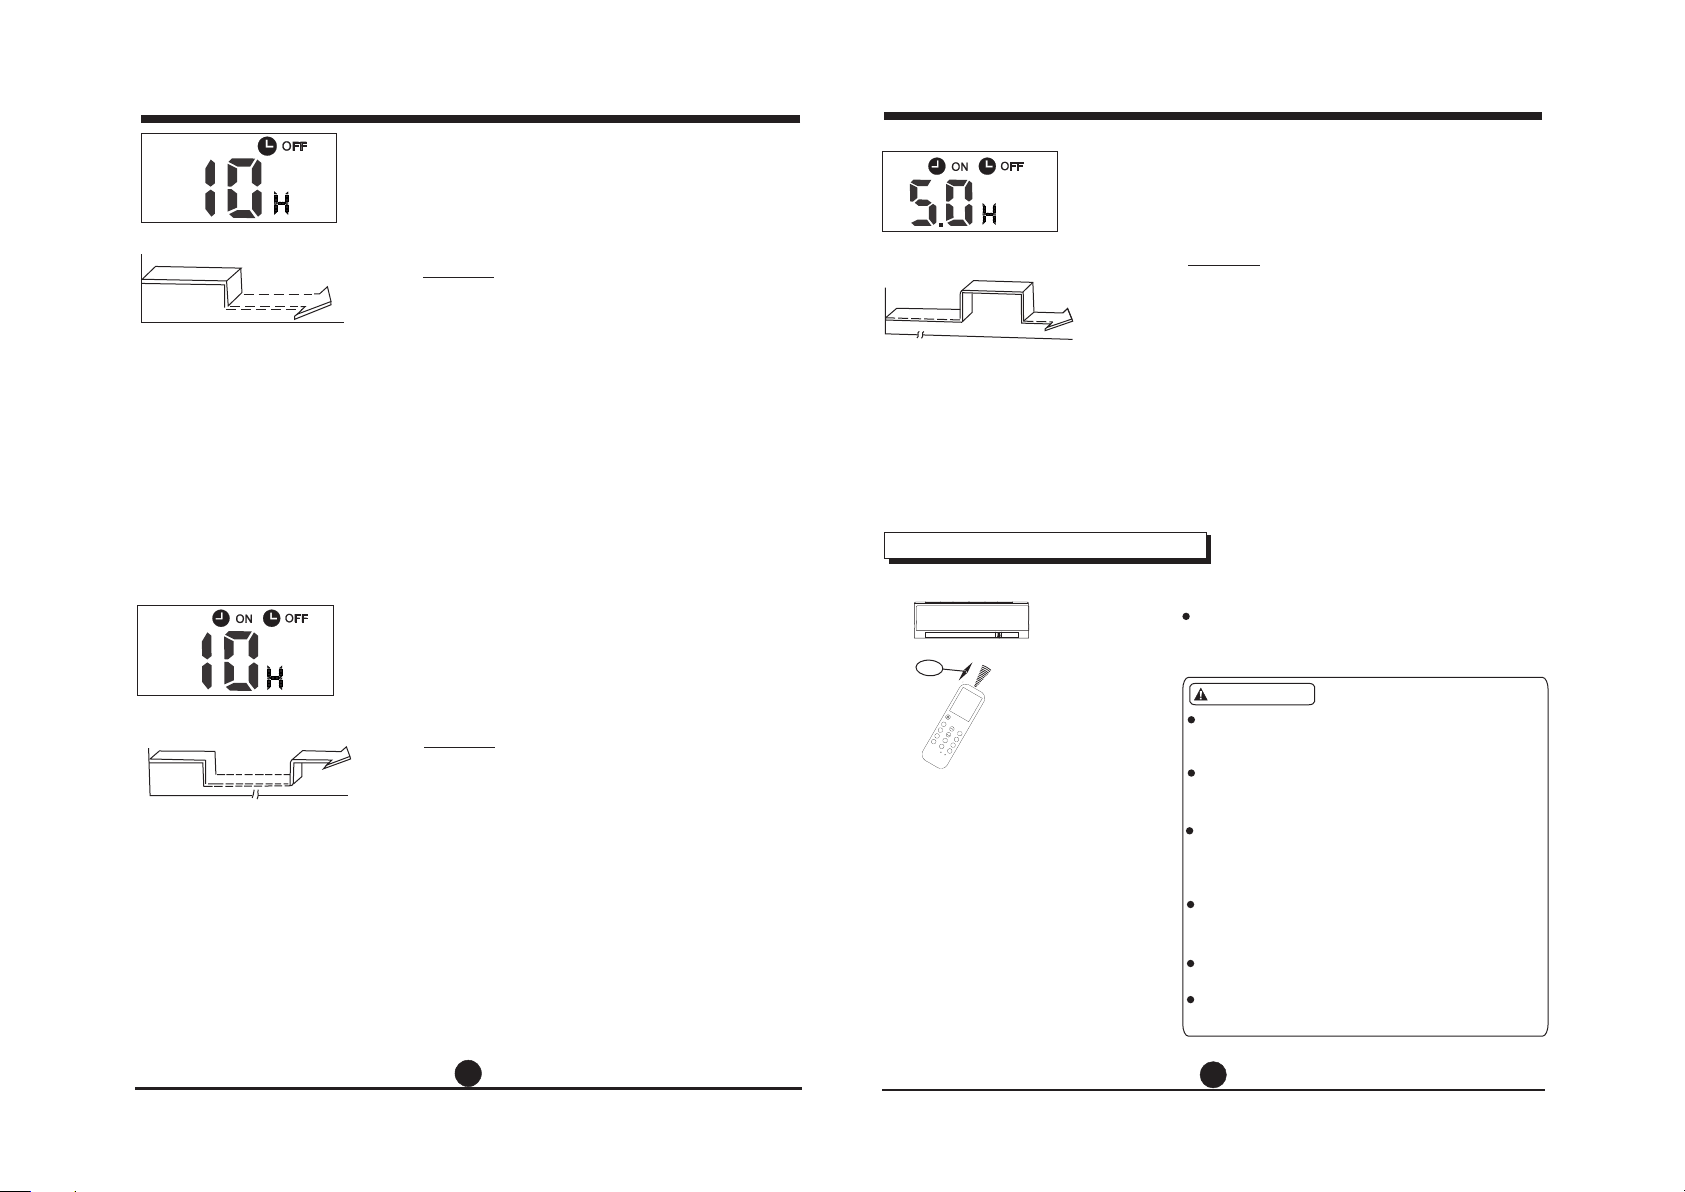
Stop
On
Set 10 hours later
TIMER OFF
(Auto-off Operation)
The TIMER OFF feature is useful when you want the
unit to turn of f automatically after you go to bed. The
air conditioner will stop automatically at the set time.
Example:
T o stop the air conditioner in 10 hours.
1. Press the TIMER OFF button, the last setting of
stopping operation time and the signal "H" will
show on the display area.
2. Press the TIMER OFF button to display "10H " on
the TIMER OFF display of the remote con trol.
3. W ait for 3 seconds and the digital display area
will show the temperature again. The "TIMER
OFF" indicator remains on and this function is
activated.
Set
Of f
2 hours later
after setting
Start
Stop
5 hours later
after setting
TIMER ON → TIMER OFF
(Of f → Start → Stop operation)
This feature is useful when you want to start
the air conditioner before you wake up and
stop it after you leave the house.
Example:
T o start the air conditioner 2 hours after setting,
and stop it 5 hours after setting.
1. Press the TIMER ON button.
2. Press the TIMER ON button again to display
2.0H on the TIMER ON display .
3. Press the TIMER OFF button.
4. Press the TIMER OFF button again to display
5.0H on the TIMER OFF display .
5. W ait for 3 seconds and the digital display area
will show the temperature again. The "TIMER
ON & TIMER OFF" indicator remains on and
this function is activated.
On
Set
2 hours later
after setting
Stop
Start
10 hours later
after setting
COMBINED TIMER
(S both ON and OFF )etting timers simultaneously
TIMER OFF → TIMER ON
(On → Stop → Start operation)
This feature is useful when you want to stop the air
conditioner after you go to bed, and start it again in
the morning when you wake up or when you return
home.
Example:
T o stop the air conditioner 2 hours after setting and
start it again 10 hours after setting.
1. Press the TIMER OFF button.
2. Press the TIMER OFF button again to display
2.0H on the TIMER OFF display .
3. Press the TIMER ON button.
4. Press the TIMER ON button again to display 10H
on the TIMER ON display .
5. W ait for 3 seconds and the digital display area
will show the temperature again. The "TIMER
ON OFF" indicator remains on and this function is
activated.
1 1
1 1
Handling the remote control
8m
M
O
D
E
S
W
I
N
G
S
H
O
R
T
T
C
E
U
M
T
D
P
I
R
E
C
T
F
A
S
N
P
T
E
I
M
E
S
D
E
O
L
R
N
E
F
E
R
P
E
S
H
T
I
M
E
S
T
O
R
E
U
F
L
R
F
F
B
C
O
L
E
A
N
F
L
O
E
L
D
L
O
W
M
R
E
E
S
E
T
L
O
C
K
Location of the remote control.
Use the remote control within a distance of 8
meters from the appliance, pointing it towards the
receiver . Reception is confirmed by a beep.
CA UTIONS
The air conditioner will not operate if curtains,
doors or other materials block the signals from
the remote control to the indoor unit.
Prevent any liquid from falling into the remote
con tr ol . Do not expose the remote control
to direct sunlight or heat.
If the infrared signal receiver on the indoor unit
is exposed to direct sunlight, the air conditioner
may not function properly . Use curtains to
prevent the sunlight from falling on the receiver.
If other electrical appliances react to the remote
con tr ol , either move these appliances or
consult your local dealer.
Do not drop the remote control. Handle with
care.
Do not place heavy objects on the remote
con tr ol , or step on it.
12
12

Using the remote control holder
(optional)
The remote control can be attached to a wall
or pillar by using a remote control holder
(not supplied, purchased separately).
Before installing the remote control, check
that the air conditioner receives the signals
properly.
Install the remote control with two screws. For
installing or removing the remote control, move
it up or down in the holder.
Replacing batteries
The following cases signify exhausted batteries.
Replace old batteries with new ones.
Receiving beep is not emitted when a signal
is transmitted.
Indicator fades away.
The remote control is powered by two dry
batteries (R03/LR03X2) housed in the back rear
part and protected by a cover.
(1) Remove the cover in the rear part of the
remote control.
(2) Remove the old batteries and insert the new
batteries, placing the(+) and (-) ends correctly.
(3) Install the cover back on.
NOTE:
The de vice should comply w ith t he lo cal n ati ona l reg ulations .
In Can ada , it sh oul d com ply w ith CAN ICES-3( B)/ NMB -3( B).
In USA , thi s dev ice c omp lie s with part 15 of the F CC Ru les . Ope rat ion i s subject to the
foll owi ng tw o con dit ion s:
(1) Th is device ma y not c aus e har mfu l int erf erence, an d
(2) th is de vic e mus t acc ept a ny interferen ce re cei ved , inc lud ing i nterfere nce t hat m ay
caus e und esi red o per ati on.
This e quipment h as be en te ste d and f oun d to co mply with the lim its f or a Cl ass B d igi tal
devi ce, p urs uan t to pa rt 15 o f the FCC Rules. Th ese limits a re de sig ned t o pro vid e
reas ona ble p rot ect ion a gai nst harmfu l int erf ere nce i n a res ide ntial install ati on. Thi s
equi pme nt ge ner ate s, us es an d can radiat e rad io fr equ enc y ene rgy a nd, if not instal led
and us ed in a cco rda nce w ith t he in structio ns, m ay ca use h arm ful i nte rference t o rad io
comm uni cat ion s. Ho wev er, th ere is no guar ant ee th at in ter fer enc e will not occur in a
part icu lar i nst all ati on. If this equip men t doe s cau se ha rmf ul in terferen ce to r adi o or
tele vis ion r ece pti on, w hic h can be deter min ed by t urn ing t he eq uip ment off and o n, th e
user i s enc our age d to tr y to co rrect the inter fer enc e by on e or mo re of t he fo llowing
meas ure s:
Reor ien t or re loc ate t he re ceiving anten na.
Incr eas e the s epa rat ion b etween the equi pme nt an d rec eiv er.
Conn ect t he eq uip men t int o an outlet on a circ uit d iffer ent f rom t hat t o whi ch th e
rece ive r is co nne cte d.
Cons ult t he de ale r or an e xpe rie nced radio /TV t ech nic ian f or he lp.
Chan ges o r mod ifi cat ion s not approved by t he pa rty r esp ons ibl e for c ompliance cou ld
void u ser s a uth ori ty to o per ate the equipme nt.
NOTE: When the batteries are removed, the
remote control erases all programming. After
inserting new batteries, the remote control
must be reprogrammed.
CAUTIONS
Do not mix old and new batteries or batteries
of different types.
Do not leave the batteries in the remote
control if they are not going to be used for
2 or 3 months.
Do not dispose batteries as unsorted
municipal waste. Collection of such waste
separately for special treatment is necessary.
13
14
 Loading...