

Page 1
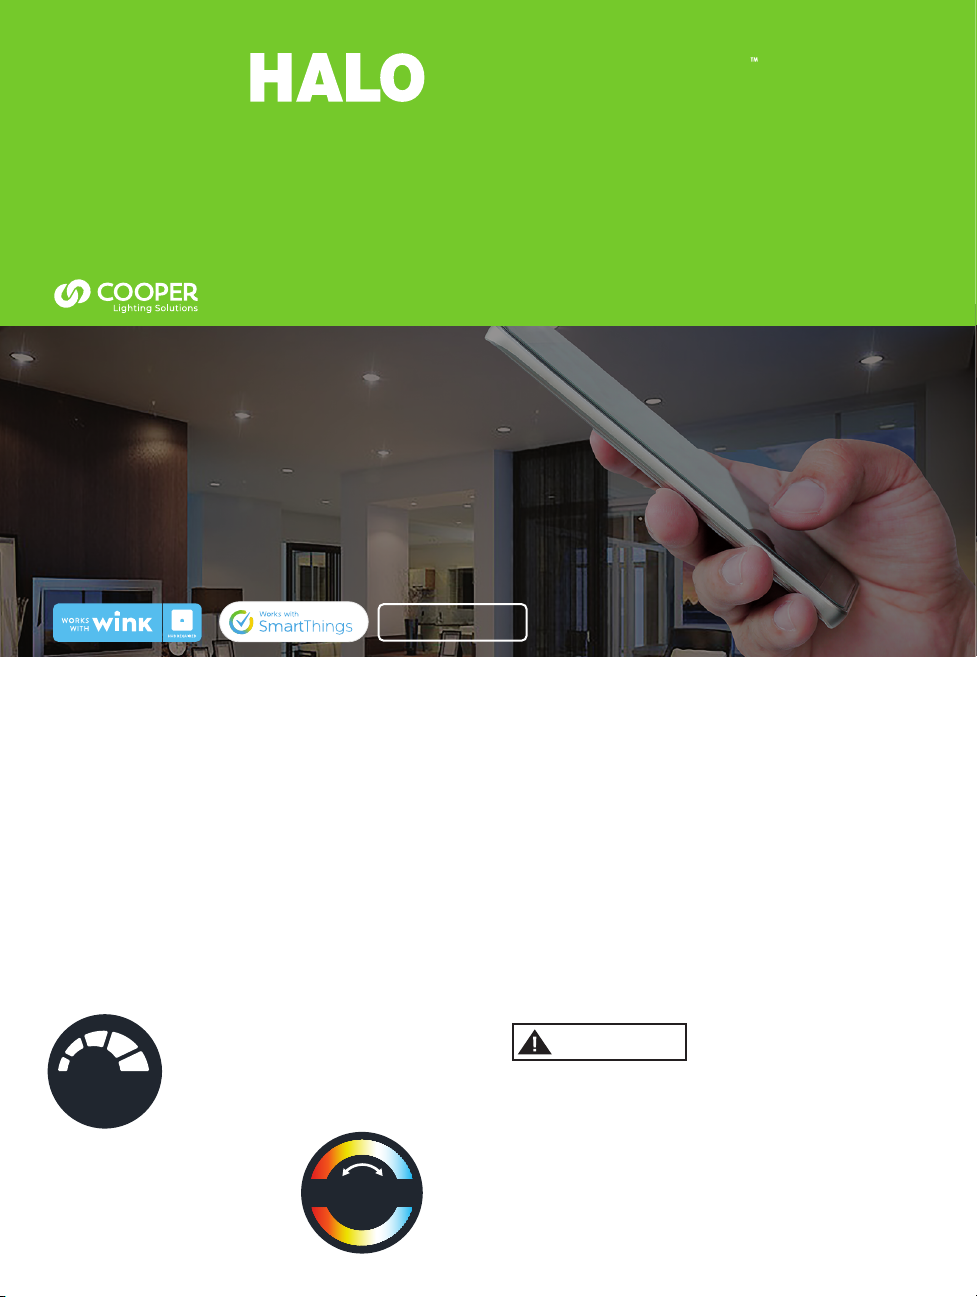
CONNECT
Quick Start Guide
Connected Recessed Downlight
RL56/ RL4
INSTALL LED DOWNLIGHT INTO CEILING
OPEN WINK OR SAMSUNG SMARTTHINGS APP
ADD THE LED DOWNLIGHT TO THE HUB
CONTROL YOUR LIGHTING
Works with
Works with
Amazon Echo Plus
Amazon Echo Plus
Photos for demonstration only.
BASIC INSTRUCTIONS
NOTE: Ensure the HUB is powered on and within range of the LED downlight.
• Download or update your HUB manufacturer's app.
• Turn on the LED downlight with the wall switch.
• The LED downlight will flash twice when turned
ON to indicate that the fixture is in pairing mode
• Open HUB manufacturer's app and follow pairing
instructions. See reverse side for specific Wink
and SmartThings instructions.
• After successful pairing with the HUB the LED
downlight will flash once.
• Control the LED downlight through your device
(the wall switch must remain ON).
DIMMING
The LED downlight will dim
DIMMABLE
COLOR TUNING
Use the HUB app to adjust Color
Temperature (CCT) of the RL56/RL4
wireless LED downlight.
to 5% using the HUB app.
adjustable
w
a
r
m
color
• The LED downlight will be ready to control
only after successful pairing to the HUB.
• The LED downlight is not designed to work with
wall dimmers or other controlled lighting systems.
• If using a dimmer with this LED downlight, set
dimmer at the highest setting for best results.
• Refer to LED downlight website for up-to-date HUB
compatibility list.
• Works with Wink and SmartThings HUBs only. Refer
to HUB manufacturing instructions or website for
scene setting, scheduling and any other app features.
ATTENTION
NOTE: For the wireless downlight to communicate
with the HUB the wall switch must remain ON.
RESET TO FACTORY SETTING
• Using the wall switch, physically switch
ON and OFF 6 times within 2 seconds.
l
o
o
c
• The LED downlight will flash twice after
a successful reset.
Page 2
HUB quick start guide and pairing instructions
Works with
Works with
Amazon Echo Plus
Amazon Echo Plus
1. Open the Wink app
2. Select Add a product
3. Scroll down to select Lights
4. Select HALO LED Downlight
5. Click Next - Next - Next
6. Click Connect now
(ensure the light is on and
in pairing mode)
7. The LED downlight will now
connect as a light
8. Name and control the downlight
TROUBLESHOOTING
PROBLEM
• The fixture indicates a successful pairing
but the fixture is not controllable in the app
• Unable to pair
• Unable to pair
• Unable to pair
• Unable to pair or control
• Unable to control fixture
• Unable to control fixture
• Fixture flicker
• Fixture is slow to respond
• Fixture is slow to respond
1. Open the SmartThings app
2. Select My home
3. Select Add a thing
4. Click Connect now
(ensure the light is on and
in pairing mode)
5. The LED downlight will connect
as HALO RL LED Downlight
6. Name and control the downlight
POSSIBLE CAUS E
• The fixture joined the wrong network
• Fixture not in pairing mode
• Pairing mode has timed out
• No power to fixture
• Fixture has joined another network
• Internet connection lost
• Out of range
• Fixture connected to a wall dimmer
• Internet connection
• Obstructions between hub and fixture
1. Open the Amazon Alexa App
2. Select Smart home
3. Select Add Device
4. Select Light
5. Select Edit
6. Name and control the downlight
SOLUTION
• Reset the fixture to factory mode
• Reset the fixture to factory mode
• Toggle wall switch OFF then back ON
• Turn ON wall switch insure hub is online
• Reset the fixture to factory mode
• Ensure internet connection
• Move hub closer to fixture
• Replace dimmer with a standard wall
switch or set dimmer to max output
• Check with your ISP
• Relocate hub closer to fixture
See enclosed instruction sheet for
HALO RL56/RL4 Wireless Series installation instructions
ATTENTION
Note: For the wireless downlight
to communicate with the HUB the
wall switch must remain ON.
www.halolighting.com
IB518354ML
Page 3

CONNECT
Guide de démarrage rapide
Plafonnier intensif de postcâblage
RL56/RL4 sans fil
INSTALLEZ LE PLAFONNIER INTENSIF DEL DANS LE PLAFOND.
OUVREZ L'APPLICATION WINK OU SAMSUNG SMARTTHINGS
AJOUTEZ LE PLAFONNIER INTENSIF DEL AU CONCENTRATEUR
CONTRÔLEZ VOTRE ÉCLAIRAGE
Works with
Works with
Amazon Echo Plus
Amazon Echo Plus
pour une maison branchée
INSTRUCTIONS DE BASE
REMARQUE : Assurez que le concentrateur est sous tension et à l'intérieur de la portée du plafonnier intensif DEL.
• Téléchargez ou mettez à jour l'application du fabricant
de votre concentrateur.
• Allumez le plafonnier intensif DEL depuis l'interrupteur mural.
• Le plafonnier intensif DEL clignotera deux fois en l'allumant
our indiquer que le luminaire est en mode d'appariement.
• Ouvrez l'application du fabricant du concentrateur et suivez les
instructions d'appariement. Consultez l'endos pour les
instructions propres à Wink et SmartThings.
• Une fois l'appariement avec le concentrateur réussi le
plafonnier intensif DEL clignotera une fois
• Contrôlez votre plafonnier intensif DEL par votre appareil
(l'interrupteur mural doit rester en position allumée).
(the wall switch must remain ON).
GRADATEUR
Le plafonnier intensif à DEL réduira son
DIMMABLE
AJUSTEMENT DE LA COULEUR
Utilisez l'application du concentrateur
pour régler la température de la couleur
(CCT) du plafonnier intensif
DEL sans fil RL56/RL4.
intensité à 5% à l'aide de l'application
du concentrateur
adjustable
w
color
a
r
m
l
o
o
c
• Le plafonnier intensif DEL sera prêt à contrôler seulement
après un appariement réussi avec le concentrateur
• Le plafonnier intensif DEL n'est pas conçu pour fonctionner
avec les gradateurs muraux ou d'autres systèmes d'éclairage
contrôlé.
• Si vous utilisez un gradateur avec ce plafonnier intensif DEL,
réglez le gradateur au plus haut réglage pour les meilleurs
résultats.
• Consultez le site web du plafonnier intensif DEL pour une liste
mise à jour des concentrateurs compatibles.
• Fonctionne avec les concentrateurs Wink et SmartThings
seulement. Consultez le site web ou les instructions du
fabricant du concentrateur pour le réglage de scène, la
ATENCIÓN
REMARQUE: Pour que le plafonnier intensif sans fil communique
avec le concentrateur l'interrupteur mural doit être dans la position
allumée.
RÉINITIALISER
• À l'aide de l'interrupteur mural, allumez et éteignez le luminaire
6 fois dans 2 secondes
• Le plafonnier intensif à DEL clignotera deux fois pour indiquer
que la réinitialisation a réussi
Page 4

Guide de démarrage rapide du concentrateur
et instructions d'appariement
Works with
Works with
Amazon Echo Plus
Amazon Echo Plus
1. Ouvrez l'application Wink
2. Sélectionnez Ajouter un produit
3. Défilez dans la liste pour sélectionner
le luminaire
4. Sélectionnez le plafonnier intensif
DEL HALO
5. Cliquez sur Suivant - Suivant - Suivant
6. Cliquez sur Connectez maintenant
(assurez-vous que le luminaire est
allumé et en mode d'appariement)
7. Le plafonnier intensif DEL se
1. Ouvrez l'application SmartThings
2. Sélectionnez Mon domicile
3. Sélectionnez Ajouter une chose
4. Cliquez sur Connectez maintenant
(assurez-vous que le luminaire est
allumé et en mode d'appariement)
5. Le plafonnier intensif DEL se connec
tera en tant que plafonnier intensif
DEL RL HALO
6. Nommez et contrôlez le plafonnier
intensif DEL
1. Ouvrez l'application Amazon Alexa
2. Sélectionnez Maison intelligente
3. Sélectionnez Ajouter un appareil
4. Sélectionnez le luminaire
5. Sélectionnez Modifier
6. Nommez et contrôlez le plafonnier
intensif DEL
connectera en tant que luminaire
8. Nommez et contrôlez le plafonnier
intensif DEL
DÉPANNAGE
Problème Cause possible Solution
• Le luminaire indique que l'appariement
a réussi mais le luminaire ne se contrôle
pas par l'application
• Réinitialisez le luminaire au mode d'usine
• Impossible d'apparier le luminaire
• Impossible d'apparier le luminaire
• Unable to control fixture
• Unable to control fixture
• Impossible de contrôler le luminaire
• Scintillement du luminaire
• Le luminaire est lent à agir
• Le luminaire est lent à agir
• Le luminaire s'est ajouté au mauvais réseau
• Le luminaire n'est pas en mode d'appariement
• Le luminaire n'est pas en mode d'appariement
• Impossible de contrôler le luminaire
• Perte de la connexion Internet
• Assurez-vous qu'il y a une connexion Internet
• Hors de portée
• Le luminaire est branché sur un gradateur
mural
• Connexion Internet
• Obstructions entre le concentrateur
et le luminaire
• Réinitialisez le luminaire au mode d'usine
• Réinitialisez le luminaire au mode d'usine
• Basculez l'interrupteur mural à la position
éteinte et ensuite à la position allumée
• Le luminaire est apparié avec un autre réseau
• Le luminaire est apparié avec un autre réseau
• Ensure internet connection
• Déplacez le concentrateur plus près
du luminaire
• Remplacez le gradateur avec un interrupteur
mural standard ou réglez le gradateur pour
une sortie maximale
• Vérifiez auprès de votre fournisseur
de service Internet
• Relocalisez le concentrateur plus près
du luminaire
Consultez la feuille d'instructions incluse pour les instructions
d'installation de la Série sans fil RL56/RL4 HALO
ATTENTION
Remarque : Pour que le plafonnier
intensif sans fil communique avec le
concentrateur l'interrupteur mural
doit être dans la position allumée.
www.halolighting.com (en anglais seulement)
IB518354ML
Page 5

CONNECT
Guía de inicio rápido
Control Remoto Inalámbrico Downlight
RL56/RL4
INSTALL LED DOWNLIGHT INTO CEILING
OPEN WINK OR SAMSUNG SMARTTHINGS APP
ADD THE LED DOWNLIGHT TO THE HUB
CONTROL YOUR LIGHTING
Works with
Works with
Amazon Echo Plus
Amazon Echo Plus
Fotos solo para demostración.
INSTRUCCIONES BÁSICAS
NOTA: ASEGÚRATE DE QUE EL HUB ESTÉ ENCENDIDO Y DENTRO DEL ALCANCE DE LA LUZ EMPOTRADA DE TECHO LED.
• Descarga o actualiza la aplicación del fabricante HUB.
• Enciende la luz empotrada de techo LED con el interruptor
de pared.
• La luz empotrada de techo LED parpadeará dos veces cuando
se encienda para indicar que el dispositivo está en modo de
sincronización.
• Abre la aplicación del fabricante HUB y sigue las instrucciones
de sincronización. Mira el reverso para ver las instrucciones
específicas de Wink y SmartThings.
• Después de un emparejamiento exitoso con el HUB, la luz de techo
LED parpadeará una vez.
• Controla la luz empotrada de techo LED a través de tu dispositivo
(el interruptor de pared debe permanecer encendido).
ATENUACIÓN
La luz empotrada de techo LED se atenuará
DIMMABLE
AJUSTE DE COLOR
Usa la aplicación HUB para ajustar la
temperatura del color (CCT) de la luz
empotrada de techo LED inalámbrica
RL56 / RL4.
al 5% con la aplicación HUB.
adjustable
w
color
a
r
m
l
o
o
c
• La luz empotrada de techo LED estará lista para ser
controlada solo después de sincronizar con éxito el HUB.
• La luz empotrada de techo LED no está diseñada para
funcionar con atenuadores de pared u otros sistemas de
iluminación controlados.
• Si usas un regulador de intensidad con esta luz empotrada
de techo LED, ajusta el regulador de intensidad en la
configuración más alta para obtener mejores resultados.
• Consulta el sitio web LED downlight para obtener una lista
de compatibilidad de HUB actualizada.
• Funciona solo con Wink y SmartThings HUB. Consulta las
instrucciones de fabricación de HUB o el sitio web para
conocer la configuración de escena, la programación y
cualquier otra característica de la aplicación.
ATTENTION
NOTE: Para que la luz empotrada de techo inalámbrica se
comunique con el HUB, el interruptor de pared debe
permanecer encendido.
RESET TO FACTORY SETTING
• Using the wall switch, physically switch
ON and OFF 6 times within 2 seconds.
• The LED downlight will flash twice after
a successful reset.
Page 6

Abre la aplicación del fabricante HUB y sigue las
instrucciones de sincronización.
Works with
Works with
Amazon Echo Plus
Amazon Echo Plus
1. Abre la aplicación Wink
2. Selecciona Agregar un producto
3. Desplázate hacia abajo para
seleccionar Luces
4. Selecciona Halo LED Downlight
5. Haz clic en Siguiente - Siguiente Siguiente
6. Haz clic en Conectar ahora
(asegúrate de que la luz esté
encendida y en modo
1. Abre la aplicación SmartThings
2. Selecciona Mi casa
3. Selecciona Agregar una cosa
4. Haz clic en Conectar ahora
(asegúrate de que la luz esté
encendida y en modo de sincronización)
5. La luz descendente LED se conectará
como luz descendente LED HALO RL
6. Nombra y controla la luz empotrada
de techo
1. Abre la aplicación de Amazon Alexa
2. Selecciona Smart home
3. Selecciona Agregar dispositivo
4. Seleccionar Luz
5. Selecciona Editar
6. Nombra y controla la luz
emportrada de techo
de sincronización)
7. La luz empotrada de techo LED
se conectará ahora como una luz
8. Nombra y controla la luz empotrada
de techo
RESOLUCIÓN DE PROBLEMS
Problema Posible causa Solución
• El dispositivo indica una sincronización
exitosa pero el dispositivo no es controlable
en la aplicación
• Restablece el dispositivo al modo de fábrica
• Restablece el dispositivo al modo de fábrica
• Restablece el dispositivo al modo de fábrica
• Restablece el dispositivo al modo de fábrica
• Unable to control fixture
• Unable to control fixture
• Titileo en el dispositivo
• El dispositivo tarda en responder
• Obstrucciones entre el concentrador
y el dispositivo
• El dispositivo se unió a la red incorrecta
• Desconecta el interruptor de pared
y vuelve a encenderlo
• No se puede sincronizar
• No se puede sincronizar
• El dispositivo se ha unido a otra red
• No se puede controlar el dispositivo
• Fuera de rango
• Dispositivo conectado a un atenuador
de pared
• Conexión a Internet
• Reubicar el concentrador más cerca
del dispositivo
• Restablece el dispositivo al modo de fábrica
• Enciende el interruptor de pared y asegúrate
de que el concentrador esté en línea
• El dispositivo no está en modo de sincronización
• El modo de sincronización ha expirado
• No se puede controlar el dispositivo
• Asegurar la conexión a internet
• Mueve el concentrador más cerca
del dispositivo
• Reemplaza el atenuador con un interruptor
de pared estándar o ajusta el atenuador a la
salida máxima
• Consulte con su ISP
• Guía de inicio rápido de HUB e instrucciones
de sincronización
Ver la hoja de instrucciones adjunta para las instrucciones
de instalación de la Serie inalámbrica HALO RL56 / RL4
ATENCIÓN
Nota: Para que la luz empotrada de
techo inalámbrica se comunique con
el HUB, el interruptor de pared debe
permanecer encendido.
www.halolighting.com
IB518354ML
 Loading...