

4.3 Other functions
Audio Selection
If broadcasting channel is supporting multi language, different language can be selected
from Audio Selection.
1. To select different language on current channel, select Audio Selection on the Main
Menu.
2. Press OK button on your favorite language.
According to different audio data on each channel, up to 4 different audio language
types can be selected.
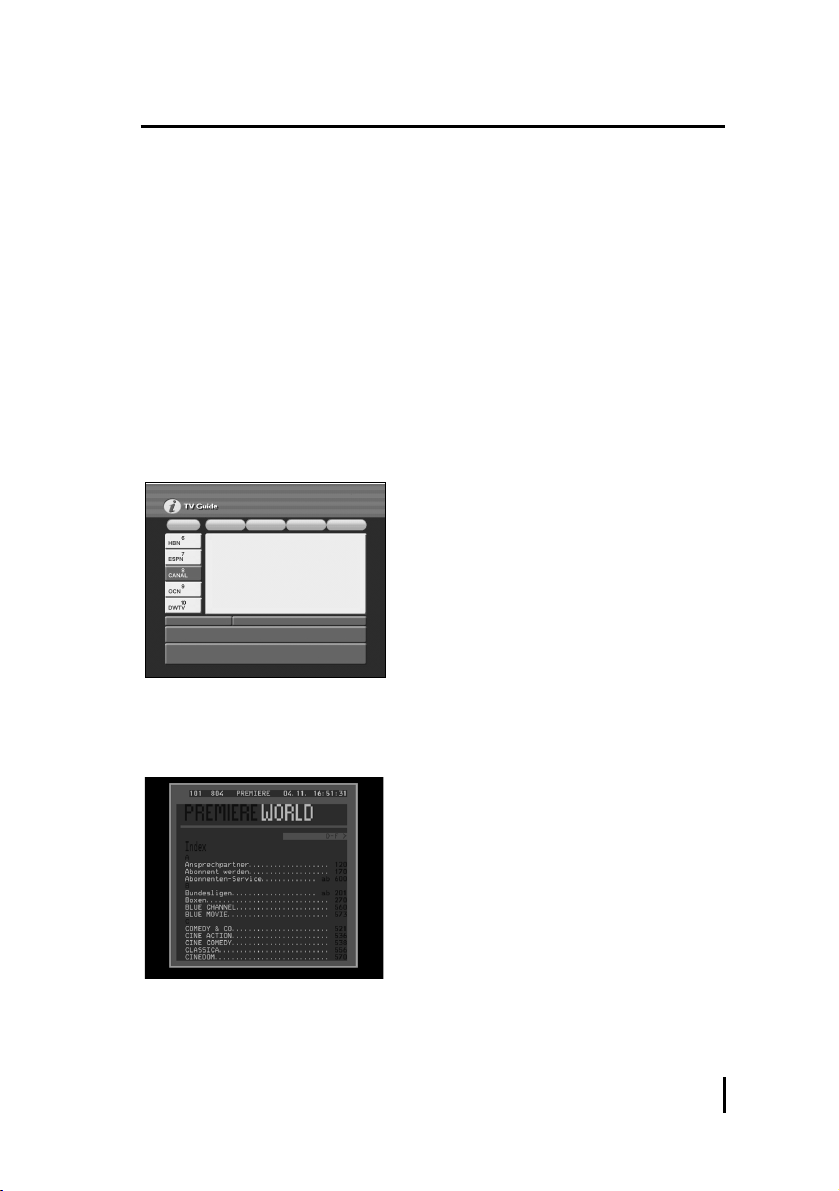
TV Guide
Press GUIDE button of RCU for channel information. This function works in digital mode
only.
Teletext function
Pressing the TEXT button will open a Teletext page. Select teletext pages with the
numeric buttons on the RCU.
From Teletext Screen
CLEAR
Ov erlay b ackgr ound s c reen a nd tel e text m ode acc ordin g to the f ollo w ing
18
O t h e r f u n c t i o n s

order(transparency - Teletext only - Opacity)
INFO
Hold of current Teletext page
PAGE UP/DOWN
Move previous and next page in one
CH UP/DOWN
Move previous and next page in one
FAV/TV/RADIO/F.BK/LANG/AUDIO
100/200/300/400/500/600 page level
0 ~ 9
Select Teletext page
EXIT
Exit teletext mode
Clock Function
- From the Front Pannel
Menu button
The clock shows 12:00 o’clock on the front panel when the power is off. If user press
MAIN button, the 12:00 o’clock is on and off continually and then user can set up the
time using the VOL, CH, OK buttons. If user press MENU button again, the setting is
finished and the time works regularly.
Channel button
This CH
allows user to set up the time.
Volume button
This VOL
allows user to set up the minute.
OK button
This OK button allows user to finish the setup of time. If user press OK button after
setting up time, the on and off is gone on the front panel and the time works regularly.
[ Screen Division Function ]
You can check other channels (still picture mode) while you are watching a specific alive
channel with this function.
1. In the full screen mode, press "OSD” key in the Remote Control then you will get
4 divided pictures.
19
S e t t i n g s a n d O p e r a t i o n s

2. By pressing "VOL " key, you can select a frame one by one.
Selected frame will provide you a live picture.
3. By pressing ”CH
“ key, you can change the channel in
the selected frame.
4. Press “Exit” key, then the function goes to the full screen mode.
5. If you press “OSD” key one more time in the No.1 stage above, you will have
13 divided pictures and operations are same as above.
20
O t h e r s f u n c t i o n s
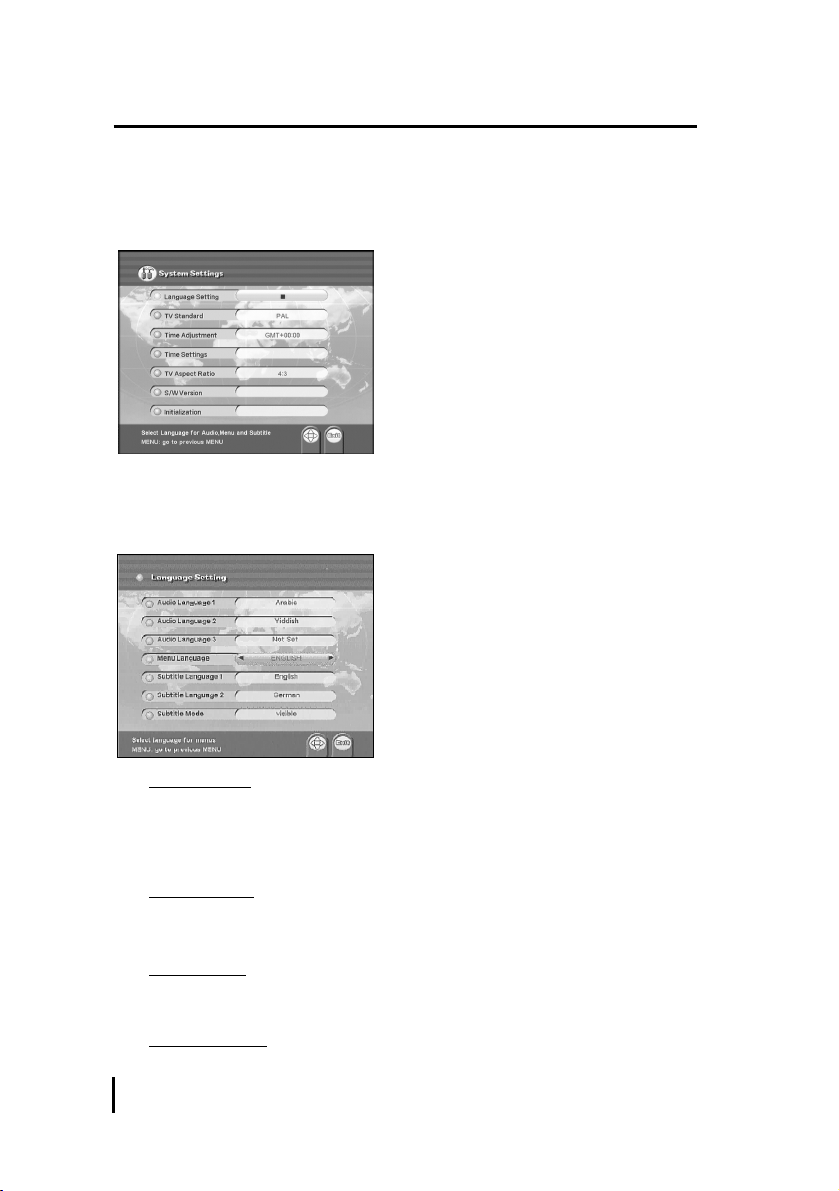
4.4 System Settings
Please make sure to press OK button always, after the changing items of System
Settings.
• Language Setting
Select the language which you desire to display on the screen for your system. Press OK
button to get in more options.
Audio language
Only if a current channel contains 2 or more audio language information, set the
Audio Language as English or other favorite language. Then press OK button for its
confirmation.
Menu Language
For menu language selection, select desired language from Menu Language of
system Settings.
Subtitle Mode
Subtitle is a printed version of the dialogue, narration, and/or sound effects of a TV
program. Subtitle will appear at either the top or bottom of the screen during
Subtitle Language
21
S e t t i n g s a n d O p e r a t i o n s

Please select the primary and secondary languages in your area.
TV Standard
Except for a few, most countires are using PAL system for TV signal, accordingly set TV
Standard as PAL. To be more flexible for NTSC or PAL signal from different satellites,
select MULTI for automatic signal conversion. Then press OK button for its confirmation.
Time Adjustment
To set the receiver time for EPG(Electronic Program Guide), set the time according to
GMT(Greenwich Mean Time) by using CH
. If EPG in England is needed to set,
adjust as 00:00. In the case of Beijing, adjust as 08:00.
Time Settings
Use clock, sleep, on/off Timer function by choosing time settings menu.
1. Press CH
buttons or number buttons to set the local time.
2. Set the time STB turns on with on Timer setting menu.
3. Select a channel you wish to see in running the on Timer function.
4. Set the time STB turns off with off Timer setting menu.
22
S y s t e m S e t t i n g s

TV Aspect Ratio
Select 4:3 for normal TV or 16:9 for wide TV. Then press OK button for its confirmation.
If 4:3 ratio is selected on normal TV for wide channel, both left and right side of the
screen will be a bit trimmed. If 16:9 ratio is selected on normal TV for wide channels the
screen trim symptom will not occur. However the screen will be in narrow view.
Wide screen will be properly viewed, only when wide channel is broadcasting.
Initialization
Press OK button from Initialization. If you want initialization, select OK button,
otherwise, select any button of remote controller. The receiver will be turned off and on
automatically after 1~2 seconds to initialize all the values to factory setting mode.
As this procedure will clear and set to factory default values, end users are not
recommended to operate this function.
23
S e t t i n g s a n d O p e r a t i o n s

4.5 Game
Select Game on the Main Menu.
1. To play game.
Select Game & Press OK.
2. Select play mode by using number buttons
& press Exit to Exit.
3. Select the color & press OK.
4. Now play the game.
24
S y s t e m S e t t i n g s

5.1 Troubleshooting
5.2 Specification
A p p e n d i x
25
SYMPTOM
No picture display and no LED channel
display
No pictur e di splay wit h nor mal LED
channel display
No satellite channel with MAIN MENU
screen on
No sound with normal screen display
Remote control unit does not work
LNB/Tuner
MPEG
VIDEO
Audio
General Data
RF input frequency
RF input level
LNB control
LNB power
LNB tone switch
External LNB switch
VIdeo
Audio
Resolution
Video output level
Aspect ratio
Frequency range
Sampling frequency
Frequency response
Audio output level
Supply voltage
Power consumption
Operating temp.
Storage temp.
Dimensions
Weight
950 to 2,150MHz
-65 to -25dBm
DiSEqC1.0/1.2
13V/18V(Max.400mA)
22KH
2KHz(0.6Vp-p)
0/12V(100mA)
MPEG-II Main Profile@Main Level
MPEG-II layer I&II
720
576
1Vp-p into 75
4:3, 16:9
20Hz to 20KHz
32/44.1/48KHz
20Hz to 20KHz Hi-Fi Quality Digital stereo
2V rms into 600
100~240V (AC, 50/60Hz)
Max.25W
0
~ 50
-40 ~65
340(W) 247(D) 67.5(H)mm
3.0Kg
SOLUTION
Check
the power connection
1. Check the connection with TV
2. Check the connection between TV outside input
and receiver cable
1. Check the LNB, Frequency, Polarization and
Symbol Rate from Installation menu
2. Check the connection of receiver or Antenna
angle
1. Check between sound output connector and TV
2. Check if it is not in MUTE condition
Check if the batteries in remote control unit are
dead

5.3 Glossary
LNB
Low Noise Block converter. The LNB is an electronic unit mounted on satellite dish to
receive signals reflected by the dish and convert to signals.
L.O. frequency
Local Oscillator frequency as a part of LNB. It converts the satellite frequency to usable
signals for the receiver.
Polarization
Polarization allows several programs to be fitted into same frequency band.
Symbol Rate
Size of the digital package transmission
Parental Control
The function is to allow parents to lock channels for unsuitable viewers. A locked
program can only be unlocked with the password.
DVB
Digital Video Broadcast. International standard for digital TV broadcasting
MPEG
Moving Picture Experts Group, A system for compression of digital data
RF
Radio Frequency
EPG
Electronic Programming Guide. Program information is displayed on the TV screen,
depending upon the satellite condition.
MHz
Abbreviation for MegaHertz. The prefix mega means million, and Hertz means cycles per
second.
DiSEqC
Digital Satellite Equipment Control
26
G l o s s a r y

NTSC
National Television Standards Committee
PAL
Phase Alternate Line
Ku band
11~18GHz Frequency
C band
3~4GHz Frequency
SCPC
Single Channel Per Carrier
MCPC
Multi Channel Per Carrier
PID
Packet Identifier.
TP
TransPonder
SCART, RCA
A connector for connection of Satellite receiver, VCR and TV sets.
VCR
Video Cassette Recorder.
A p p e n d i x
27

Made in Korea

CAUTION: Changes or modifications not expressly approved by the manufacturer
responsible for compliance could void the user’s authority to operate the equipment
WARNING
This device complies with part 15 of the FCC Rules. Operation is subject to the
following two conditions: (1) This device may not cause harmful interference, and (2)
this device must accept any interference received, including interference that may cause
undesired operation.
INFORMATION TO USER:
This equipment has been tested and found to comply with the limit of a Class B digital
device, pursuant to Part 15 of the FCC Rules. These limits are designed to provide
reasonable protection against harmful interference in a residential installation. This
equipment generates, uses and can radiate radio frequency energy and, if not installed
and used in accordance with the instructions, may cause harmful interference to radio
communications. However, there is no guarantee that interference will not occur in a
particular installation; if this equipment does cause harmful interference to radio or
television reception, which can be determined by turning the equipment off and on, the
user is encouraged to try to correct the interference by one or more of the following
measures:
1. Reorient / Relocate the receiving antenna.
2. Increase the separation between the equipment and receiver.
3. Connect the equipment into an outlet on a circuit difference from that to which
the receiver is connected.
4. Consult the dealer or an experienced radio/TV technician for help
 Loading...