

CoolLED pE-340fura User Manual
DOC-034 Iss 3 1
User Manual
pE-340
fura

DOC-034 Iss 3 2
Table of Contents
1. Introduction .................................................................................................................... 3
2. Safety Precautions ........................................................................................................... 4
3. Getting Started – System Components ........................................................................... 6
4. Installation and setup ...................................................................................................... 7
5. Configuration of the Light Source ................................................................................... 9
6. Operation - Manual Control .......................................................................................... 10
7. Remote Operation – TTL ............................................................................................... 13
8. Remote Operation – USB .............................................................................................. 18
9. Optical setup ................................................................................................................. 20
10. Additional Filtering Capability ....................................................................................... 23
11. Excitation Filter Specifications ...................................................................................... 24
12. Settings / Additional Information ................................................................................. 26
13. Routine Care and Maintenance .................................................................................... 28
14. Fitting the pE-340
fura
Illumination System to a different microscope ........................... 28
15. Product specifications ................................................................................................... 30
16. Product options and order codes .................................................................................. 30
17. Warranty and Repairs ................................................................................................... 31
18. Compliance .................................................................................................................... 31
19. Contact Details .............................................................................................................. 32

DOC-034 Iss 3 3
1. Introduction
CoolLED’s pE-340
fura
Illumination System has been designed to meet the
requirements of users carrying out Fura-2 AM ratiometric calcium imaging.
The pE-340
fura
offers an Illumination System that is both safer and offers a
faster level of control than traditional bulb-based solutions. The three
controllable channels offer 340nm, 380nm and a broad ‘white’ (420-700nm).
With a comprehensive range of microscope adaptors, the pE-340
fura
can be
fitted to most current and older compound research grade microscopes. The
result is a safe, convenient illumination system which will last for many years
without any additional operating costs.
This User Manual should give you all the information required to install and
operate your new illumination system.
Additional information can be found on our website at www.coolled.com
DOC-034 Iss 3 4
2. Safety Precautions
While LEDs are a much safer illumination system than the mercury and
metal halide lamps that they replace in microscopy applications, precautions
should still be taken with this product.
When operating or maintaining this product, please observe the following
safety precautions at all times. Failure to do so may result in personal injury
or damage to other items.
2.1.
UV light may be emitted from this product depending on the
version/wavelength selected. Avoid eye and skin exposure. Never look
directly into the light output beam from the Light Source or accessories. The
emissions could damage the cornea and retina of the eye if the light is
observed directly.
2.2.
Always ensure that the Light Source is securely attached to the microscope
(either directly or with a light guide and collimator, depending on the
version) prior to turning on the power. This will minimise the risk of injury
and damage.
2.3.
If for any reason the Light Source is to be operated when not attached to a
microscope, all personnel should wear eye shielding and clothing to protect
the exposed skin.
2.4.
Disconnecting the mains supply is achieved by unplugging the power cord
from the power supply block or the Light Source. Only plug in the power
cable, once the Light Source is attached to the microscope.
2.5.
There are no serviceable parts within the Light Source. Removing any of the
screws and covers will result in the safety of the Light Source being impaired.
The DC power supply unit should be inspected periodically throughout the
lifetime of the system.
2.6.
Any electronic equipment connected to this product must comply with the
requirements of EN/IEC 60950.
DOC-034 Iss 3 5
2.7.
To clean the exterior of the Light Source, use a slightly dampened cloth with
a simple water/detergent solution only. Avoid the optical surfaces and
lenses. Cleaning of optics should only be carried out using optical wipes and
fluids. Please note that the DC power supply unit should be isolated prior to
cleaning.
2.8.
This product conforms to the requirements of the Safety Standards as
follows:
EN/IEC 61010-1:2010 Safety Requirements for Electrical Equipment
for Measurement, Control and Laboratory use.
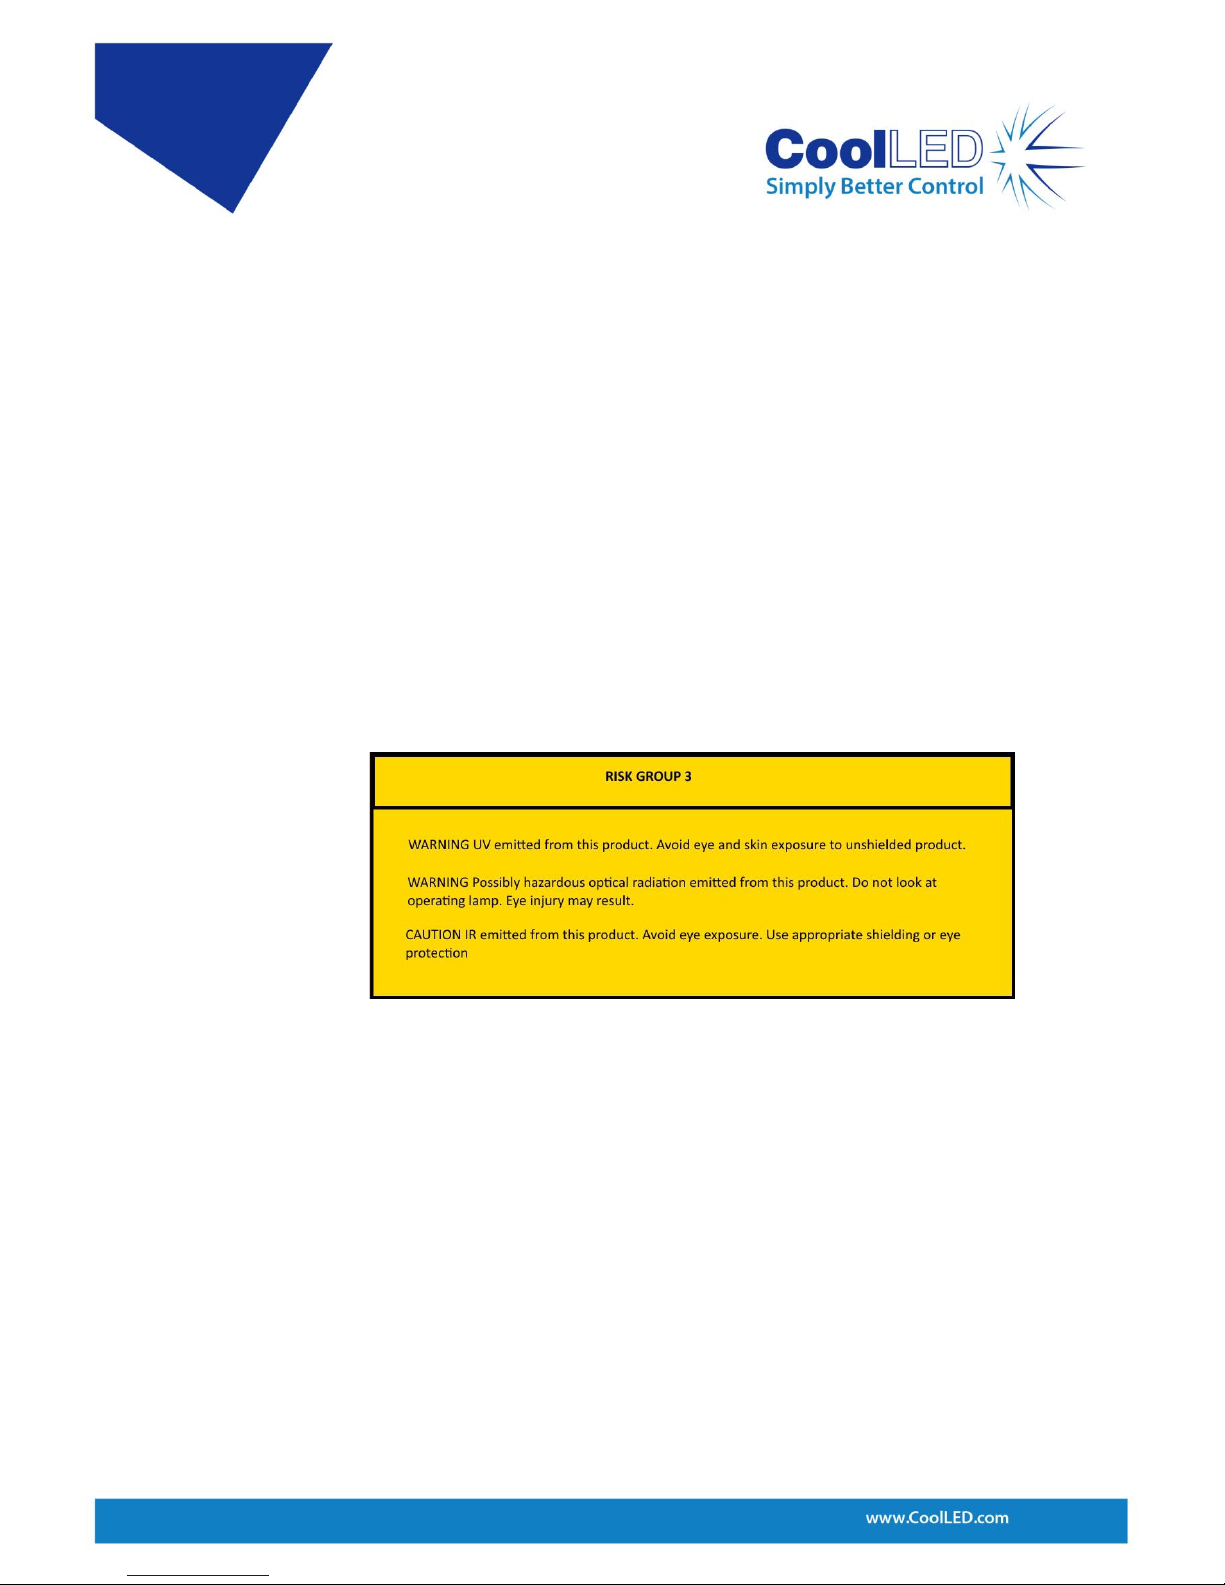
EN62471:2008 Photo-biological Safety of Lamps and Lamp
Systems/Guidance on manufacturing
requirements relating to non-laser optical
radiation safety. Risk Group 3.
All warnings may not be applicable depending on the version/wavelength being used.
DOC-034 Iss 3 6
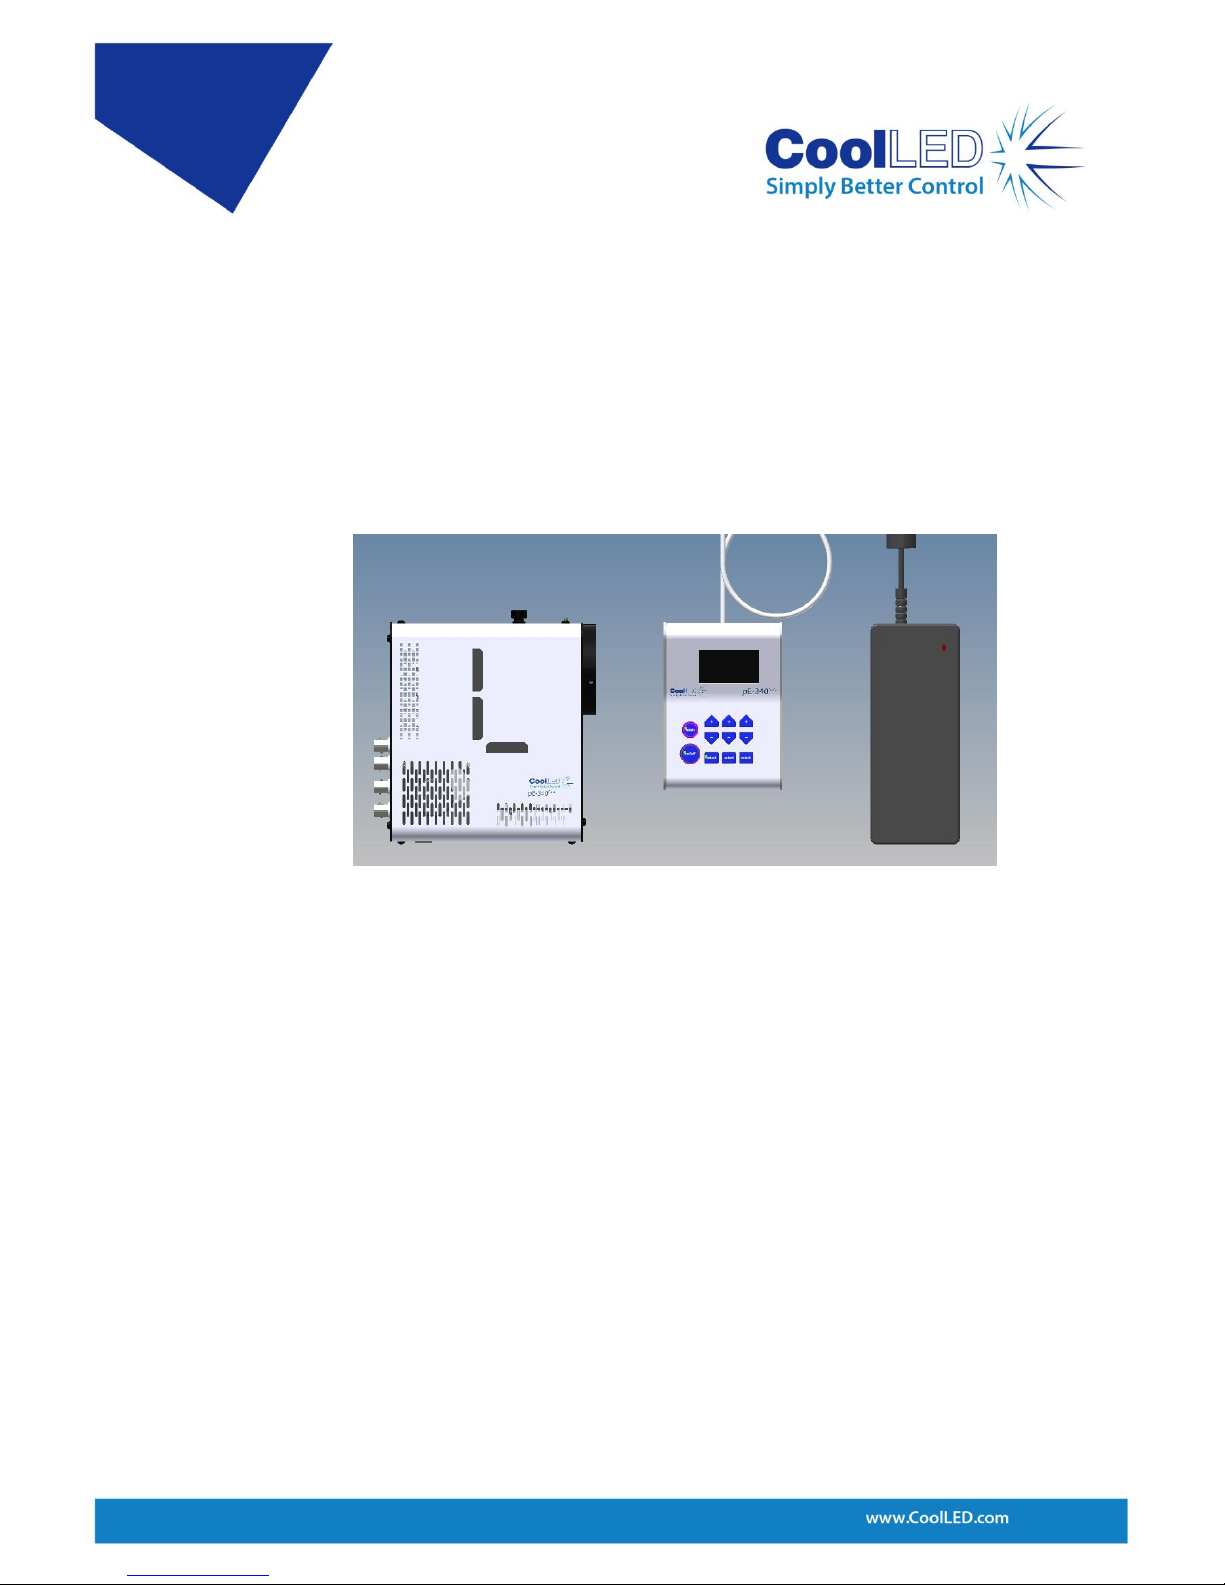
3. Getting Started – System Components
A typical CoolLED pE-340
fura
Illumination System is supplied with the
following components:
1. LED Light Source.
2. Manual Control Pod.
3. Microscope adaptor for specific microscope model (Direct fit only).
4. DC Power Supply Type GST120A12-R7B.
5. IEC Power Cable (not shown).
6. User Guide (not shown).
If any components are missing or appear damaged, please contact CoolLED
immediately.
DOC-034 Iss 3 7
4. Installation and setup
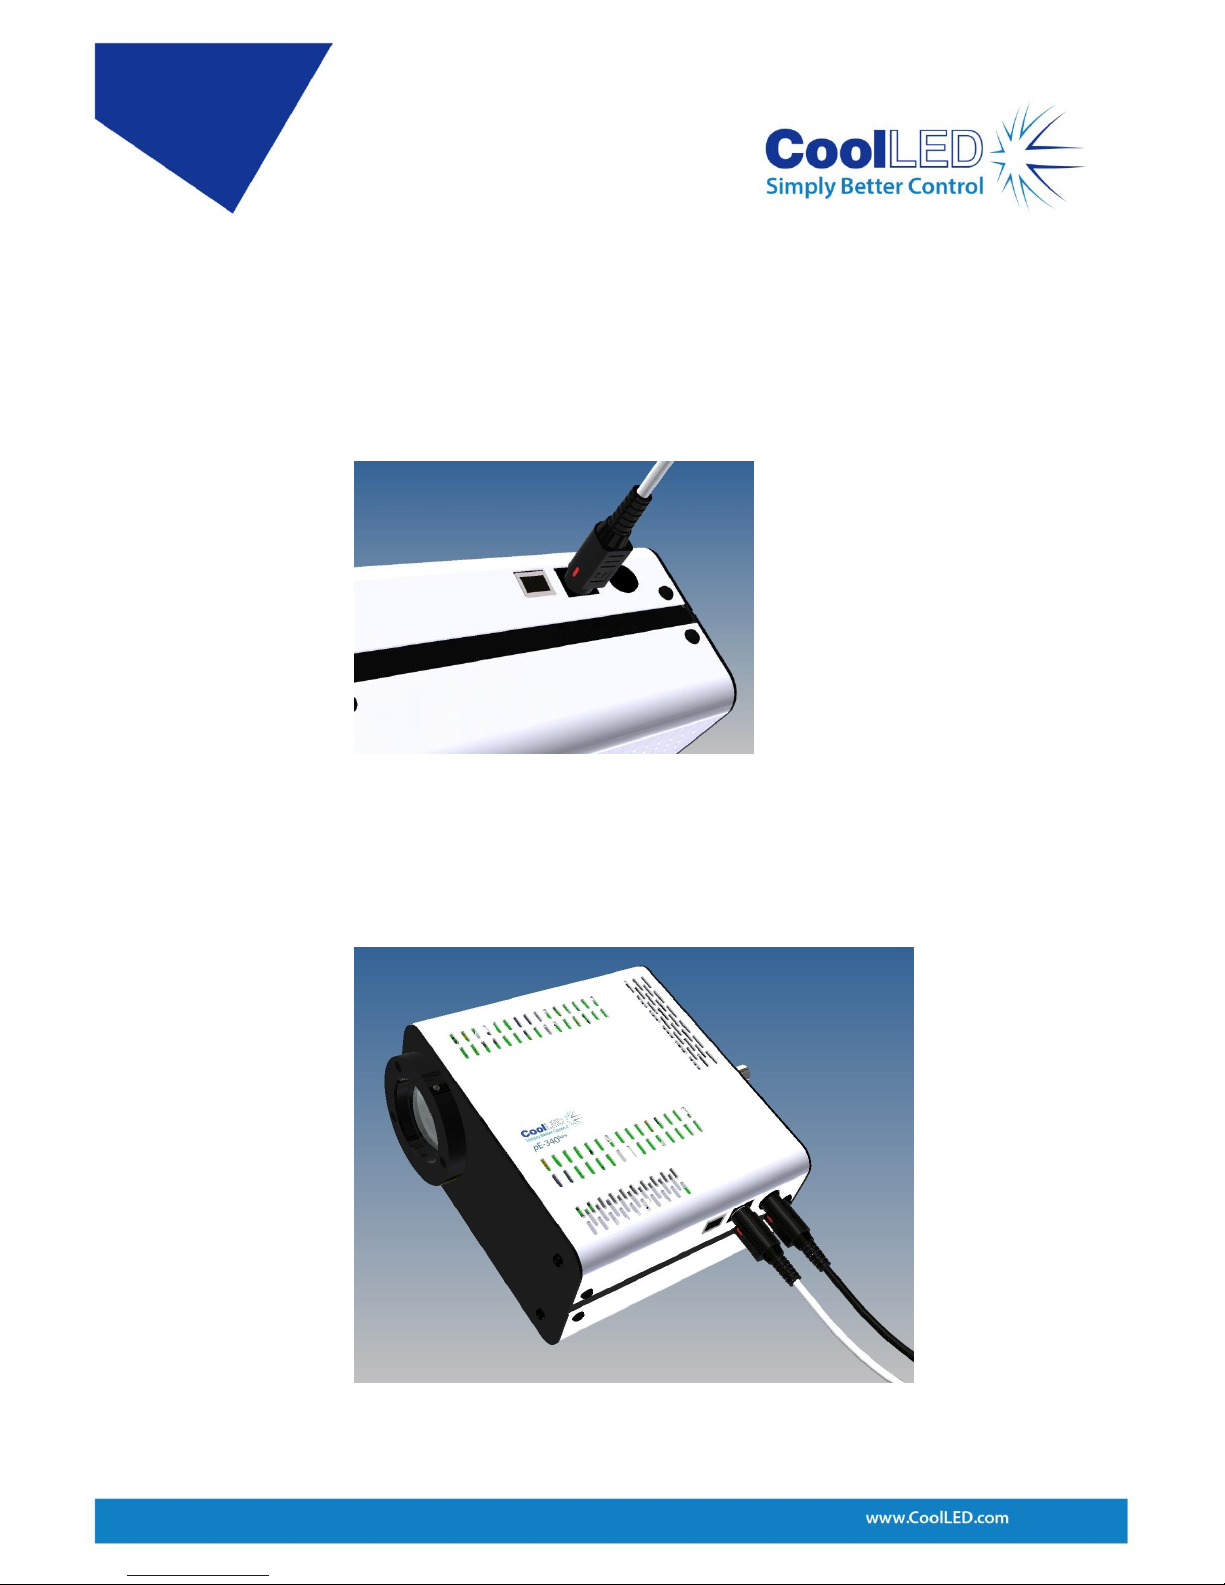
4.1.
Carefully unpack the components from the shipping cartons.
4.2.
Insert the Control Pod cable into the LED Light Source using the red dots as a
guide for orientation of the plug.
4.3.
Connect the power connector from the DC power supply as shown. Ensure
that the DC power supply is the one supplied with the product. Using nonCoolLED power supplies may damage the Light Source and will invalidate the
warranty. At this stage do not connect the mains power lead to the DC
power supply.

DOC-034 Iss 3 8
4.4.
Attach the LED Light Source to the epi-fluorescence port on your
microscope. Your pE-340
fura
Light Source will have been supplied with a
compatible fitting for the microscope you specified at order (if direct fit
version). Attach the Light Source ensuring that it is secure and true/flush
with the microscope.
4.5.
Ensure that there is free airflow around the LED Light Source so that the
cooling system is not impaired. A gap of 200mm on either side is sufficient.
The diagram shows the Light Source in the preferred orientation. However it
may be set with the cables at the top or at either side.
4.6.
With the LED Light Source now attached to the microscope it is safe to
connect the mains power. Connect the mains lead supplied to a convenient
socket, plug in the IEC connector into the DC power supply and switch the
power on at the socket.

DOC-034 Iss 3 9
5. Configuration of the Light Source
5.1.
5.2.
The pE-340
fura
has independent circuits giving the user control of the three
main peaks of emissions. These are referred to as 340 (nm), 380 (nm) and
3WT (white illumination).

DOC-034 Iss 3 10
6. Operation - Manual Control
6.1.1.
Manual Control Pod Operation on/off.
The pE-340
fura
is easily controlled from the manual Control Pod. LEDs are
switched on and off by pressing the ‘on/off’ button.
6.1.2.
At start-up the Light Source will revert to the same settings that were set
when it was last powered down. New Light Sources are supplied with the
settings as shown.
6.1.3.
To switch on LEDs press ‘on/off’ once.
 Loading...