

Page 1
MANUAL
Page 2

TABLE OF CONTENTS
INTRODUCTION ………………………………………………… 2
PACKAGE CONTENTS …………………………………………. 3
TECHNICAL REQUIREMENTS …………………………………... 3
PRODUCT SUPPORT ………………………………................ 3
SPECIFICATIONS ………………………………………………… 4
INSTALLATION GUIDE ………………………………................ 5
DEVICE LAYOUT ………………………………………………… 6
SOFTWARE GUIDE ………………………………………………… 7
LEGAL INFORMATION ………………………………................ 17
1
Page 3

INTRODUCTION
The CM Storm Mech is the first mechanical keyboard from the new Aluminum series
performance peripherals by Cooler Master. This mechanical keyboard has been built
with the combined strength of durability, utility, capability, and style. This manual is here
to help make you comfortable with both your mechanical keyboard, its available
software and to ensure you are getting the most out of what the keyboard has to offer.
Cooler Master has a strong history with aluminum. Thanks to case lines like the
Cosmos or ATCS, we are very comfortable with aluminum and we know how to form it
into high quality designs and high quality products. That same attitude is being brought
into the CM Storm line with the Aluminum series of peripherals. We’re combining both
form and function to make something fantastic.
We want to make sure you have the best hardware available to you. The Mech comes
with three options of the popular Cherry MX mechanical switches: Blue, Brown, and
Red. These switches are rated for millions of key presses and offer the mechanical
functionality suited to your needs. With a tough and gorgeous aluminum shell, 64-key
rollover, a USB 3.0 and audio/microphone hub, the Mech offers powerful and
convenient features.
The CM Storm Mech software is robust. Almost every single key on the Mech is
customizable to be everything from standard keyboard functions to opening programs to
fully programmed macros. You can save up to five button and macro profiles to be
active on the keyboard, easily switching with a button combination or in the software so
you can have your custom setups for whichever game or spreadsheet you’re working on.
If this guide does not answer a question about this device or you have any questions
about any other Cooler Master product, do not hesitate to find help at
http://support.coolermaster.com
2
Page 4

PACKAGE CONTENTS
CM Storm Aluminum Mech Keyboard
CM Storm Mech Software
USB 3.0 Cable
User manual
TECHNICAL REQUIREMENTS
PC with USB port, USB 2.0 compatible, USB 3.0 required for USB 3.0 speeds
Windows 8 / 7 / Vista / XP
600MB of free disk space
Internet connection for software and firmware updates
PRODUCT SUPPORT
2 years limited manufacturer warranty
General and technical support at http://support.coolermaster.com
3
Page 5

SPECIFICATIONS
Part Number: SGK-7000-MBCL1, SGK-7000-MBCM1, SGK-7000-MBCR1
Key Switch: Cherry MX Blue, Brown, Red
N Key Rollover: 64
Macro Keys: 15 per profile
Profiles: 5
Polling Rate: 1000 Hz / 1ms
Backlight: White LEDs, All Keys, 5 brightness settings, 3 modes
Key caps: ABS Plastic, removable
Output hub: 2x USB 3.0 port, mini-USB port for charging
Audio: 3.5mm port for audio out and 3.5mm port for microphone
On-board Memory: 128 KB
Windows Key Lock: Yes
Media keys: Yes, Function F keys
USB Cable: Removable USB 3.0
Dimensions (mm): 553 L x 267 W x 43 H
Dimension (in): 21.7 L x 10.5 W x 1.7 H
Weight: 1686g / 3.71 lbs
4
Page 6
INSTALLATION GUIDE
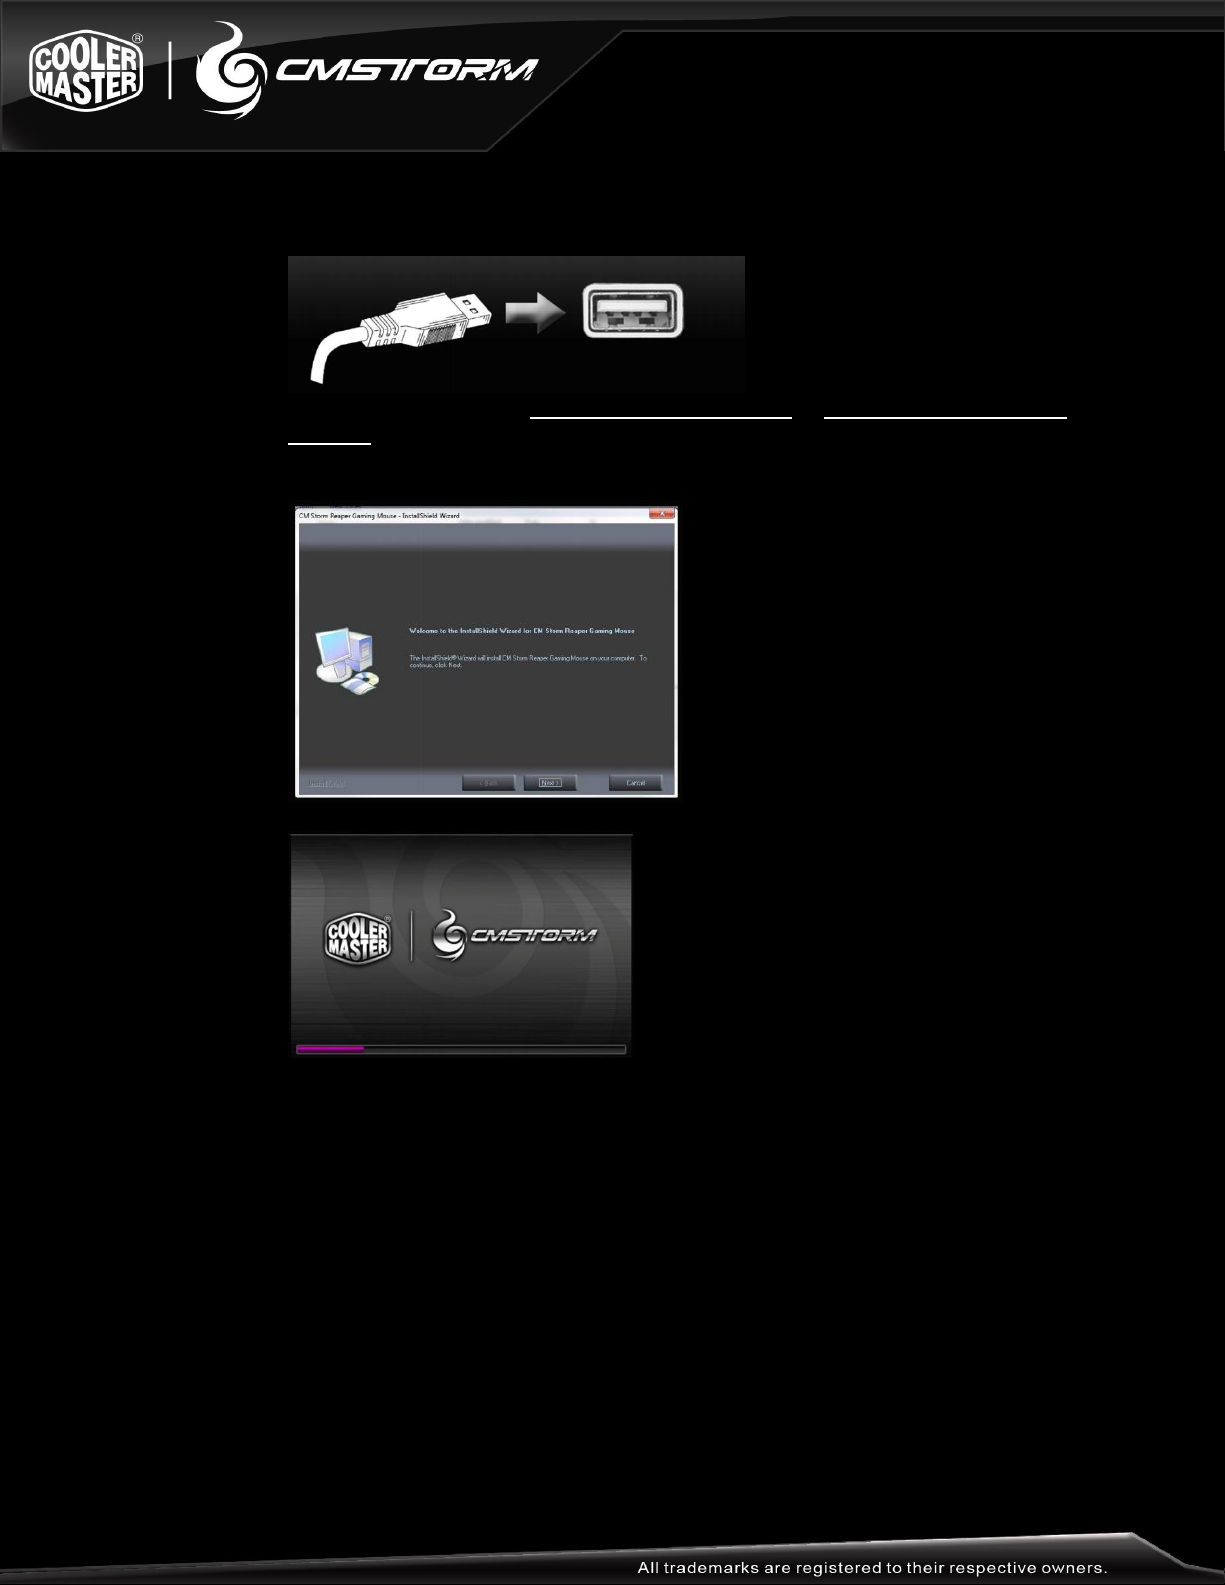
1. Plug in the CM Storm Mech keyboard into your computer
2. Obtain the software at http://www.cmstorm.com or http://www.coolermaster-
usa.com
3. Run the installer and follow its instructions
4. Launch the Mech software and allow it to configure for the first time
5. Refer to the Software Guide below for support on use
6. Enjoy!
5
Page 7

DEVICE LAYOUT
1. F1-F4 Function controls for LEDs
2. F5-F11 Function controls for media and volume
3. F12 Function control for Windows Key Lock
4. 32bit ARM Processor for profile and macro use
5. Sturdy handle for easy transport
6. Built-in extra macro keys
7. Embedded steel plate with aluminum cover
8. LED indicators for Num, Caps, and Scroll locks
9. USB 3.0 port in from computer
10. Mini-USB port for charging
11. Two USB 3.0 ports as added USB 3.0 hub
12. 3.5mm Microphone / Audio In port
13. 3.5mm Speakers / Headphones / Audio Out port
6
Page 8

Storm CFG Tab
SOFTWARE GUIDE
The Storm CFG tab is the default tab when you first open the Mech software. On this
page, you can change the functions of nearly every button your keyboard. The top area
will show a button that you have clicked/highlighted and what functions you can put on
them.
7
Page 9

The bottom area is where you can choose the button you want to change the function of,
which will show up in the top area. Once a button is selected, the upper right will show
all of the available functions.
You can choose what that button does by clicking the red buttons in the upper right.
Default Key – The default function of that key as listed on the key itself
Single Key – Change one key to another
Macro – Run a programmed macro from the Macro Studio tab
Advanced – Change to advanced functions like Volume control
No Function – Turns off all functions of that key
Launch Program – Key used to run a piece of software on your PC
The colored boxes next to the red buttons allow you to change the highlight color to see
what buttons on the keyboard layout have been changed.
8
Page 10

Once selected, any changes will show up on the right in the All Key List.
You can close the software with the X at the top and it will auto-save the new function
you selected to the currently selected Profile on the bottom. You can also use this tab to
select your currently active profile or use the button default combination of the right FN
+1 through 5 on the number bar for the corresponding profile when not viewing the
software.
9
Page 11

Profiles Tab
The profiles tab is where you can swap the arrangement of the profiles on your
keyboard and transfer profiles between the keyboard and your computer. The top half is
the profiles on the keyboard, the bottom half is profiles that are stored on your PC.
10
Page 12

You can change the names of the profiles by double clicking on the names, bringing up
a text box for them to rename. Under the Application column, you can put in a program
that, when combined with Auto Switch, will trigger the keyboard to automatically switch
to that profile when that program runs on your computer.
The buttons on the bottom will also highlight after selecting profiles in the above
windows:
New – Creates a new profile
Delete – Deletes the selected profile
Copy – Makes a copy of the selected profile
Apply – Press this after making changes before minimizing or changing tabs to
apply any changes made on this page
11
Page 13

Macro Studio Tab
The Macro Studio tab is where you manage, create, edit, and erase macro programs for
your Mech. There are a few ways to build macros. The easiest method is to click New at
the top left, enter the name, and then the Record button on the bottom bar between the
Stop square and Play arrow.
12
Page 14

When you click the record button, you will get a popup menu with a few options:
1:1 Mode – This will record the timing between your button presses and releases
when you are recording
Speed Mode – You insert a time delay in the number field (measured in
milliseconds) that will happen between every button press and release
God mode – No time delays between actions
Once your time selection is chosen and you select OK, the recording begins. You can
put in up to 25 separate button presses in up to 30 seconds per macro. The example
below shows some of a macro that will output “hello!!!” when triggered.
13
Page 15

The next method for making a macro is by once again clicking New in the top left,
naming the macro, and then going to the Action dropdown on the upper right. Once
clicked, it provides options including key presses and combinations such as Print, Copy,
and Paste.
Once a command has been selected, you can adjust the Start and End times for the
action, then press the Insert button. Once inserted, the key press or combination will
show up in the grid below. A virtual keyboard will also pop up for editing purposes,
explained below.
Regardless of how the macro was created, they can be edited in the same ways. Once
you click Save on the upper left and a macro is selected in the dropdown menu, you
have major editing options:
New – Creates a new macro
Copy – Makes a copy of the selected macro
Delete – Completely removes the selected macro
14
Page 16

When you have a macro selected, you can click on a button within the grid. This will
highlight that action in green and highlight the entire action row. You will also see a
virtual keyboard and mouse show up as previously mentioned. You can change the
highlighted button action with this virtual keyboard and mouse screen, such as changing
the highlighted P to a V to change the macro command above from Print to Paste.
The options in the upper right have corner also allow you to change the highlight action.
You can change the action to another button combination or set it back to a key press.
You can also Copy and Delete the specific action from here as well.
Once you have finished building a new macro or editing one, be sure to click the Save
button underneath the Select Macro dropdown for the Macro to save.
15
Page 17

Once saved, the macro will show up on the Storm CFG tab when a button is being
selected to run macro. The macro can be run a single time, 2 to 10 times, toggled on a
loop, or continue to loop while the macro button is held down according to the buttons
on the upper right when assigning the macro. Click OK to assign that macro.
16
Page 18

LEGAL INFORMATION
Cooler Master Warranty
Warranty all (non-networking) products purchased from COOLER MASTER as free
from defects in material and workmanship for normal use by the original purchaser for
warranty period.
The Cooler Master Warranty would like to assure all of the users of Cooler Master
Products to be free from any defects as a result of faulty manufacturing or faulty
components under the following terms and conditions:
COOLER MASTER is not responsible for damage to or loss of any programs, data, or
removable storage media. You are responsible for backing up any programs or data on
removable storage media.
Except for the warranties set forth herein, COOLER MASTER disclaims all other
warranties, expressed or implied or statutory, including but not limited to the implied
warranties of merchantability or fitness for a particular purpose.
Any implied warranties that may be imposed by applicable law are limited to the terms
of this limited warranty. In no event shall COOLER MASTER be liable for any incidental,
special or consequential damages, including but not limited to loss of business, profits,
data or use, whether in an action in contract or tort or based on a warranty, arising out
of or in connection with the use or performance of the product, even if COOLER
MASTER has been advised of the possibility of such damages.
You agree that repair, replacement, as applicable, under the warranty services
described herein is your sole and exclusive remedy with respect to any breach of the
COOLER MASTER limited warranty set forth herein. if, despite the foregoing limitations,
for any reason COOLER MASTER becomes liable to you for damages incurred by you
in connection with this agreement, then, the liability of COOLER MASTER will be limited
to the amount equal to the latest distributors price.
Some states or provinces/jurisdictions do not allow the exclusion or limitation of
incidental or consequential damages for consumer products, and some states or
provinces/jurisdictions do not allow limitations on how long an implied warranty lasts.
In such states or provinces/jurisdictions, the exclusions or limitations of this limited
warranty may not apply to you.
This limited warranty gives you specific legal rights.
You may also have other rights that vary from state to state/jurisdiction to jurisdiction.
You are advised to consult applicable state and provincial/local laws.
17
Page 19

1. Warranty Length
All products from Cooler Master at least carry 1 year warranty from the date of purchase,
with the exception of power supply units which carry a 2-5 year warranty. If no proof of
purchase (receipt or invoice of purchase) can be presented upon request, Cooler
Master cannot be held responsible for warranty service.
2. Who is Protected?
The original customer purchasing the Cooler Master Product is covered under the
Cooler Master Warranty Program.
3. What is and is NOT Covered
It is important to note that our warranty is not an unconditional guarantee for the
duration of the Program. Any replaced parts become the property of Cooler Master. The
Program does not apply to the software component of a product or a product which has
been damaged due to accident, misuse, abuse, improper installation, usage not in
accordance with product specifications and instructions, natural or personal disaster, or
unauthorized alterations, repairs or modifications.The Program does not cover any
events such as below:
Any damages unrelated to manufacturing defects.
Any unsuitable environment or use of the product in Cooler Master Opinion.
Any product which has been modified without official permission from Cooler
Master, or on which the serial number or warranty sticker has been defaced,
modified, or removed.
Damage, deterioration or malfunction resulting from:
Accident, abuse, misuse, neglect, fire, water, lightning, or other acts of god,
commercial or industrial use, unauthorized product modification or failure to
follow instructions included with the product.
Third party products using Cooler Master Components will not be covered by
warranty. See your vendor or the manufacturer for information about servicing.
Repair or attempted repair by anyone not authorized by Cooler Master, Inc.
Any shipment damages (claims MUST be made with the carrier).
Unauthorized repairs to a Cooler Master product (power supplies) will void the
warranty offered by the Program. Cooler Master reserves the right to refuse to
service any product which has been altered, modified or repaired by non-Cooler
Master Service personnel.
Cooler Master does not warrant that this product will meet your requirements. It
is your responsibility to determine the suitability of this product for your purpose.
Removal or installation charges.
You are responsible for the cost of shipping the product to Cooler Master. Cooler
Master pays the cost of returning a product to you.
Cooler Master reserves the right to replace the product with a service product at
their sole discretion at any time.
18
Page 20

4. Local Law and Your Warranty
This warranty gives you specific legal rights. You may also have other rights granted
under local law. These rights may vary.
5. Limitations of Implied Warranties
There are no other oral or written warranties, expressed or implied, including but not
limited to those of merchantability or fitness for a particular purpose. The duration of
implied warranties is limited to the warranty length specified in Paragraph one.
6. To Obtain Technical Support
If you need help installing or troubleshooting a product please submit a technical
support request form here.
7. Shipping
Based on company policy, customers are responsible for shipping costs to ship back
the defective item for RMA repair/replace. Once the item is repaired/replaced, Cooler
Master will ship the item back to the customer. Shipping methods will be at Cooler
Master's discretion.Cooler Master will not be able to ship repaired/replaced items in the
same method as the customer's because not only would this not be efficient, but it may
delay the return of the repaired/replaced item. Therefore, Cooler Master reserves the
rights to ship according to what it deems the most efficient standard method of shipping.
8. Exclusion of Damages (Disclaimer)
Cooler Master's sole obligation and liability under this Program is limited to the repair or
replacement of a defective product at our discretion. Cooler Master shall not, in any
event, be liable to the purchaser or any third party for any incidental or consequential
damage, (including, but not limited to, damages resulting from interruption of service
and loss of business), or liability in tort relating to this product or resulting from its use or
possession.
19
 Loading...